
How to Add Page to WordPress Menu
Do you want to modify your menus and improve navigation? In this article, we will show you how to add a page to the WordPress menu and help your visitors browse your site.
Why Customize and Add a Page to the WordPress Menu?
The quick answer is for easy navigation. Making it easy for users to find what they’re looking for is key to providing a better experience. This will naturally increase your overall page views and reduce your bounce rate.
When visitors land on your website, they see your header first. For example, let’s take a look at our site header.

As you can see, the QuadLayers logo is there along with links to important pages, a dropdown menu to showcase our products, and an account log-in form. All the essential pages are in the header for easy accessibility. This means that a visitor can go to any specific section of the website with one click so it’s easier for them to find what they’re looking for, whether it is a plugin, a tutorial on the blog, or documentation pages.
As a business owner, you may have important pages on your site such as About Us, Contact Us, Privacy Policy, and Advertise. If these are pages that you want to highlight or that users visit often, you may consider adding them to your primary menu. This way, these essential pages will get maximum visibility and they will be easy to reach.
Now that we better understand why you may want to customize and add a page to your WordPress menu, let’s see how to do it.
1) How to Add a Page to Your WordPress Menu
There are two ways to add a page to your WordPress menu:
- With WordPress Menus
- From the WordPress Customizer
In this section, we will show you both methods so you can choose the best one for you.
1.1) With WordPress Menus
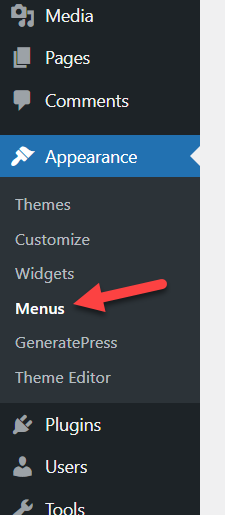
In your WordPress dashboard, you can see all the menus you’ve created under Appearances > Menus.
If you have just installed WordPress and started configuring it, you probably don’t have any menu yet, so you need to create one manually. To do that, go to the Menus section, give a name to the menu, and press Create Menu.

Now you have a menu. It’s empty so you can add pages to it to display some content. To check the available pages, click on the dropdown on the left-hand side.
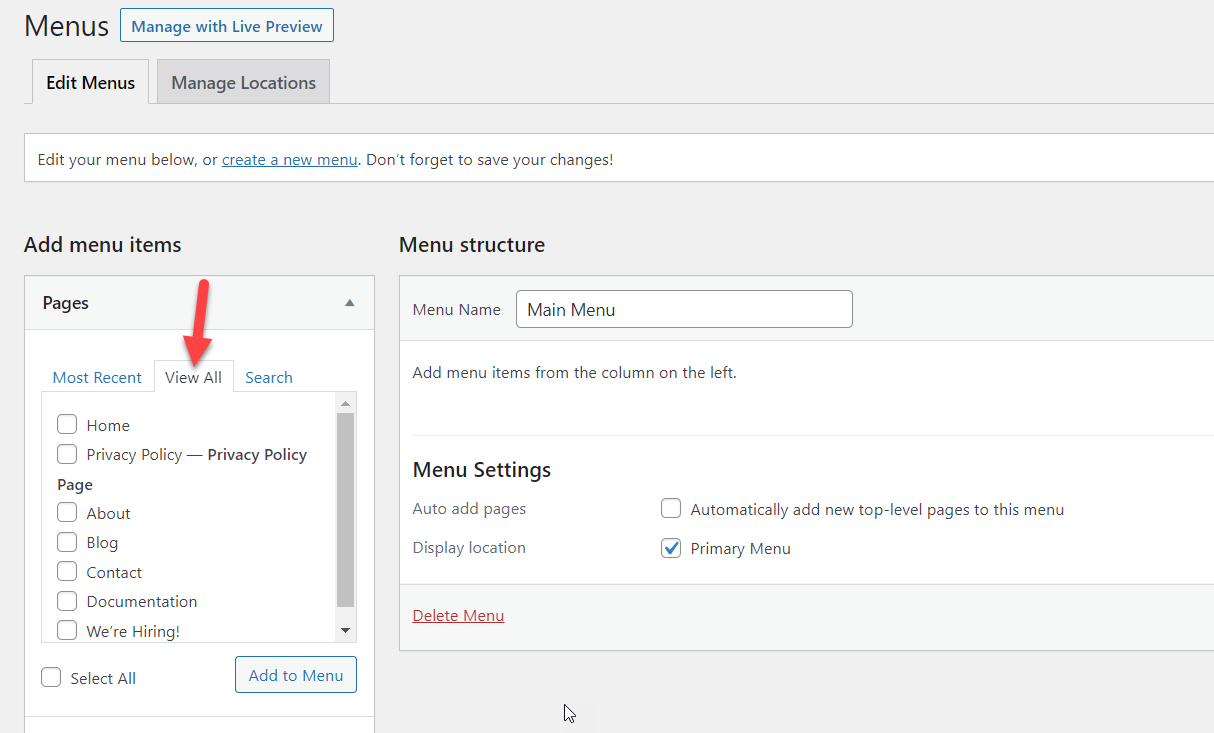
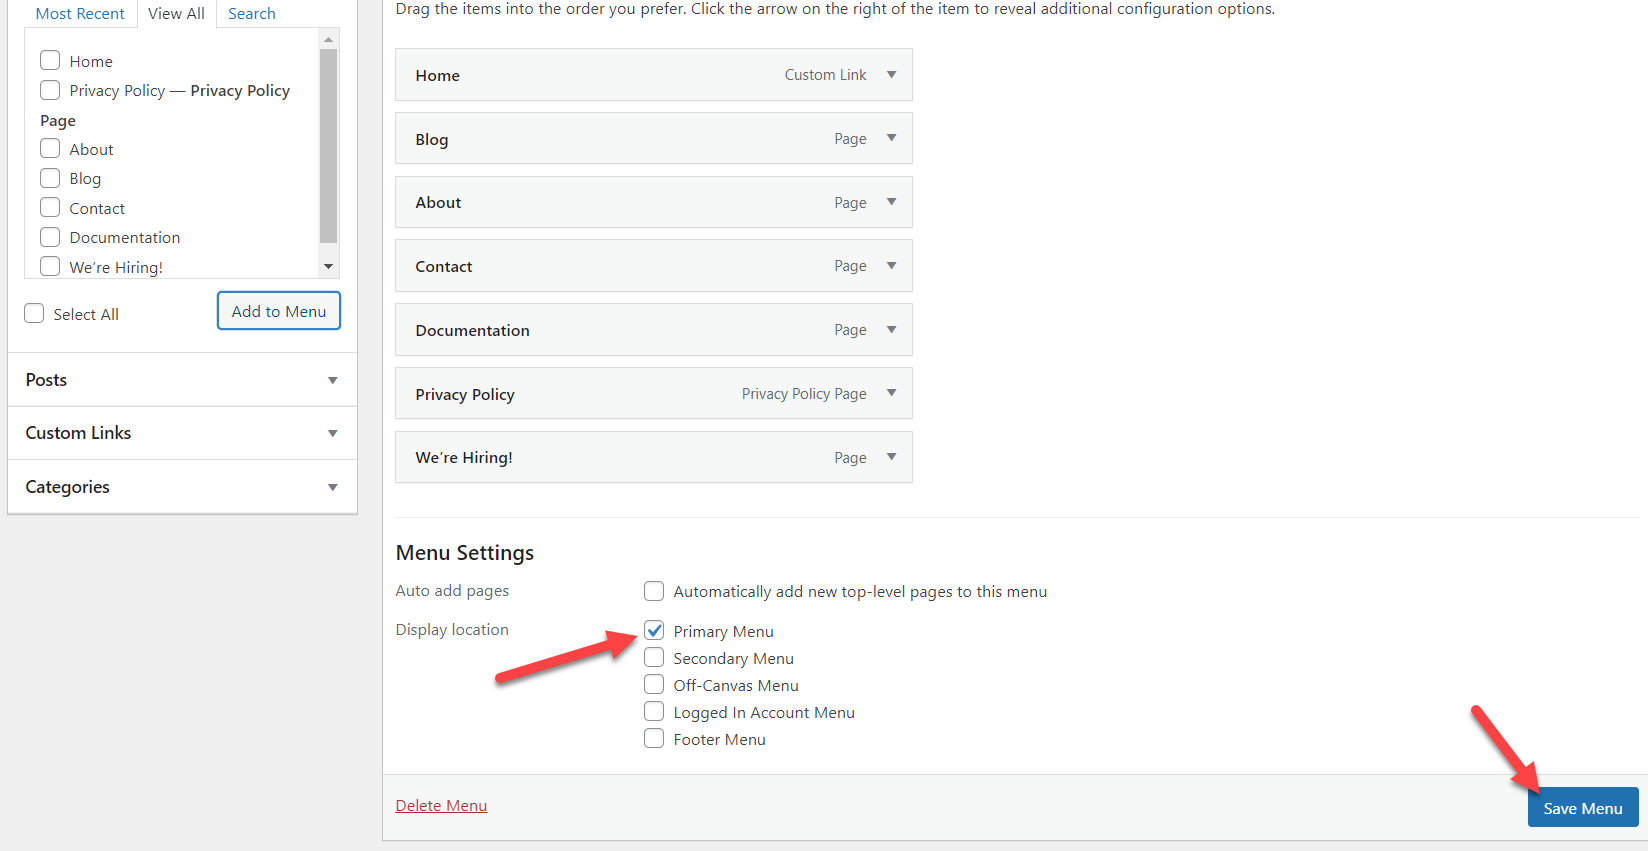
You can add all the pages to your menu, or select specific ones and add them manually. In our case, we will add all our pages.
Once you add the pages to your menu, you can rearrange the items. Simply drag the page you want to reorder and drop it in the position you want as shown below.
On our staging website, we are using the Astra WordPress theme which comes with five custom menu locations.
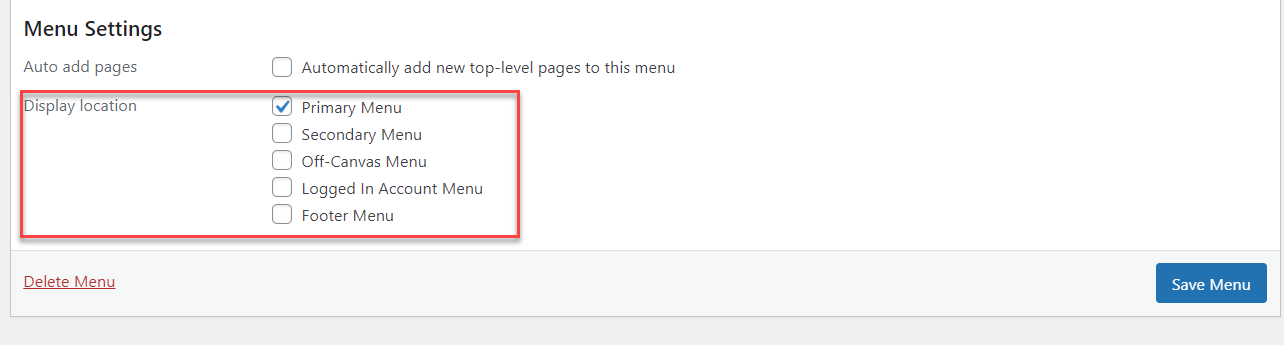
- Primary menu
- Secondary menu
- Off-canvas menu
- Logged in Account menu
- Footer menu
These options may be different depending on your active theme. In our case, we will use our menu in the primary menu location. Once you choose the location you want, save the changes.
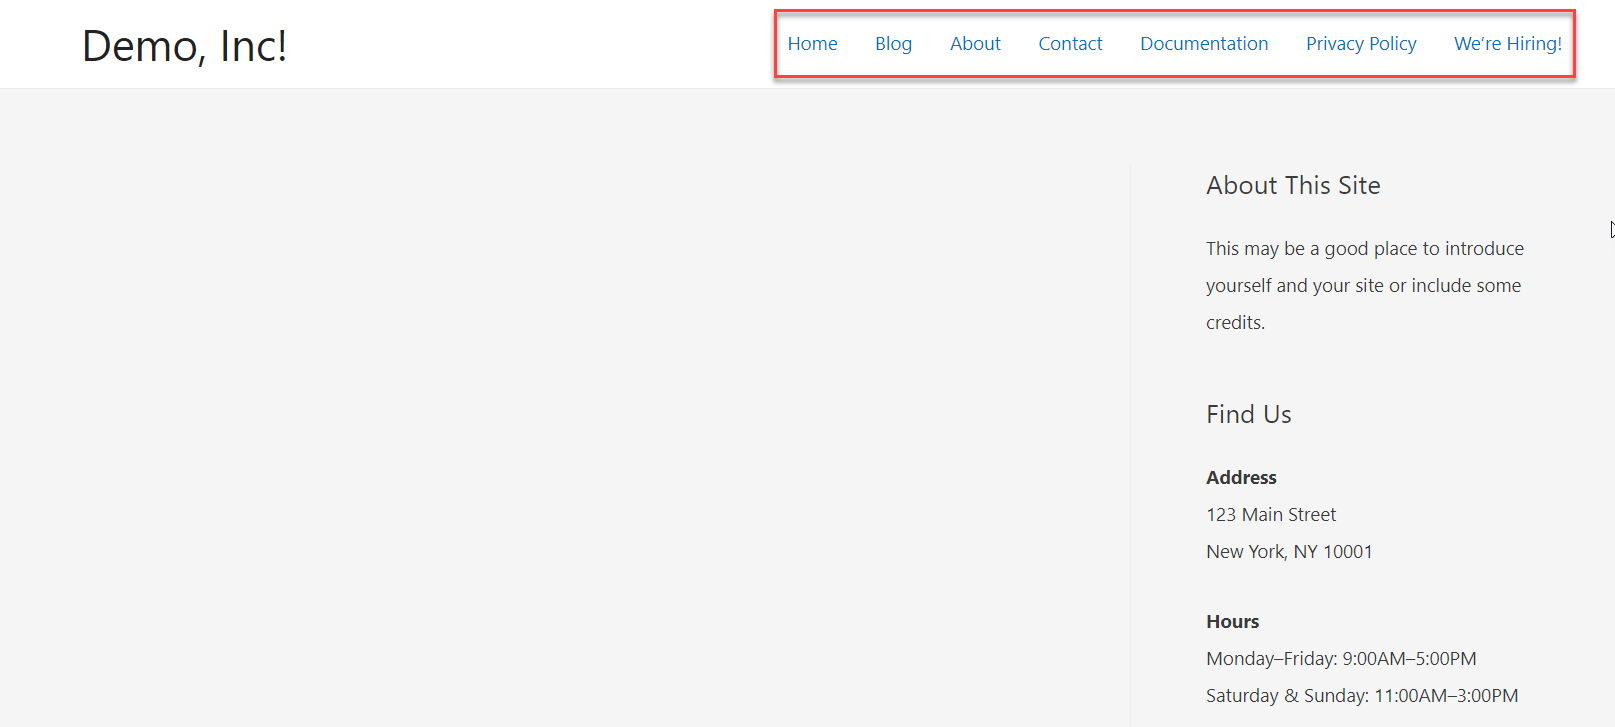
After that, check out your website from the frontend and you will see the menu in the header with all the pages we just added.
Now, let’s try something else. Instead of choosing the primary menu as the location, let’s place it in the footer. Go to the Menus section, select the footer location, and update the settings.
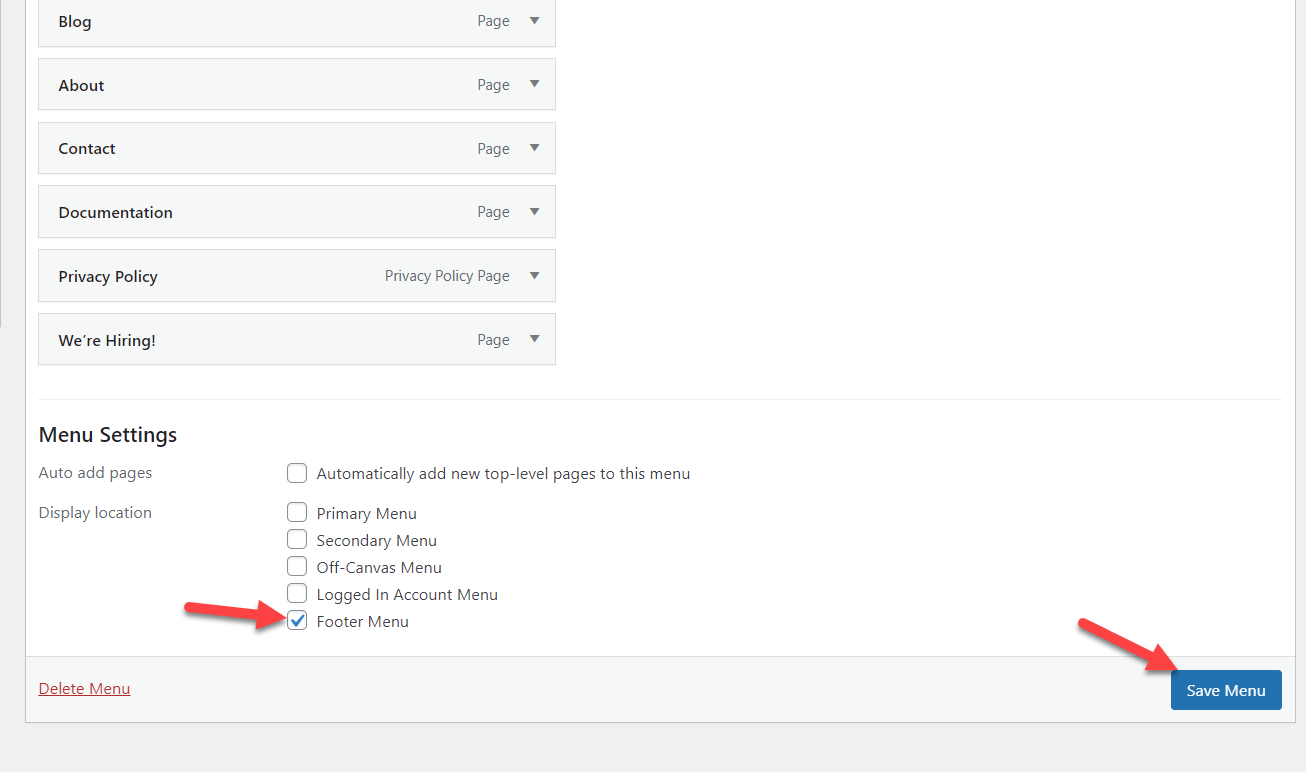
Now check the front end and you will see the menu in your website’s footer.
This way, you can easily add a page to the WordPress menu without any extra tool or plugin.
1.2) Using the WordPress Customizer
Another simple method to add a page to your menu is through the WordPress Customizer. The main advantage is that it has a live preview that lets you see the changes in real-time.
First, in your WordPress dashboard, go to Appearance > Customize to open the Customizer.
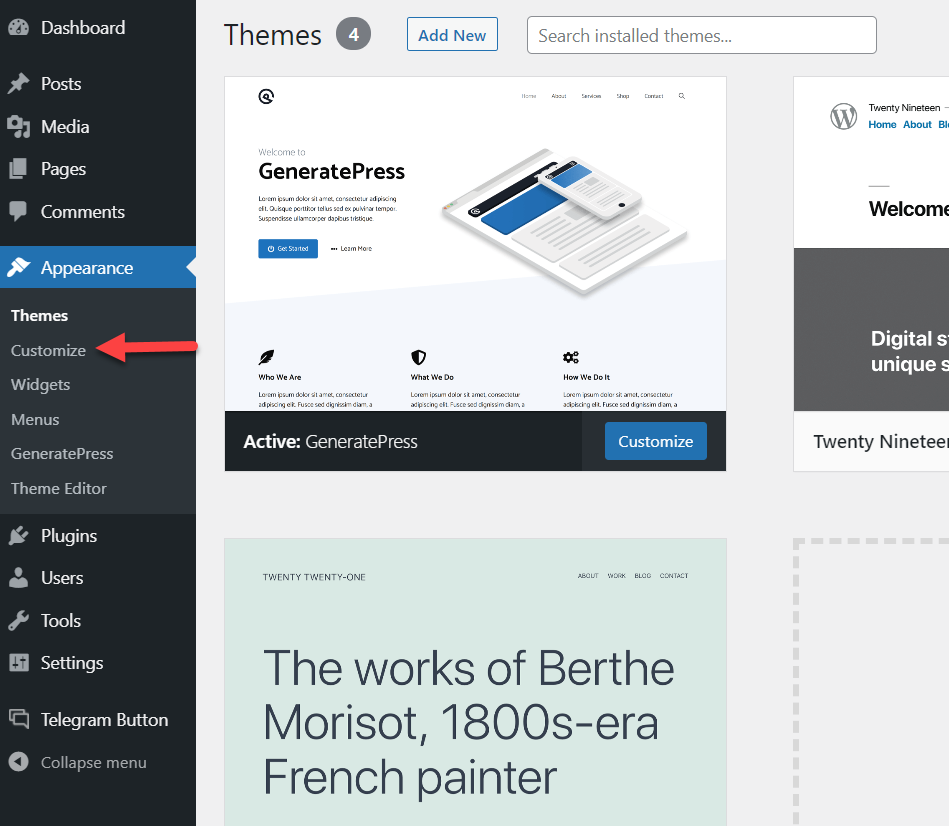
On the left side, you will see all the available customization options and on the right side, you will see the live preview of your website so you will be able to have a preview of every change before it goes live.
For this demo, we are using GeneratePress so that’s the theme it appears as active.
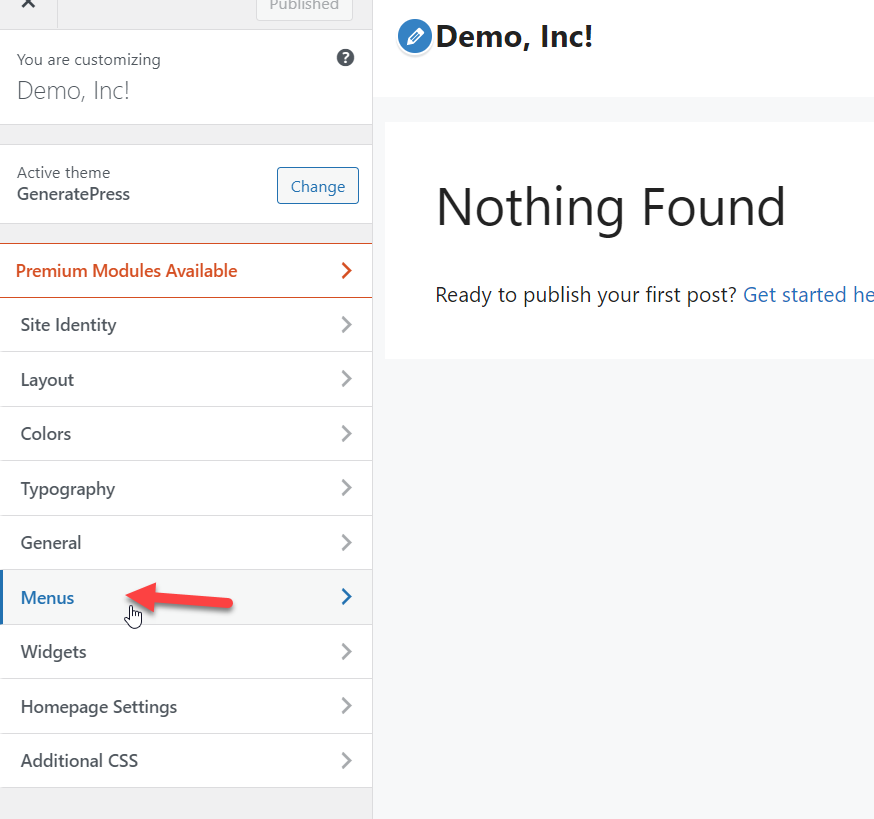
Now let’s go to the Menus section.
Then create a new menu.
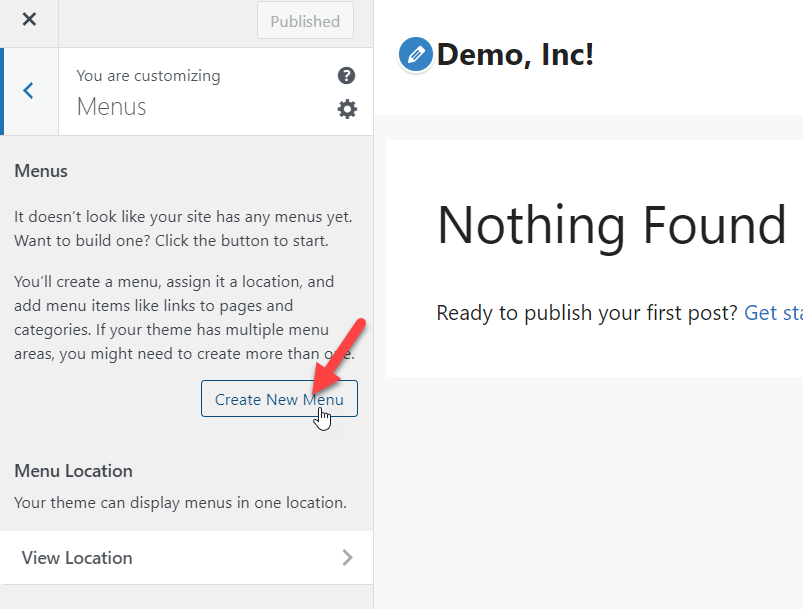
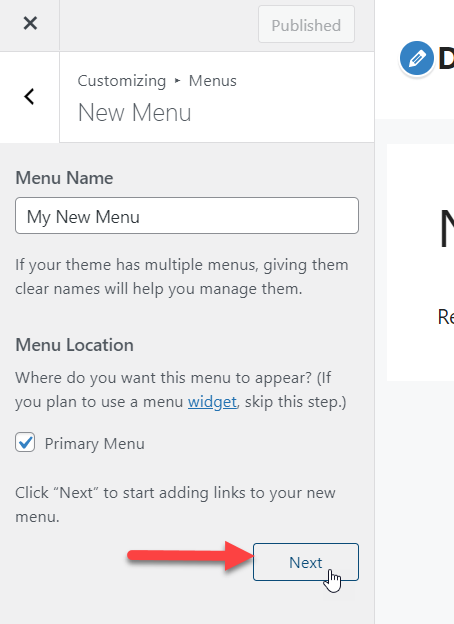
Name it, select a display location and go to the next step.
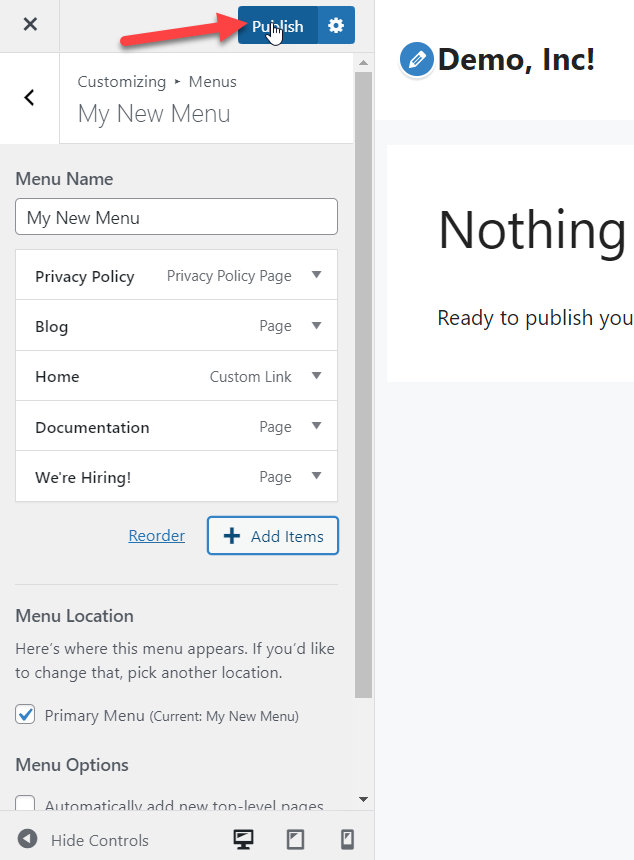
Now you have a menu on your WordPress site so you need to add pages to it by pressing Add Items.
After adding elements, you can rearrange them by simply dragging them to the right position.
Once you are done customizing the menu, publish the changes.
If you check your website from the frontend, you will see the updated header.

These are the two simple ways to add a page to your WordPress menu. As you can see, both methods are very simple and don’t require any extra plugin so you can have your new menu up and running in no time.
2) How to Rename an Item on a Menu
You have learned how we can add a page to the WordPress menu. That’s the first step. Now, let’s see how you can customize it and assign a custom name to each item.
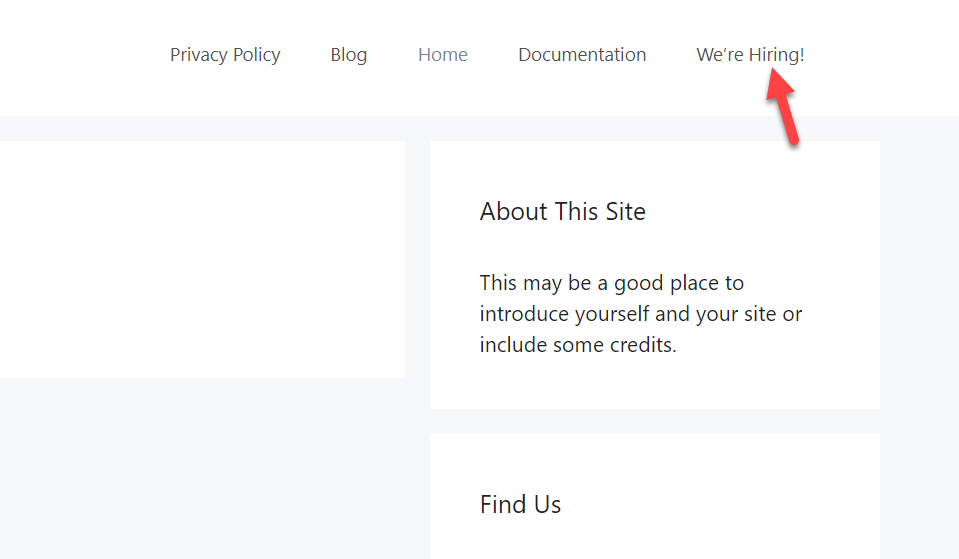
By default, WordPress will use your page’s title as the menu name. For example, our demo page title is: We’re Hiring!.

When we add this page to our menu, WordPress will use the same title for that element.
Even though this is a logical solution, sometimes, you may need to assign a custom name to your menus. For example, let’s say that you’ve written a detailed guide about how to start a blog and the page title is How To Start a WordPress and Manage It Like a Pro.
Using that very long name in your menu wouldn’t be a good idea because it is quite long. So you can optimize it by renaming it to something like Start a Blog. In this section, we are going to show you how you can do it step-by-step.
First, go to your Menus section and open the page you need to customize. For this demonstration, we will change the We’re hiring! page title.
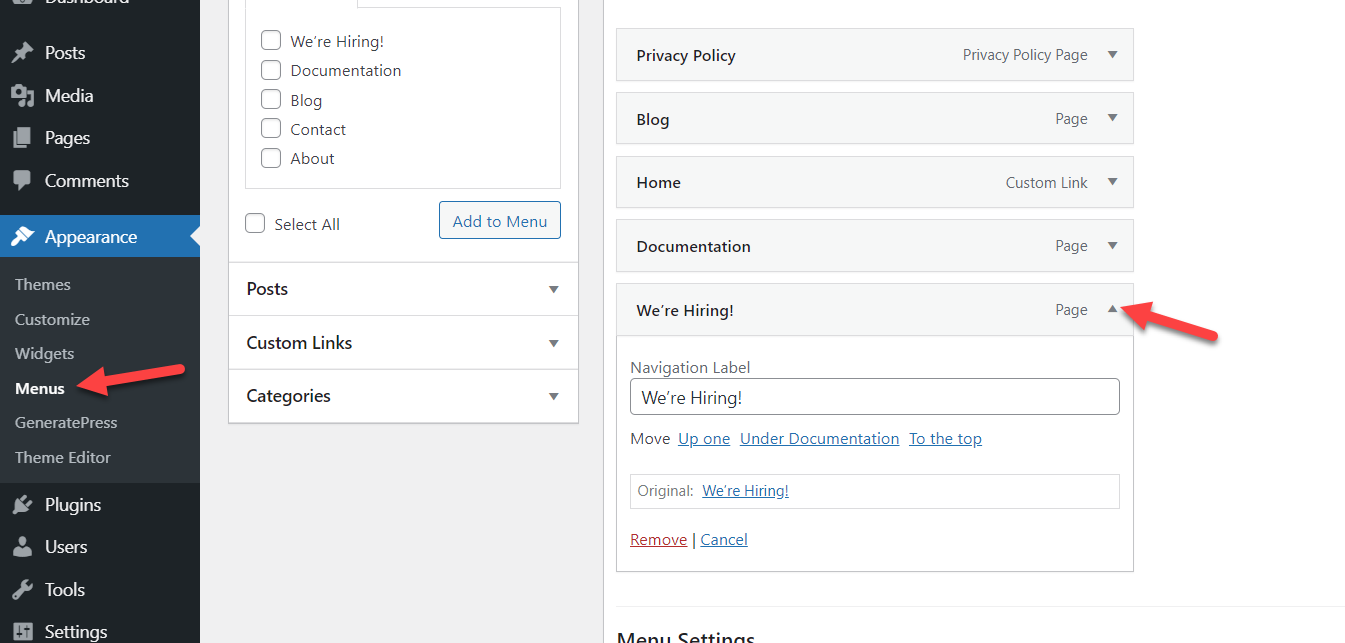
Go to the Navigation Label section and change the name to Careers. You’ll see how the name changes.

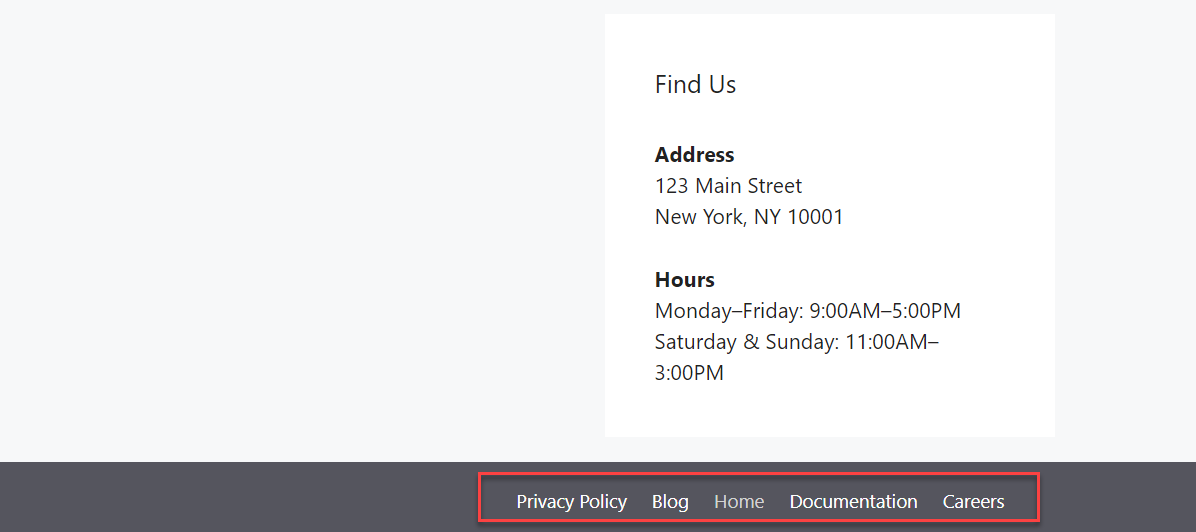
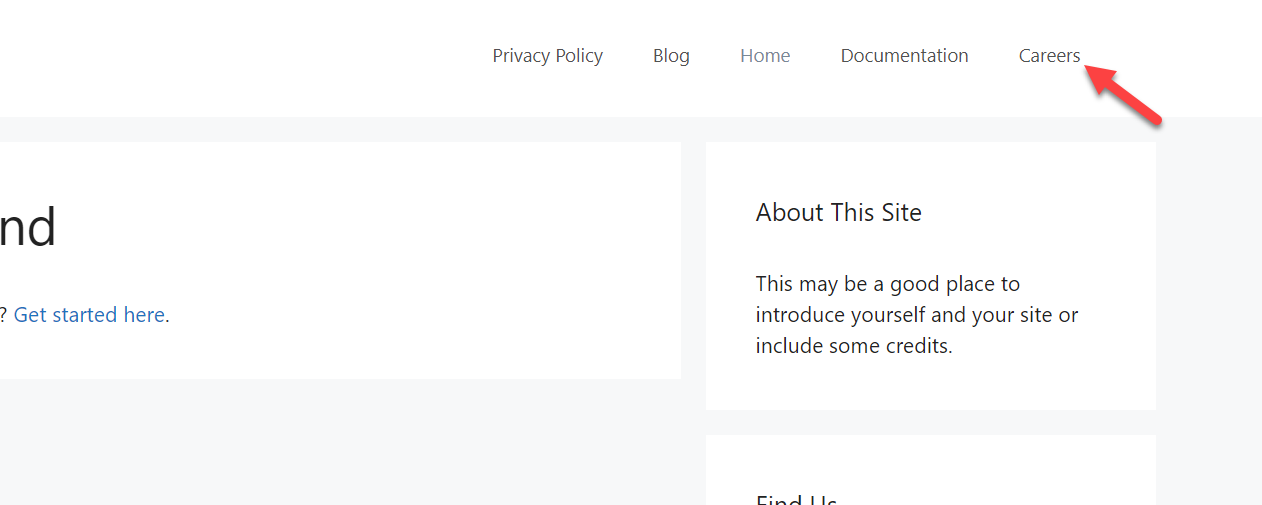
Then, save the menu and check your website from the frontend to see how the name has changed.
3) How to Add Categories to the Menu
To increase your archive page views and conversions, you may want to add categories to your WordPress menu. When you are running a big site with a lot of content, categorizing the posts and adding categories to your menu can help your visitors navigate your site. In this section, we will show you how to do it using two different methods.
- From WordPress
- With plugins
Let’s have a look at both options.
3.1) From WordPress
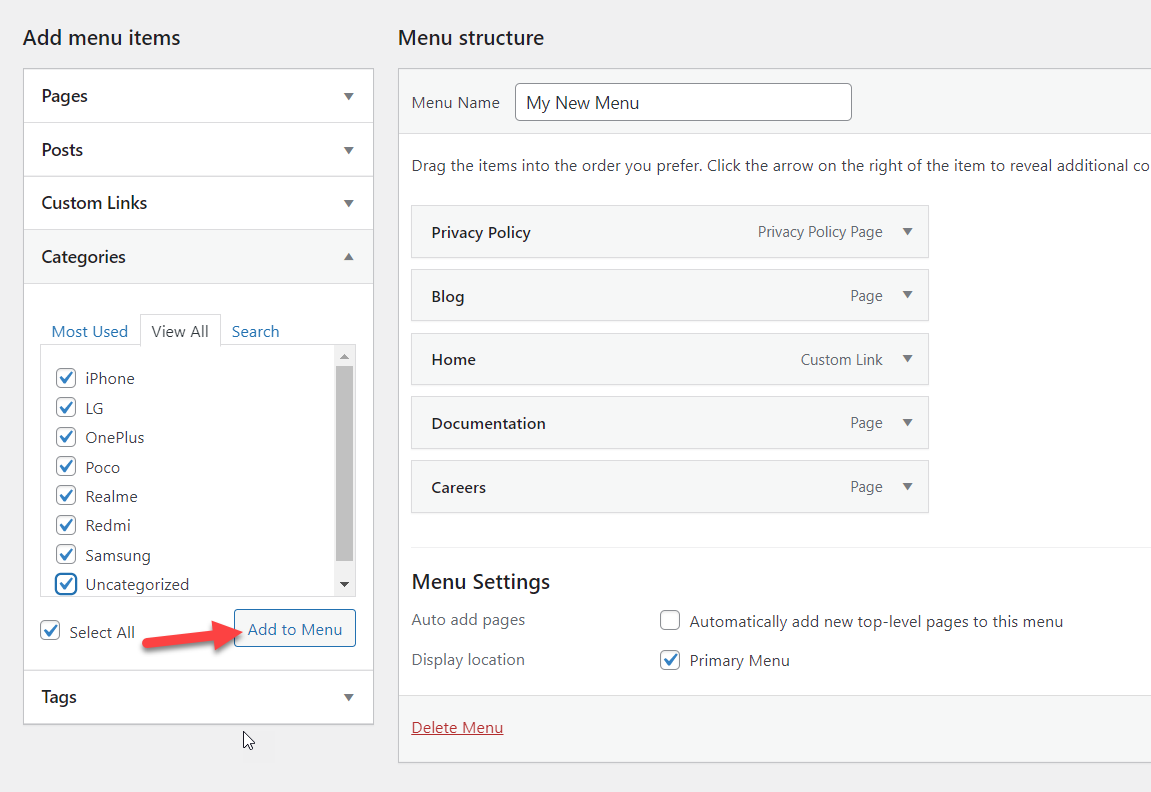
Once you have created enough categories, you can start adding them to your WordPress menu. To do that, in your dashboard, go to the Menus section and choose the menu you want to edit.
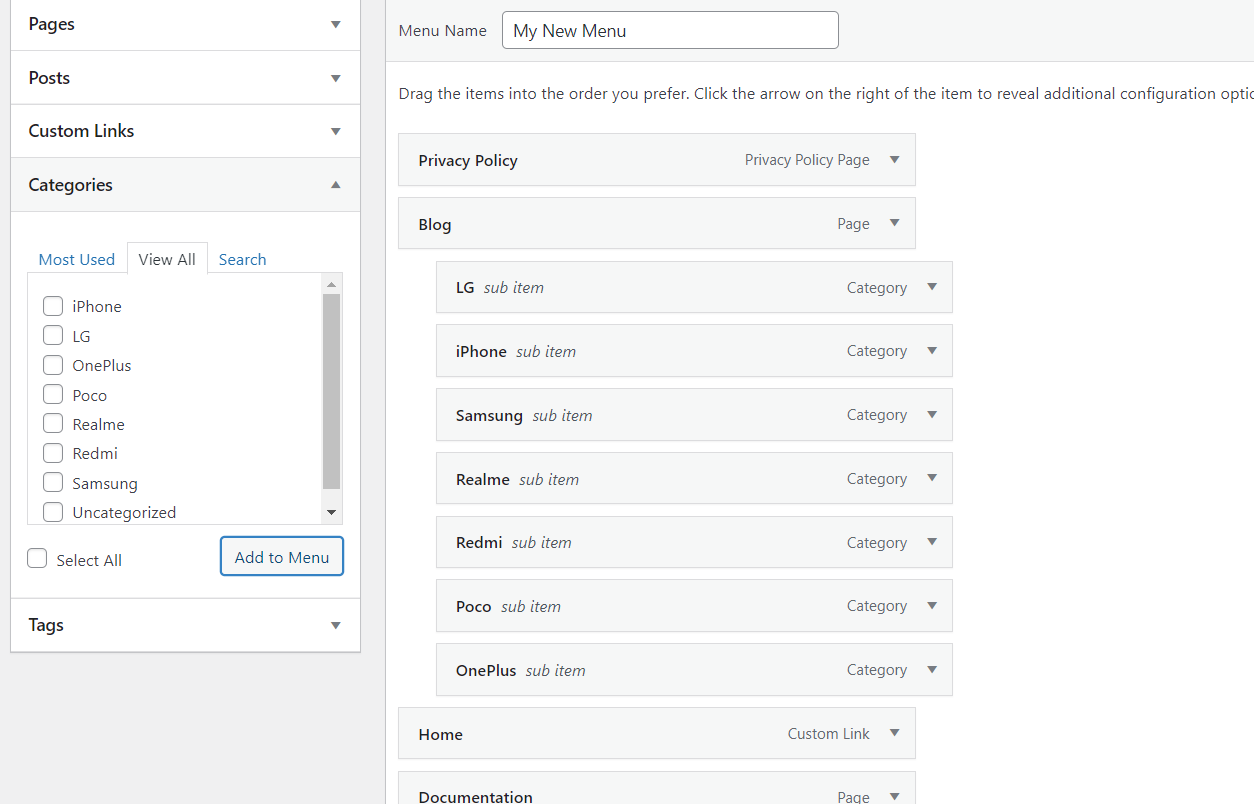
You can add all the categories to your list or choose specific ones. In our case, we will add all the categories to the menu and make it a dropdown.
By default, they will be added directly to the menu.
If you want to create a dropdown, assign the categories under a primary menu item. For example, set the categories under the Blog item and update the menu.
In the front end, you will see all the categories listed under the Blog item.
This is a great way to save space and improve navigation when there are a lot of categories on your site.
If you need more information about this, check out our guide on how to add WooCommerce product categories to the menu.
3.2) With Plugins
Another way to add pages and categories to the WordPress menu is to use a plugin. There are several tools out there but for this demonstration, we’ll use QuadMenu. It’s a freemium tool that comes with lots of features to organize your site and create mega menus regardless of the theme you use. The free version comes with basic features and the premium plans start at 15 USD (one-time payment) and include more advanced functionalities.
First, install QuadMenu on your website. Go to Plugins > Add New, look for the plugin, and install it.
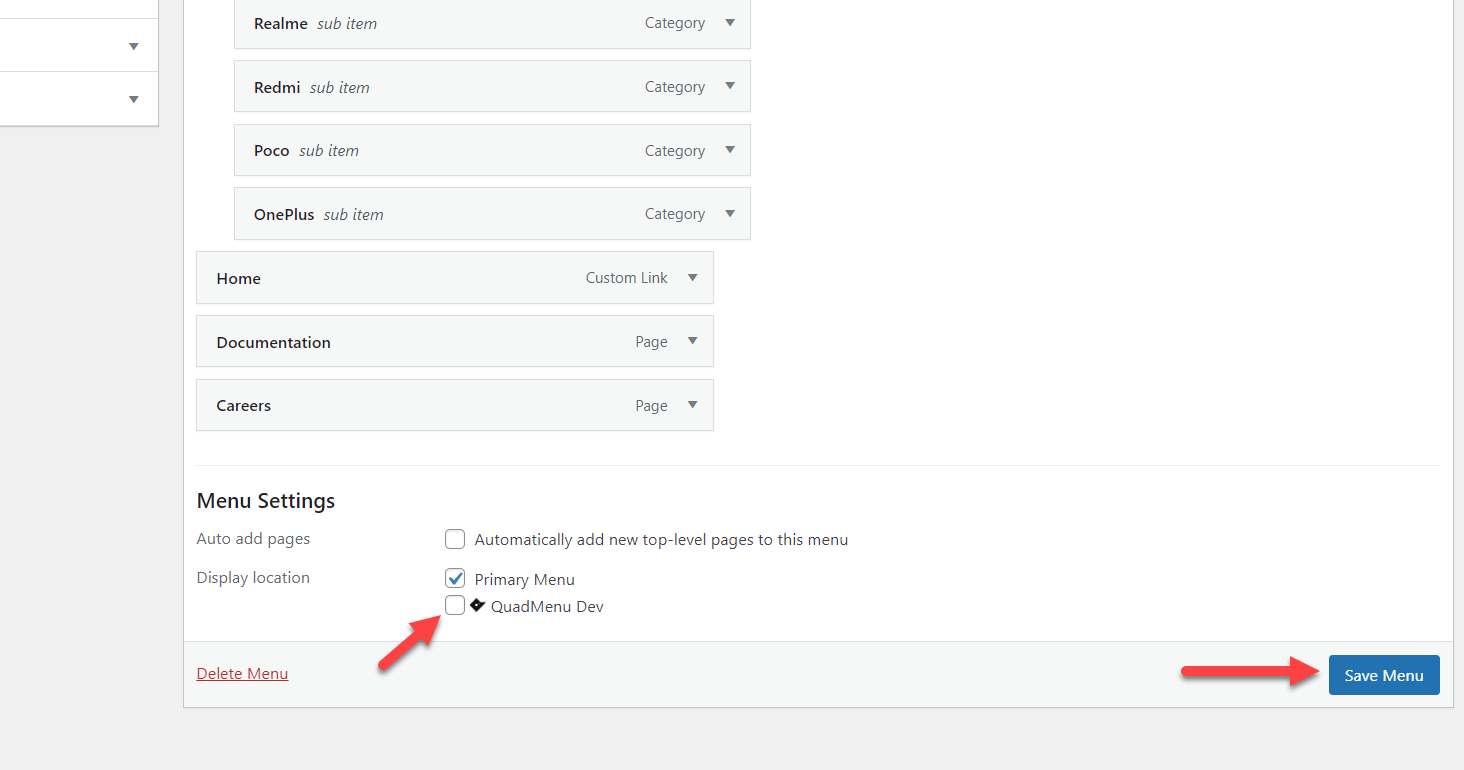
After activating it, you will be redirected to the settings page. Under the Menus section, you will see a new display location called QuadMenu Dev. Enable it and save your menu.
After that, you will see some extra options in your menu items when you hover over them.
You can use that option to change your menu items. For example, to customize the Careers menu item, press the QuadMenu button on it.
You will see three main customization options on the next page.
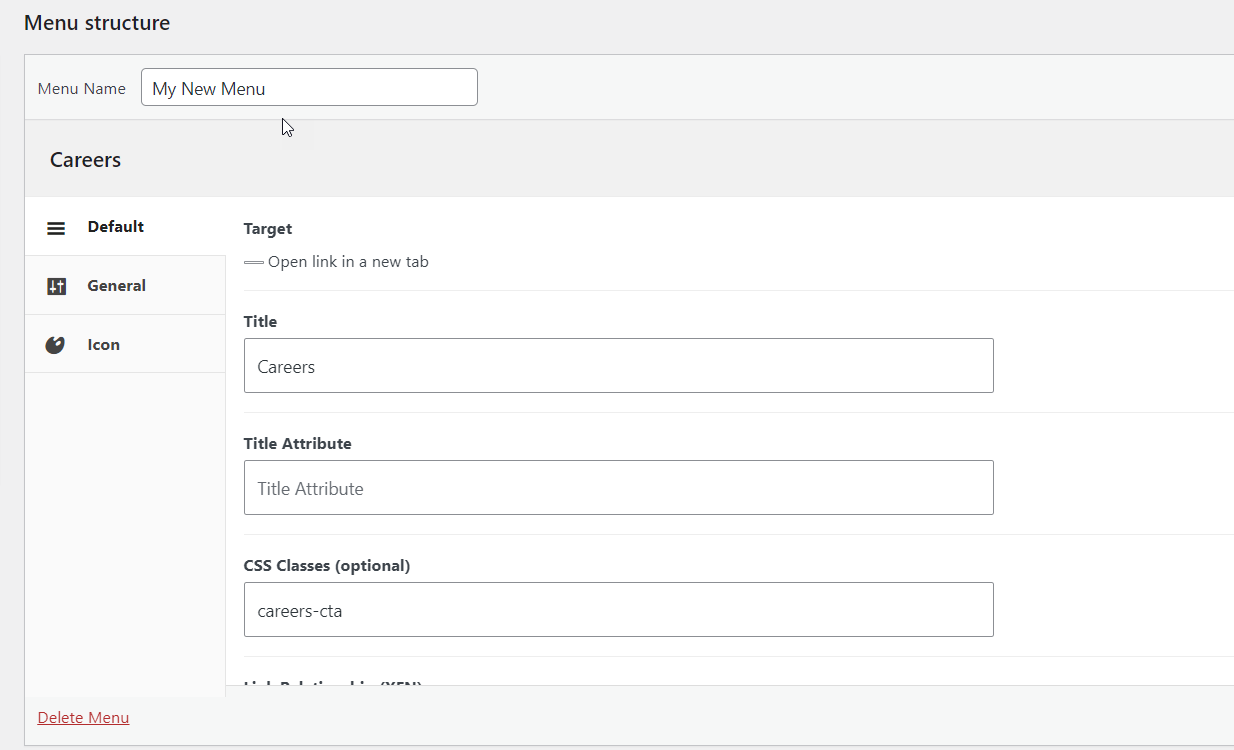
- Default
- General
- Icon
From the Default tab, you can choose the link title, a title attribute, CSS class, link relationship, and a menu description. From the General tab, you can select subtitle, badge, float, screen options, and dropdown float options. Finally, you can assign a custom icon to your menu item from the Icon tab.
With a powerful plugin like QuadMenu, you can take your WordPress menus to the next level. For more customization options, we recommend you have a look at the premium version.
4) How to Add Tags, Custom Post Types, and Custom Links to Menu
So far, we’ve seen how to add a page to the WordPress menu, as well as categories. But there’s more you can do. In this section, we will show you how you can add tags, custom post types, and custom links to your menu.
4.1) How To Add Tags
If you use tags to categorize content on your website, you can add them to your WordPress menu. For that, go to the Tags section under Posts in your WordPress dashboard. You will see all the tags you’ve created there and you will be able to create a new one.

Once you have created your tags, let’s see how to add them to the menu.
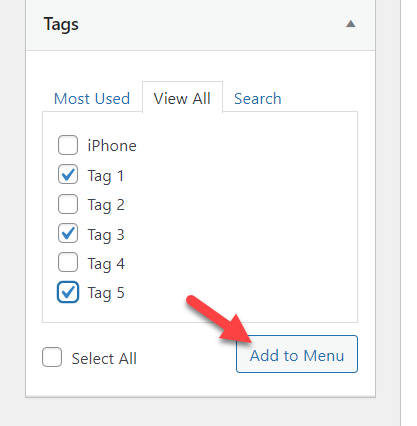
First, open the Menus section. You will see an option to view all the tags in the left section. You can either select all the tags or specific ones. If you have a big site, we don’t recommend selecting all the tags. You probably have hundreds of tags, so adding all of them to your menu won’t look good and won’t help users navigate your site. That’s why the best option is to only add the most important tags to your menu.
Simply select the ones you want to add and click Add to Menu.
Then update the menu and check your site to see the tags you’ve selected in the menu.

4.2) How To Add Custom Post Types (CPT)
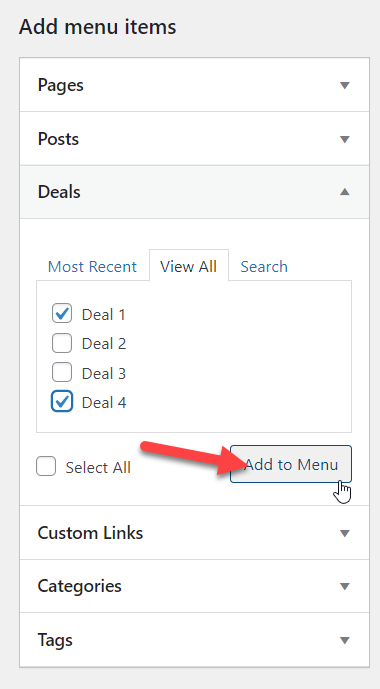
Some themes like Avada come with inbuilt custom post types, so you can add these post types to your menu. For example, on our site, we have a custom post type called Deals and we have four posts under it.

To add custom post types to your WordPress menu, go to the Menus section, and you will see a newly registered menu item there. Select the custom posts you want to add and click on the Add to Menu button.
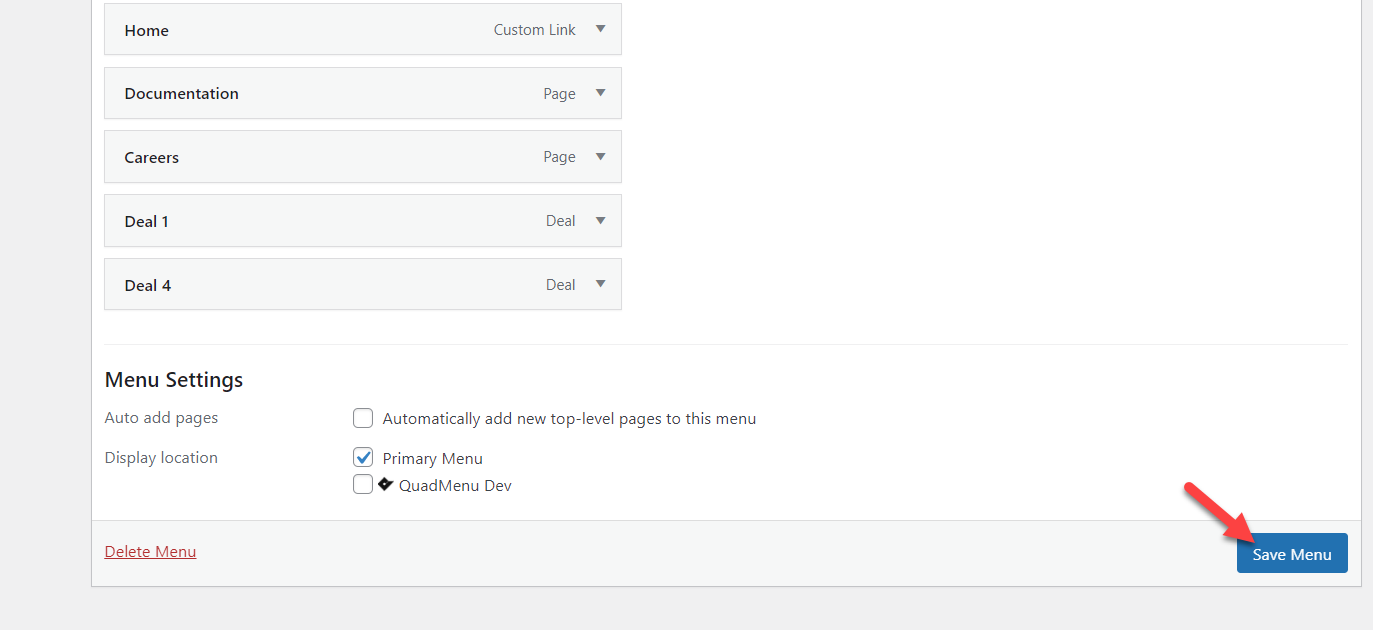
Then, you will see those post types in your menu. Once you’re happy with the order and the organization, press Save Menu.
Finally, check your menu from the front end and you will see the custom posts there.
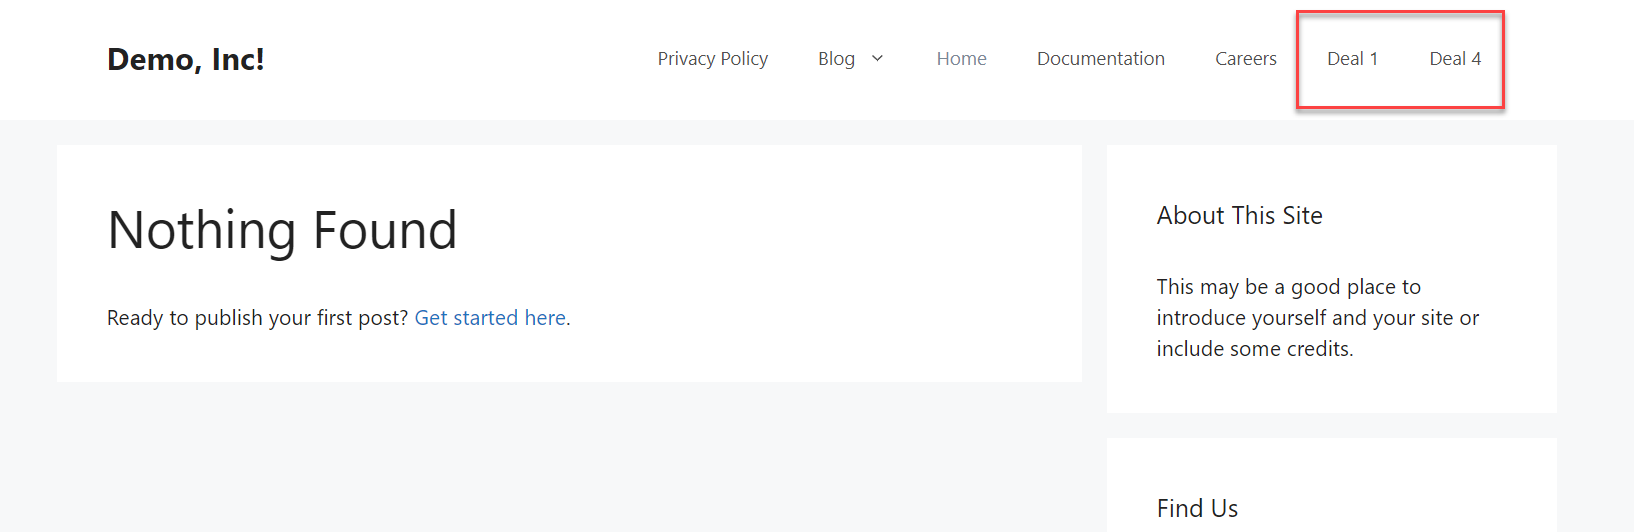
This way, you can add custom post types to your WordPress menu. If you have multiple custom post types registered, you will see all of them inside your menu section.
NOTE: If you do not have any CPTs registered, you won’t see this option. However, if you need to create a CPT for your website, check out the free plugin called Custom Post Type UI.
4.3) How To Add Custom Links
Finally, you can also add custom links to your menu. Following this simple method, you can include links to your content in a couple of clicks.
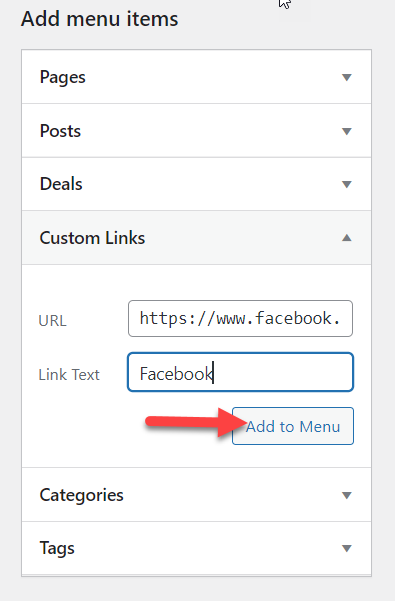
In your WordPress dashboard, go to the Menus section and on the left-hand side, you will see an option called Custom Links.

Once you open it, you will see the option to add your URL and link text.
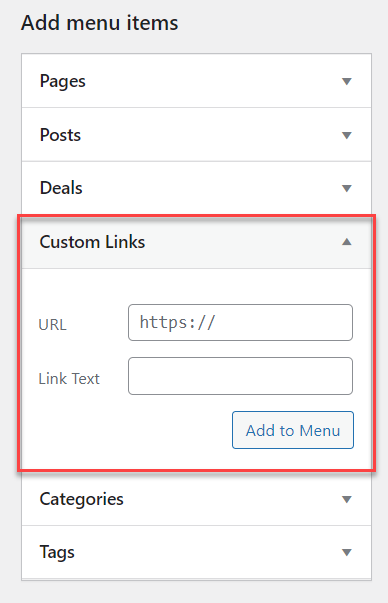
Simply complete the fields and add the item to the menu. For example, for this demonstration, we will add a link to our Facebook page.
After saving the changes, check your site from the front end and you will see the new link to your Facebook page on the menu.

This way, you can add any external or internal link to your menu to help users navigate your site.
Bonus: How To Style Specific Menu Items
We have already seen how to add and customize pages, categories, and other elements to your WordPress menu. But there’s more you can do. In some cases, you may want users to focus on a specific menu item. In this section, you will learn how to add custom CSS to a menu item and highlight it using a bit of CSS to change the colors.
First, in your WordPress dashboard, go to Appearance > Customize > Menus section and select Screen Options. There, you need to enable the CSS Classes property.

After that, when you expand your menu items, you will see the new CSS Classes property.
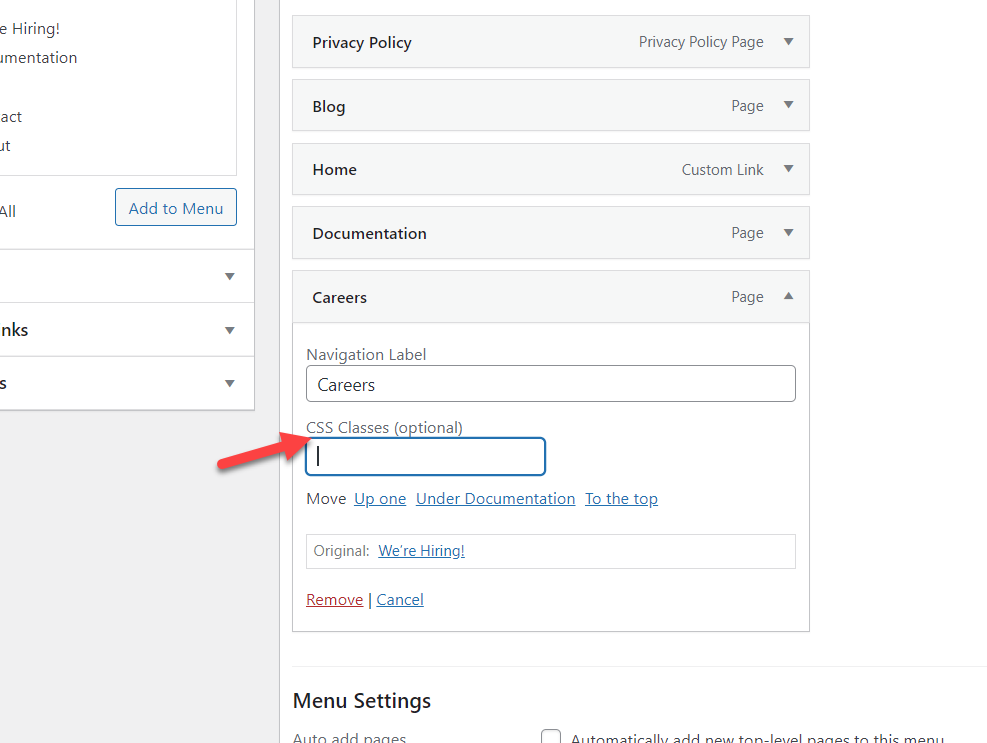
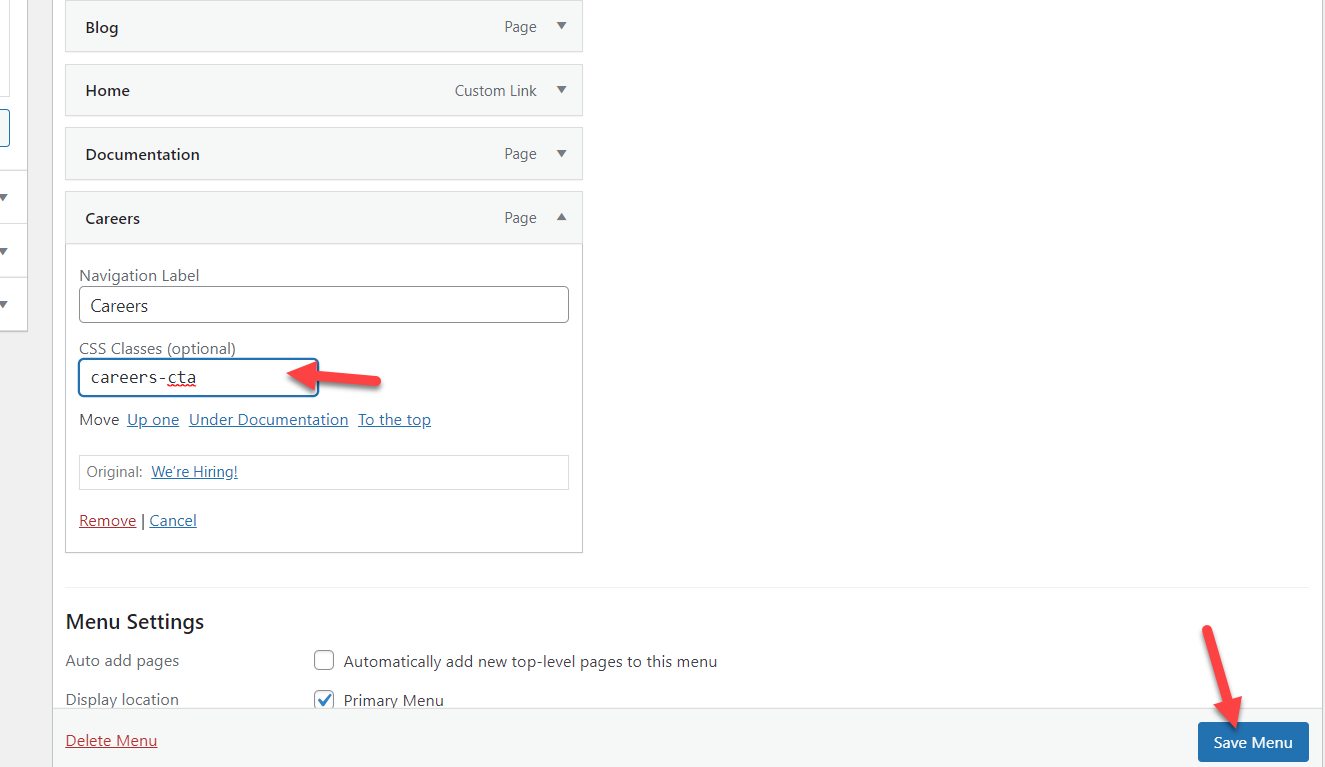
For this example, we are going to set our menu CSS class as careers-cta and save the menu.
Apart from mentioning the CSS class, we can add CSS code to highlight that specific menu item. To do that, go to WordPress Customizer > Additional CSS section and add your code. On the other hand, if you use themes like Divi or Avada, there’s a custom section to include additional CSS.
For this demo, we will add CSS code through the Customizer. It includes a live preview so it makes the process easy.

Here the fun part begins. Paste your CSS code in the Additional CSS section. A sample code you can use is:
.careers-cta{
background-color: pink;
border-radius: 15px;
}
After that, you will see the live preview screen changes.

That’s just a sample code so we encourage you to play around with it and adapt it to your needs.
Conclusion
All in all, menus are an important part of any website. They display important information and help users navigate the site which creates a better experience. Menus are usually on top of the pages and they’re the first thing users see when they land on the site. That’s why you should customize them and make sure they are well-designed.
In this guide, we’ve shown you how to add a page to the WordPress menu and make the most of it using two different methods.
- With WordPress Menus
- From the Customizer
Using the WordPress Menus section is a straightforward way to create menus on your site. However, the Customizer includes a live preview that allows you to see the changes in real time before going live which is a plus.
On top of that, we’ve seen how to rename menu items, how to add categories, tags, custom post types, and custom links. On top of that, we’ve seen how to style certain items to draw attention to them.
For more information on how to improve your menus, check out the following tutorials:
Have you customized your menus recently? What did you change? Let us know in the comments section below.
