
How to Change Footer in Storefront – 3 Easy Methods
Do you want to know how to change the footer in the StoreFront theme? This post is for you. In this guide, we’ll show you 2 different ways to do it.
An introduction to Storefront
Storefront is one of the best WooCommerce themes and it is widely used in eCommerce stores. This theme was developed by Automattic and is available both in the WordPress.org repository and the official WooCommerce website.
It’s also a very flexible theme that allows you to easily customize any part of your site. We’ve already seen how to edit the header and how to customize the footer in WordPress, so today we’ll have a look at how to change the footer of your website using Storefront. But before we see how to do that, let’s look at why you might want to customize your store’s footer.
Why Change your WordPress Site’s Footer?
Even though site admins focus mainly on the header, the footer is also an essential area of any website. You can add important details about your website and its services, remove or add things like links to policies, contact information, social media, and more. You can also add links to the other products, services, and websites you own or are related to.
Additionally, most themes include several footer widgets that you can use to make the most of the footer. For example, the Storefront theme comes with 4 different widget columns that you can use to add widgets such as a search bar, social media icons, or just general paragraphs or texts.
On top of that, if you want to do Google Search Console or Google AdSense verification, or Google Analytics integration but don’t want to do it via the header, you can include the codes in the footer.
In summary, all the information on the footer can help your visitors get to know more about you and your services, and increase engagement. To make it as effective as possible, you should customize it both in terms of content and design. Let’s see how to do that.
How to Change the Footer in Storefront
There are 3 different ways to easily change the footer in the Storefront theme:
- From the WordPress Dashboard
- With a plugin
- Programmatically
Let’s have a look at these methods.
1. Change the Footer in Storefront from WordPress Dashboard
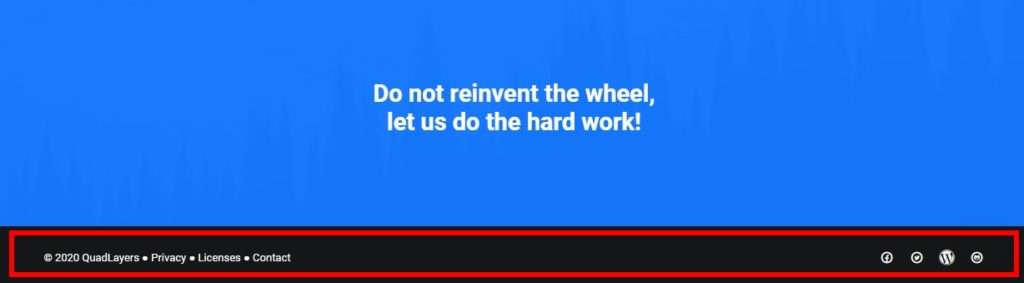
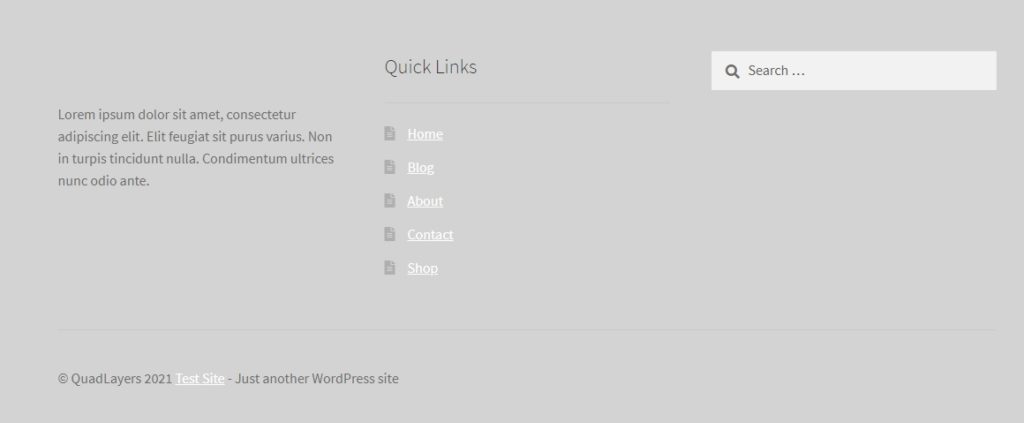
After you have installed the Storefront theme, your default footer will look like the image given below.

But, the WordPress dashboard allows you to add or edit most elements of your website’s footer. You can even edit the footer from various dashboard menus such as widgets, theme customizer, and theme editor and change the color, widgets, or any other information.
Let’s see how to do each of these things step-by-step.
1.1. Change the Footer Colors in Storefront
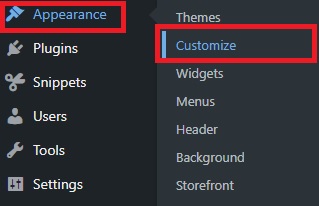
To change the footer in Storefront using a live customizer, go to Appearance > Customize. You will be redirected to the WordPress live customizer.
Here, you can customize nearly everything about your website’s appearance. For example, you can edit the site identity, header, footer, background, and widgets. Any changes you make will be shown in real-time with the live preview on the right side of your screen.
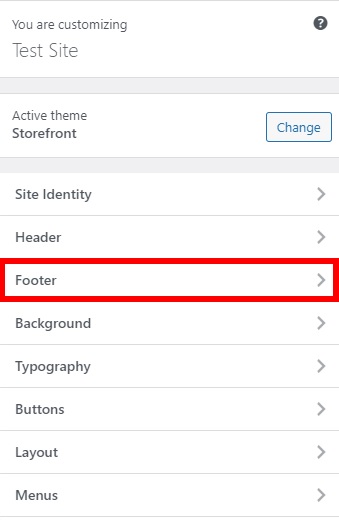
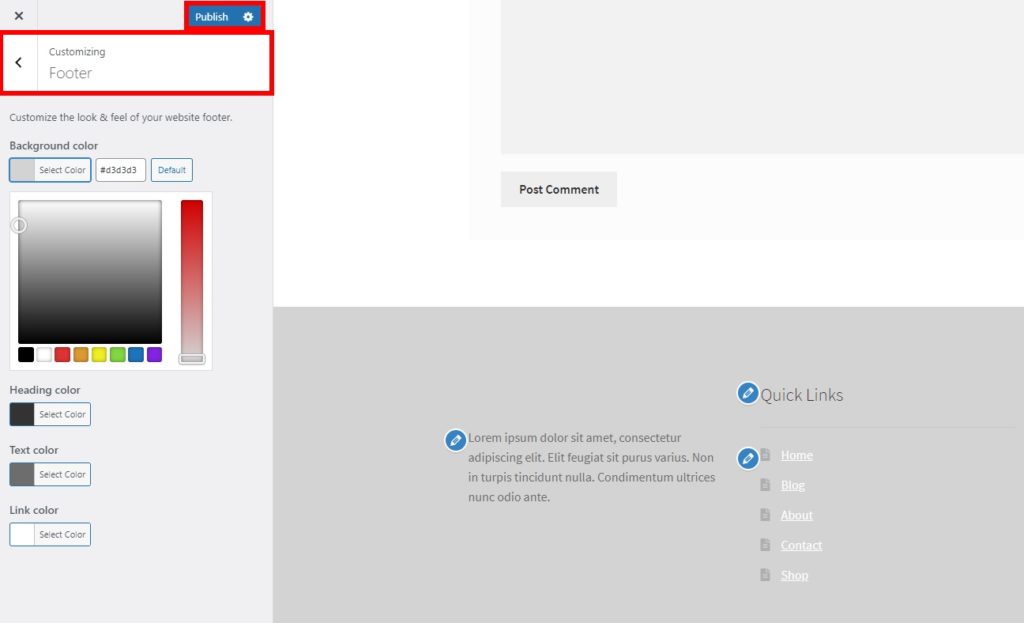
Since we will be customizing the footer, select the Footer option. You will see various color options that you can change for the footer and they include colors for the background, heading, text, and link.
From here you can test different background, heading, and text colors to find the best combination for your footer. Additionally, if you have links in the footer, you can play around with the link colors.
All in all, make sure that your footer is noticeable and matches the overall style of your website’s design using the live preview. Once you’re happy with the changes, click Publish to make the changes live.
1.2. Change the Footer Widgets in Storefront
Apart from changing the color, you can customize the footer widgets. In Storefront, you can do so from 2 different sub-menus. You can either open the Widgets tab from Appearance > Customize or go to Appearance > Widgets.
Both interfaces will enable you to edit the footer widgets, but we recommend you use the theme customizer as it provides you with a live preview of the changes. This way, you can see the changes in real-time and save a lot of time while editing your footer.
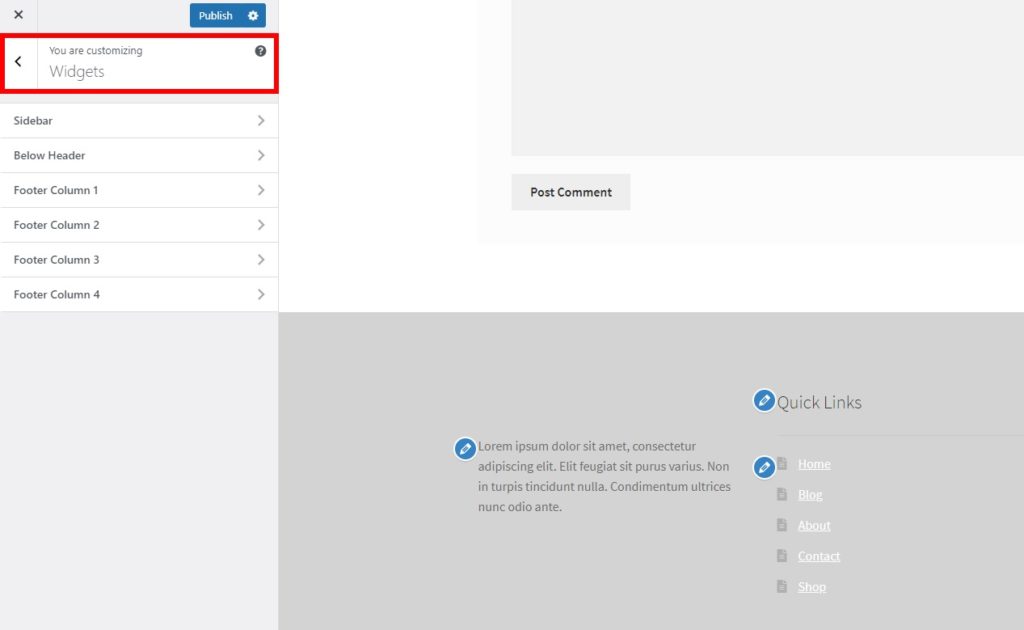
Regardless of the option you choose, you will be able to see all the available widget areas under Widgets. Storefront has 4 footer columns for your website and allows you to add a variety of widgets.
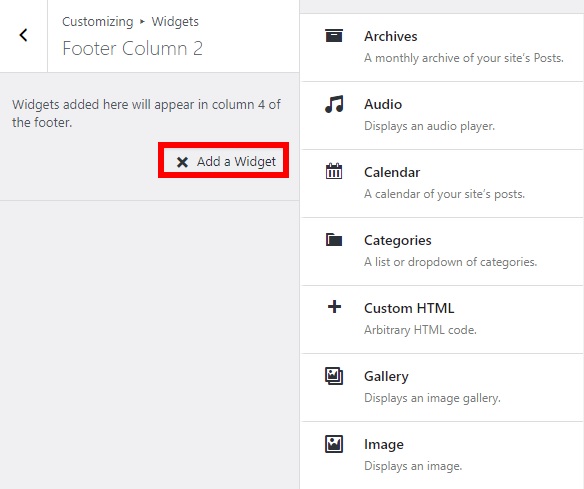
Simply select the column you want to edit and click Add a Widget. There are lots of widgets to select from such as archives, audio, image, text, search, and so on.
After choosing a widget, you will have to edit a few more details depending on the one you select. Once you do that, click Done and then Publish to apply the changes to your footer widget.
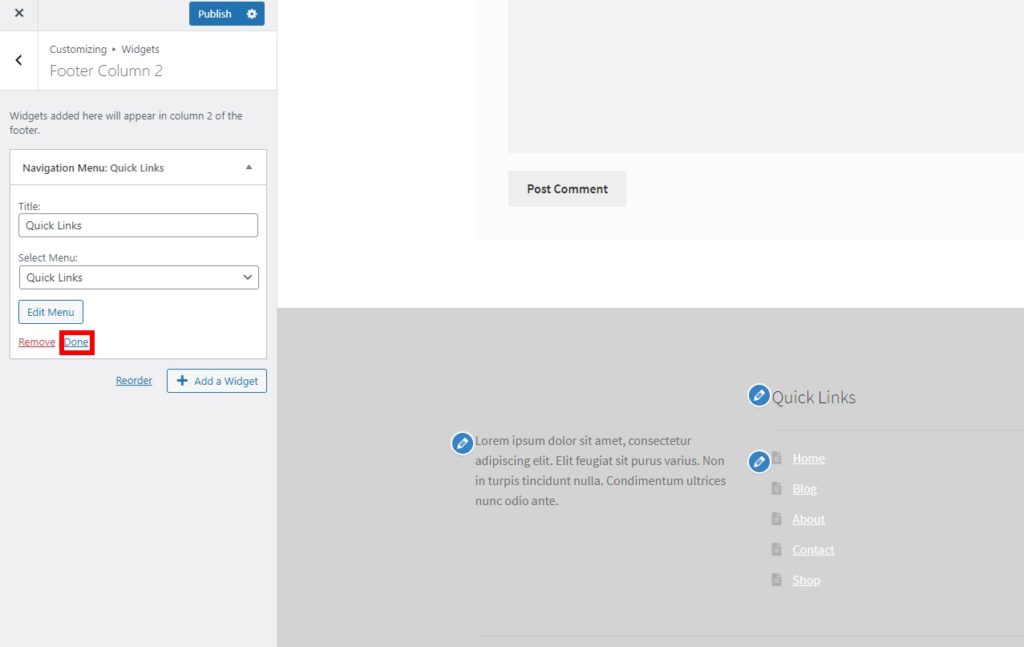
After that, you can either add another widget to the same footer column or to a different one. It’s worth noting that you can include multiple widgets in one footer column as well as in multiple footer columns. For example, for this tutorial, we have added a short description, a navigation menu, and a search box on the footer.

1.3. Change the Footer in Storefront using the Theme Editor
Even though you can edit almost everything from the theme customizer and widgets, you might need to use the theme editor if you want to customize the copyright text on your footer. For that, you’ll have to add a simple code snippet of a custom function.
Before you make any changes, make sure that you create a child theme and backup your WordPress website to edit these files. These files store critical information about your website, so if you make a mistake, you may break your website.
Once you’ve done that, go to Appearance > Theme Editor, open the tab for the functions.php file and paste the following snippet.
add_action( 'init', 'custom_remove_footer_credit', 10 );
function custom_remove_footer_credit () {
    remove_action( 'storefront_footer', 'storefront_credit', 20 );
    add_action( 'storefront_footer', 'custom_storefront_credit', 20 );
}
function custom_storefront_credit() {
?>
<div class=”site-info”>
© Quadlayers<?php echo get_bloginfo( ‘name’ ) . ‘ ‘ . get_the_date( ‘Y’ ); ?>
</div><!– .site-info –>
<?php
}
This will remove the default footer text “Built with Storefront” and add your own website details. You can take this code as a base and adjust it to display your website details.
2. Change the Footer in Storefront using a Plugin
If you want to save the time and additional work of editing the footer in Storefront, you can just use a dedicated plugin.
You probably know that Storefront is compatible with a wide range of WordPress plugins. But that’s not all. There are plugins specifically designed to customize various areas in the Storefront theme. One of the best plugins is Change Storefront Footer Copyright Text. As its name suggests, this tool allows you to edit the copyright text in Storefront’s footer.
To use this plugin, you need to install and activate it, so first go to Plugins > Add New and search for it. Then, click Install Now and then Activate. If you have any issues, have a look at our guide that explains how to install WordPress plugins manually.
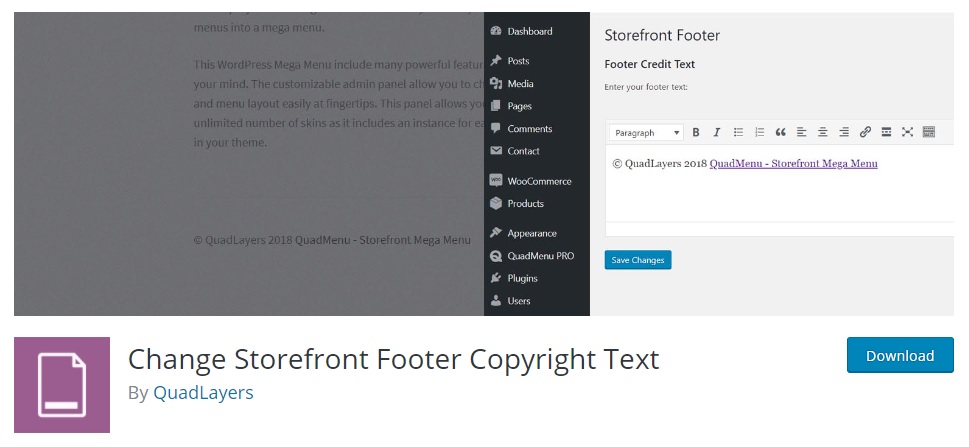
Then, go to Settings > Storefront Footer and you’ll have the option to add any text or links to the copyright footer with the help of the text editor. Furthermore, you can change the font options or alignments using the visual text editor or write a bit of code in the preformatted text view.
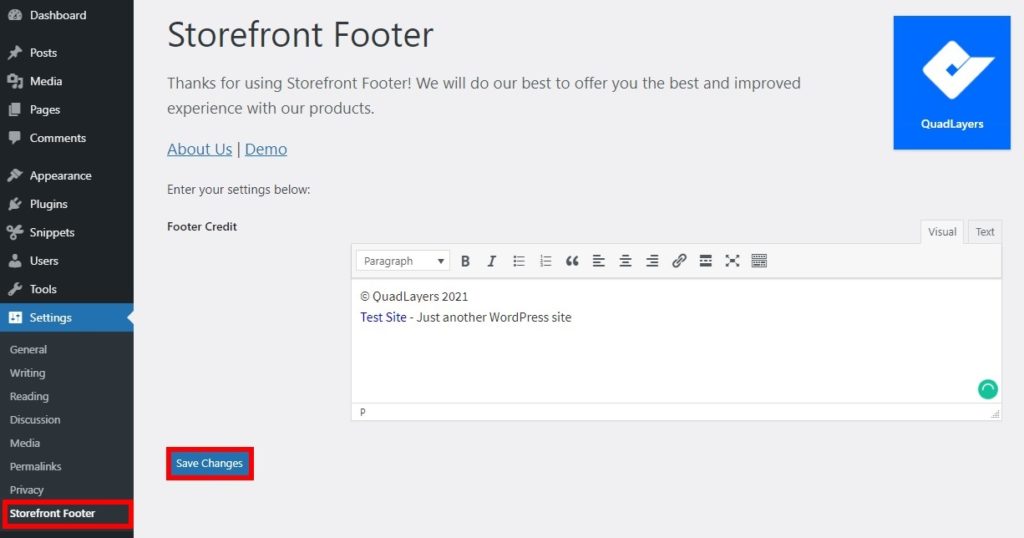
After you have added all the information you want, save the changes. Then check your site from the frontend to have a look at the changes.
3. Change the Footer in Storefront Programmatically
If you know how to code, there are many things you can do to change and customize the footer in Storefront. In this section, we’ll show you a few examples of some things you can try on your site.
NOTE: As we’ll edit a core file, before starting we recommend you do a full backup of your site and use a child theme. If you don’t know how you can either learn to create one or use any of these plugins.
3.1. Remove Storefront credits
To completely remove the Storefront credits from the footer, simply add the following snippet at the end of your child theme’s functions.php file.
add_action( 'wp', ‘ql_remove_credits_storefront' );
function  ql_remove_credits_storefront() {
   remove_action( 'storefront_footer', 'storefront_credit', 20 );
}
3.2. Customize copyright text
Now let’s say you want to edit the footer’s copyright text. For that, we’ll create a new string of text that says Copyright + year + by QuadLayers as follows:
add_filter( 'storefront_copyright_text', 'ql_customize_storefront_footer_copyright_text' );
function  ql_customize_storefront_footer_copyright_text() {
   $text = 'Copyright' date( 'Y' ) . ' by QuadLayers';
   return $text;
}
There are many other things you can do to customize the copyright text. Take this script as a base and customize it according to your needs.
Bonus: Add Instagram Feed in the Footer
We have already mentioned that Storefront is one of the best WooCommerce themes, so it is highly possible that you have an eCommerce store if you are going through this tutorial. If that’s your case, it can be helpful to add some social media options to your footer.
There are many social media plugins that you can use to make the most of these platforms. In this section, we’ll show you how to change the footer in Storefront by adding an Instagram feed. This way, you can make your Instagram feed more visible so visitors can view it and visit your Instagram directly from your site.
How to Add Instagram Feed in the Footer
The simplest way to add an Instagram feed to the footer is by using a plugin. For this demo, we will use Social Gallery Feed (formerly known as Instagram Gallery Feed). This is a freemium plugin that has a free version with basic features and 3 premium plans that start at 19 USD (one-time payment).

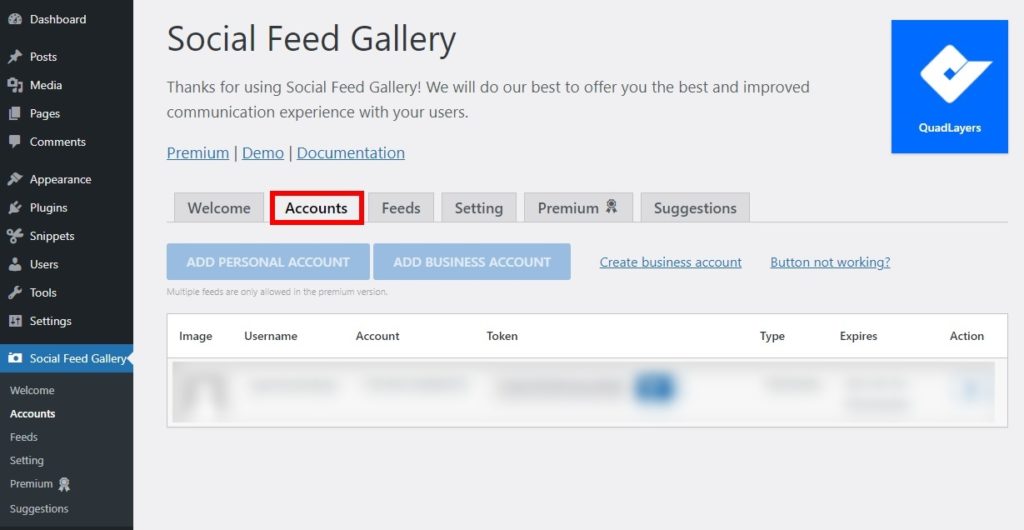
First, you need to install and activate the plugin on your WordPress website. Then, go to the Social Feed Gallery menu on your WordPress dashboard and open the Accounts tab.
Here, you need to add your Instagram account. You can either add a personal account or a business account.
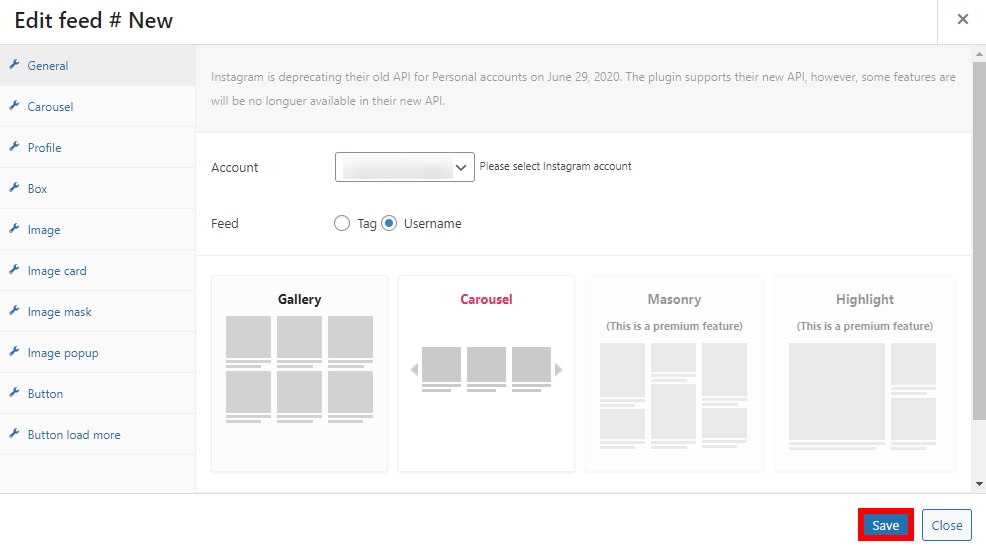
After that, go to the Feeds tab and click on +Feed to create an Instagram feed.
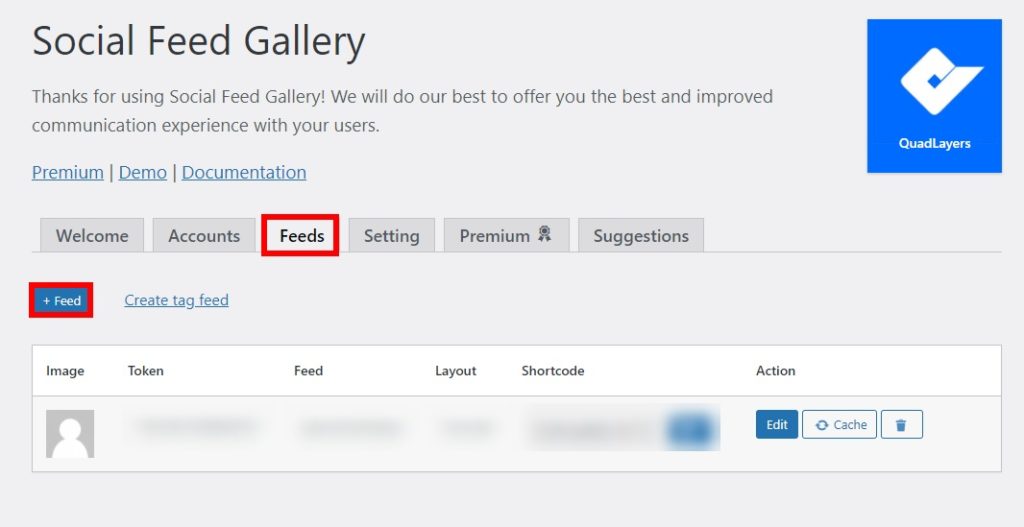
Here, you can select and edit any element of the feed: the layouts, the number of images to display, and so on. After you have made all the necessary changes, click Save.
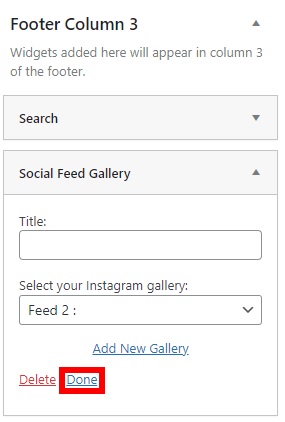
To add the Instagram feed to the footer, go to the Widgets menu from your dashboard or navigate to Appearance > Customize. Then, select the footer column where you want to include the Instagram feed and add the Social Feed Gallery widget. After you add the title and the gallery ID for the feed, click Done.
Alternatively, you can use the shortcodes provided in the Feed tab to add the Instagram feed to your website.
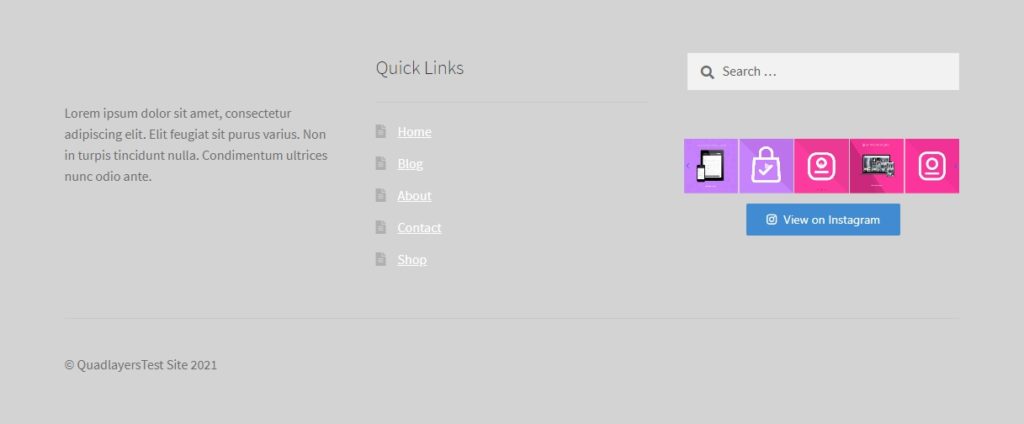
Finally, if you check your site from the frontend, you will be able to see the Instagram feed on the footer.
For more alternatives and a more in-depth explanation, have a look at our guide on how to integrate WordPress with Instagram.
Conclusion
All in all, customizing your site’s footer can be really beneficial for the user experience of your visitors and help you increase user engagement. In this guide, we have described two ways in which you can change the footer in Storefront:
- From the WordPress admin dashboard
- Using a dedicated plugin
- Programmatically
All these methods are beginner-friendly and get the job done. From the WordPress dashboard, you can change the text, background, and heading colors, as well as the link colors. If you want to edit the copyright footer text, on the other hand, you will have to use a plugin. Finally, if you have coding skills, you can customize the footer programmatically.
Moreover, you can add more information to the footer. For example, you can include an Instagram feed and links to improve your social media presence. For more details on how to change the footer in any theme, have a look at our guide on how to edit footers in WordPress.
Have you edited the footer in Storefront? Which method did you use? Is there any other option that we should add? Let us know in the comments below.
If you found this guide useful, these articles might interest you too:

you have a type O in: 3.2.
add_filter( ‘storefront_copyright_text’, ‘ql_customize_storefront_footer_copyright_text’ …..
>….text’, ‘ql_cus….< just ctrl/cmd + F the char ‘ and replace it with '. but I guess you know that..
cheers max
Thanks Max, we’ve just updated it.