
CartFlows for WordPress: How to create WooCommerce Funnels
In this guide, you’re going to learn how to create sales funnels with CartFlows for WordPress. We’ll show you how to use it and how to create customized templates to make the most of it.
What are sales funnels?
A sales funnel is the journey that potential customers need to follow to purchase your products or services. In other words, it refers to the steps that your visitors take towards buying what you offer.
Sales funnels are critical for every type of business, especially online stores. To run a successful eCommerce site, your customer journey should be smooth and without distractions that cause the users to drop off or abandon their carts. So if you want to optimize the purchase process and increase your sales, the best solution is a sales funnel builder plugin like CartFlows.
CartFlows for WordPress
CartFlows is the best sales funnel builder for WordPress. Developed by CartFlows Inc, it helps improve the purchase process on your website.
This tool allows you to build elegant and frictionless checkout pages and one-click sales funnels to increase conversions. Furthermore, you can customize each step to remove distractions and smooth out the process. By customizing your sales funnel, you will get more leads, more sales, and more profits without spending money on paid ads or marketing tools.
CartFlows comes with numerous features such as:
- Easy-to-use one-click sales funnel
- Templates ready to import
- The ability to use your page builder
- Revamped checkout to increase conversions
- Custom thank you pages
- Unlimited upsells/downsells
- One-click order bumps (pro-version)
- Unlimited upsells (pro-version)
- And many more!
Now that we better understand what CartFlows for WordPress has to offer, let’s have a closer look at its main features.
CartFlows for WordPress: Core features
-
Perfect for Multiple Purposes
CartFlows is a very versatile tool. Built with user satisfaction in mind, it aims to maximize the efficiency of eCommerce sites. Regardless of the type of service or product that you sell and the size of your business, CartFlows provides you with excellent tools to improve your sales funnel.
To sum up, if you have an online business, CartFlows will help you optimize the purchase process and increase your sales.
-
Ready-to-use Templates
This plugin offers a wide variety of professional-looking templates that work with all popular page builders such as Elementor, Beaver Builder, Divi Builder, The Architect, and Gutenberg.
This means that you can either import one of their templates with a click or build your own.
-
Create Your Check-out Page
The checkout page is one of the most important steps in the purchase process because it’s where you convert leads into customers. If it’s not optimized, it can be a real headache for your business. CartFlows for WordPress fixes this problem by letting you replace the normal process with a new enhanced checkout. This way, you’ll increase conversions and boost your sales.
By having a customized and improved checkout page, you’ll be able to stand out from your competitors.
4. Smart One-click Order Bumps
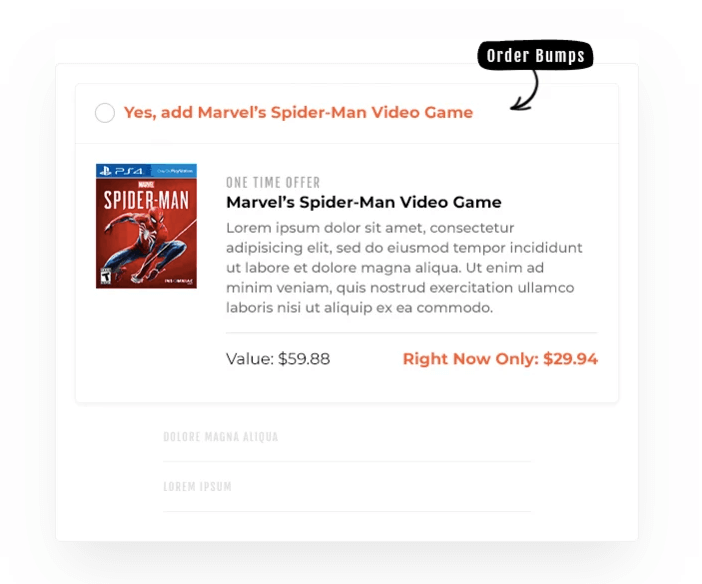
Order bumps are products on your checkout page that the user can add to their cart. They’re usually related products that complement what the customer is buying. For example, if someone’s buying a tent, before they press the Buy button you may want to offer them a sleeping bag, camping chairs, or a torch.
One of the main features of CartFlows for WordPress is the one-click order bumps. With the smart order bumps, you can easily add an extra offer on the final step of the funnel to upsell your shoppers. According to CartFlows, they have a 10%-30% chance of converting!
Cartflows for WordPress: How to Use it
In this section, we’ll show you how to use and make the most of CartFlows. By following these easy steps, you’ll set it up and get it running in no time.
Step 1: Set Up Cartflows
After uploading the plugin to your WordPress dashboard, you will see a small icon on the sidebar that says Cartflows.
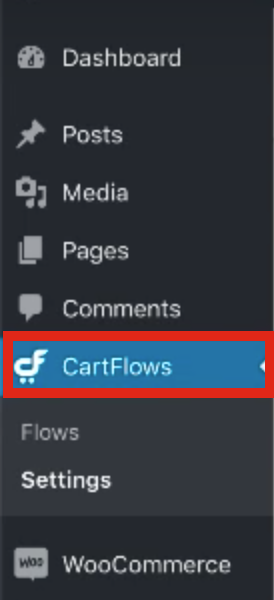
Click it, and you will go to a setup page. There you’ll have to answer some questions about the page builder you want to use, the checkout, and so on. For example in our case, we use Elementor.
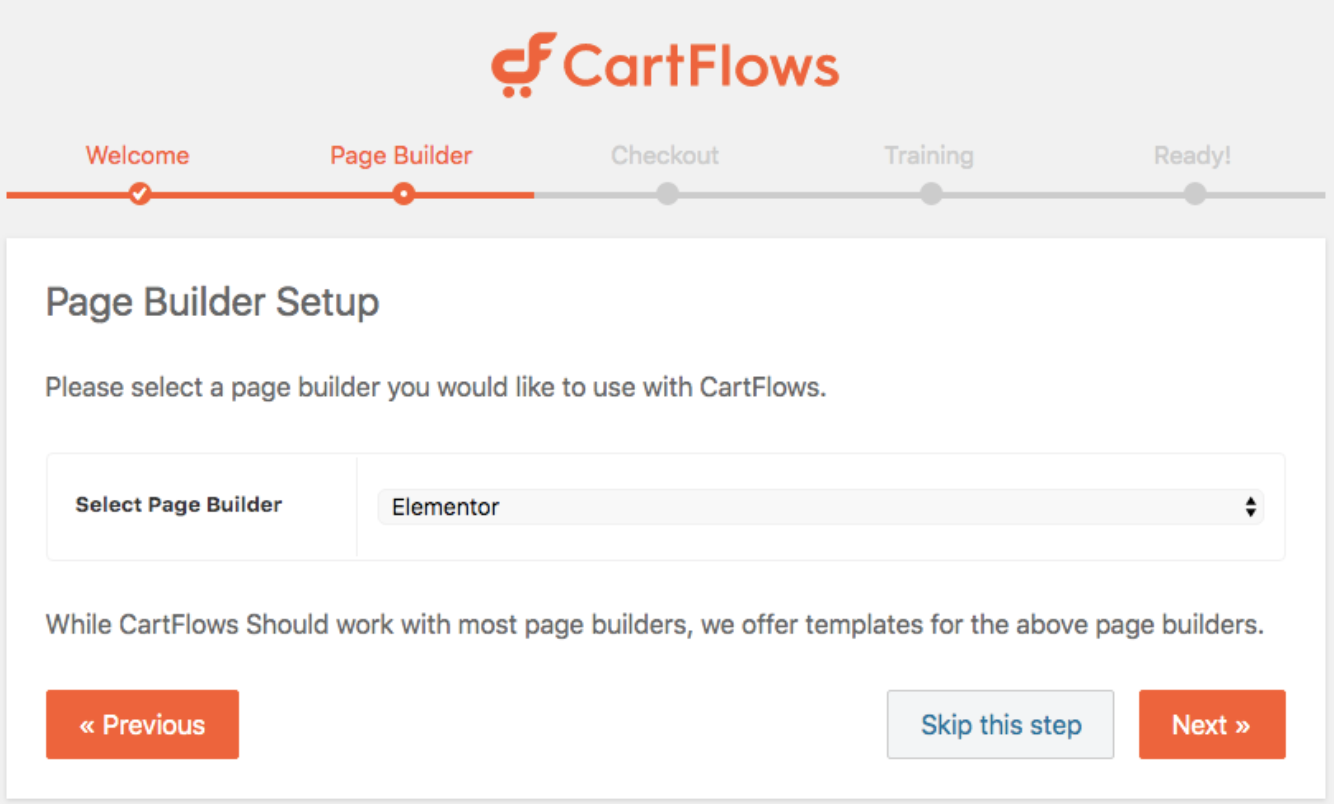
After completing the forms, go back to your admin dashboard.
Step 2: Add Products
After setting up CartFlows for WordPress, you need to add products. To do that, simply click Products on the left sidebar.
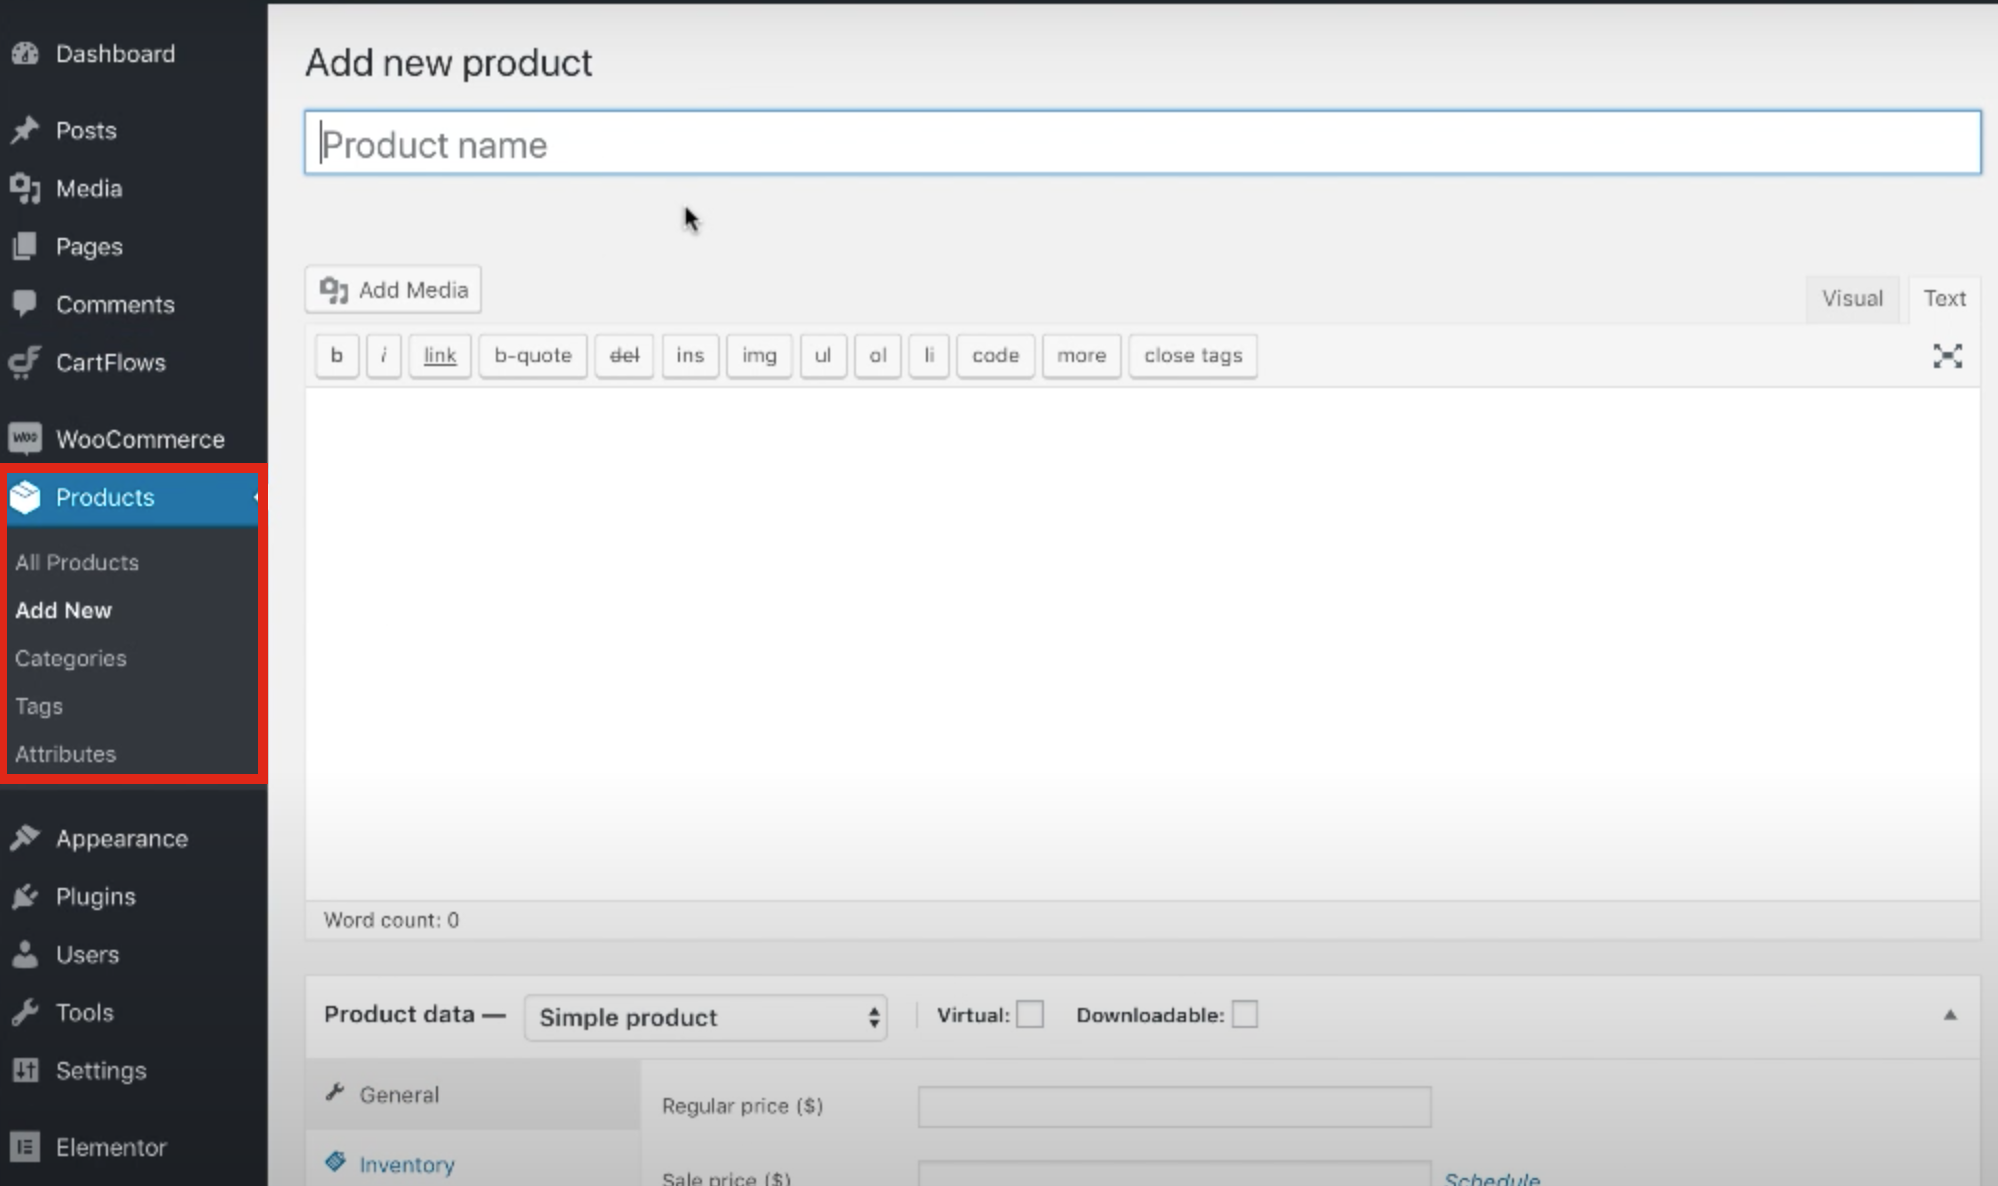
Apart from adding the product name, description, pictures, price, taxes, and so on, you can also add order bumps, upsells, and downsells to the sale so we recommend you take some time to think about it beforehand.
For example, let’s say you want to add a music album. You can create a product called Music Album Vol. 1: Love Playlist, and then add Love Playlist Photobook as an order bump, Premium Membership as an upsell, and Unreleased Vol. 1 Tracks for down selling.
Step 3: Choose Your Flow
Once you’ve created the products, you need to create the flows. To do that, go to the WordPress dashboard, hover your mouse over Cartflows and click Add New.
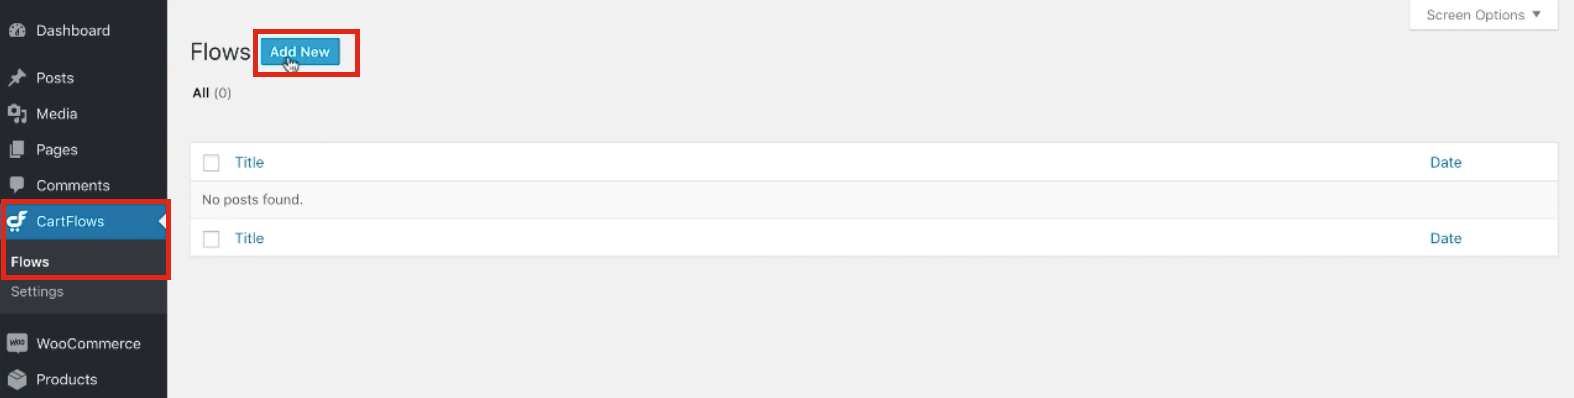
After that, the Flows Library will open and you’ll be able to either choose a pre-built flow or create a new one.
NOTE: Here we’ll choose one of the existing templates but in the next section of this guide we’ll show you how to create a customized flow.
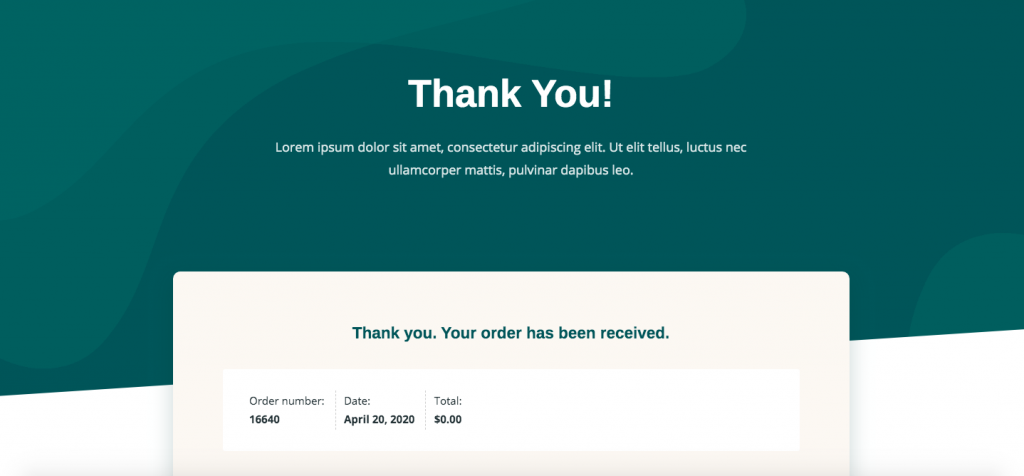
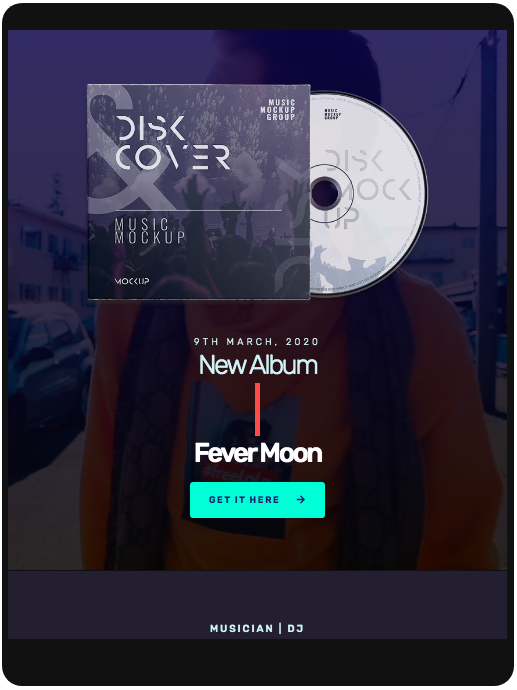
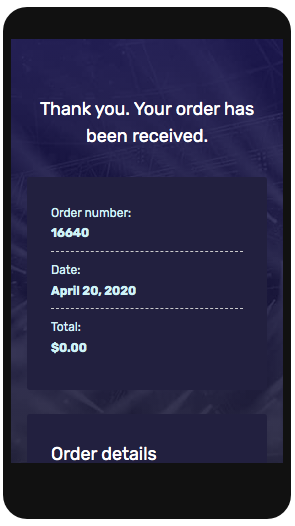
So following the music album example, we’ll choose the pre-built music album template. Simply click it and you will see the preview of the landing page, check-out, and thank you page. If you like it, click Import.

Step 4: Edit Your Flow
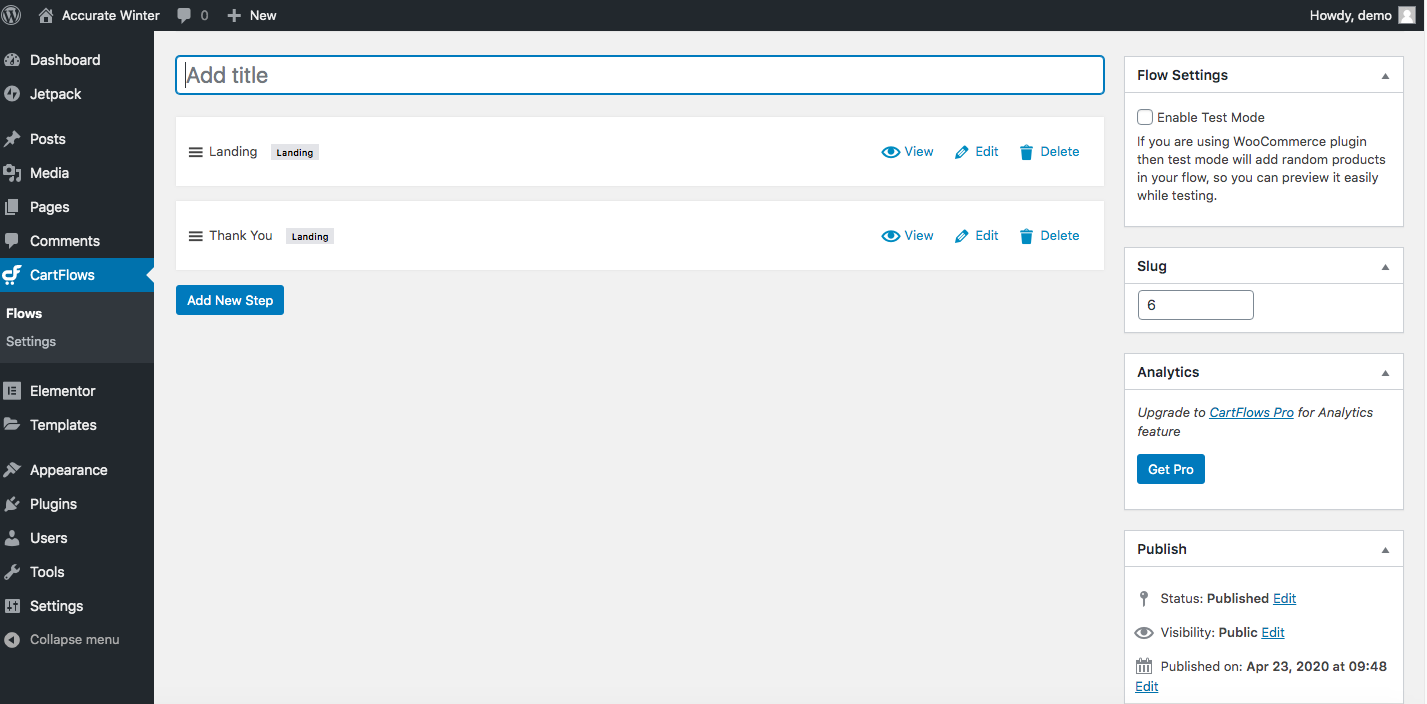
After the flow has been imported, you will have to name it (only for internal purposes) and click Update to save. In our example, I’ve named the flow Sales Funnel Music Album.
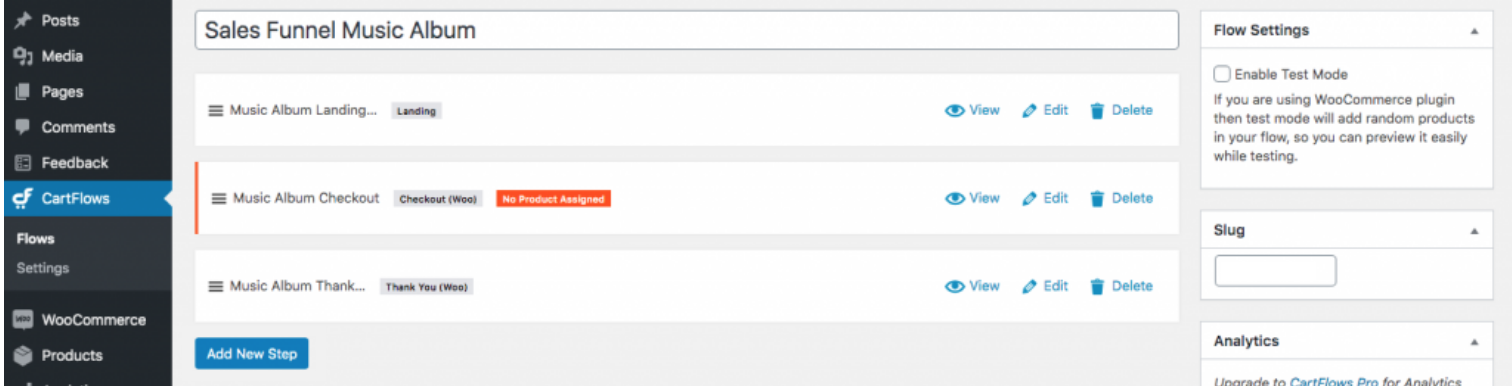
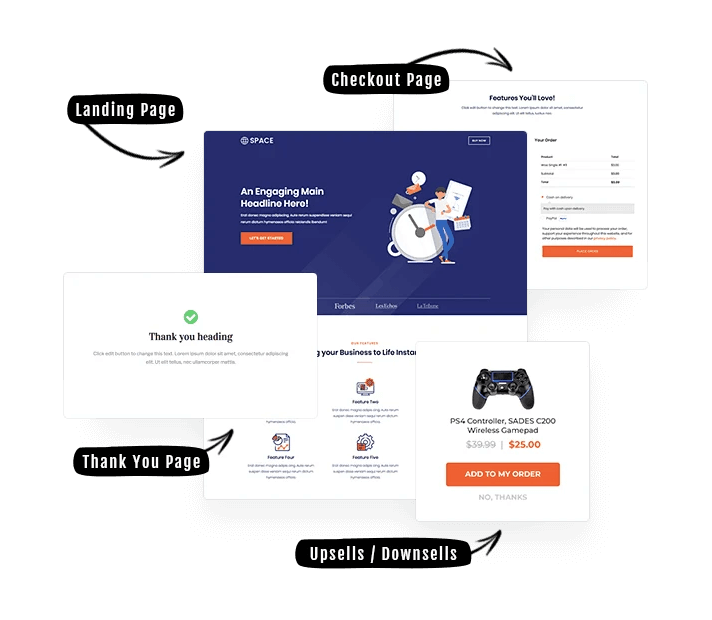
Additionally, you can edit each step of the flow or add a new one. Each flow template has different steps. Ours, for example, has three: a landing page, a check-out, and a thank you page. You only need to add products to the check-out so if you plan to upsell, downsell, or include order bumps, you will do that later in Step 5. Now we will explain how to edit the flow.
To edit a page, click Edit. For example, you can modify the check-out page and specify your main product.
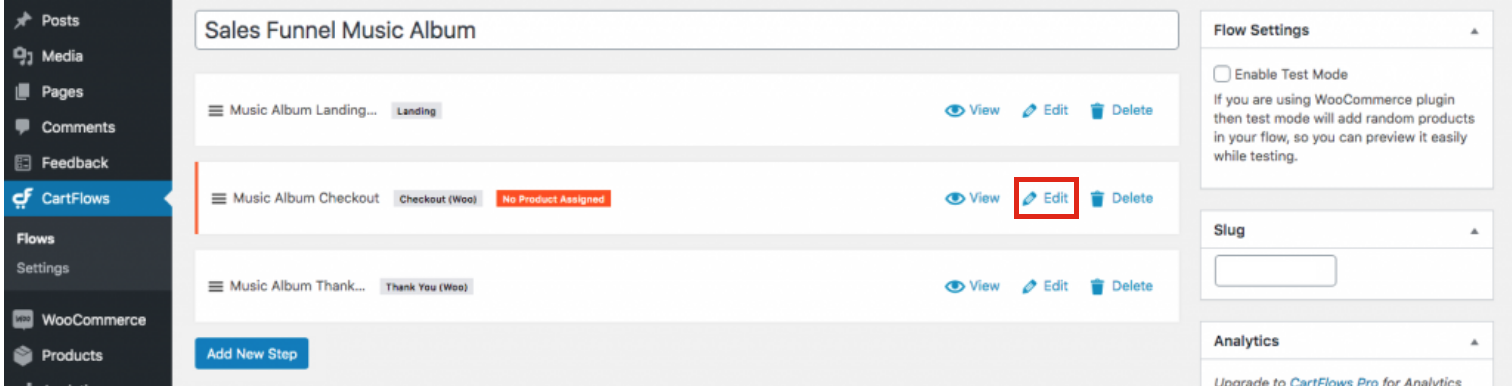
You can also rename the step and change the permalink. Additionally, you can access more customization options by clicking Edit with Elementor.
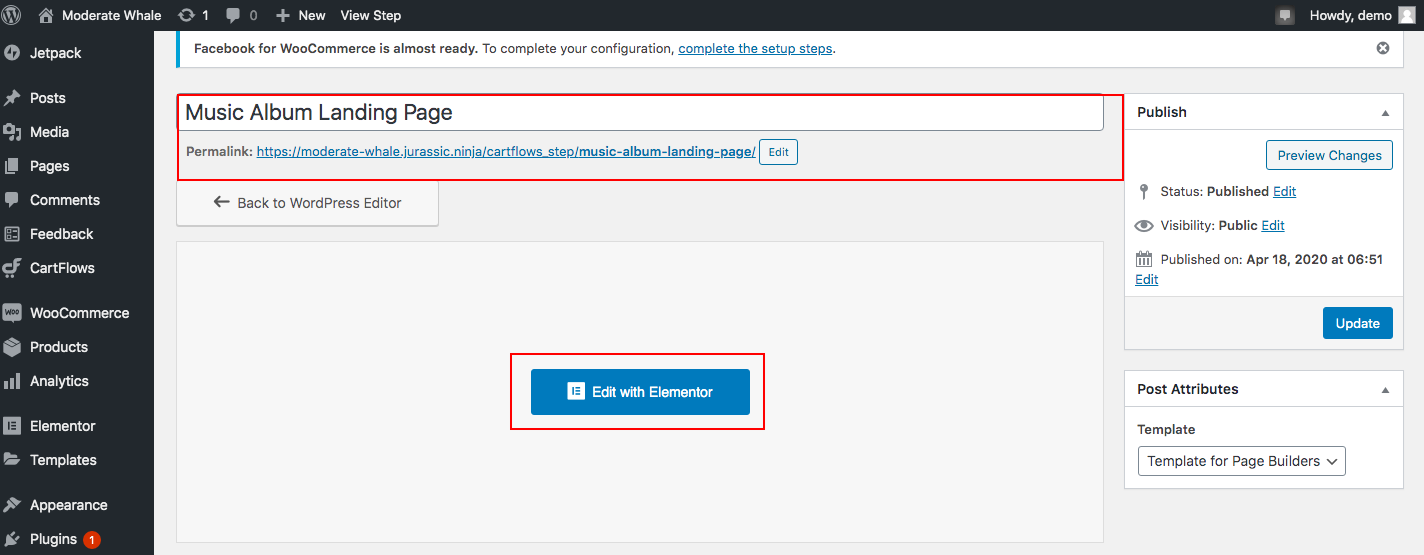
You can do the same with the landing page and thank you page. Remember to click Update after editing each step to save the changes.
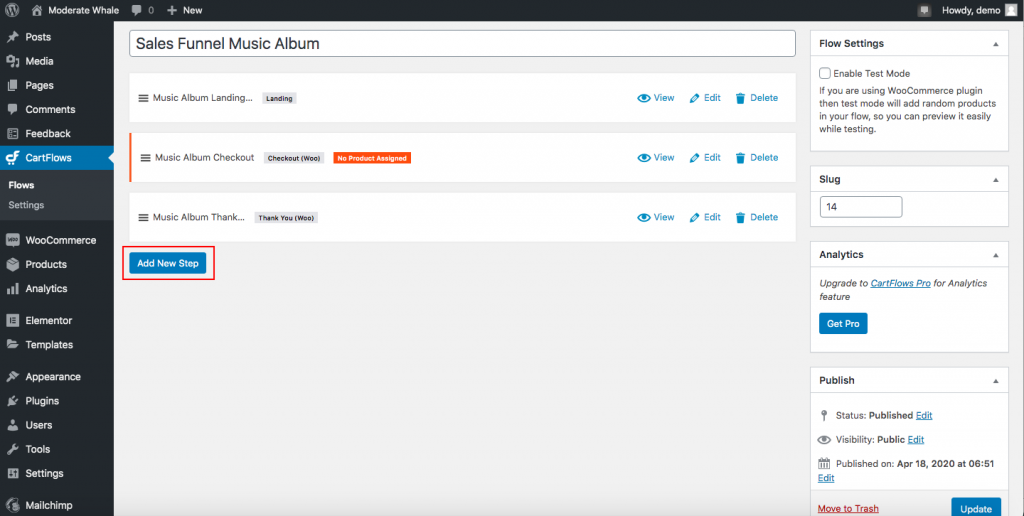
Step 5: Add New Steps
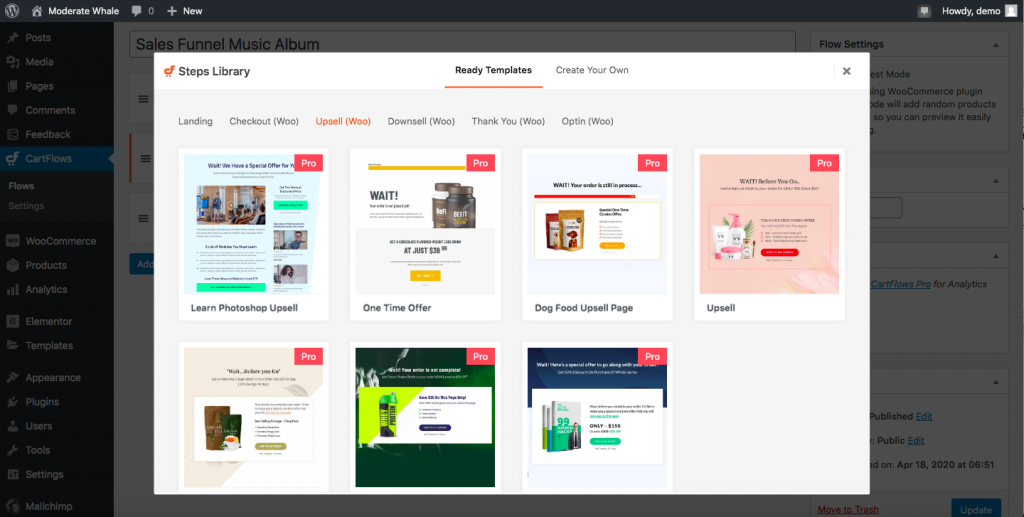
So far we’ve set up CartFlows, added a product, chosen a flow, and edited it. Now, let’s take our flow a step further by adding an order bump. To do that, click Back to Edit Flow to add more steps. There, click Add New Step and you’ll see the Steps Library that will let you choose the step you want to add.
For each step, you can either select one of the ready templates or create a new one (we will see how to do it in the next section).
After selecting your favorite template, simply follow the steps and remember to click Update to save the changes.
That’s it. You have just created a fully-fledged sales funnel!
NOTE: If you add new steps, remember to rearrange each step in the sales funnels. The user will see each page in the order that you establish so simply drag and drop each step in the order you want them to appear.
Bonus Step: Import and Export Your Flows
One interesting option that CartFlows for WordPress offers is the possibility of moving flows to different websites. This is very useful when you have several sites and you want to recreate the same type of flow you already created for another website. Instead of having to build it from scratch Cartflows allows you to import and export flows.
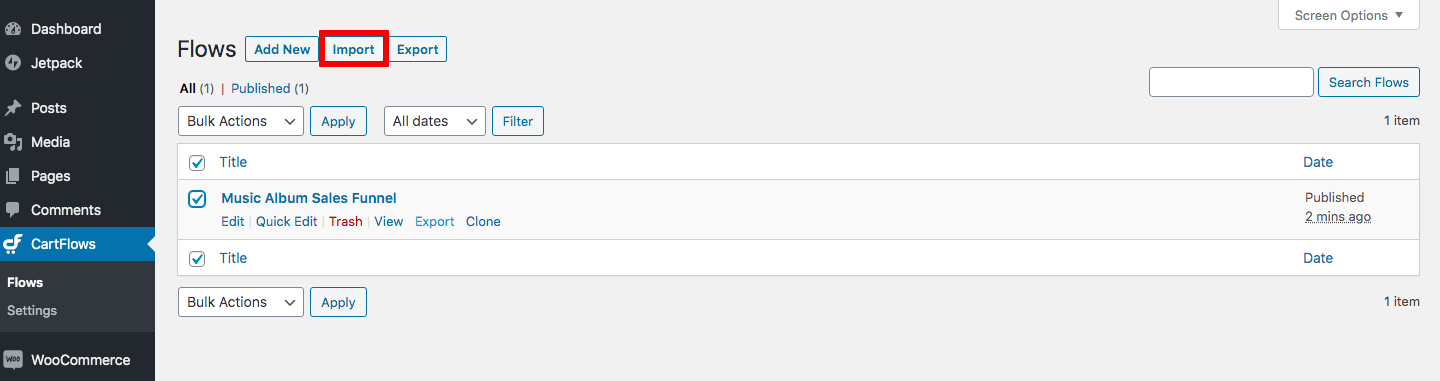
Let’s see how to export a flow first. To do that, go to Cartflows > Flows. There, you will see all the flows you’ve created. In our case, we’ll see the Music Album Sales Funnel flow so we’ll select it, and then click Export under the title as shown below.

Cartflows will automatically download a JSON file to your local computer. We recommend you create a folder with your flows and place it somewhere handy.
Now let’s say you want to import that flow to another website. Simply go to Cartflows > Flows and click on the Import button.
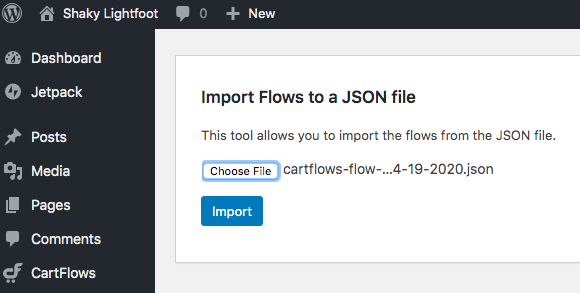
It will take you to the importing page, where you will choose the JSON file you’ve just downloaded and then click Import. And that’s it!
When you go back to the Flows section, you will see it as a draft copy. You can leave it as it is or edit it.
Cartflows for WordPress: How to Create Template Flows
Apart from choosing one of the pre-built templates, you can create your own. In this section, we will show you how to create a template flow in Cartflows.
Step 1
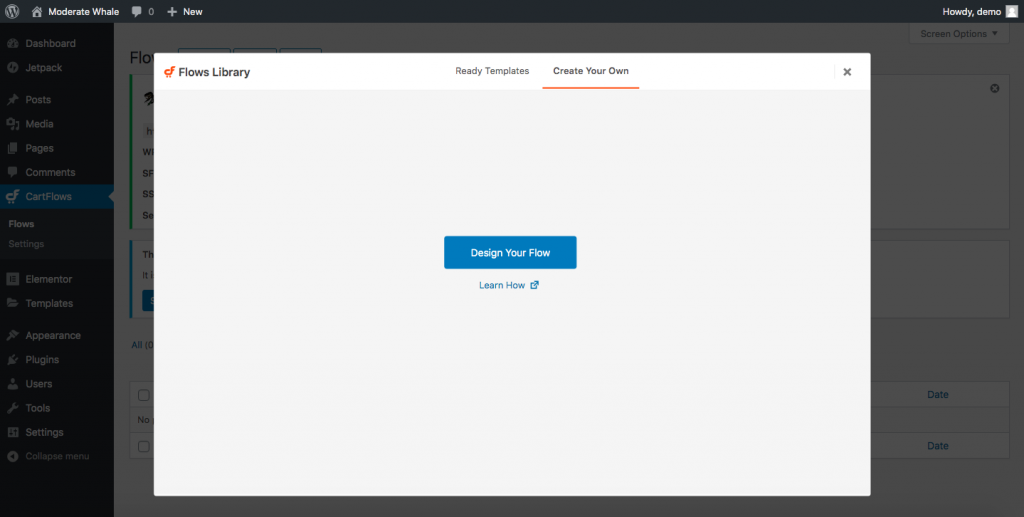
In your WordPress dashboard, go to Cartflows > Flow and then click Add New. Now, instead of browsing the tab Ready Templates, click Create Your Own, and then Design Your Flow.
Step 2
Here, you will see an interface that looks similar to the one you saw when you chose a ready-to-use template. However, you will see differences when editing each step.
For instance, click Edit on the thank-you page, and then Edit with Elementor. You will see something like this:
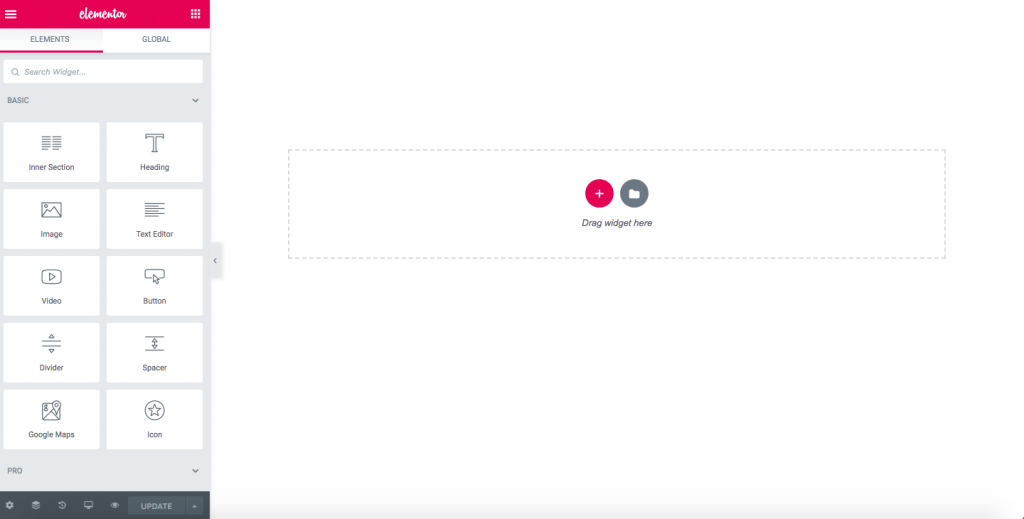
As you can see, there are several options for you to start designing it from scratch. You can add headings, icons, buttons, images, videos, and much more.
We’re using Elementor but if you use other page builders such as Beaver Builder, for example, the steps are slightly different. When editing a step – a landing page for instance – you might not see any button that says Edit with Beaver Builder. If that’s the case, go to Settings > Beaver Builder > Post Types.
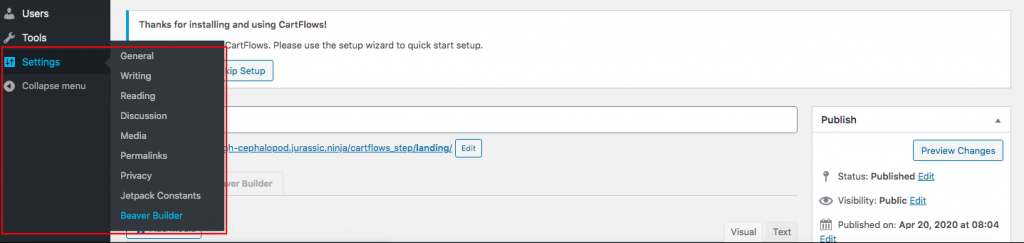
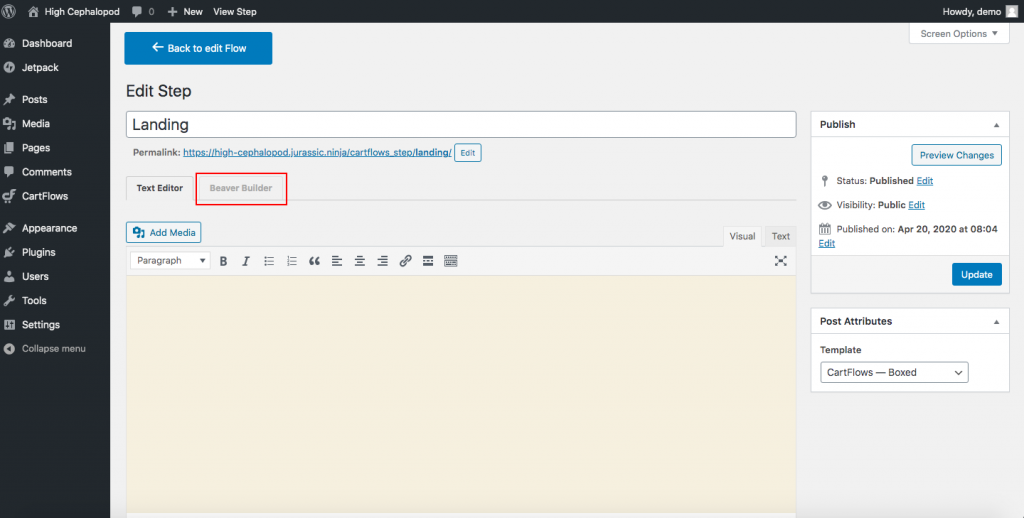
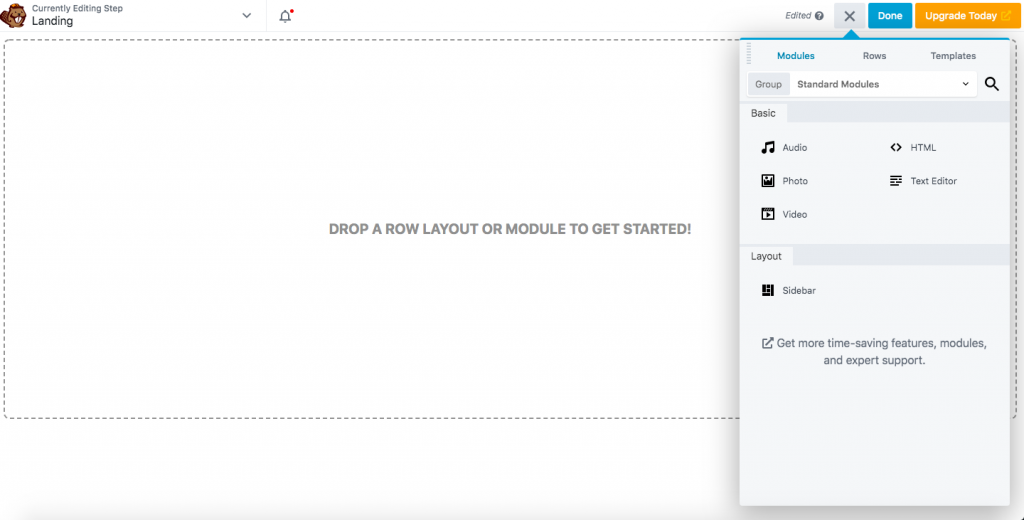
After checking the boxes, go back to the step you were editing and you will see the tab Beaver Builder next to Text Editor. Click it and you will see a blank space where you will be able to work your magic, just like we saw above when using Elementor.
Step 3
Do the same with other steps and add new steps if necessary. Creating a template from scratch takes some time but it allows you to design it exactly as you want and come up with a marvelous and unique flow.
After creating your flow, you can edit it and add new steps, or import/export it as we saw before.
Importing and exporting templates
If you’ve created an individual page template on Elementor, Divi, Beaver Builder, or Thrive Architect and you want to import it, simply go to the step you want to modify and edit the page using your page builder. Then, import your template (JSON or .zip file).
On the other hand, if you want to export your custom templates, save it as a template once you’ve created it and then export it. It will ve downloaded automatically as a JSON file.
For more information, you can visit the Cartflows official site.
Cartflows for WordPress: Templates
Currently, Cartflows has many templates you can choose from and they keep adding more. They started with templates for Elementor, then expanded to Beaver Builder, and they’re now aiming to add other popular page builders as well. At the moment, Cartflows has 45+ templates for Elementor and 35+ for Beaver Builder.
Elementor Templates

Beaver Builder Templates

For example, let’s have a look at the template we used before: Music Album.


If you want to see more, check out CartFlows’ templates page.
Additional Information
This guide will help you set up and start using CartFlows for WordPress. If you want to see more guides, you can have a look at some of CartFlows’ videos.
They have plenty of tutorials. We recommend you check out the overall introduction to CartFlows (which is a must-see if you use the plugin). Some other interesting videos are the template import feature, the frictionless checkout process, and the order bumps.
CartFlows for WordPress – Pricing
CartFlows has two plans available:
- Free version
- Premium version – 299 USD per year
Even though the pro plan can seem expensive at first, the truth is that for less than 25 USD per month you have access to many useful features such as the one-click order bumps, unlimited upsells and downsells, premium templates, analytics, and more.
We recommend you start with the free version to get familiar with the tool and all its options, and once you’ve got the hang of it, go ahead and purchase the pro version if you need more advanced features.
Cartflows for WordPress: Pros and Cons
Finally, let’s have a look at CartFlows’ pros and cons.
Pros:
- Super easy to use
- Compatible with all major page builders
- Unlimited upsells and downsells
- All-in-one shopping cart, not just a sales funnel
- The ability to collect customer information even when they cancel the process
Cons:
- No A/B test available
- No built-in affiliate program
- Even though CartFlows has many videos, there aren’t detailed tutorials about all the features. However, their support team is great and helps you with whatever you need
CartFlows for WordPress: Conclusion
All in all, CartFlows is an excellent tool to create great sales funnels to generate more leads and increase your sales. If you don’t want to spend money, you can go for the free version that has basic features. Once you’re comfortable with it and you know how to use it, you can purchase the premium version with more advanced functionalities.
Regardless of whether you use this tool or not, it’s key that you design a smooth customer journey and you optimize the checkout page to increase your conversions.
Do you want to know more about WooCommerce? Check out our WooCommerce guides!
Have you tried CartFlows for WordPress? What do you think about it? Please let us know your thoughts in the comment section below!

Does this work with your direct checkout plugin?
We havent tested integration with CartWlows, however i guess it dont as this plugin changes the entire WooCommerce checkout process
Lo estoy probando para cursos en leandarsh, pero al activarlo como plantilla en el curso, no se puede ver el curso, porque no sale del ciclo. Cada vez que cargo el curso, me vuelve a activar el embudo, y si mi cliente ya compró el curso, vuelve al embudo. Saben si funciona realmente para cursos y activar la plantilla de cartflows en el mismo curso que ofrezco.