
How to Create WooCommerce Product List View
Do you want to create a WooCommerce product list view on your website? They are very popular to display more information about a product to your customers on the shop page itself. So, we will be presenting you with a step-by-step tutorial to switch to a product list view in this tutorial.
But before we go through the process, let’s see what do you might need to create a product list view.
Why Create a Product List View in WooCommerce?
By default, the products on your shop page are displayed in grid style. Yes, they entirely depend on the active theme of your website too. But in the case of most themes, they are displayed with a grid representation with one product after the other like tiles.
But in a list view, the products are displayed with much more details. Each product is displayed after one another in a vertical list with additional information like shipping details, product description, and more. For example, let’s compare the grid view and list view of the online store Best Buy.
The default grid view of the products on the website is represented as follows:
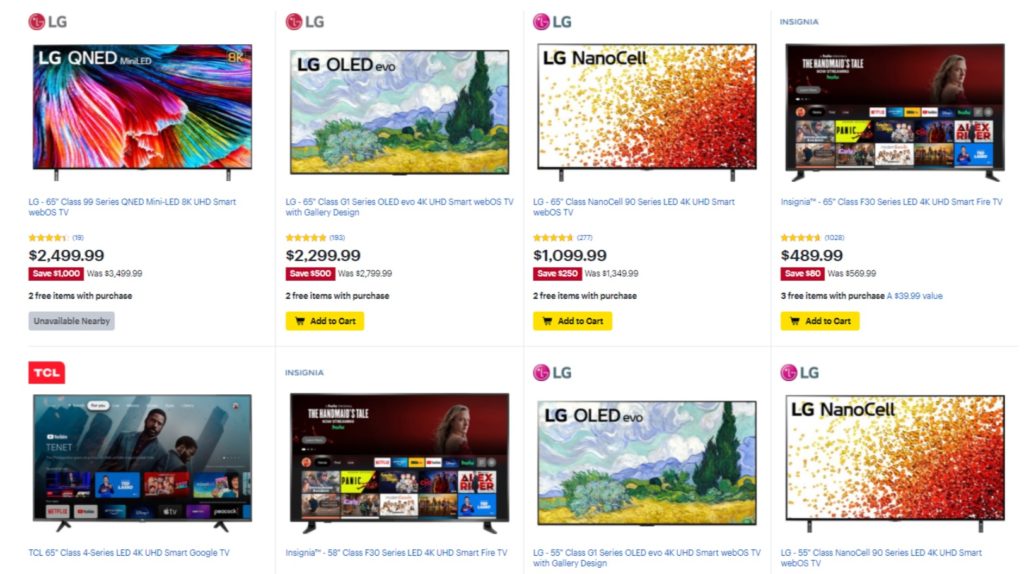
However, you cannot directly switch to the list view of the website. But if you want to view more products, the products will be displayed in the list view with the following layout:
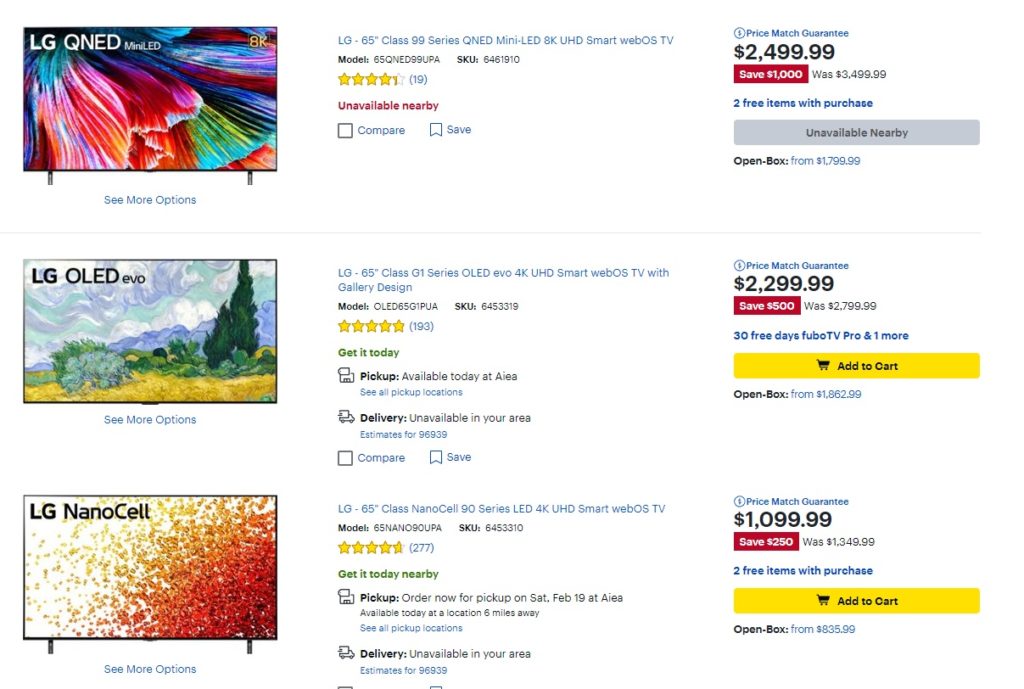
We can clearly see that more product details are shown in the list view than that in the grid view. The customers can easily see the shipping details, product model and SKU numbers, compare and wishlist options, and so on in the list view. Whereas in the grid view, this information can’t be added since it will make the website look congested.
In fact, if you run an online store with wholesale products, product catalogs, or a restaurant ordering system, the list view is more convenient for your customers. All the necessary details can be provided to your customers within a single page. Hence, they won’t have to click on individual product pages to view the additional information.
How to Create a WooCommerce Product List View?
The easiest way to create a WooCommerce product list view is by using a plugin. WordPress plugins help your website to increase functionality and increase its flexibility. Similarly, they can be used to view the products in a list as well.
While there are many plugins that allow you to create a product list view, here are some of the best ones:
Grid/List View for WooCommerce
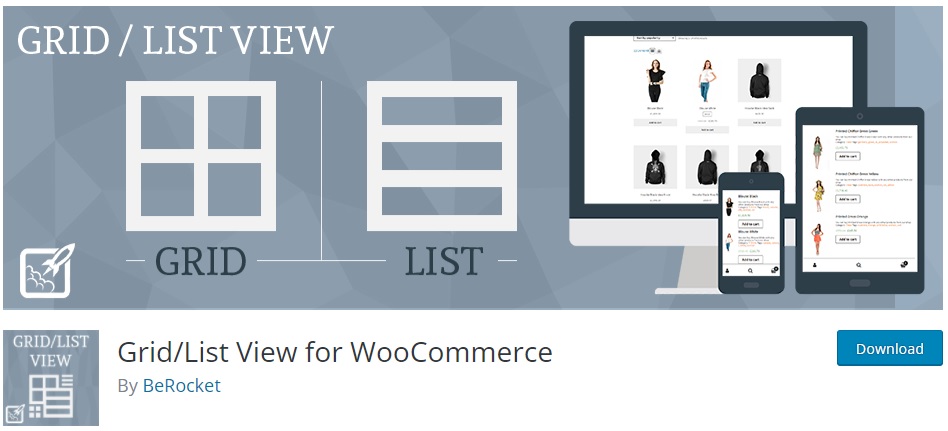
Grid/List View for WooCommerce is one of the best free plugins to create a product list view. It is very simple to use and just adds a toggle to enable either the list or the grid view on your WooCommerce shop page.
The plugin also provides you with various list and grid product style customization options. It provides you advanced options to modify the grid/list switcher button through which you can even change its position. Similarly, the products per page can also be altered according to your liking with the help of this plugin.
Key Features:
- List and grid switcher button
- Advanced customization for the switcher button
- Products per page options
- Shortcode friendly
- Compatibility with major WooCommerce plugins
Price:
Grid/List View for WooCommerce is a free plugin. It is available on the official WordPress plugin repository.
WooCommerce Product Table
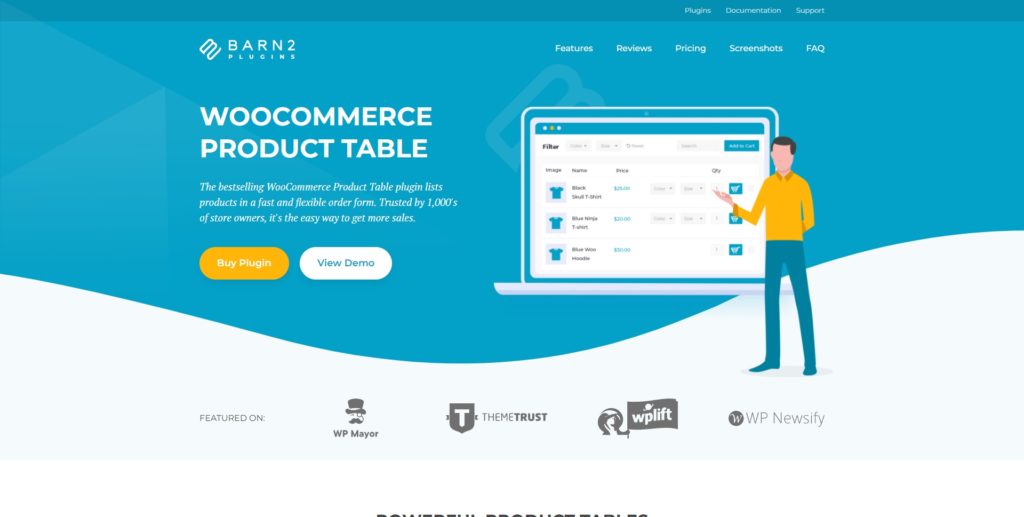
WooCommerce Product Table is a premium plugin that can help you create a product list view. Initially, it is one of the WooCommerce plugins to design a table on your website. But it can be easily modified to display your products in a tabular list view.
The plugin is very easy to set up and it allows the users to order multiple products at once. It also provides a built-in search and sort option for the list view. This can be a very convenient feature for your users since they can find the desired products very easily.
Key Features:
- Tabular list view option for products
- Instant product search and sort options
- Fast one-page ordering
- Easy to use interface
- Quick “Add to Cart” buttons
Price:
WooCommerce Product Table is a premium plugin that starts at 499 USD per year. It includes 20 site licenses with a 30-day money-back guarantee and priority support.
Now that we had a look at a few plugins, let’s go through how to use them as well. But before we start, please make sure that you have set up WooCommerce properly without missing any steps and use one of the compatible WooCommerce themes.
Create WooCommerce Product List View using a Plugin
To create the WooCommerce product list view, we will be using the Grid/List View for WooCommerce in this demonstration. It is free, very easy to use, and a straightforward solution to create a list view for products.
But to start using any plugin, you need to install and activate it first.
1. Install and Activate the plugin
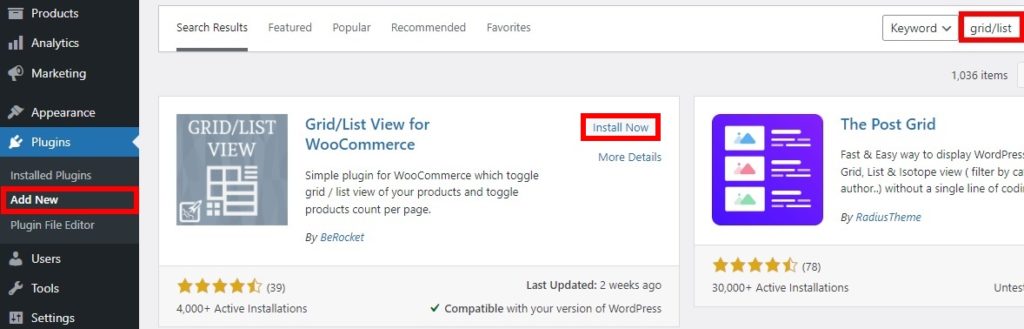
To install the plugin, go to Plugins > Add New from your WordPress dashboard. Then, search for the keywords for the plugin and click on Install Now after you find it.
The installation will be completed after a while. Finally Activate the plugin after it is installed.
If you want to use a premium plugin, you will have to upload and install it manually. Please have a look at our detailed guide to install a WordPress plugin manually for more information.
2. Configure the Plugin Settings
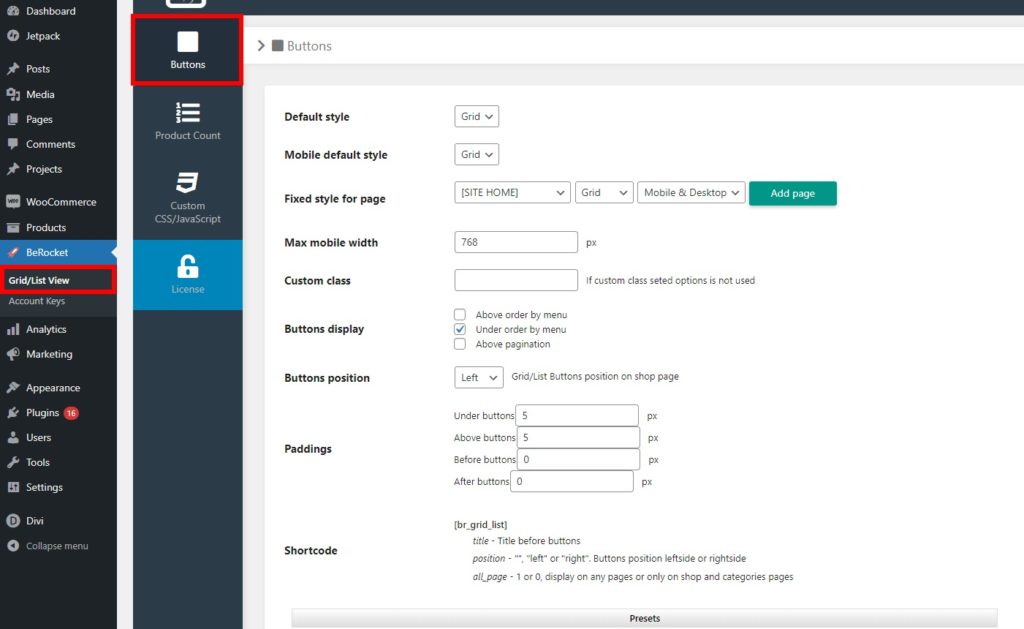
Once you activate the plugin, you can configure its settings to create a WooCommerce product list view. Open BeRocket > Grid/List View from your WordPress dashboard. You will be able to all the customization options for your product list view here.
The three major customizations include buttons, product count, and Custom CSS.
2.1. Button Options
The plugin provides you with a ton of customizations for your buttons to toggle the grid or the list view for the products.
The general options include default button styles for the desktop and mobile view on your website. You can also add a fixed button style for a page. Similarly, you can also adjust the button positions to display on your page from left, right, above the menu or pagination, or just under the menu.
Along with these options, you can also edit the max mobile width, custom class, and paddings for the button.
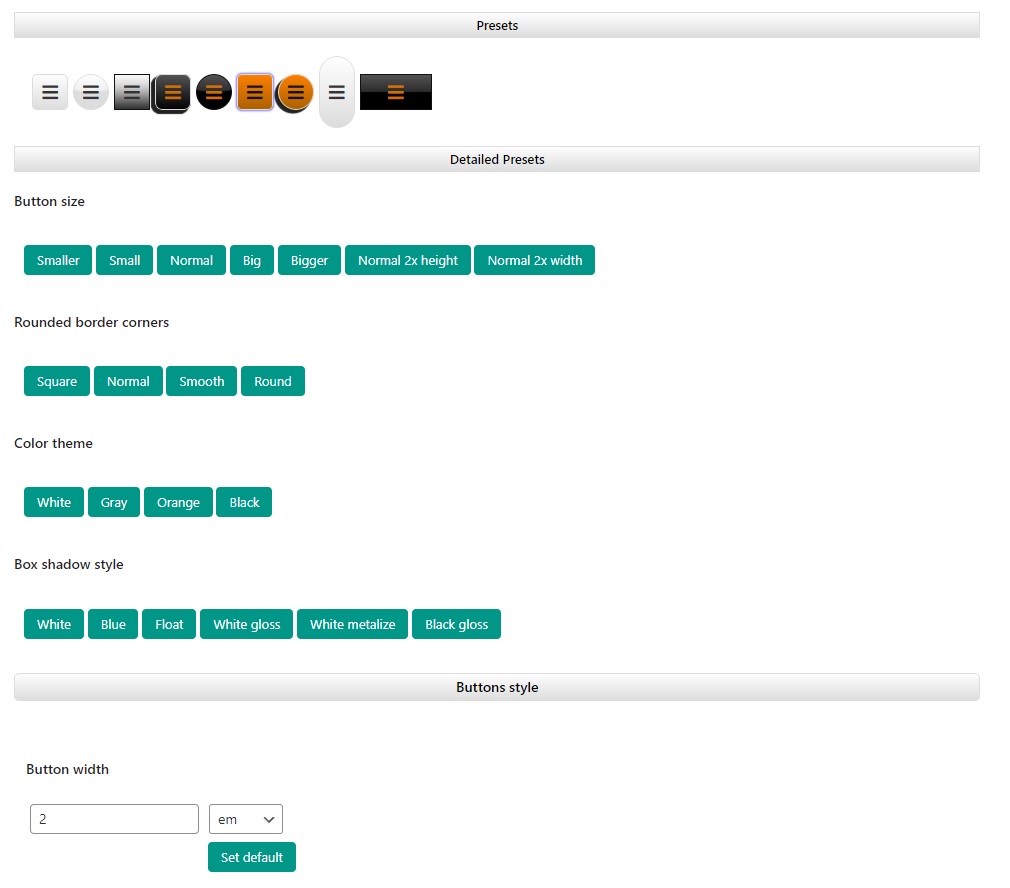
Furthermore, there are some more button presets and styles available with the plugin. You can select a button present and edit it more with the detailed presets options. On top of that, you can also change the button styles with button width, height, text size, line height, and more.
Additionally, you can also customize the normal button, mouse over button, and selected button styles. Each includes adjustments for background color, border width and color, and shadow options.
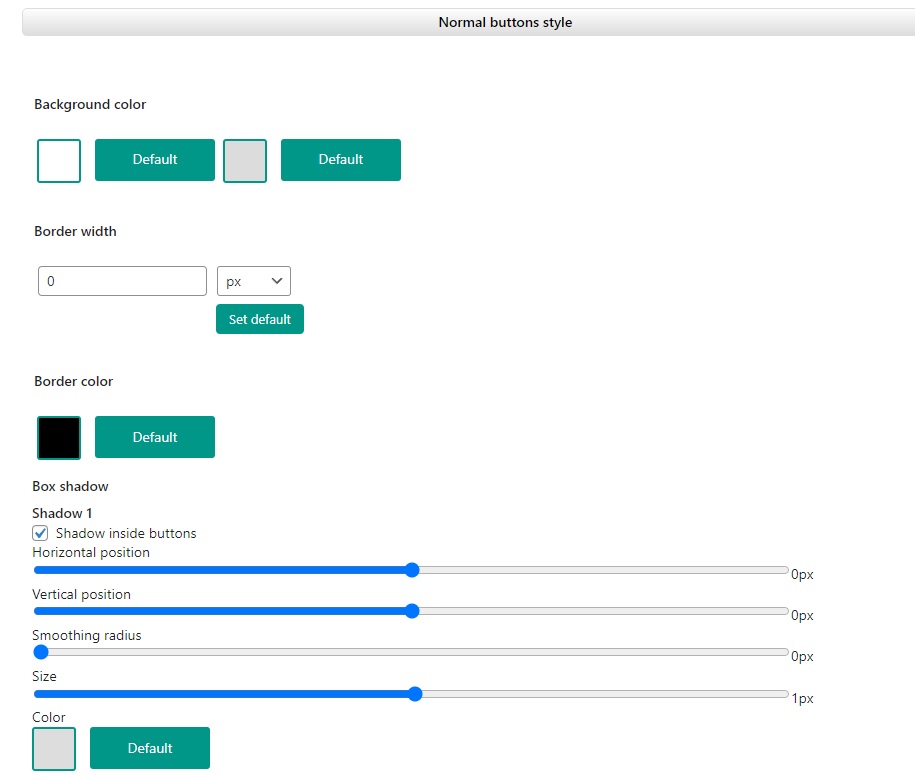
Make all the necessary modifications you need and click on Save Changes.
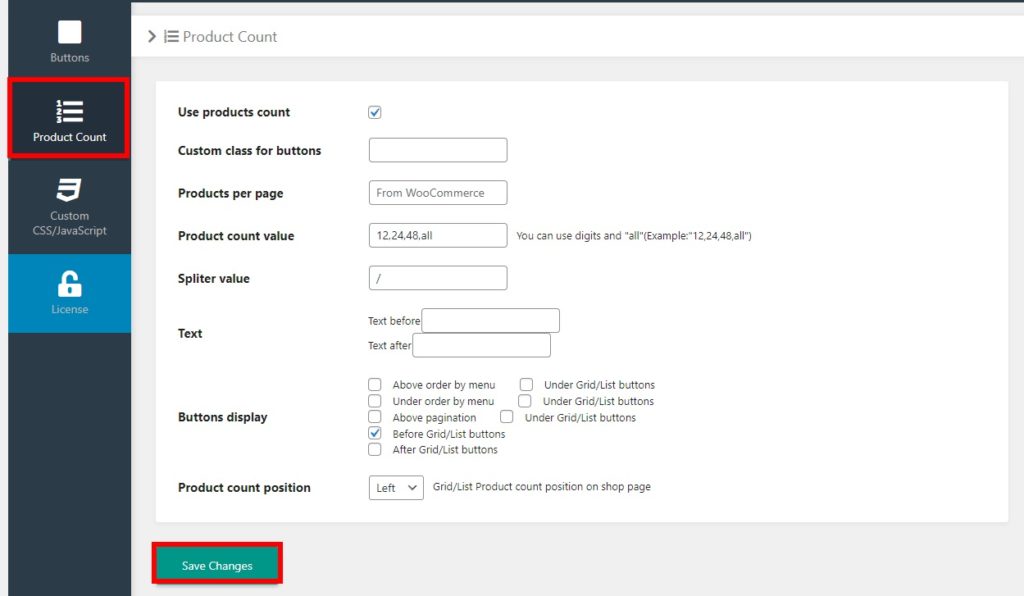
2.2. Product Count Options
You can also adjust the product count options using the Grid/List View for WooCommerce plugin when you create a product list view. Firstly, you can either enable or disable to use products count.
If you enable it, you can further add inputs for products per page, product count value, and splitter value. The position of product count can also be set here along with its own button options and where to display them.
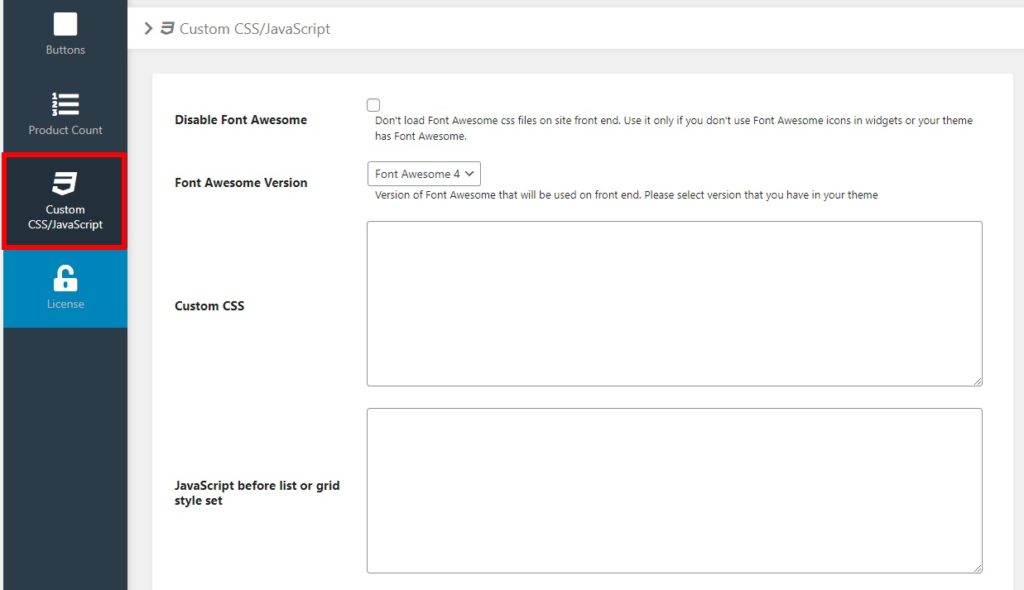
2.3. Custom CSS/JavaScript
The plugin also allows you to add custom CSS or JavaScript when you create your WooCommerce product list view. There are designated script boxes to add your custom CSS and JavaScript. The JavaScript can be added under various circumstances like before or after the list or grid style set, cookies, selected buttons for grid/list, and so on.
You can also disable the Font Awesome CSS files from here or select a Font Awesome version.
After you have added the required custom CSS or JavaScript, don’t forget to save the changes.
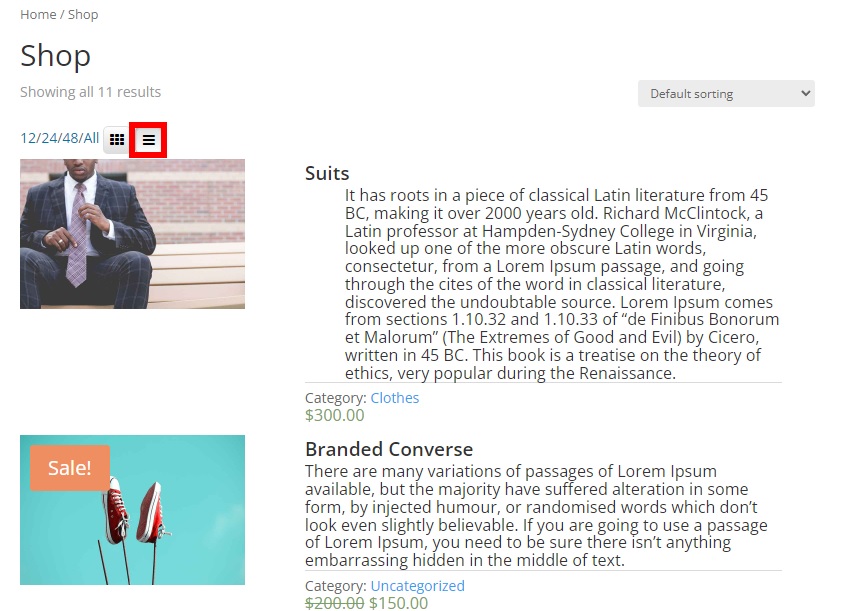
Once you preview your shop page, you will be able to see the toggle to switch between the grid and the list view. The product count is also shown here and the product description is also included with the products.
And as shown in the demonstration below, you can switch to the product list view by clicking on the list view button.
Your customers can even switch back to the grid view if they have to. They can just click on the grid view button.
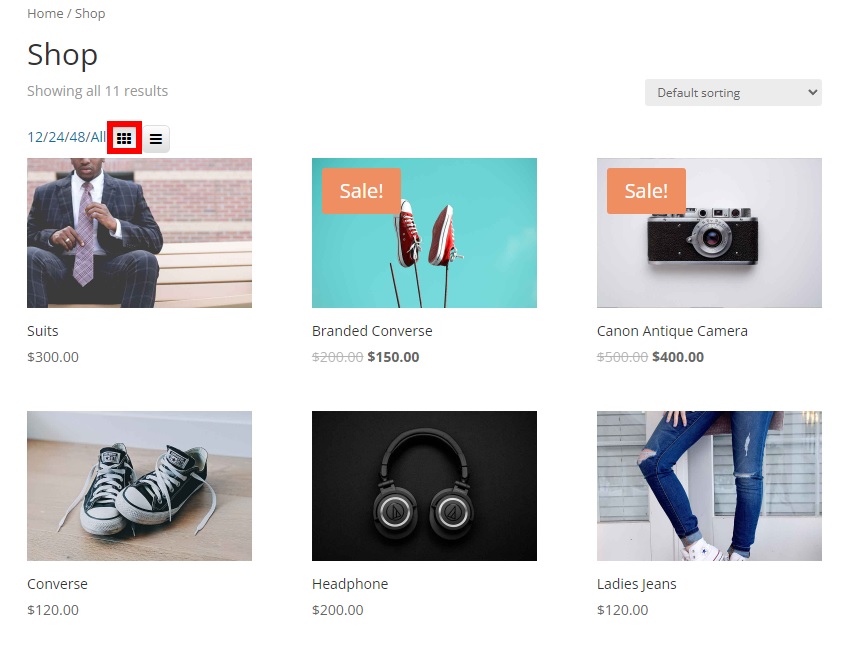
That’s it! This is how you can create a WooCommerce product list view and allow your customers to switch between the grid and the list view.
Bonus: Enable Catalog Mode in WooCommerce
We have already presented you with one of the easiest ways to create a WooCommerce product list view. They are very useful to showcase your products on a catalog website. However, to help you enable catalog mode in WooCommerce, we will provide you a simple guide as a bonus too.
To do so, you will have to add a few code snippets to the functions.php file in your website which is one of the core files of your theme. So please create a child theme for the next steps and back up your website so that your changes are saved when you update your WordPress theme. If you need help, you can also use one of the child theme plugins for WordPress to create a child theme.
After you activate your child theme, go to Appearance > Theme File Editor and open the functions.php file of your theme. Then, you can start adding the code snippets at the end of the editor and Update the file.
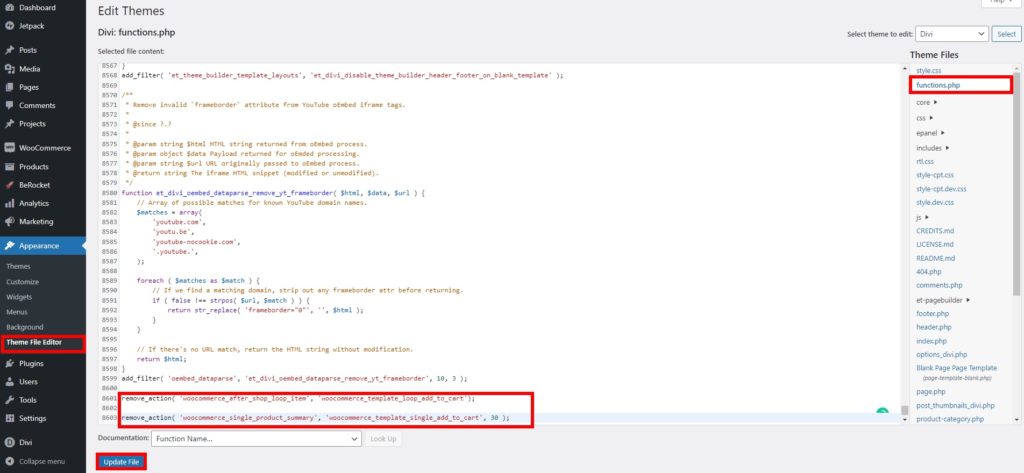
The theme files depend on the active theme of your website. We have used the Divi theme here so your editor might look a bit different.
First, you need to remove the add to cart button and then hide the prices of the products. Therefore, you have to add the following code snippets in the editor.
1. Remove Add to Cart Button
You can use the following script to hide the add to cart button for the shop page and the product page. So just paste it into the functions.php file of your theme.
remove_action( 'woocommerce_after_shop_loop_item', 'woocommerce_template_loop_add_to_cart');
remove_action( 'woocommerce_single_product_summary', 'woocommerce_template_single_add_to_cart', 30 );
This function will remove the add to cart page for both the WooCommerce product page as well as the shop page.
If you wish to make the products unpurchasable, you can add the following code snippet too.
add_filter( 'woocommerce_is_purchasable', '__return_false');
It will also replace the add to cart button with a “Read More” button.

2. Hide the Product Prices
You can hide the product prices in various ways in WooCommerce. They can be kept hidden for all the users or everyone except the admin.
If you want to hide the product prices for all the users, use the following script:
add_filter( 'woocommerce_get_price_html', 'QuadLayers_remove_price');
function QuadLayers_remove_price($price){
   return ;
}
Alternatively, if you want to hide the prices for everyone except the admin, then use the following snippet:
add_filter( 'woocommerce_get_price_html', 'QuadLayers_remove_price');
function QuadLayers_remove_price($price){
if ( is_admin() ) return $price;
   return ;
}

In addition, you can also hide the products in just the shop page if needed. All you have to do is paste the following code snippet in the functions.php file
add_filter( 'woocommerce_after_shop_loop_item_title', 'remove_woocommerce_loop_price', 2 );
function remove_woocommerce_loop_price() {
 if( ! is_shop() ) return; // Hide prices only on shop page
remove_action( 'woocommerce_after_shop_loop_item_title', 'woocommerce_template_loop_price', 10 );
}
Good Job! You can now create a WooCommerce product list view and properly enable the catalog mode on your website. If you want alternative methods to display the catalog mode, we have a detailed guide to enable catalog mode in WooCommerce. Similarly, if you need some more information to remove the add to cart button, or hide prices in WooCommerce, we have covered them too.
Conclusion
We hope that you are able to create a WooCommerce product list for your online store now. You can easily use a dedicated plugin to allow your customers to switch to a product list view. The plugins even allow them to switch back to the grid view if necessary along with a lot of other customization options.
We have also provided you with some basic steps to customize the shop page enable catalog mode on your website where you can show the product list view too. If you want to make changes to some more WooCommerce pages, you can also customize the cart page, category page, or even the checkout page with plugins like WooCommerce Checkout Manager.
So, can you add a product list view on your online store without any issues? Have you ever tried it? Please let us know in the comments.
Meanwhile, here are some more of our articles that you might be interested in:

Hello, is there any new plugin, do you have it?
Hello,
Please have a look at this article.