
How To Deactivate WordPress Plugins In Bulk: 6 Methods
While running a WordPress website, sooner or later, you will face different issues. The most common ones are the maximum execution time exceeded, white screen of death, or being locked out of the admin area. In each case, you might want to consider disabling all your plugins for troubleshooting purposes. In this article, we are going to show you different ways to deactivate WordPress plugins in bulk.
Why Deactivate Plugins In Bulk In WordPress?
Learning how to deactivate plugins in bulk can help you save a lot of time when troubleshooting and fixing issues in WordPress. In many cases, that is the first step to fixing some of the most common errors because poorly coded plugins can affect your website’s performance. For example, disabling the active plugins and themes is one of the methods to fix the maximum execution time exceeded error. Besides, if any of your plugins are not compatible with the latest version of WordPress, it can cause issues on your site’s frontend.
Even though you can deactivate plugins one by one, if you have many it can be time-consuming. So, to find a faulty plugin, you can disable all of them and then activate them one by one.
How to Deactivate WordPress Plugins in Bulk
There are several methods to disable WordPress plugins in bulk:
- From the WordPress dashboard
- cPanel
- FTP
- PHPMyAdmin
- WP-CLI
- With Plugins
All of these methods will help you do the job. But you’ll find one or the other more useful depending on your skills and specific situation (if you have access to your admin dashboard for example).
NOTE: As some of these methods require editing core files, we recommend you create a complete backup of your site before you start. For more information, check out our tutorial on how to back up a WordPress site.
1) From the WordPress Dashboard
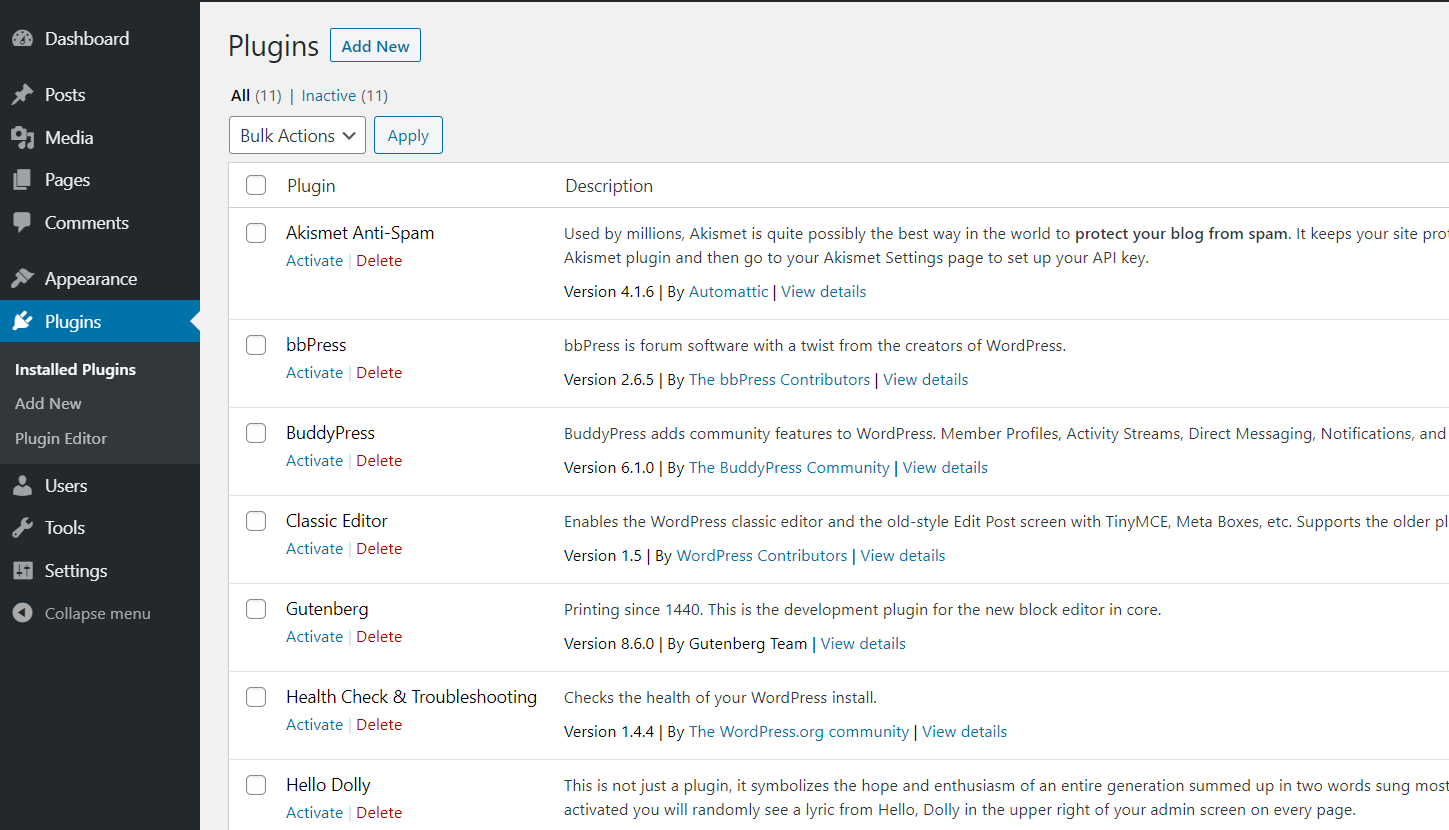
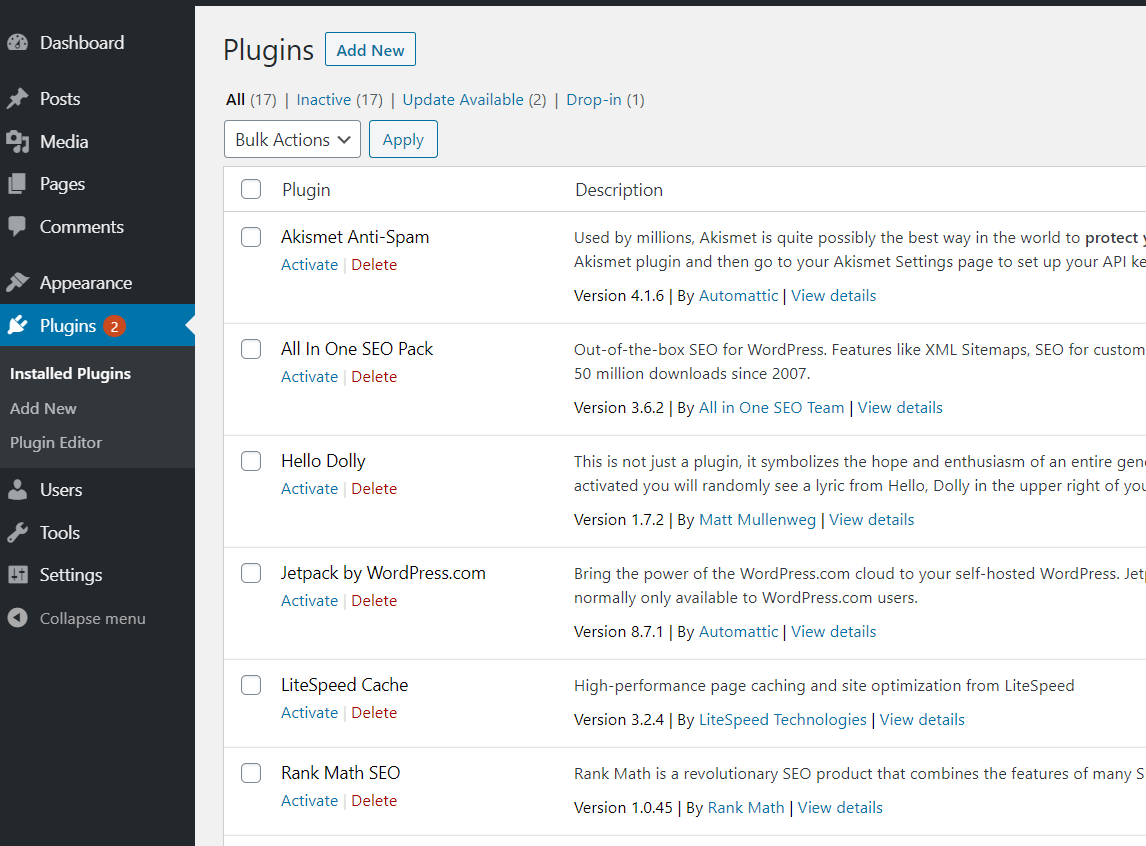
When you have access to the WordPress backend, this is the easiest way to mass disable the plugins. All you need to do is, log in to your WordPress backend, and go to Plugins > Installed Plugins. There, you will see all the installed and activated plugins on your site.
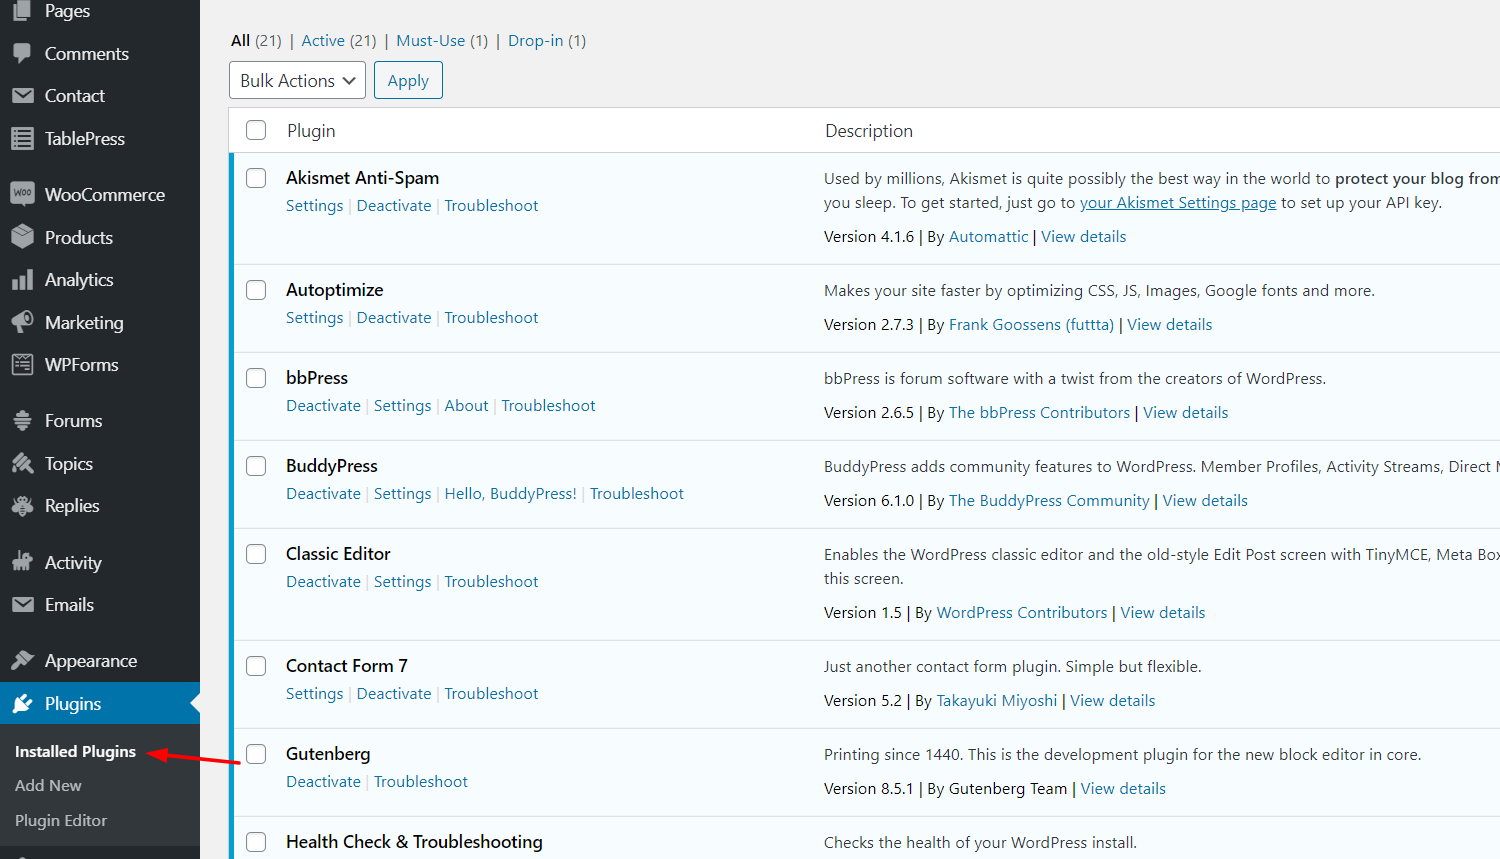
Under the plugin names, you will be able to see a Deactivate button. You can use that for disabling the plugins one by one.
However, disabling them one by one will take a lot of time if you have many plugins. Instead, you can select all the plugins, choose the Deactivate option from the dropdown, and apply it.
As you can see in the above GIF, this way you will be able to deactivate all the WordPress plugins in no time. After that, you can enable them one by one to find the faulty one.
2) cPanel
If you are using a shared hosting package of any of the popular web hosting companies like Bluehost, GreenGeeks or HostGator, their kits come with an excellent, easy to use control panel (also known as cPanel).
Typically, a cPanel contains website customization options such as:
- File manager
- FTP accounts
- Email accounts
- MySQL databases
- Domain management
- Application installation
- And many others
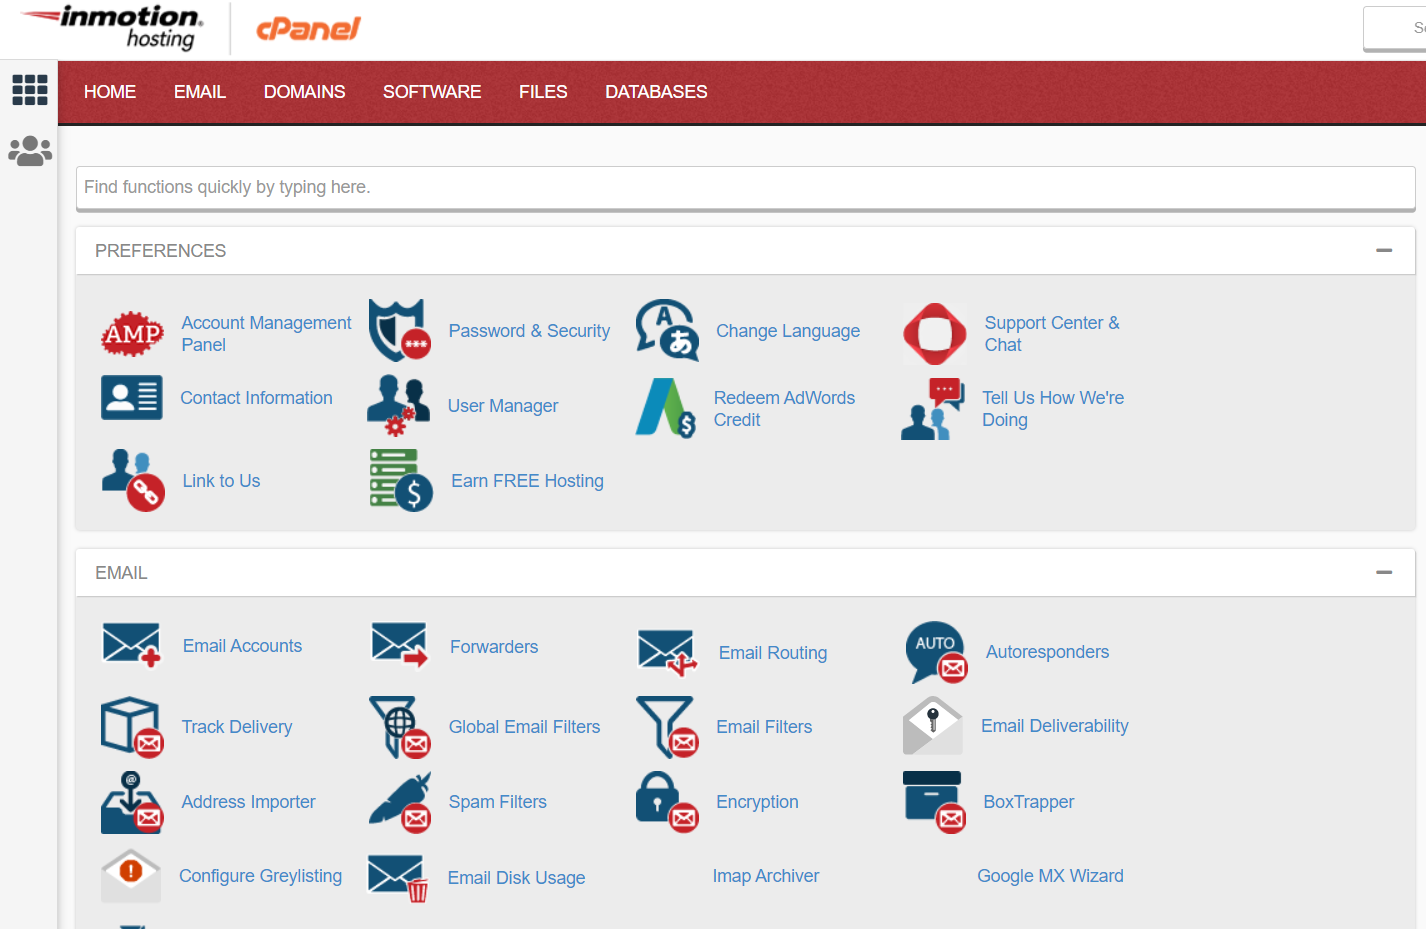
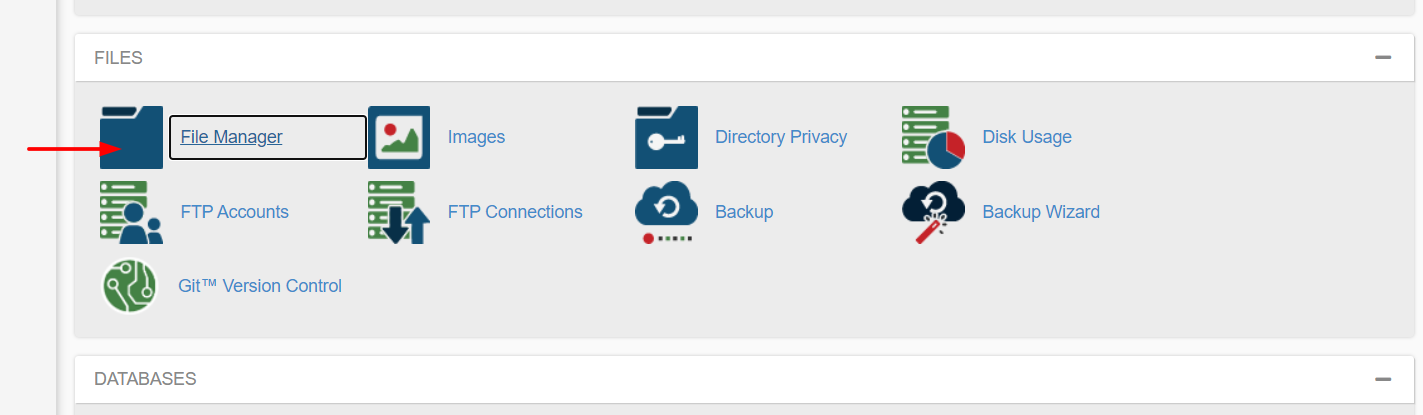
To deactivate the WordPress plugins in bulk from the cPanel, first, you will need to open the file manager.
Then, you will need to go to the wp-content folder and look for the plugins folder.
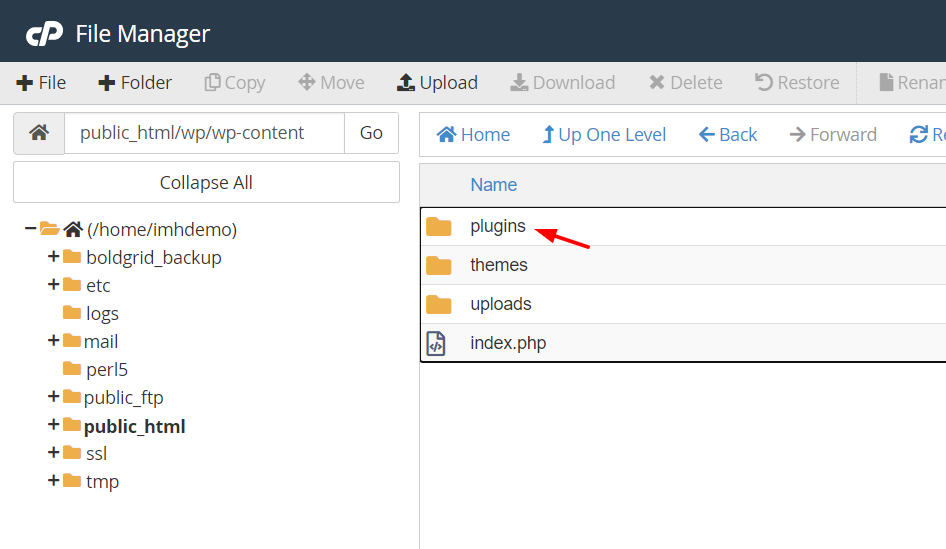
Renaming the folder to something else will deactivate all the plugins on your site. For example, you can rename it plugins.old.
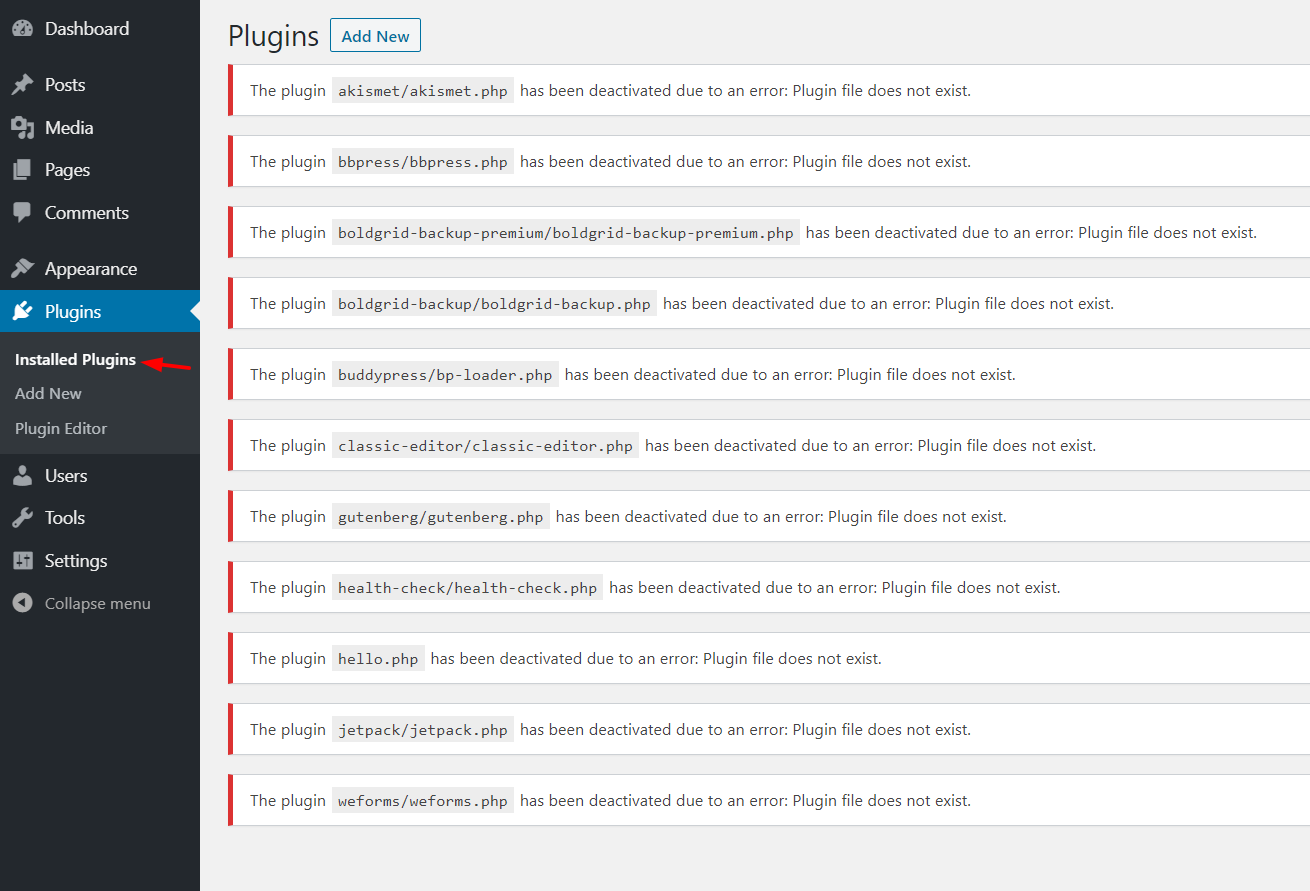
Then, if you check the plugins section in WordPress, you will see that all the add-ons have been deactivated.
After that, if you want to activate your plugins again, you need to change the plugins folder to plugins again. And then, you can activate the plugins one by one from the WordPress dashboard.
All in all, the cPanel method is pretty easy and effective. Just make sure you have renamed the plugin folder back to its normal state.
3) FTP Client
Another way to deactivate WordPress plugins in bulk is with an FTP Client. There are many tools you can use but in our experience, FileZilla is the best option and it’s free.
To start the process, you will need to create an FTP account through the cPanel.
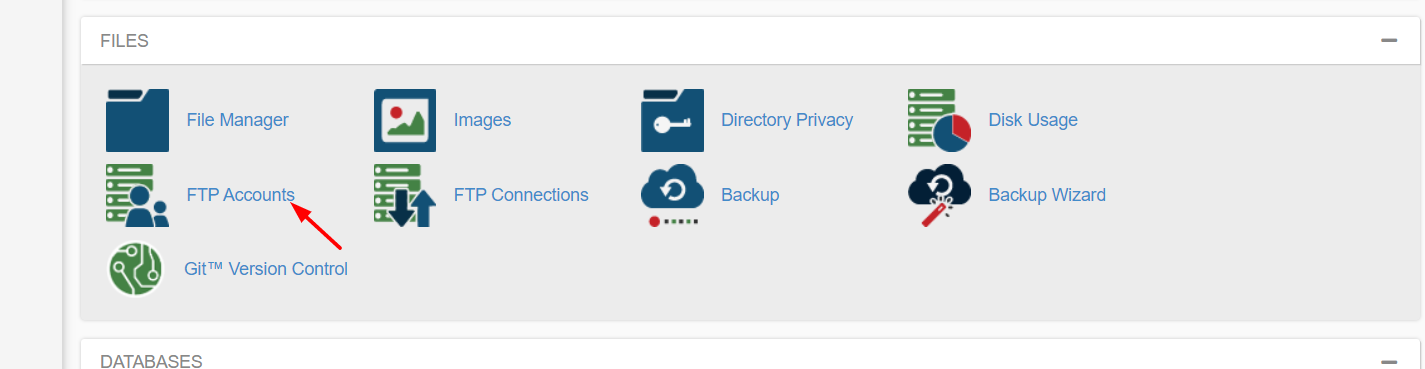
Once you have opened the configuration wizard, you can easily set up an FTP account.

All you need is a username, password, and hostname. Use those credentials for logging in to your server. Then go to the wp-content > plugins folder.
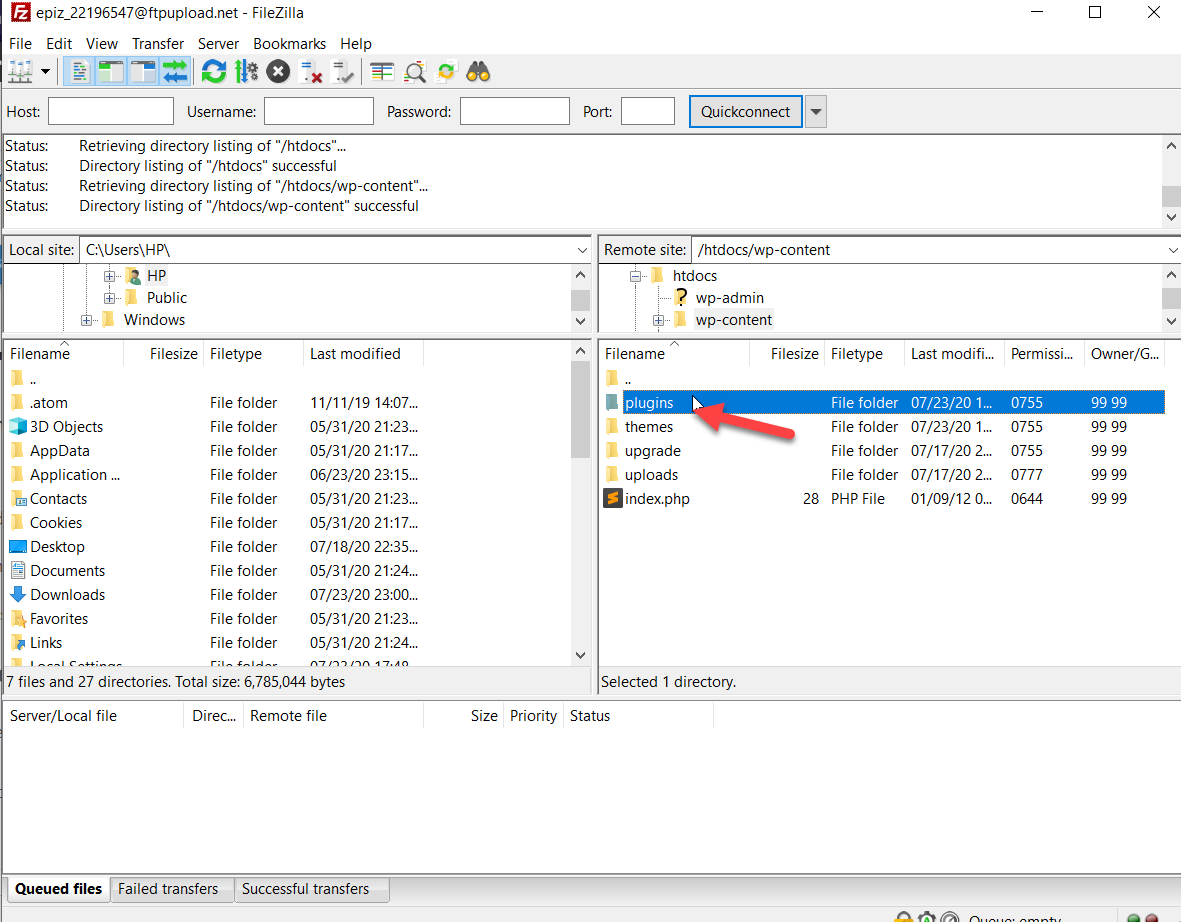
Here, you need to right-click on it and change the plugins folder’s name. For example, we’ll call it plugins.back.
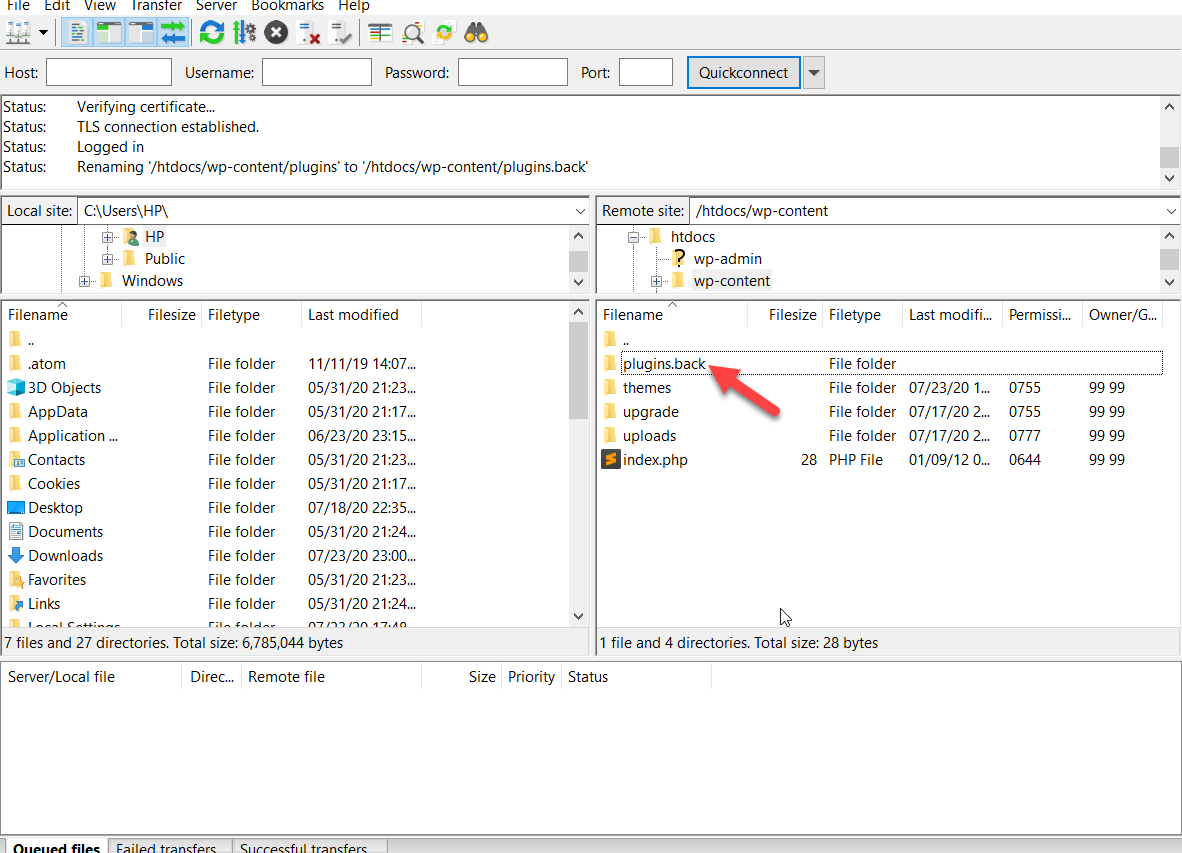
After that, check the plugins on your site. You will see that all the plugins are deactivated.
After that, simply rename the plugin folder back to plugins, and start activating the add-ons.
4) PHPMyAdmin
The three methods we have covered so far are pretty simple and effective. However, deactivating the plugins via PHPMyAdmin is a bit more complex and we don’t recommend it for beginners.
In this method, you will need to modify the WordPress database and do a bit of coding. So, once again, we recommend you generate a complete backup of your website before moving forward. If you don’t have access to your backend, the cPanel allows you to create backups. Additionally, if you are running your site on any managed WordPress hosting, most companies offer one-click backups.
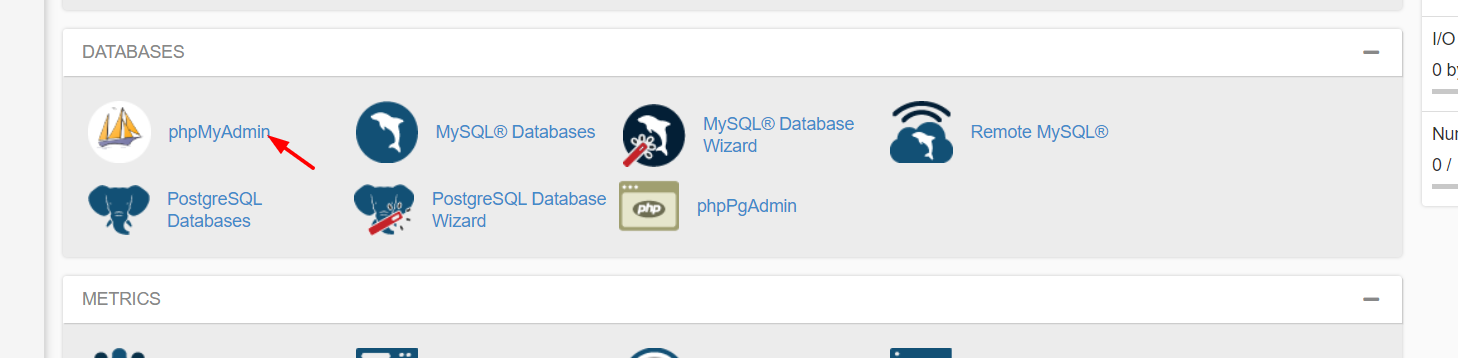
Once you’ve backed up your site, you can start with this method. In the cPanel, go to the PHPMyAdmin tab under the Databases configuration section.
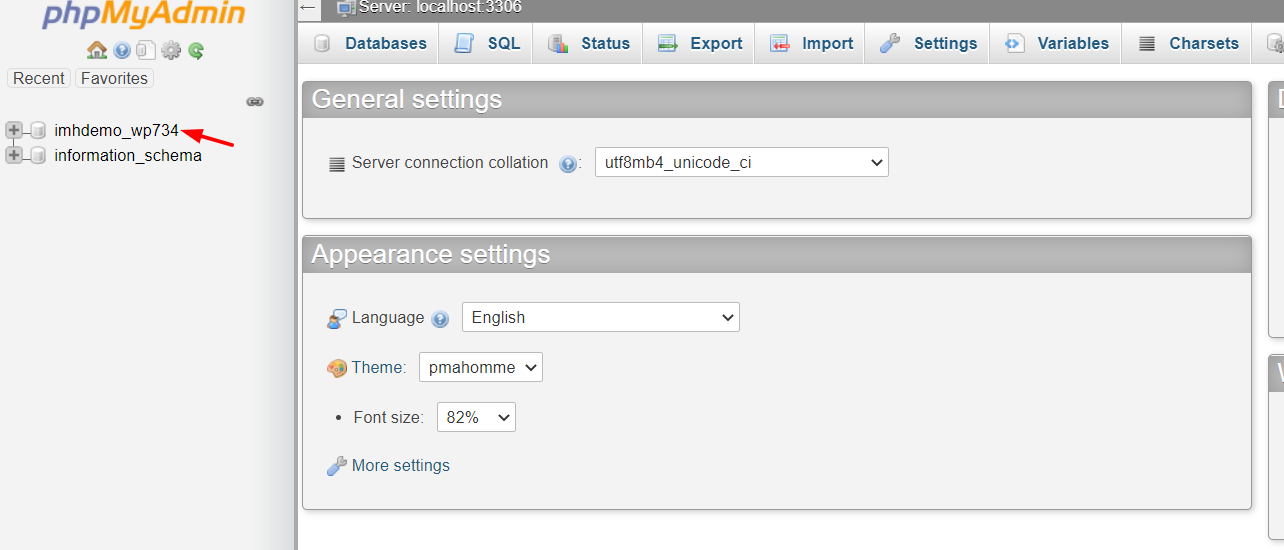
Open it and you will see your site’s MySQL database. Select it.
On the next screen, you will see all the tables on your site. Choose the wp_options table.
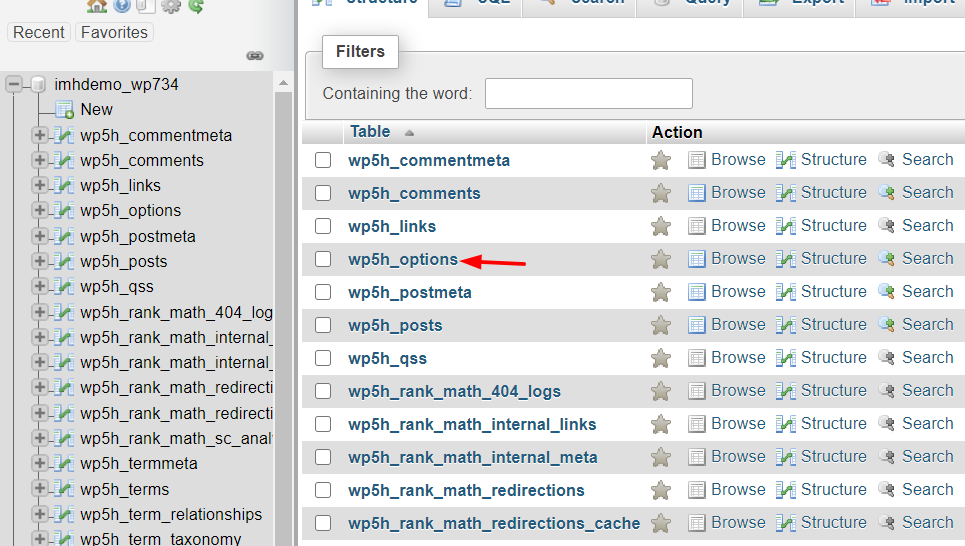
After that, search for the active_plugins table. Once you have found it, click on the Edit button.
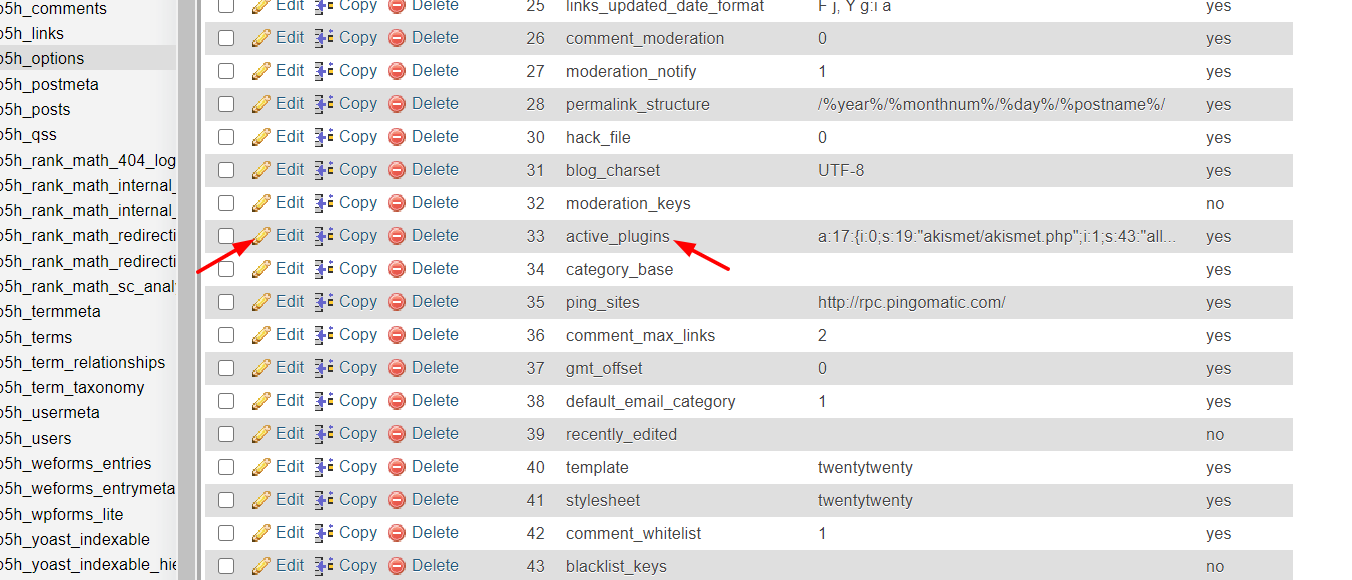
Then, copy the code from below and paste it on the editor and press Go.
a:0:{}
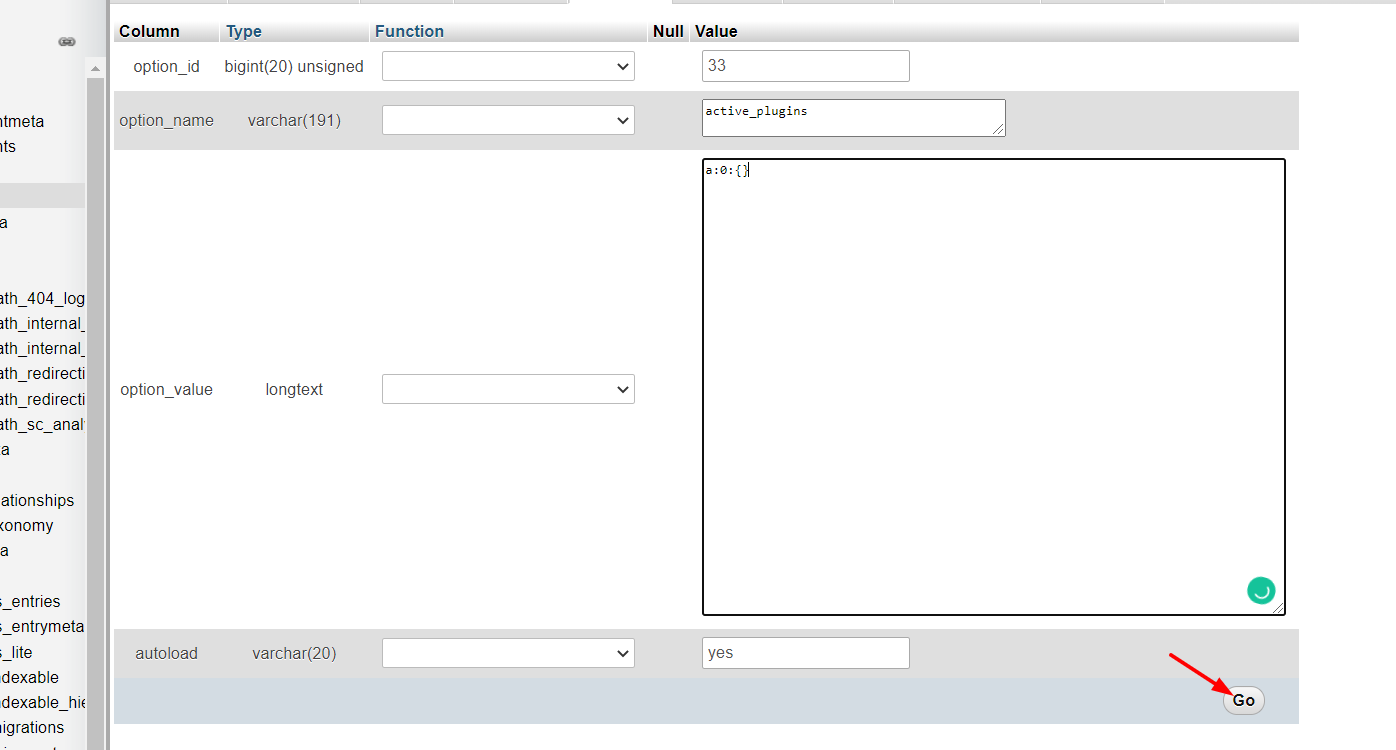
That’s it! Now, you have disabled all the WordPress plugins on your site! You can check the backend from the WordPress dashboard and see the result.
Even though this method involves a very simple code, if you’re a beginner we recommend you use some of the previous methods (WordPress dashboard, cPanel, or FTP).
5) WP-CLI
This is the perfect method for developers. WP-CLI is an excellent tool that allows you to write command-lines in WordPress. As it requires some coding skills, we don’t recommend it for beginners.
For this method, you’ll need to install WP-CLI and connect it to your server. Once you have launched it, with some SSH commands, you can do a wide range of tasks. For example, deactivate plugins in bulk.
Here, we are going to show you how to do it.
Before disabling the plugins, you can check all the plugins you have on your site with the following command.
$ wp plugin list
You’ll see the list of plugins with their names, status, available updates, and version numbers. To deactivate all the WordPress plugins, write this command:
$ wp plugin deactivate --all
Then, if you want to activate a specific plugin, you can write:
$ wp plugin activate pluginname
And replace pluginname with the name of the plugin that you want to activate.
If you’re used to writing commands in the terminal, you’ll find this method pretty fast and convenient. If you want more information about WP-CLI’s commands, feel free to check out their website.
6) Plugins
The last method to deactivate WordPress plugins in bulk is using plugins. There will always be a plugin for every task. In this section, we are going to show you how to disable all the plugins in a single click with Plugin Deactivator.
First, log in to your WordPress site and go to the Add New section under Plugins. Then, search for the Plugins Deactivator plugin, install and activate it.
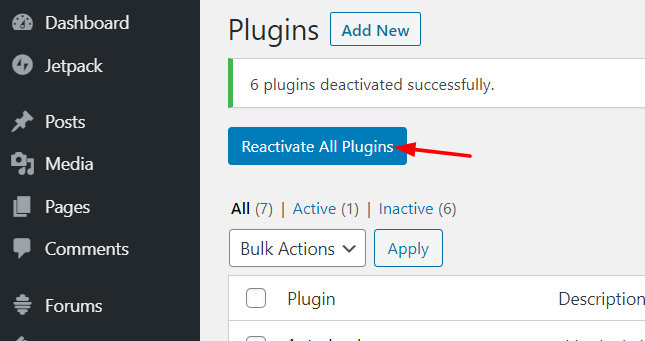
After that, you will see the Deactivate All Plugins button on top of the Plugins page.
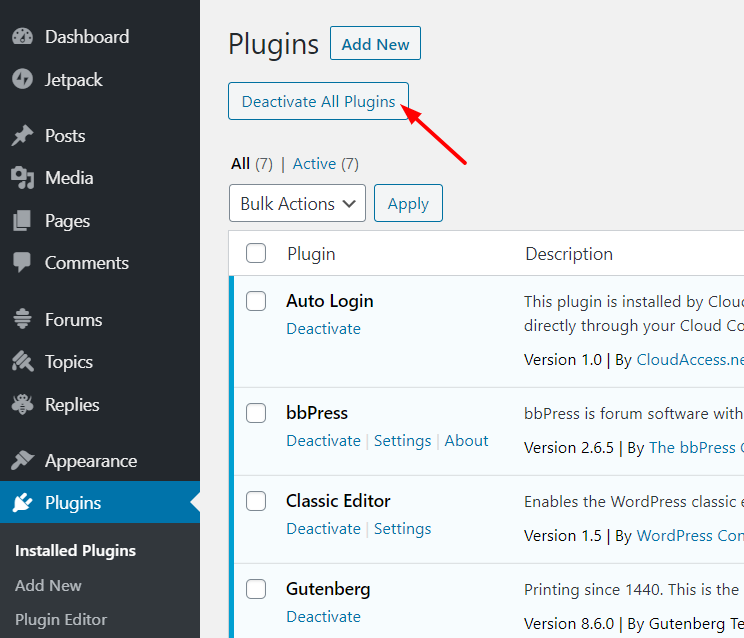
So, click that button and all your active plugins will be instantly deactivated!

Then, you can either activate the plugins one by one or click Reactivate All Plugins to activate them.
NOTE: The Plugins Deactivator plugin has not been updated for a while, so make sure that it doesn’t cause any conflicts with your current WordPress version.
Which method to deactivate WordPress plugins in bulk should you use?
All in all, disabling plugins in bulk can help you save time when you’re troubleshooting errors in WordPress. You can do this in many ways, but which method should you use? You don’t need to try all of them, choose the one that best suits your needs and skills.
For example, if you have access to your WordPress backend, just log in to the backend and deactivate the plugins manually using the bulk actions. However, when you don’t have access to the WordPress admin dashboard, we recommend you use the FTP or cPanel methods because they’re fast and effective.
On the other hand, if you’re a developer, you may be more comfortable with the PHPMyAdmin and WP-CLI methods. We don’t recommend these for beginners because a single line of code can break your entire website. Remember, before changing anything, we recommend you generate a complete backup of your site.
Finally, the plugin method allows you to deactivate all the plugins in one click. But as there are several other extremely simple and effective methods, we don’t recommend installing an extra plugin for this task.
Did you find this article helpful? Please share it with your friends on social media and check out our blog section for more related articles.
Do you know of any other methods to disable plugins? Which one do you use? Let us know in the comments section below!
