
Do you use Elementor and you’re looking for a mega menu for your site? Check out this in-depth review of Max Mega Menu, one of the best Elementor mega menus for WordPress!
Introduction
A page builder is one of the best tools to design custom pages on your website without having to write a single line of code. There are many page builder for WordPress in the market both free and premium. Considering its features, ease of use, and integration with other add-ons, Elementor is one of the best ones out there. Similarly, your site’s navigation is essential to improve its overall performance. You need to make it easy for your visitors to find what they want. There are several things you can do to improve navigation and mega menus are one of the most powerful ones, especially for eCommerce stores or sites with many products or content. And what if you combine the best of those worlds? If you are planning to use Elementor to design your site and you want to include a mega menu, we have something for you. In this article, we are going to show you a complete review of Elementor Max Mega Menu, one of the top mega menus out there. We will analyze its features, how to use it, pricing options, and everything you need to know.
Max Mega Menu
In this article, we are going to show you one of our favorite tools, the Max Mega Menu. Max Mega Menu is a freemium WordPress plugin that can be downloaded from the WordPress plugins repository. 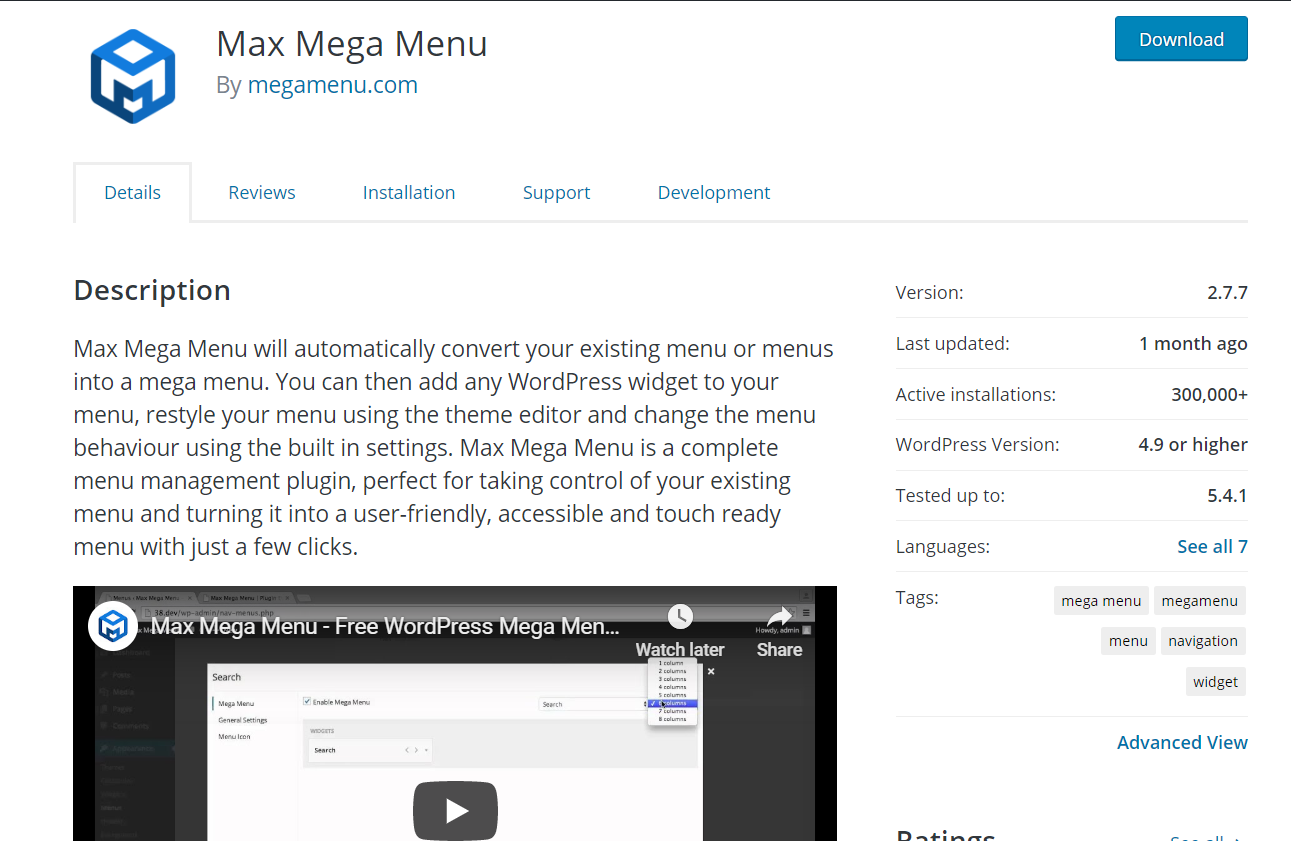 With more than 300,000+ active installations and a 5-star rating, it’s one of the most popular Elementor mega menus on the market. Additionally, Max Mega Menu is 100% optimized for WordPress 5.0 Gutenberg.
Installation and Activation
The installation and activation process for the free and premium versions are slightly different so here we’ll show you both of them.
Free version
1) The first step is to download and install the plugin. You can download the free version from the WordPress plugins repository. So log in to your WordPress site and go to the Add new section under Plugins. 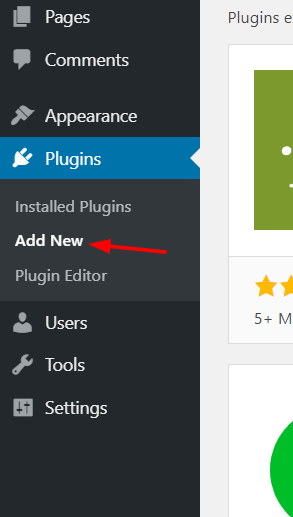 2) Search for the Max Mega Menu plugin.
 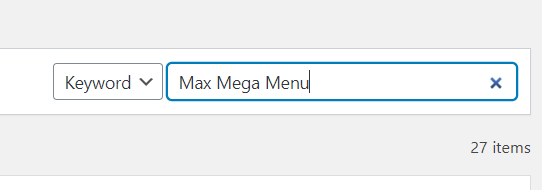 3) You will see the plugin in the results. Click on the Install Now button.
 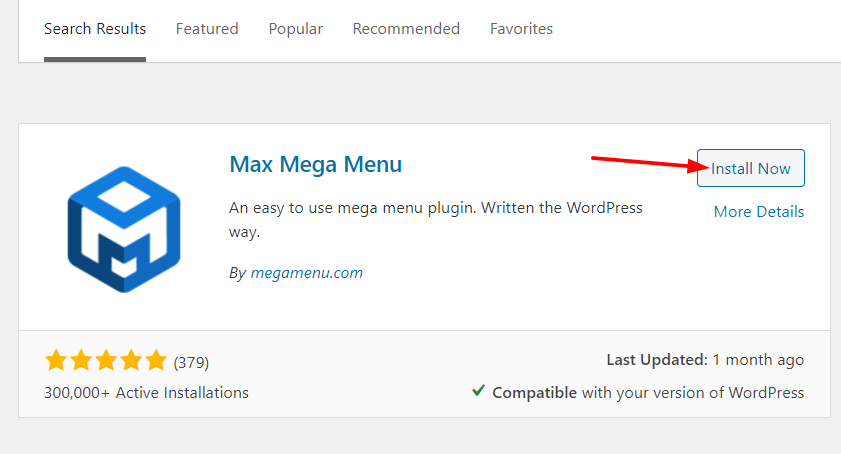 4) After the installation is complete, activate the plugin.
 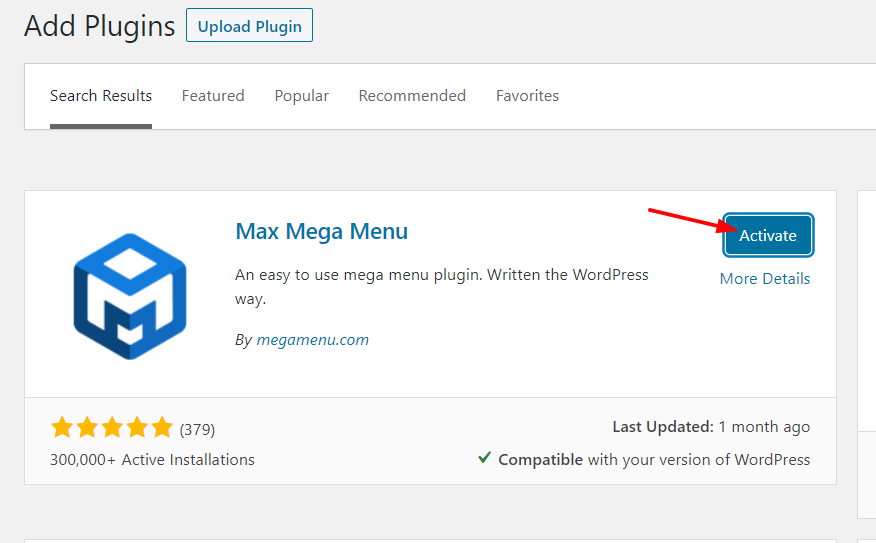 5) Then, you’ll see the plugins’ settings on your WordPress dashboard.
 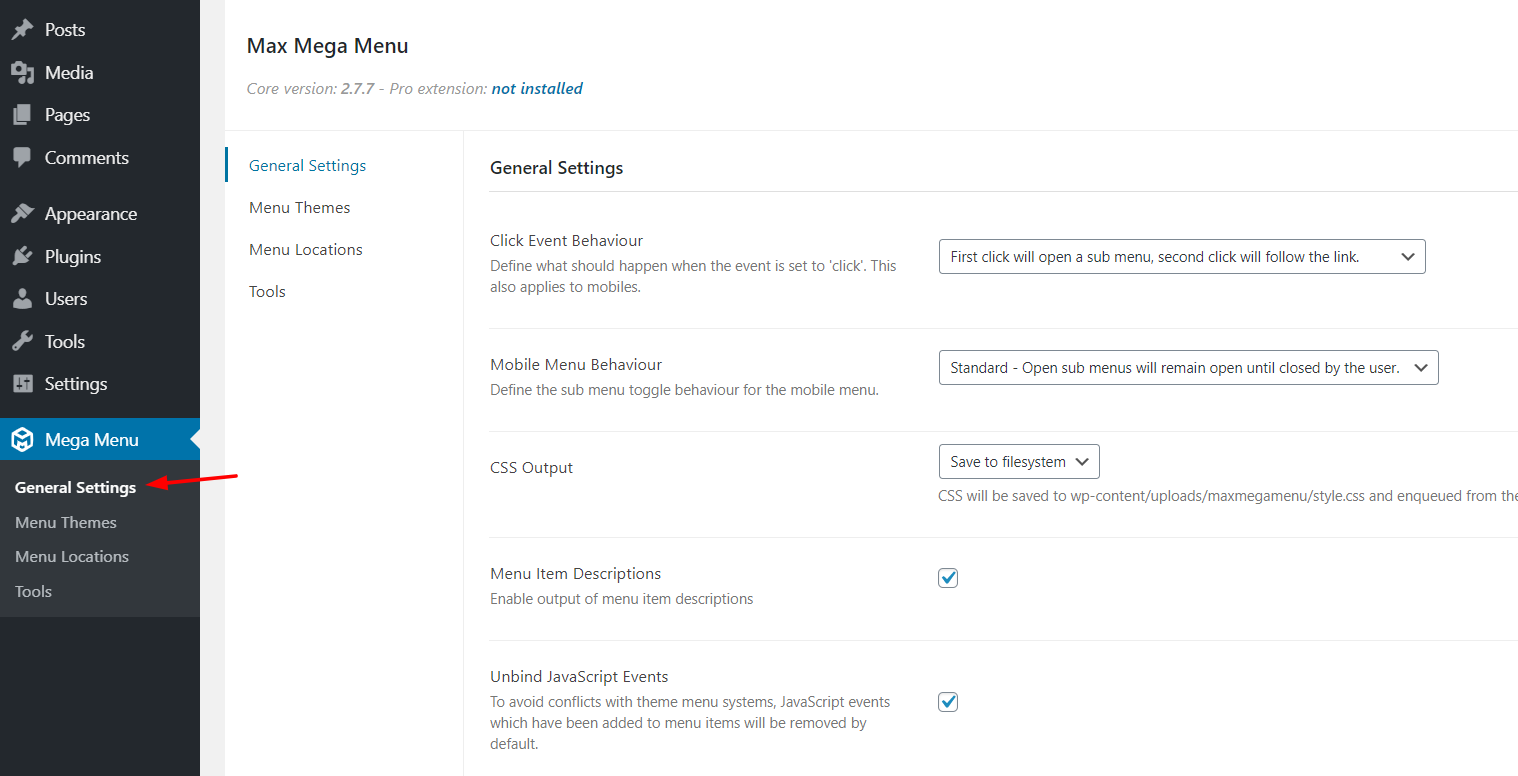 From here, you can customize your mega menu’s behavior, appearance, and so on.
Premium Version
Since you can’t download the premium version from the WordPress plugins repository, you have to download it from a third-party source and install it manually. 1) First, you need to purchase the premium version of the Elementor Max Mega Menu. We will talk about different plans and pricing options later. Once you purchased the plugin, log in to your account, and download the plugin files to your local computer. 2) Then, go to the Add New section under Plugins and click Upload Plugin. 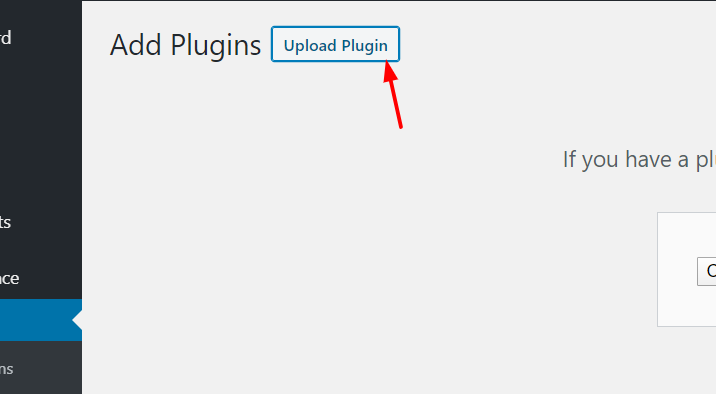 3) After that, upload the plugin files from your local storage and press Install Now.
 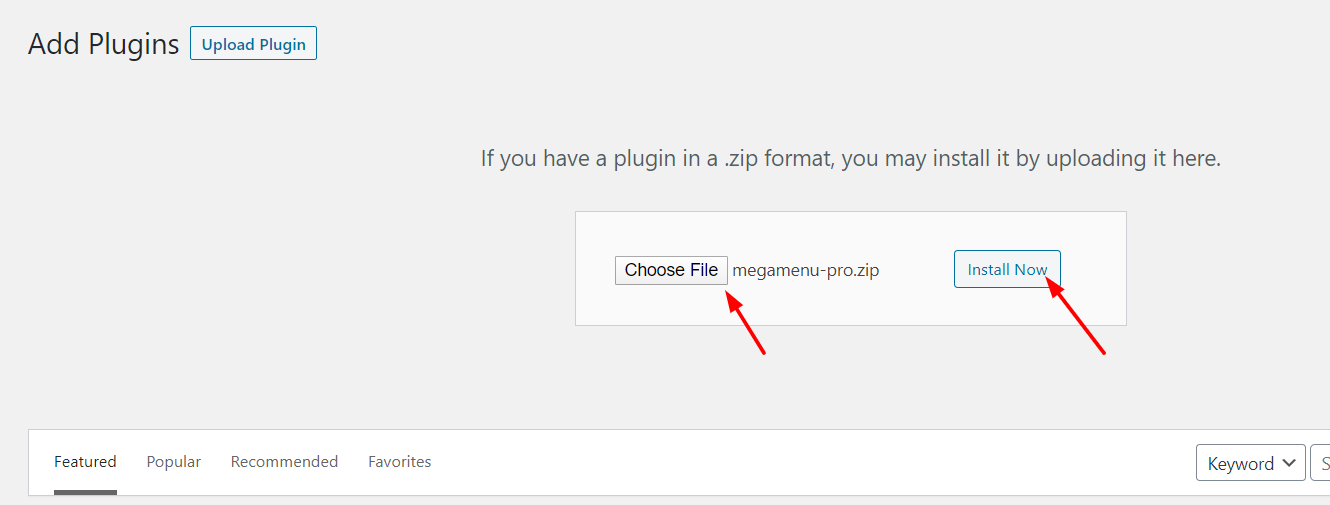 4) Once the installation is complete, click Activate Plugin.
 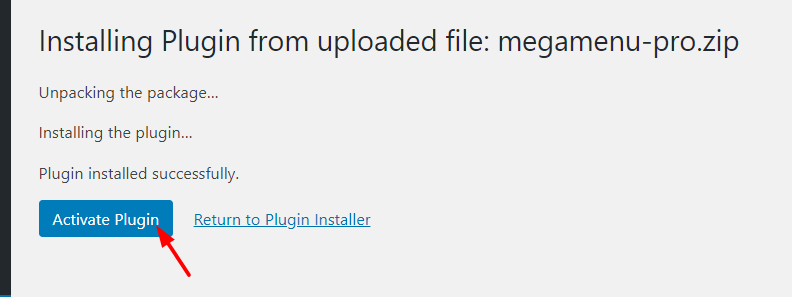 5) That’s it, you’ve successfully installed Max Mega Menu on your site!
 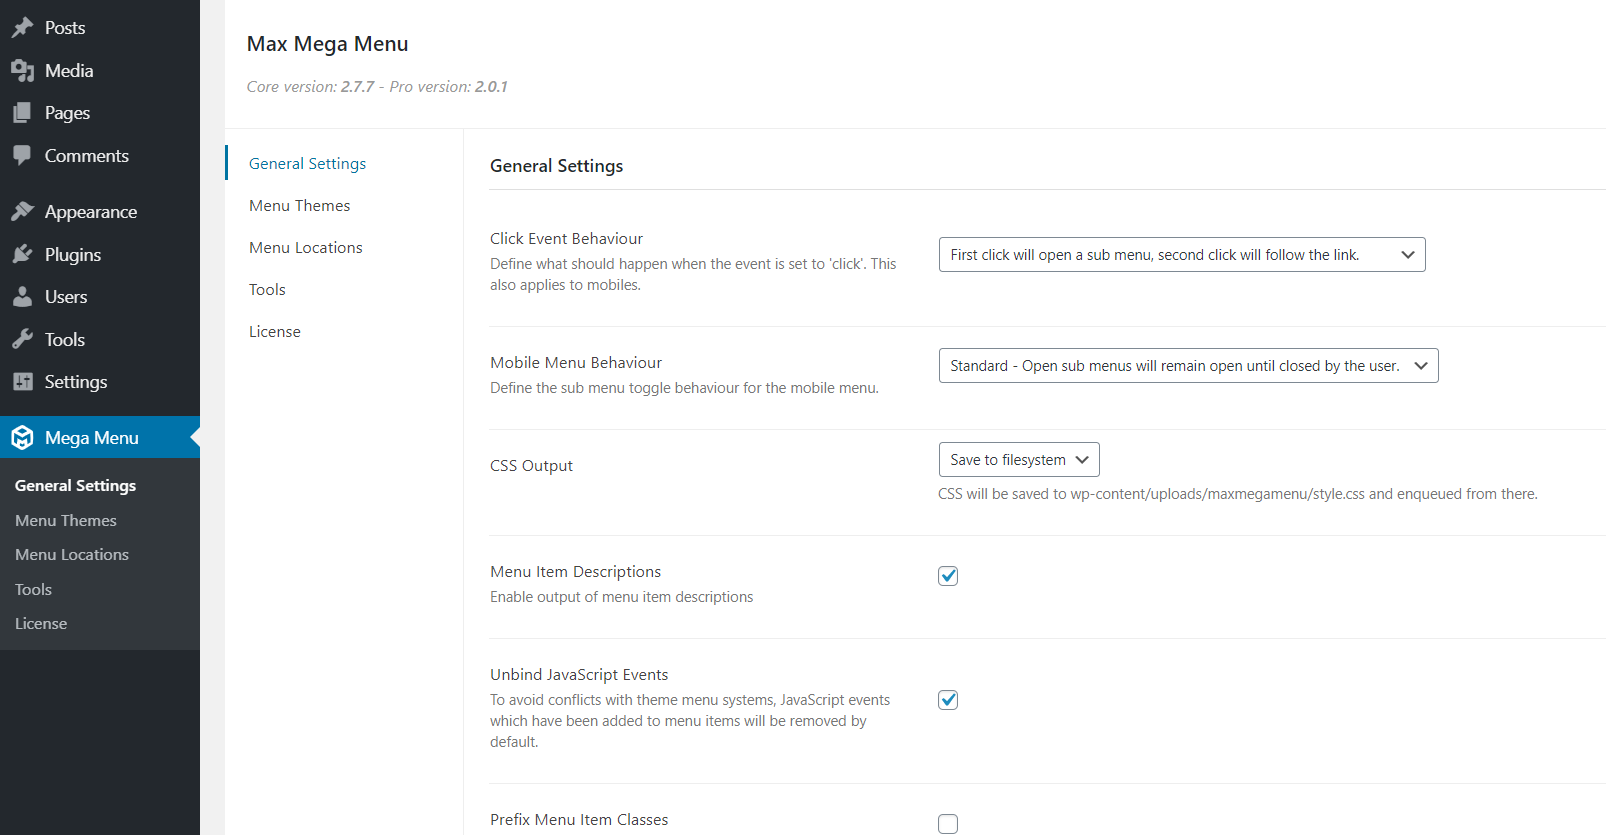 Keep in mind that to receive automatic updates, you need to verify your license key with the plugin. You can find the license key on your Max Mega Menu account’s dashboard. You’ll the section for key verification under the plugin’s settings.
 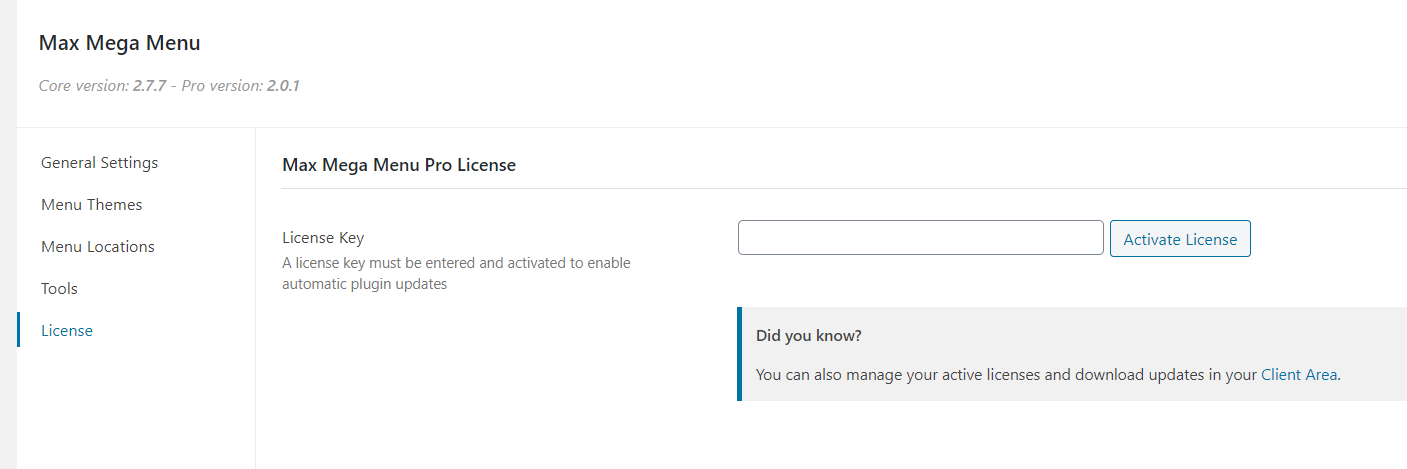 Once you have verified the key, you can update the plugin right from the WordPress updates page. Additionally, you can use an FTP client such as FileZilla and update it manually. NOTE: Even if you use the premium features of the plugin, we recommend you keep the free version of Max Mega Menu installed. Otherwise, the premium version might not work properly. For more information about how to add a mega menu to your site, you can check out our step-by-step guide.
How to use Max Mega Menu for Elementor?
Now that you’ve installed and activated the plugin, let’s see how to use Max Mega Menu for WordPress. Let’s start by creating a menu. Under the Appearance section, click Menus. 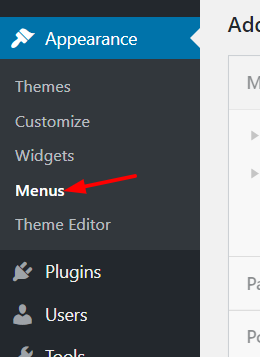 By default, you won’t see any menus. If that’s your case, you need to create a new menu. Simply give a name to your menu and click the Create Menu button.
 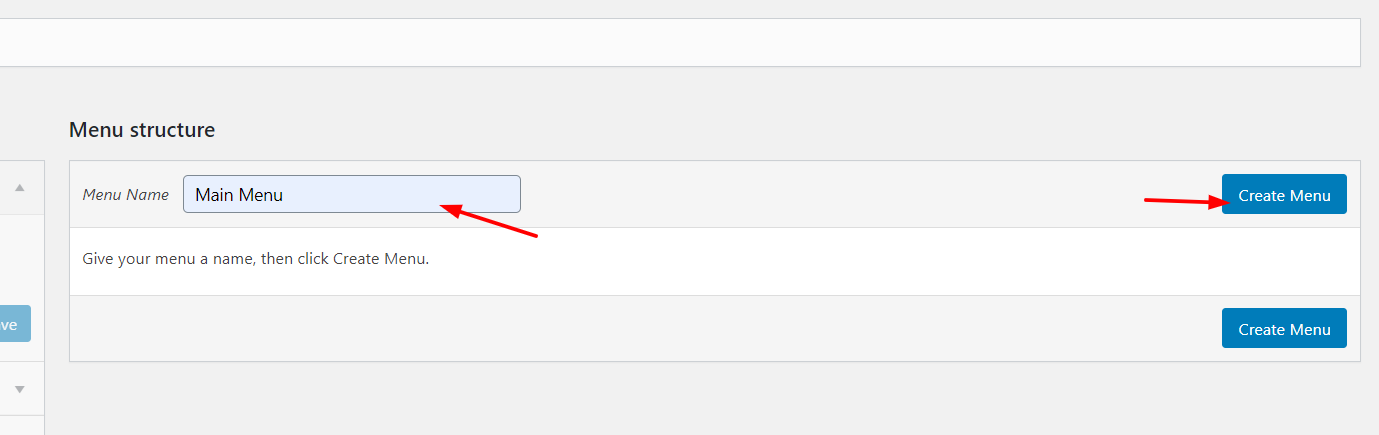 And according to your current theme, you will be able to assign a position to the menu.
 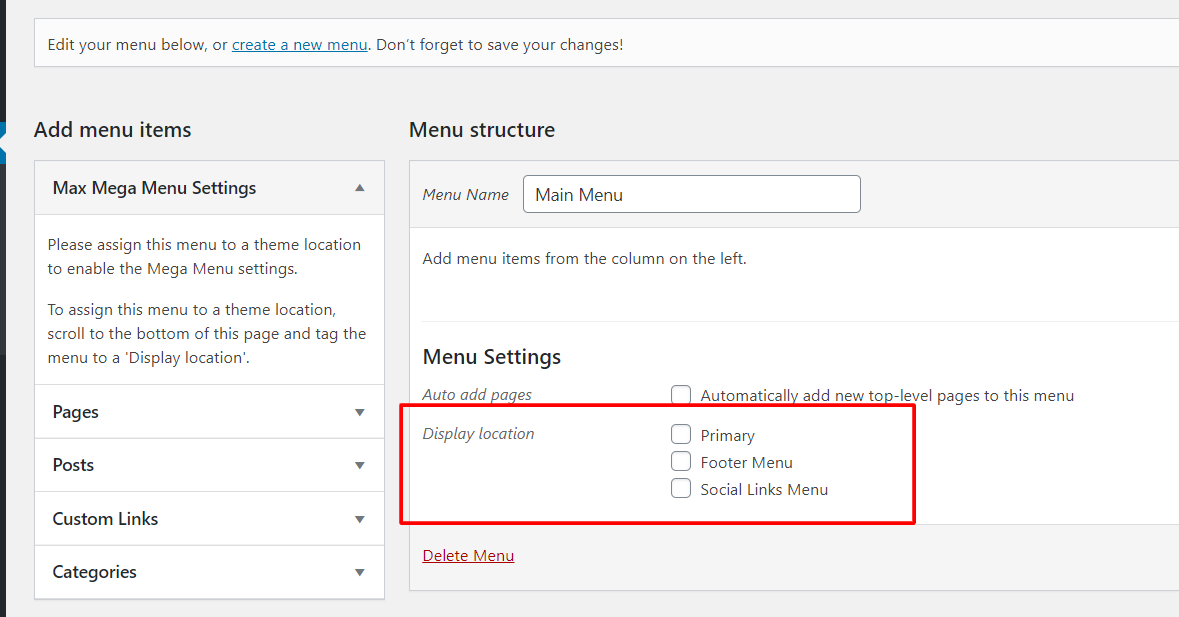 For this guide, we are using the default WordPress theme (Twenty Nineteen) that comes with three menu positions:
- Primary.
- Footer.
- Social Links.
We will select the primary menu location and then press the Save Menu button. 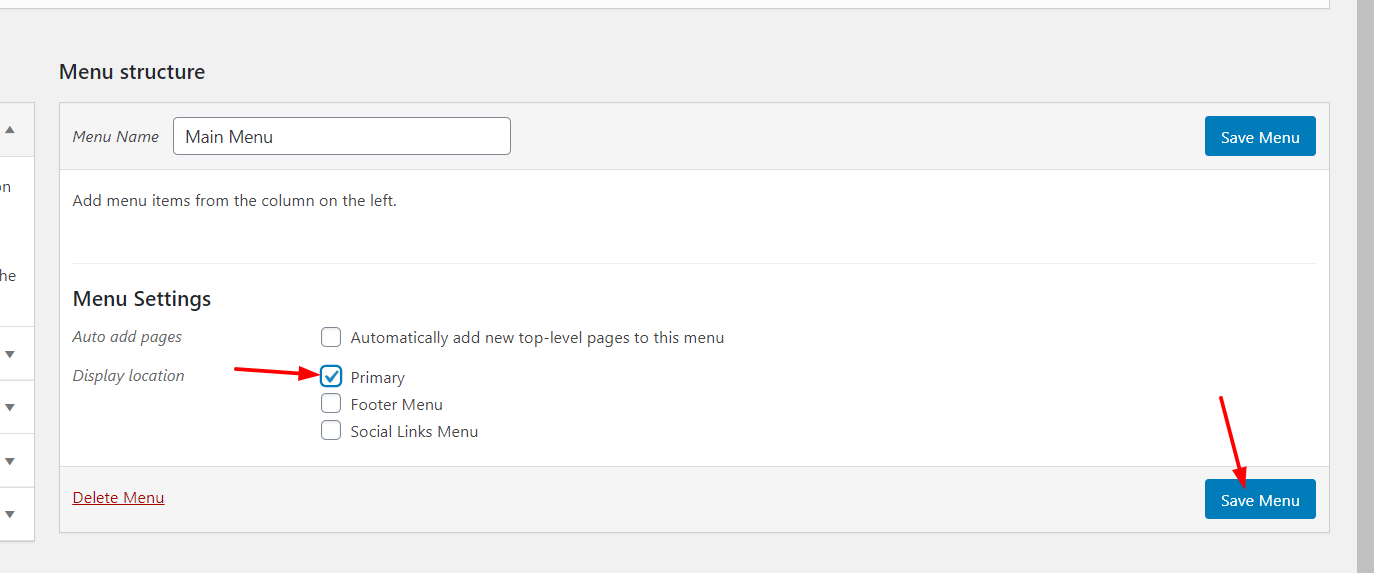 After that, you’ll see different Setting options for the Max Mega Menu.
 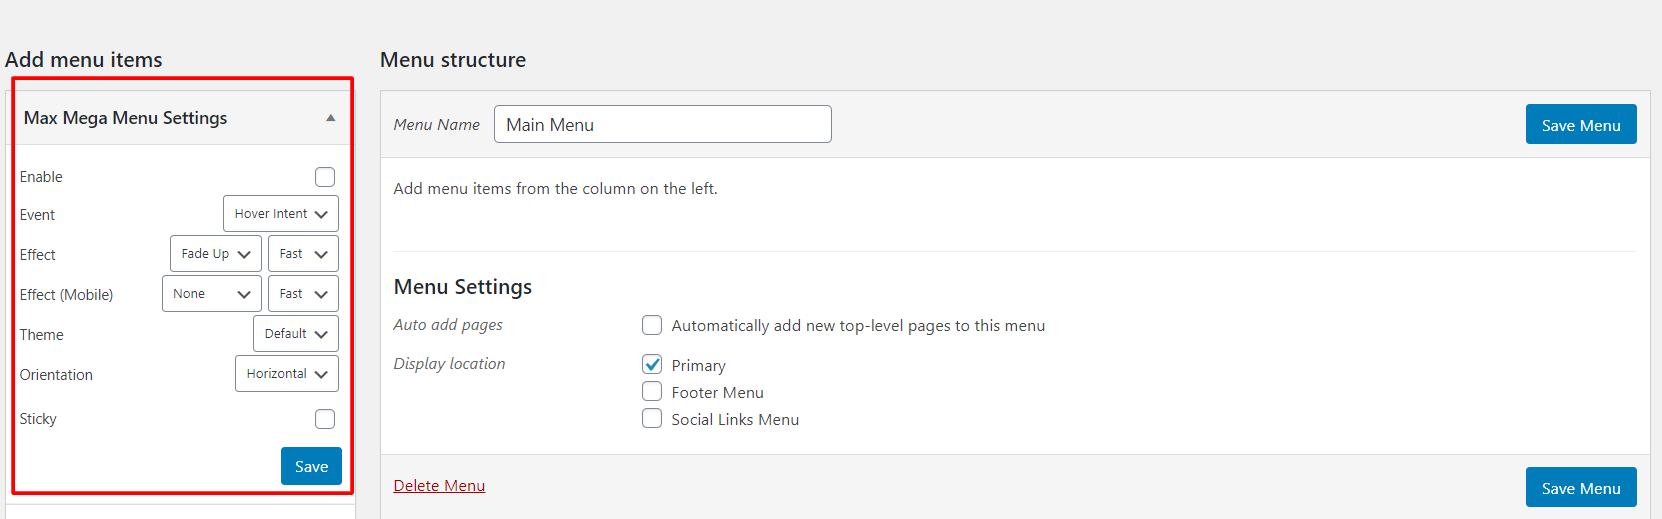 Here, make sure that you enable Max Mega Menu for the menu.
 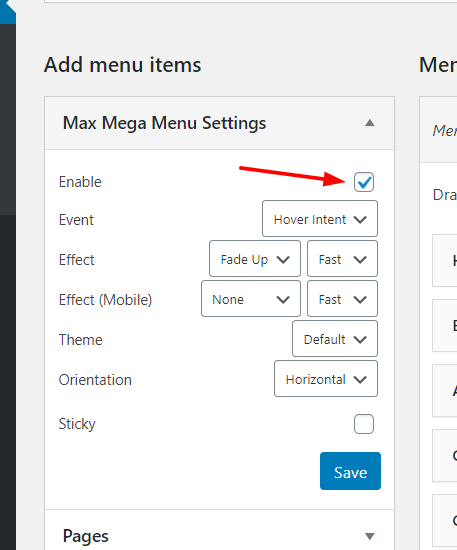 Some of the customization options are:
- Event.
- Effect.
- Effect for mobile.
- Theme.
- Orientation.
- Sticky.
For most sites, the default values are good but feel free to choose the ones that best fit your business. A sticky menu, also known as a fixed menu, is a menu that sticks to the top of the screen on desktop devices as the user scrolls down. This way the viewers can access it from anywhere on the site without the need to scroll up. From the left side, you can add content to your menus such as pages, posts, custom links, and categories. 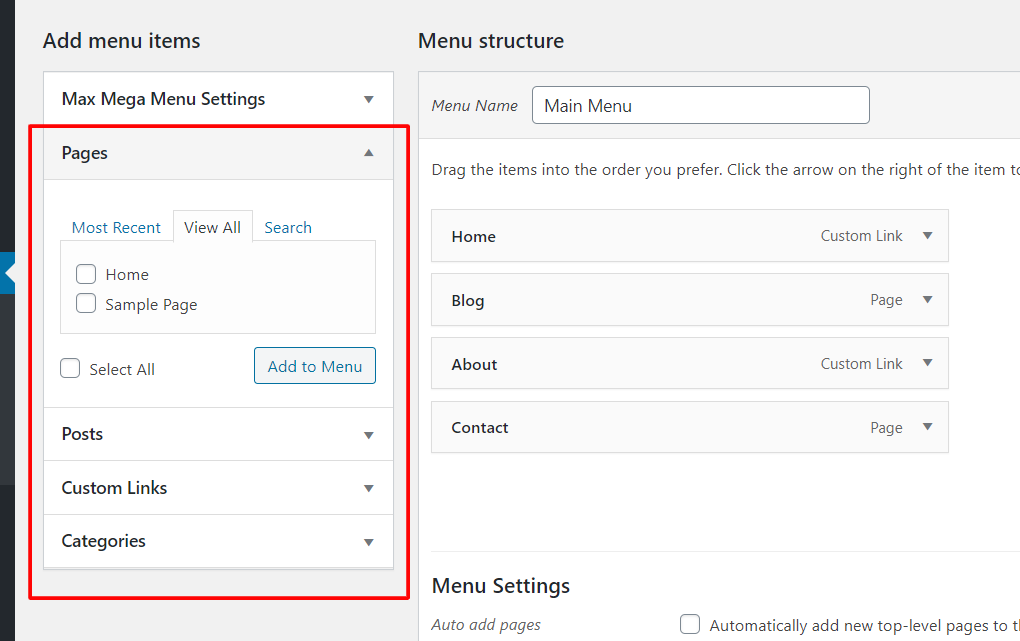 After you select the options you want, make sure to save your changes. For this example, on our menu, we’re going to display Home, Blog, About, and Contact.
 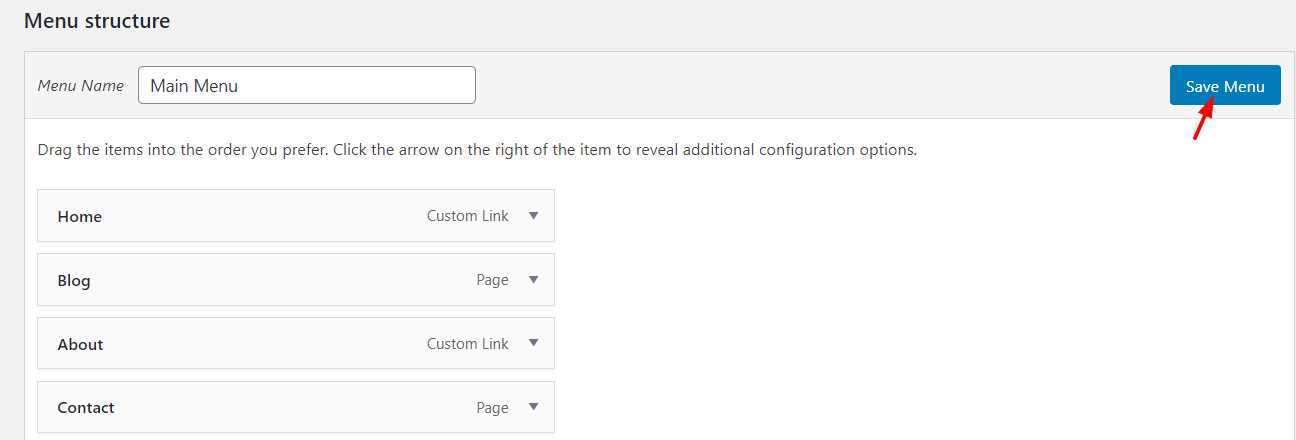 Then, if you check the menu from the frontend, you’ll see some changes.
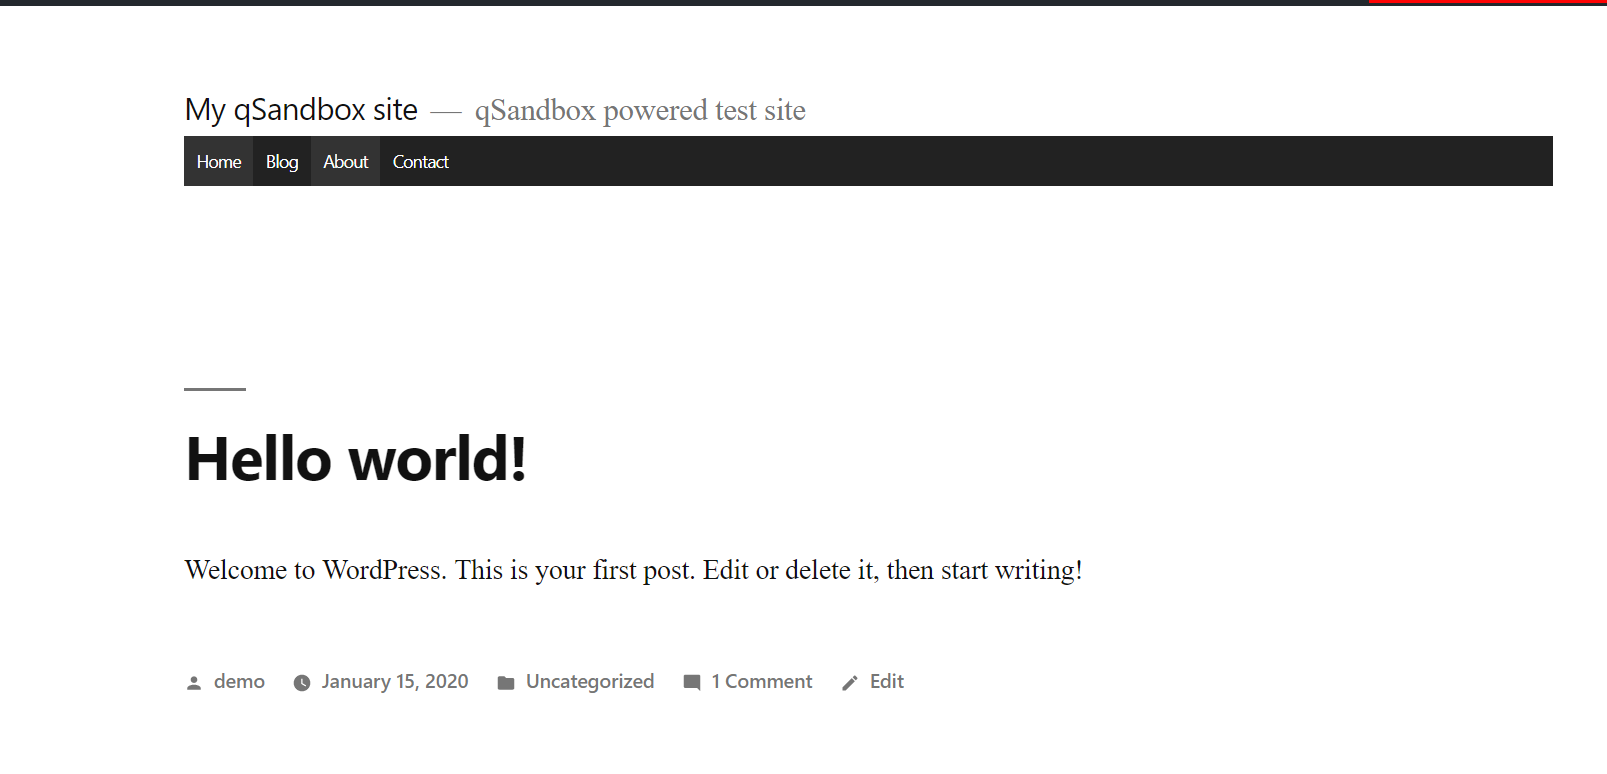
Customize with items
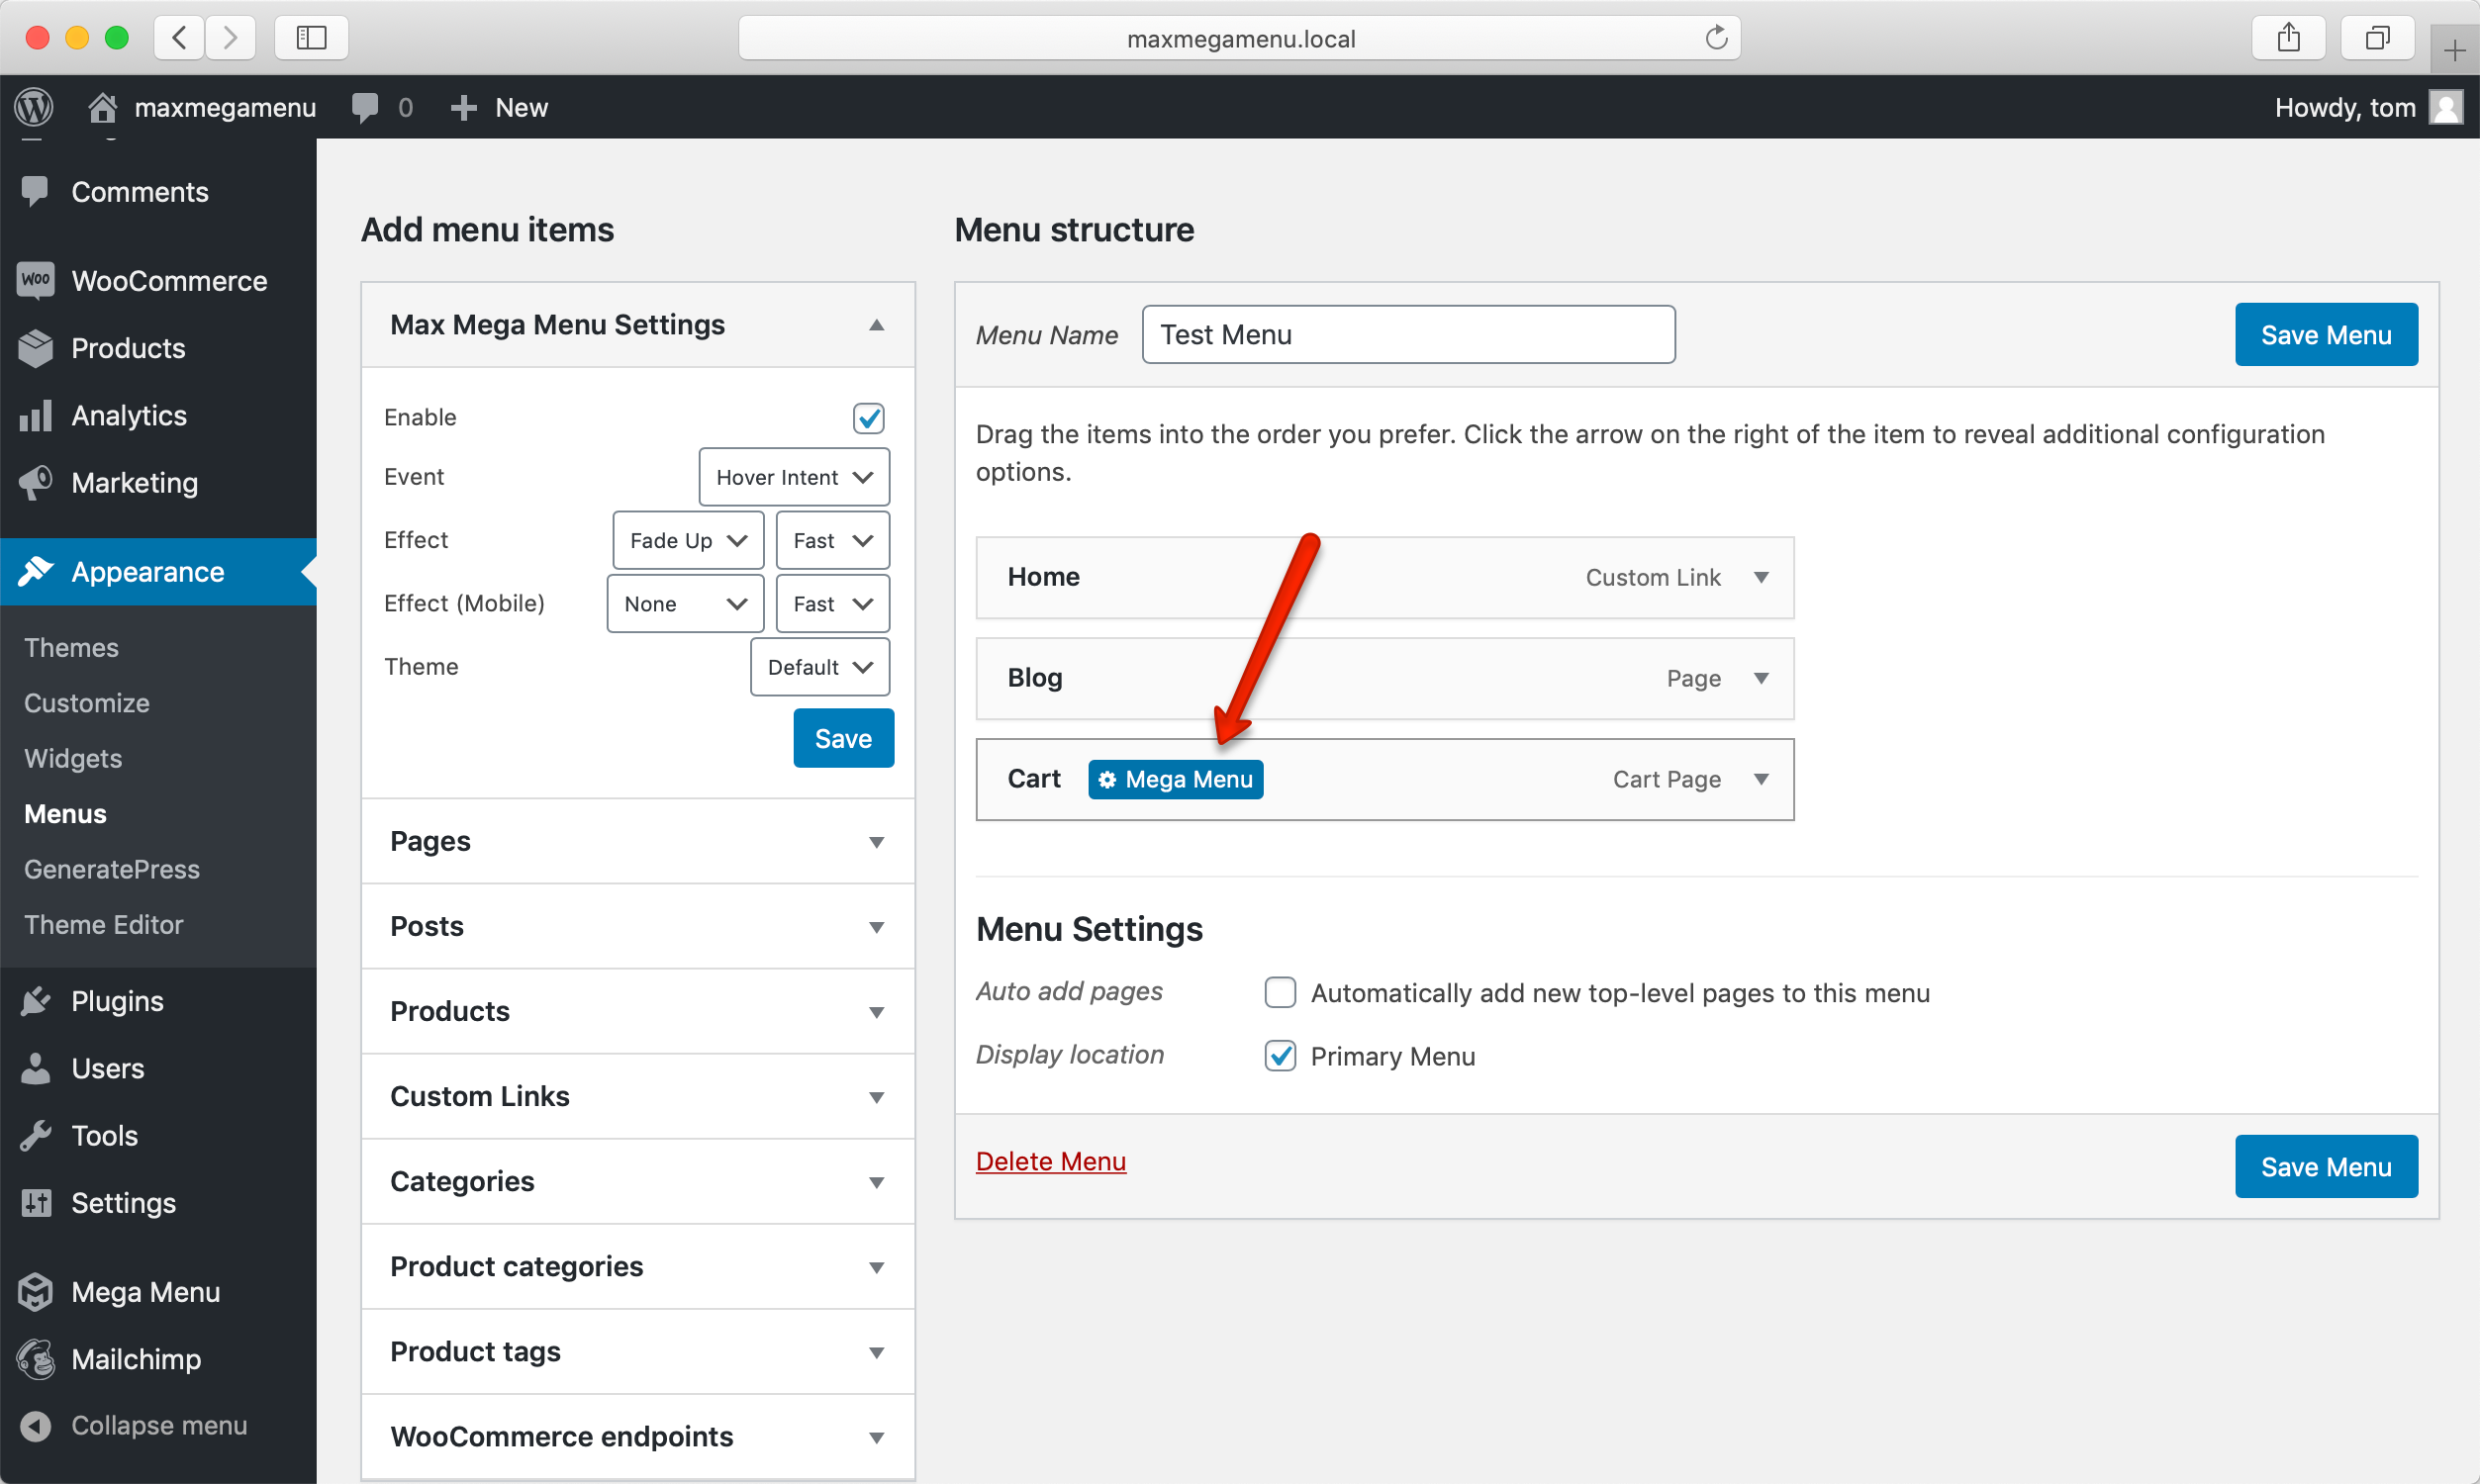
Another interesting feature that Elementor Max Mega Menu offers is the possibility to customize each item on the menu. To do that, simply select the menu you want to be edit. Then, you’ll see the Mega Menu option as shown in the image below.  Select it and you will see the dedicated configuration wizard.
 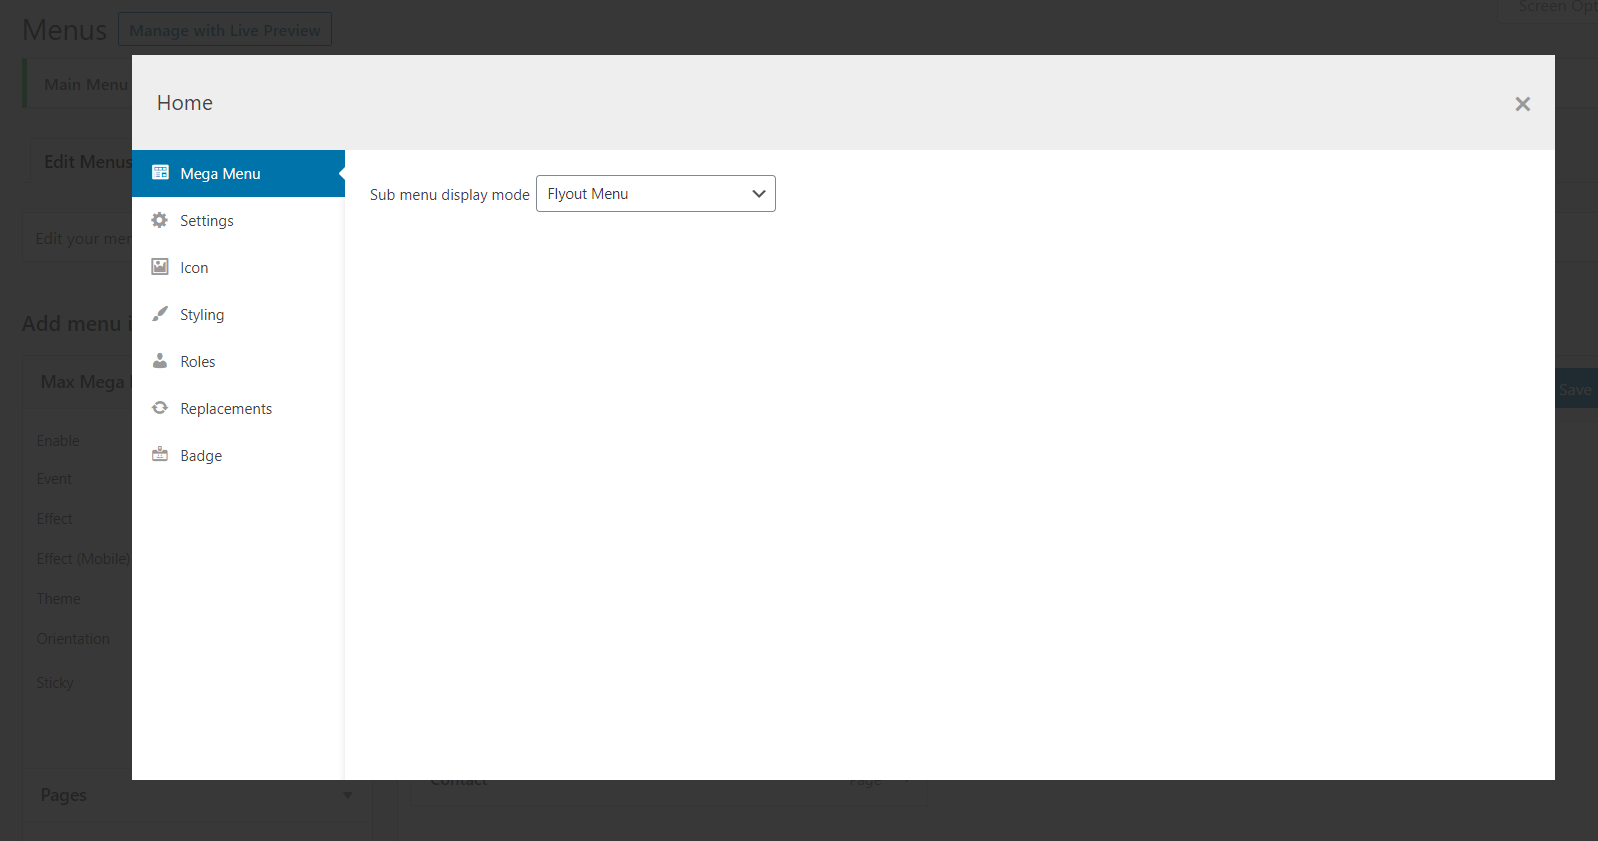 The main modifications available here are:
- Display mode.
- Settings.
- Icons.
- Styling.
- Roles.
- Replacements.
- Badges.
- And more.
Additionally, you can expand those modifications and see the entire settings on the screen. For example, if you need to add a home icon to your menu item, go to the Icon section. ![]() You can use the search feature to filter.
You can use the search feature to filter. ![]() Simply select the icon and it will assign it to your menu item. After exiting the configuration wizard, remember to save the menu.
Simply select the icon and it will assign it to your menu item. After exiting the configuration wizard, remember to save the menu. 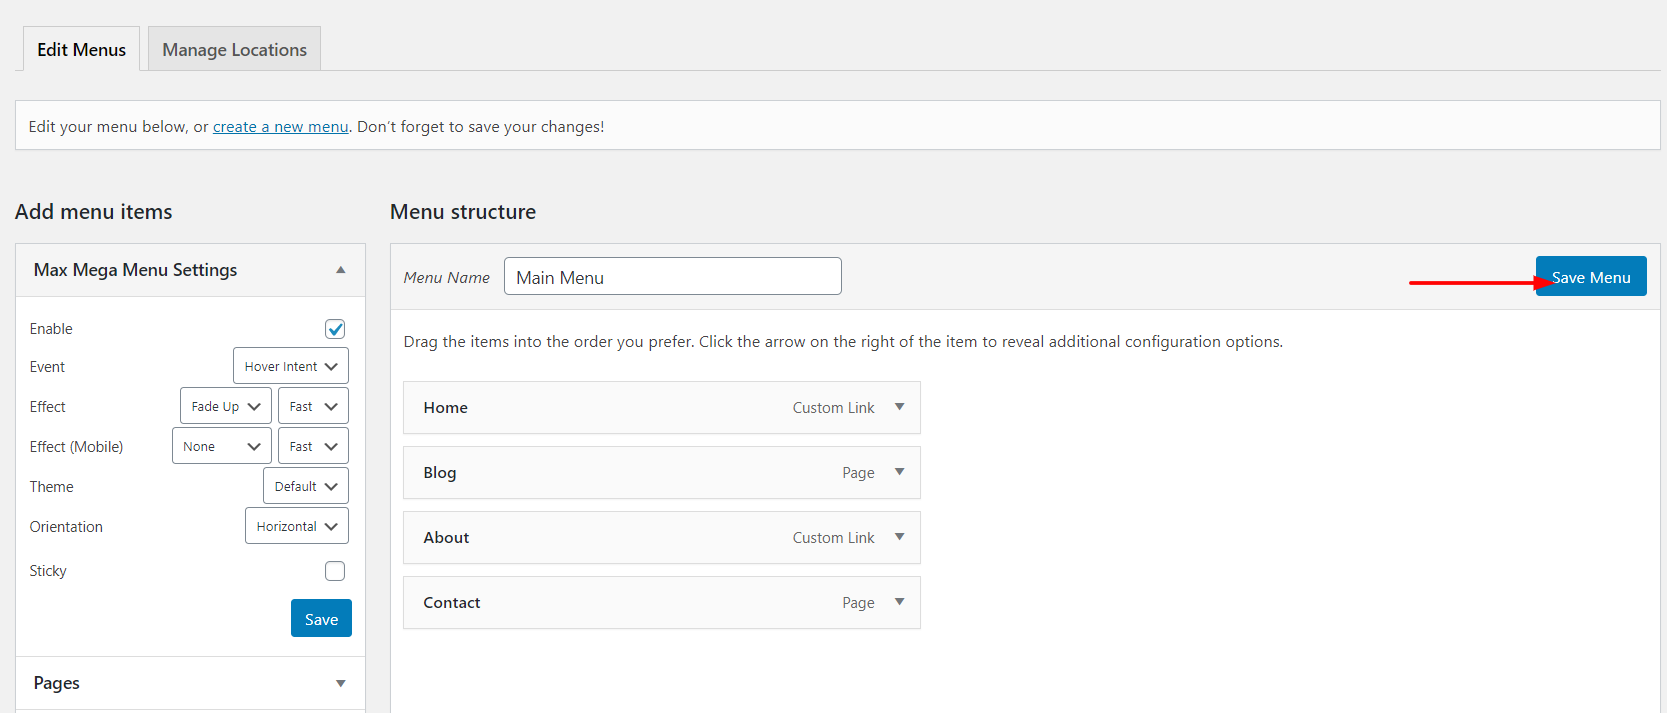 And now, if you refresh the front page of the website, you will see the home icon!
 ![]() This way, you will be able to add icons to your menu items.
This way, you will be able to add icons to your menu items.
Creating a Mega Menu
Now that you know some basics about how to use Max Mega Menu, let’s see how you can add a mega menu on your site with a few clicks. First, open the mega menu option on the menu item you want to customize. You will need to change the mega menu display mode. 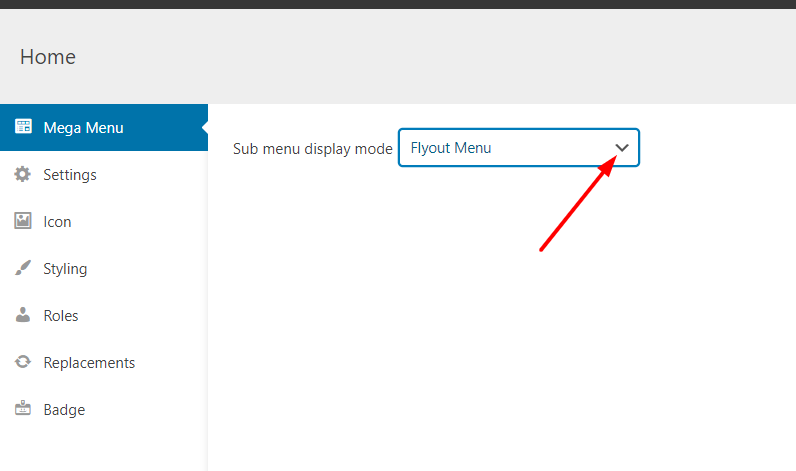 In the dropdown, you will see several options such as:
- Flyout menu.
- Grid layout.
- Standard layout.
- Stabbed layout.
For this example, we will choose the grid layout option. After you select the option you want, you will see its configuration. 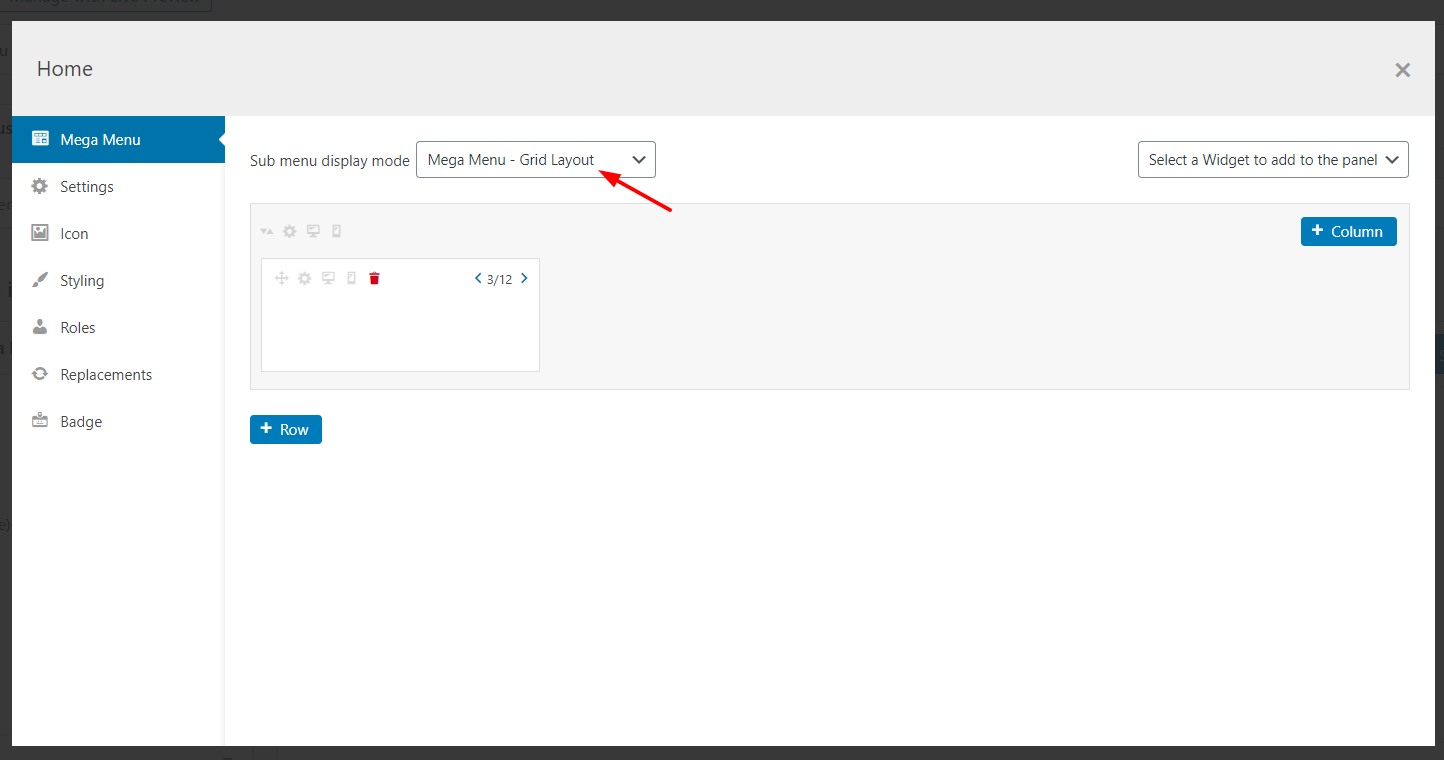 Here, you will be able to add new columns, rows, delete the existing ones, and much more. Besides, when you need to add new widgets to your menu, you can select the preferred widget from the dropdown. As simple as that!
 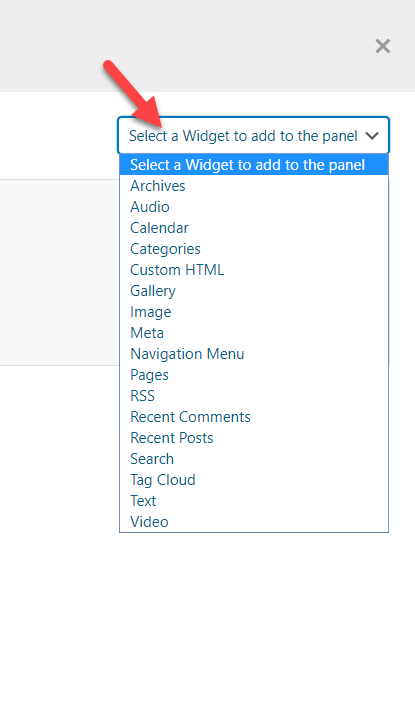 Max Mega Menu also allows you to increase or decrease the size of the columns with the navigation icons.
 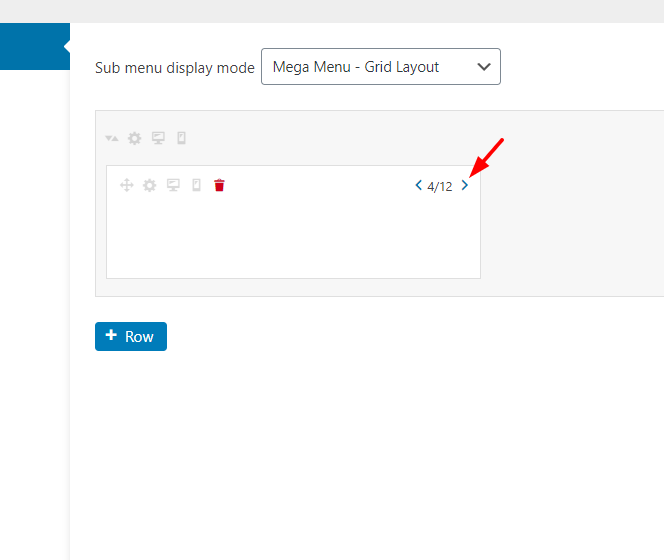 You can add as many columns, rows, and widgets as you want. In our case, we are going to add an about section, recent comments, link to articles, and an image gallery to our mega menu. To give your menu the look and feel of your site, you can customize each widget.
 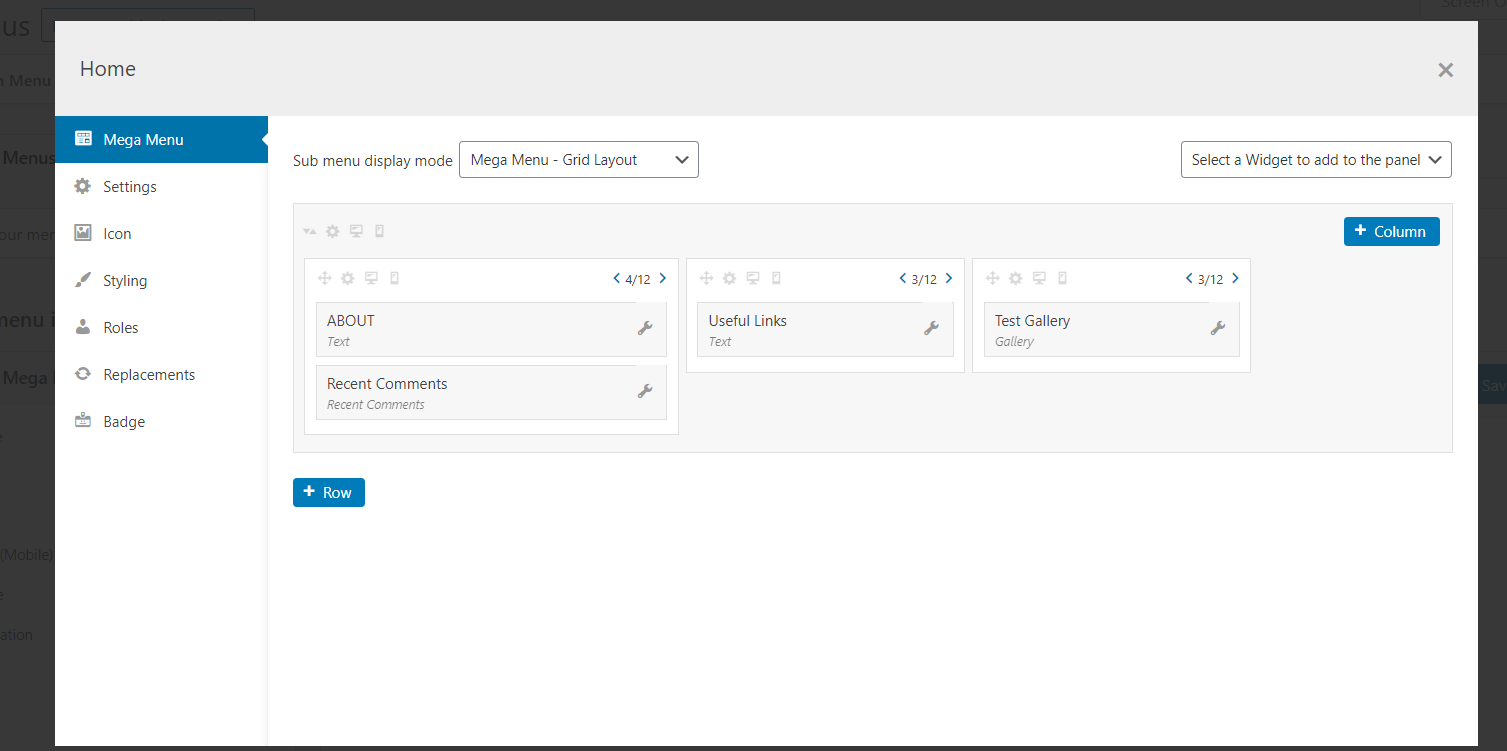 After you’ve customized everything you want, remember to save your changes. And then if you check the same menu from the frontend, you will see the modifications.
 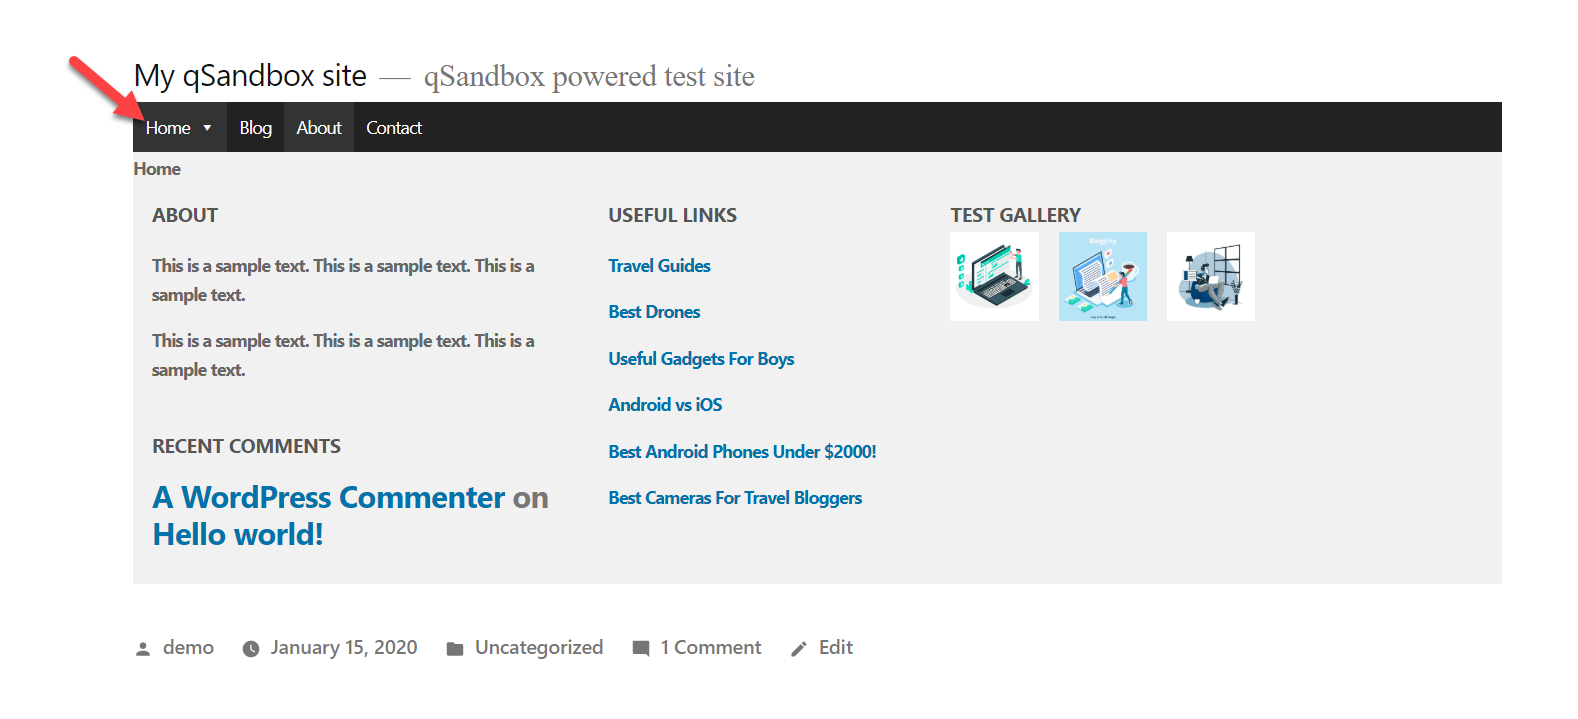 All in all, with Max Mega Menu you will be able to create a mega menu and modify every item with a few clicks!
Elementor Max Mega Menu’s Main Features
The Elementor Max Mega Menu plugin comes with some of the most advanced features in the market. In this section, we will have a look at some of its main functionalities.
Responsive
In recent years, more and more users are browsing the internet from mobile devices. That’s why you should make sure that your site is mobile-friendly. The Max Mega Menu adjusts to the visitor’s screen size without additional configuration and offers responsive styling even on the free version. This means that without writing a single line of code, you can add a responsive menu to your WordPress website.
Lightweight Code
Some people think that using too many plugins will slow down your site. However, performance is usually affected if you use poorly coded plugins. Elemetor Max Mega Menu comes with lightweight code. Nowadays, website speed is a ranking factor. You can check your site’s speed using online tools such as Google Page Speed Insights, GTmetrix, or even Pingdom tool. A faster site will help you improve some main metrics such as page views, sales, conversions, and overall revenue.
No Compatibility Issues
We might be using different themes and plugins on our blog. Well, the Max Mega Menu plugin is compatible with all free and premium WordPress themes and plugins. You won’t get any issues on your blog. If you have anything, you can check out their theme integration guide. For additional help, always welcome to the support team. Just raise a support ticket and let them know your condition. They will get back to you with solutions.
Powerful Integrations
We have talked about WordPress form builder plugins‘ integration with different payment gateways, email marketing services, CRMs, and so on. Elementor Max Mega Menu can also be integrated with popular eCommerce plugins such as WooCommerce and Easy Digital Downloads. WooCommerce is the most popular eCommerce add-on for WordPress. Integrating it with Max Mega Menu will allow you to improve your store navigation and sell more products. Easy Digital Downloads, on the other hand, is a dedicated eCommerce plugin to sell digital products. By integrating it with Elementor Max Mega Menu, you will be able to show the total price the customer has to pay in your menu.
Google Fonts Integrated
Typography matters. If your website is not using a user-friendly font, you are doing something wrong. One of the best font providers in the community is Google Fonts. It’s free and it can be integrated with any website or mobile application. That’s why most WordPress themes such as Divi, Avada, and Astra use it for their typography. 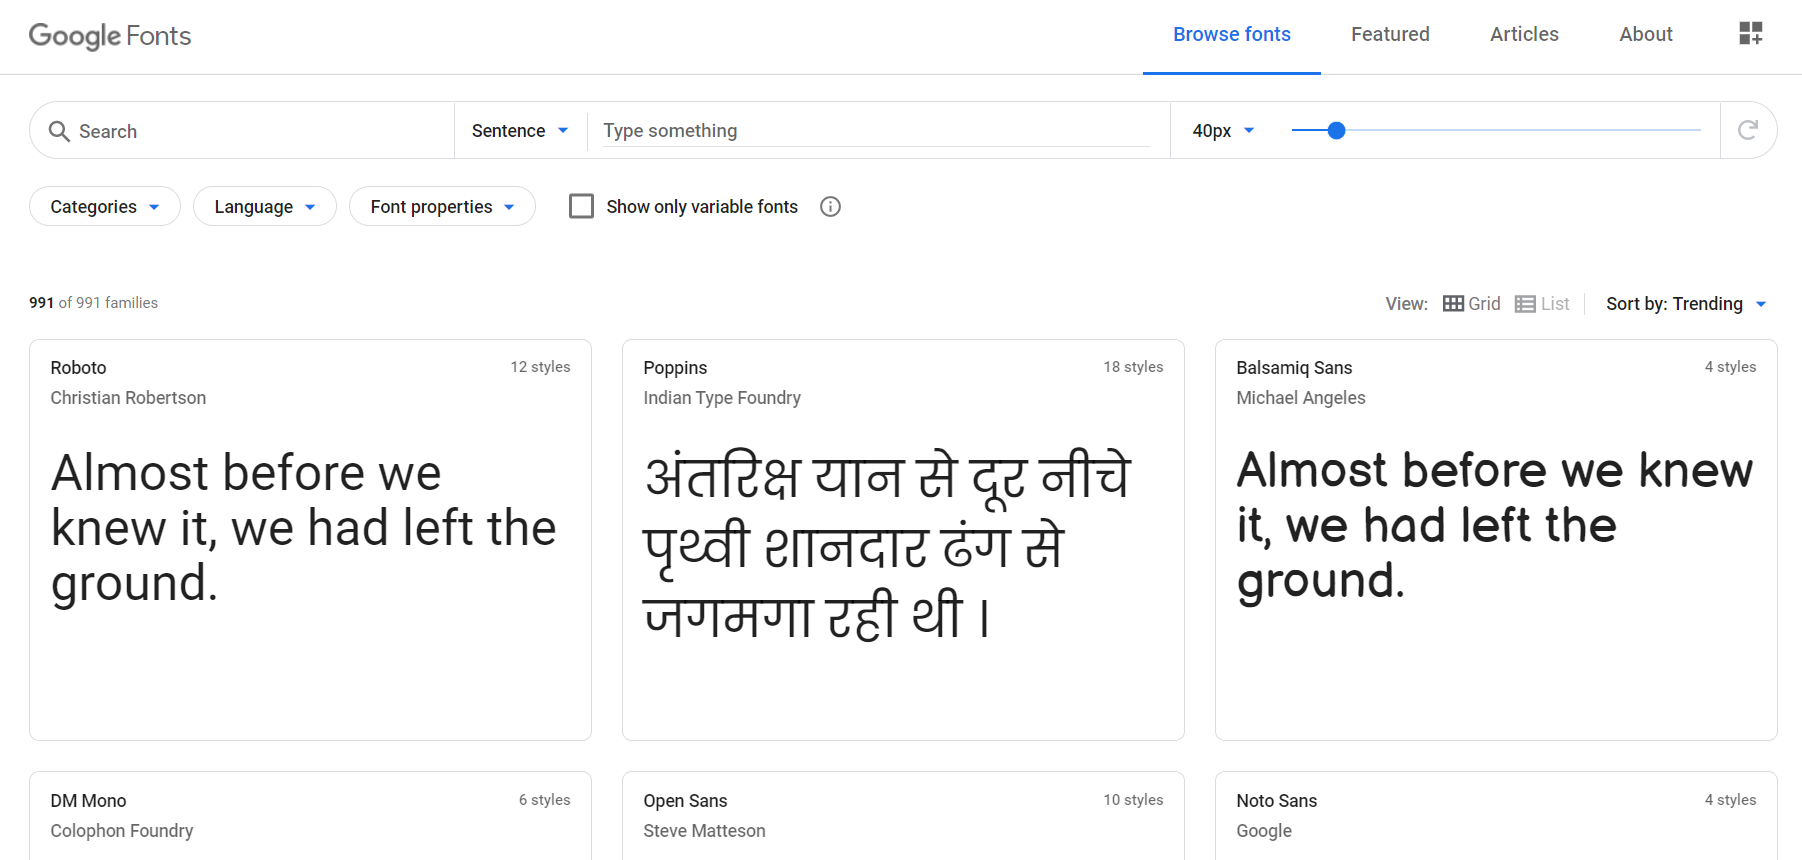 Typically, when you want to integrate Google Fonts with a website, you need to edit your site’s header or use custom WordPress plugins. However, Elementor Max Mega Menu comes with the font integration feature by default.
 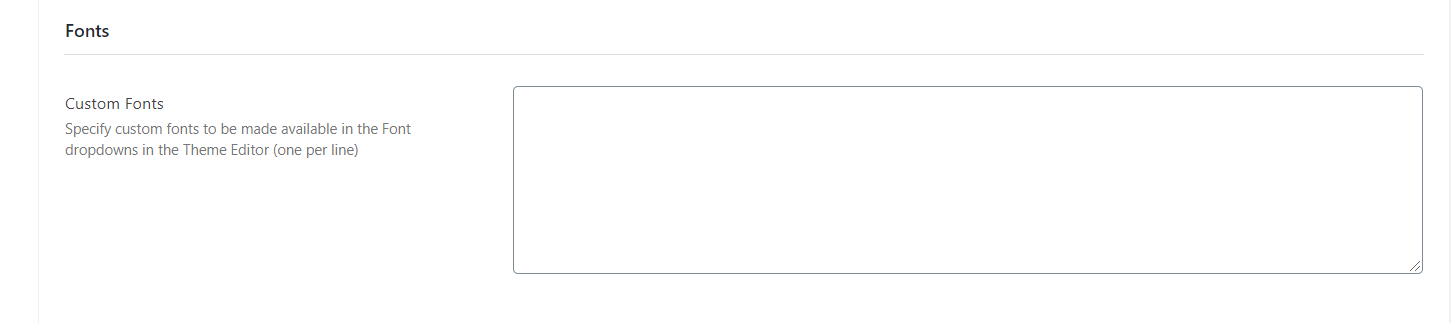 All you need to is mention the fonts you need to integrate with your menus and the fonts will be available in your theme editor. You can choose different fonts from the dropdown.
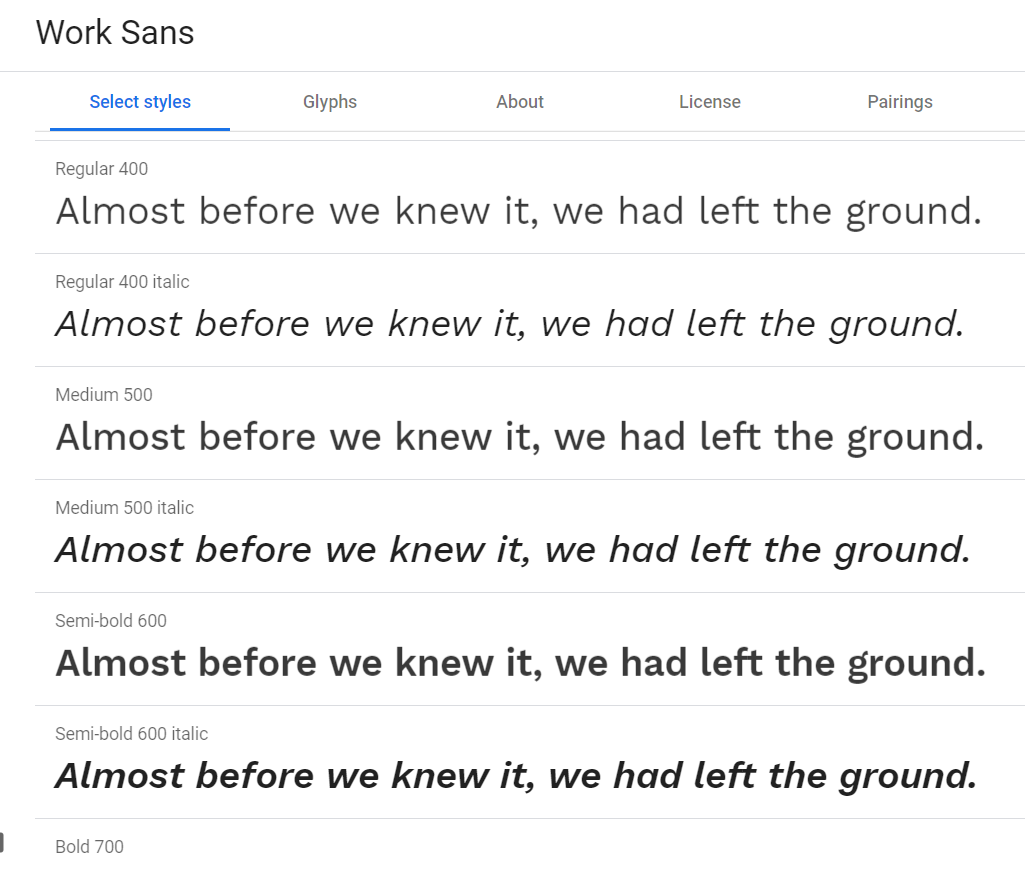
Icons Included
Adding icons to your site is an excellent way to improve user experience. Even though there are many methods, the most common ones are using a dedicated plugin or adding the icon via HTML. Adding the font manually needs a little coding and styling. If you are running an online shop and need to show an icon just before the menu items, the Max Mega Menu has something for you. This tool comes with Font Awesome 4, Font Awesome 5, and Genericons integrated with the plugin. ![]() By default, the plugin will allow all three styles but you can manage it and only enable the ones you want. As we mentioned above, you can insert icons to your site’s menus too.
By default, the plugin will allow all three styles but you can manage it and only enable the ones you want. As we mentioned above, you can insert icons to your site’s menus too.
Great Support
The Max Mega Menu plugin comes with excellent support. If you use the free version, you will get support via the plugins’ support forum. As you can see in the below image, the forum is very active. 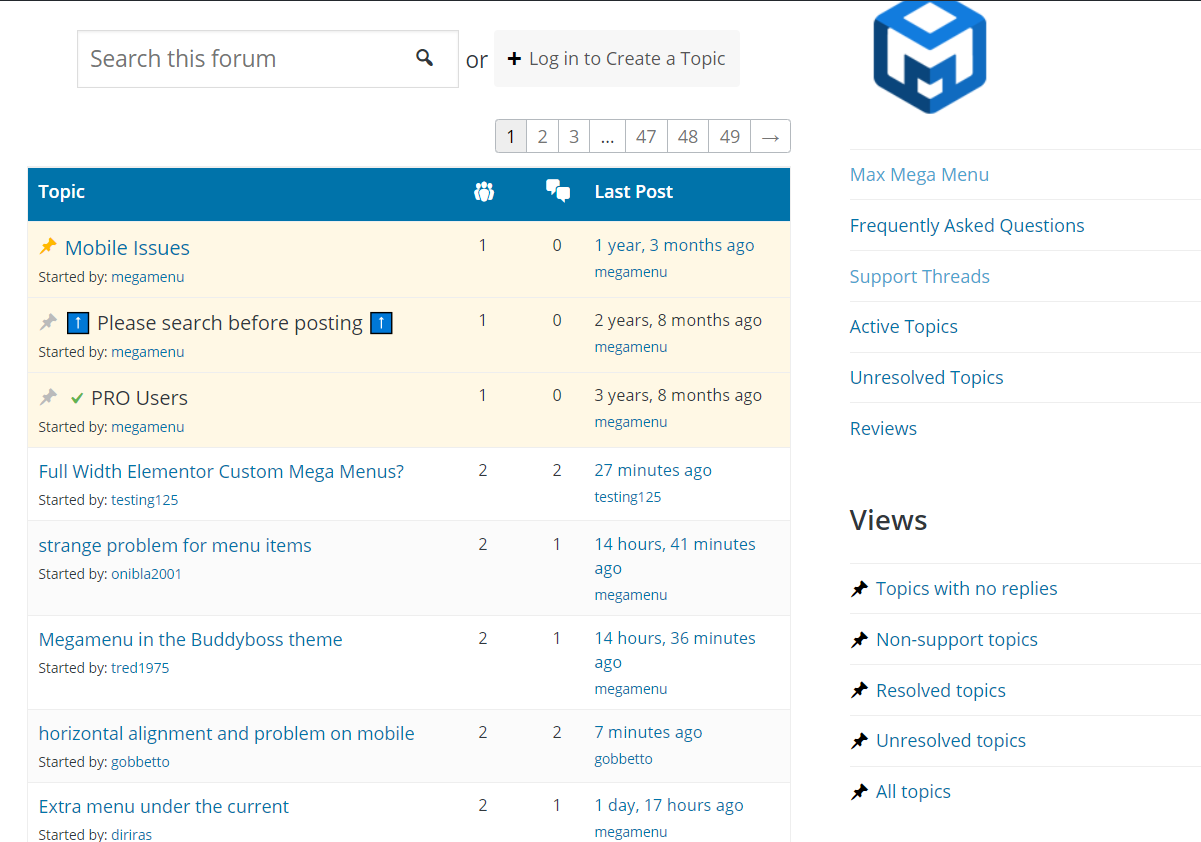 Once you publish a topic and explain your issue, the support team will help you fix the problem. Additionally, there’s a dedicated documentation section for the plugin with lots of information.
 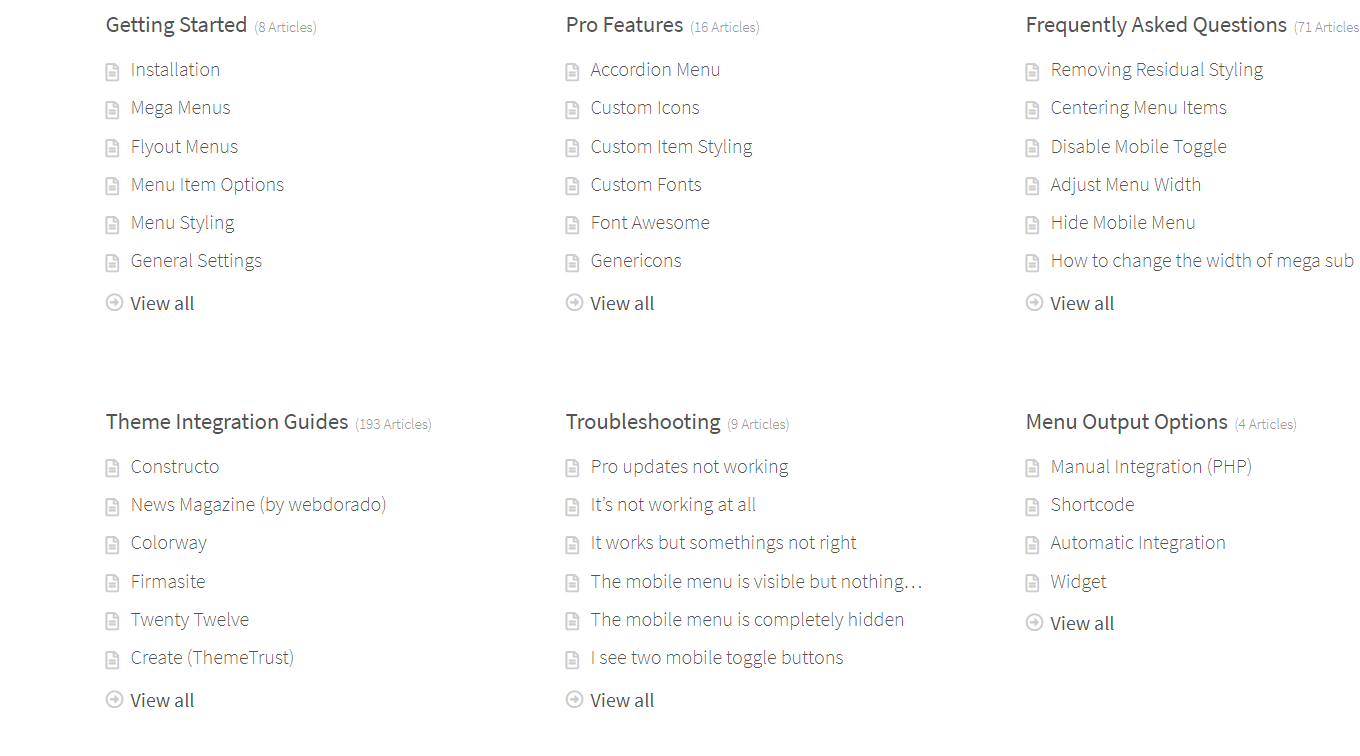 The documentation section has different categories depending on the theme:
- Getting started.
- Pro features.
- FAQ.
- Theme integration guides.
- Troubleshooting.
- Menu output options.
- Developers.
Each section has user-friendly, easily understandable articles. And if you need additional help, you can open a support ticket. Their support team will respond to your ticket and help you within 24 business hours. It’s worth noting that users with premium plans have priority support.
Pricing
Max Mega Menu is a freemium plugin that has a free version and three premium plans. 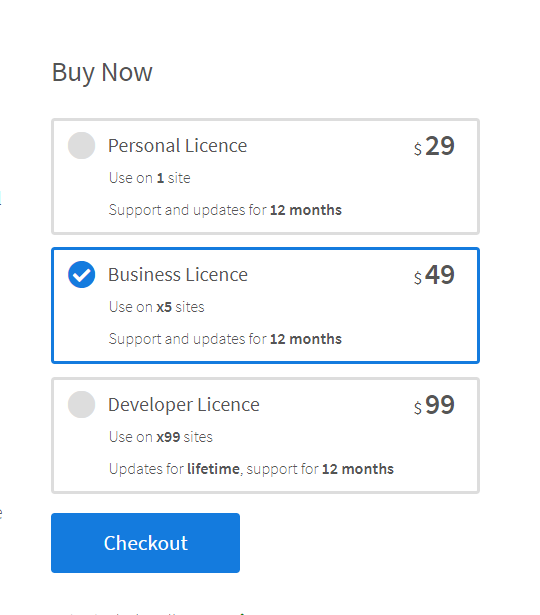
- Personal license – 29 USD per year (1 site).
- Business license – 49 USD per year (5 sites).
- Developer license – 99 USD per year (99 websites).
These licenses come with support and updates for 12 months, except the Developer plan that includes updates for a lifetime and support for 12 months. It’s worth noting that Max Mega Menu has a 30-day money-back guarantee on all their premium plans. This way, you can try out the plugin and if you think it’s not for you, you can easily ask for a refund. If you’re just starting with mega menus, the free version has got you covered. However, if you want more advanced features to make the most of your mega menus, the Personal or Business plan are your best choices.
Max Mega Menu Elementor – Pro Tip
If you are running an online store, here’s a pro tip for you. When users are browsing your shop and adding products to their carts, they should be able to know the total amount they will have to pay when they checkout. How can you do that? By simply adding the total price of the products next to the cart icon. Some WordPress themes enable it by default. However, if that’s not your case, here we’ll show you how to do it.
1) First, go to a menu and add the Cart Page to it.
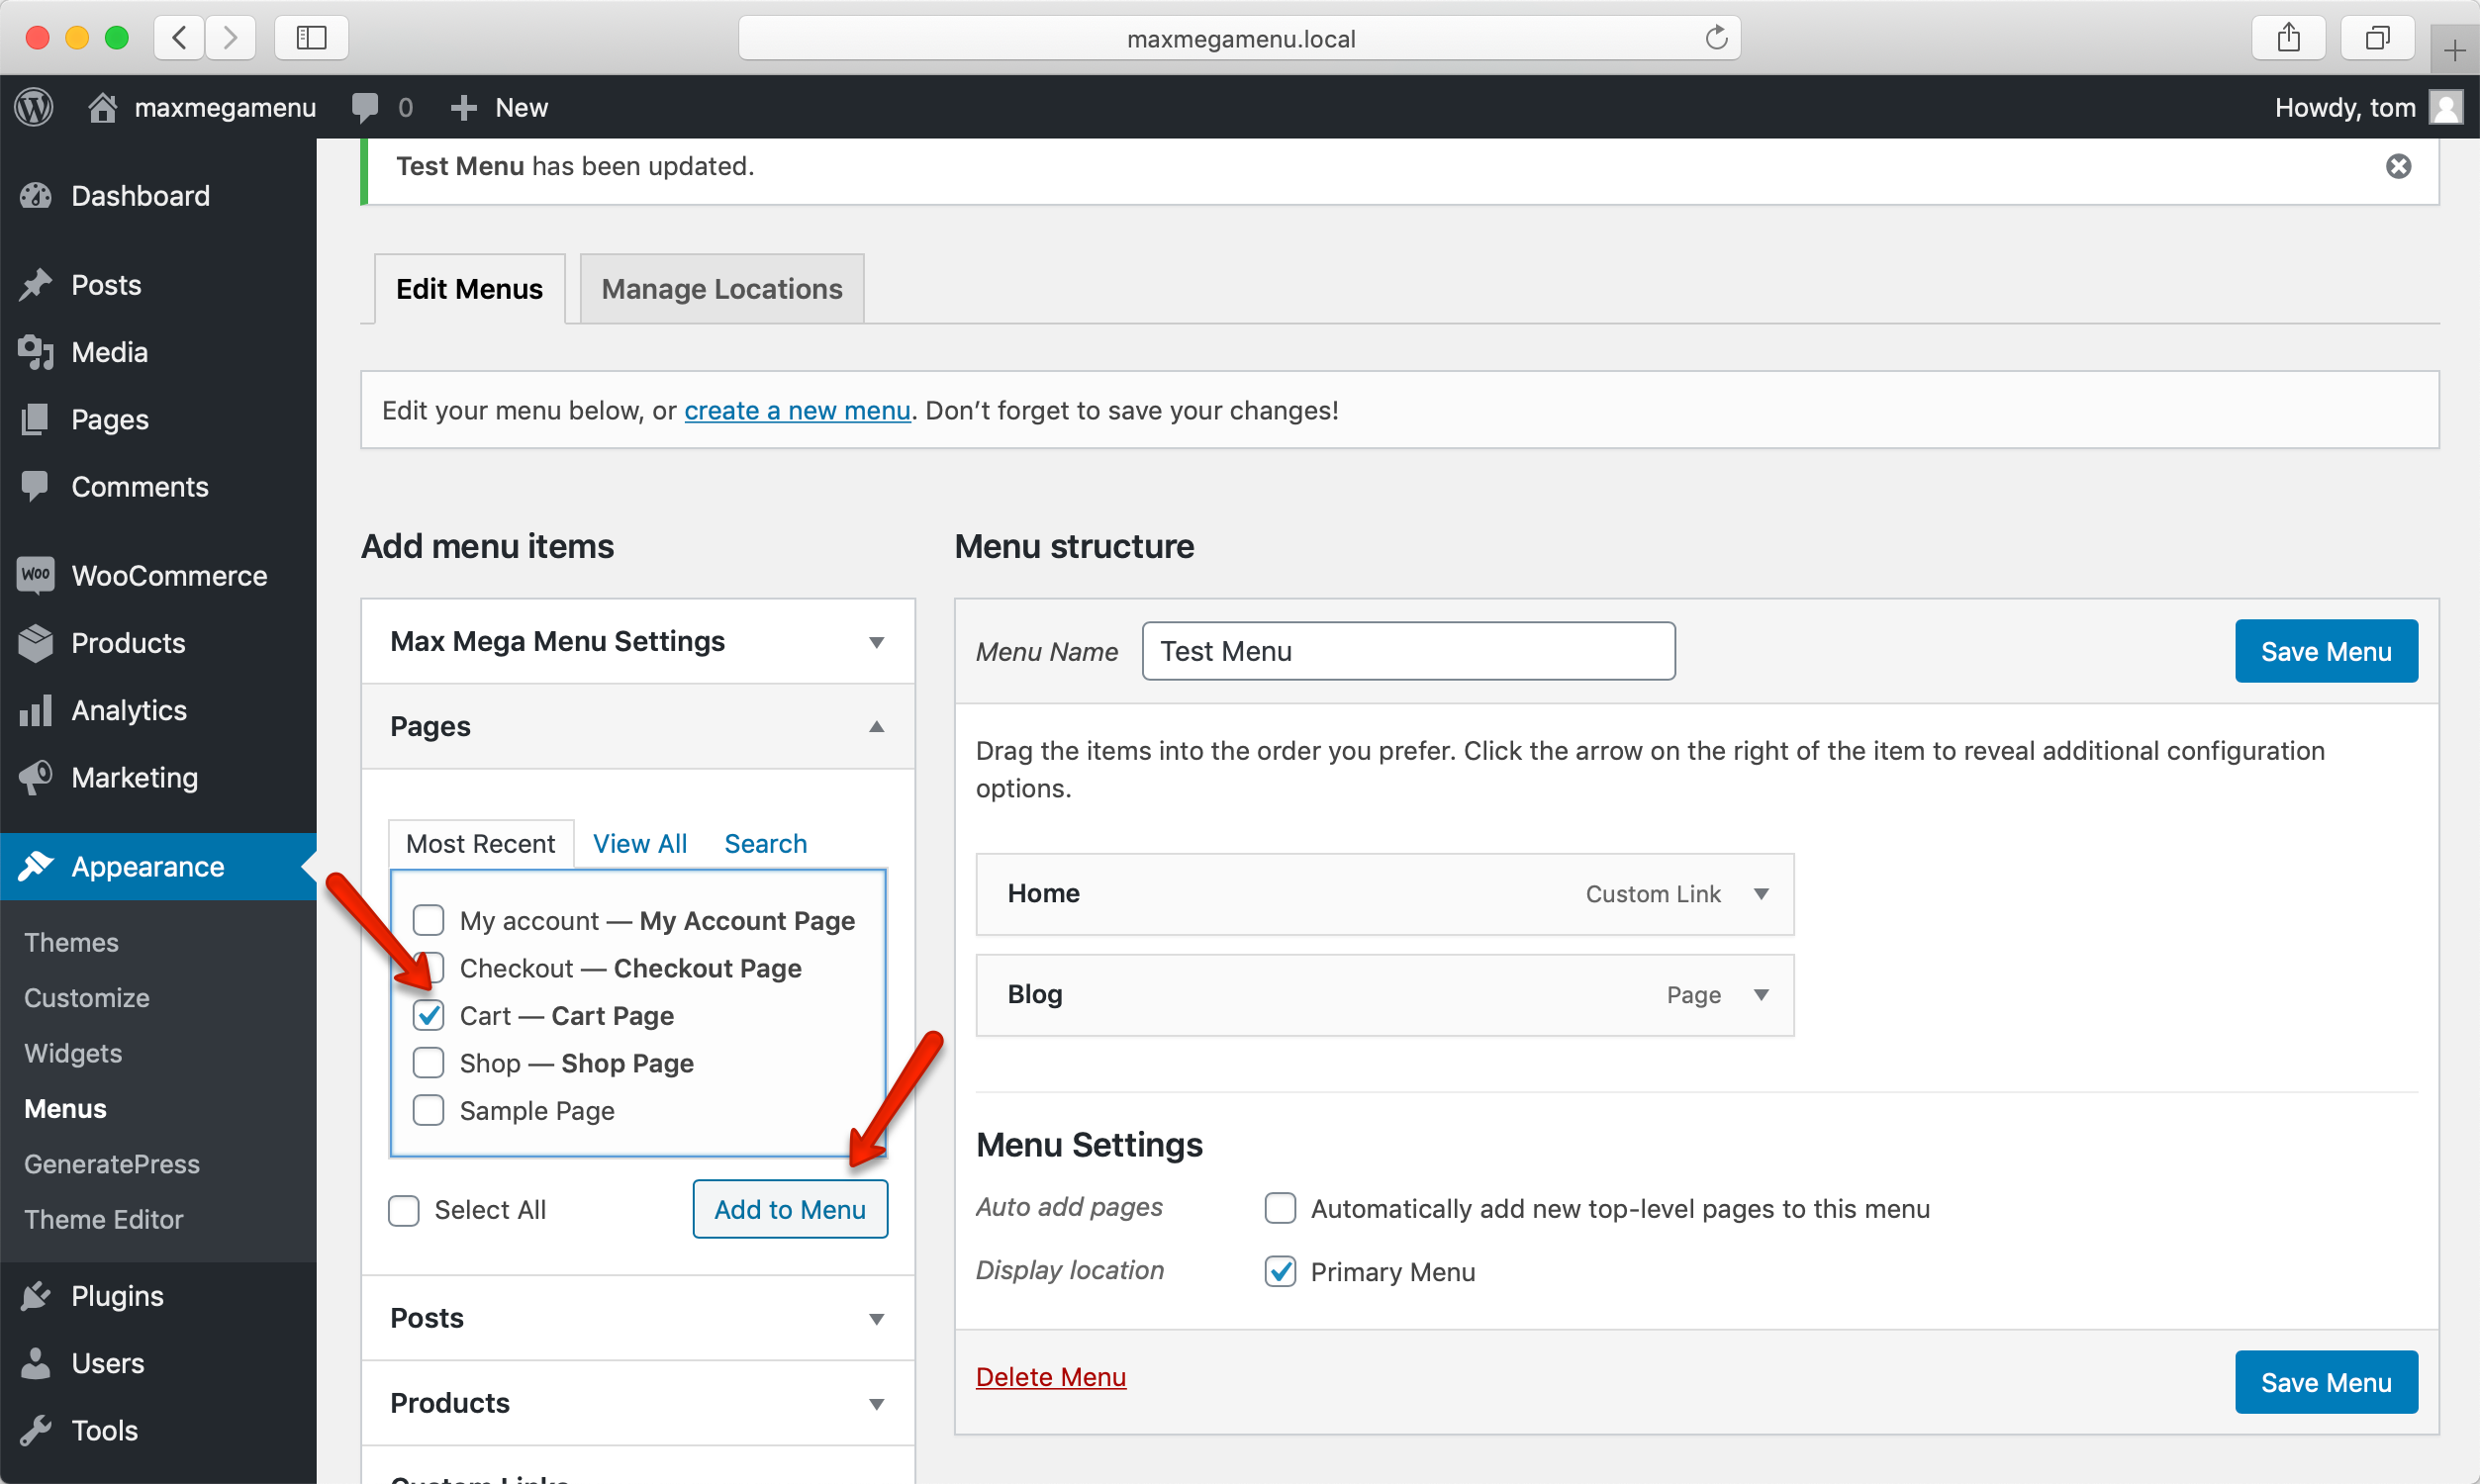
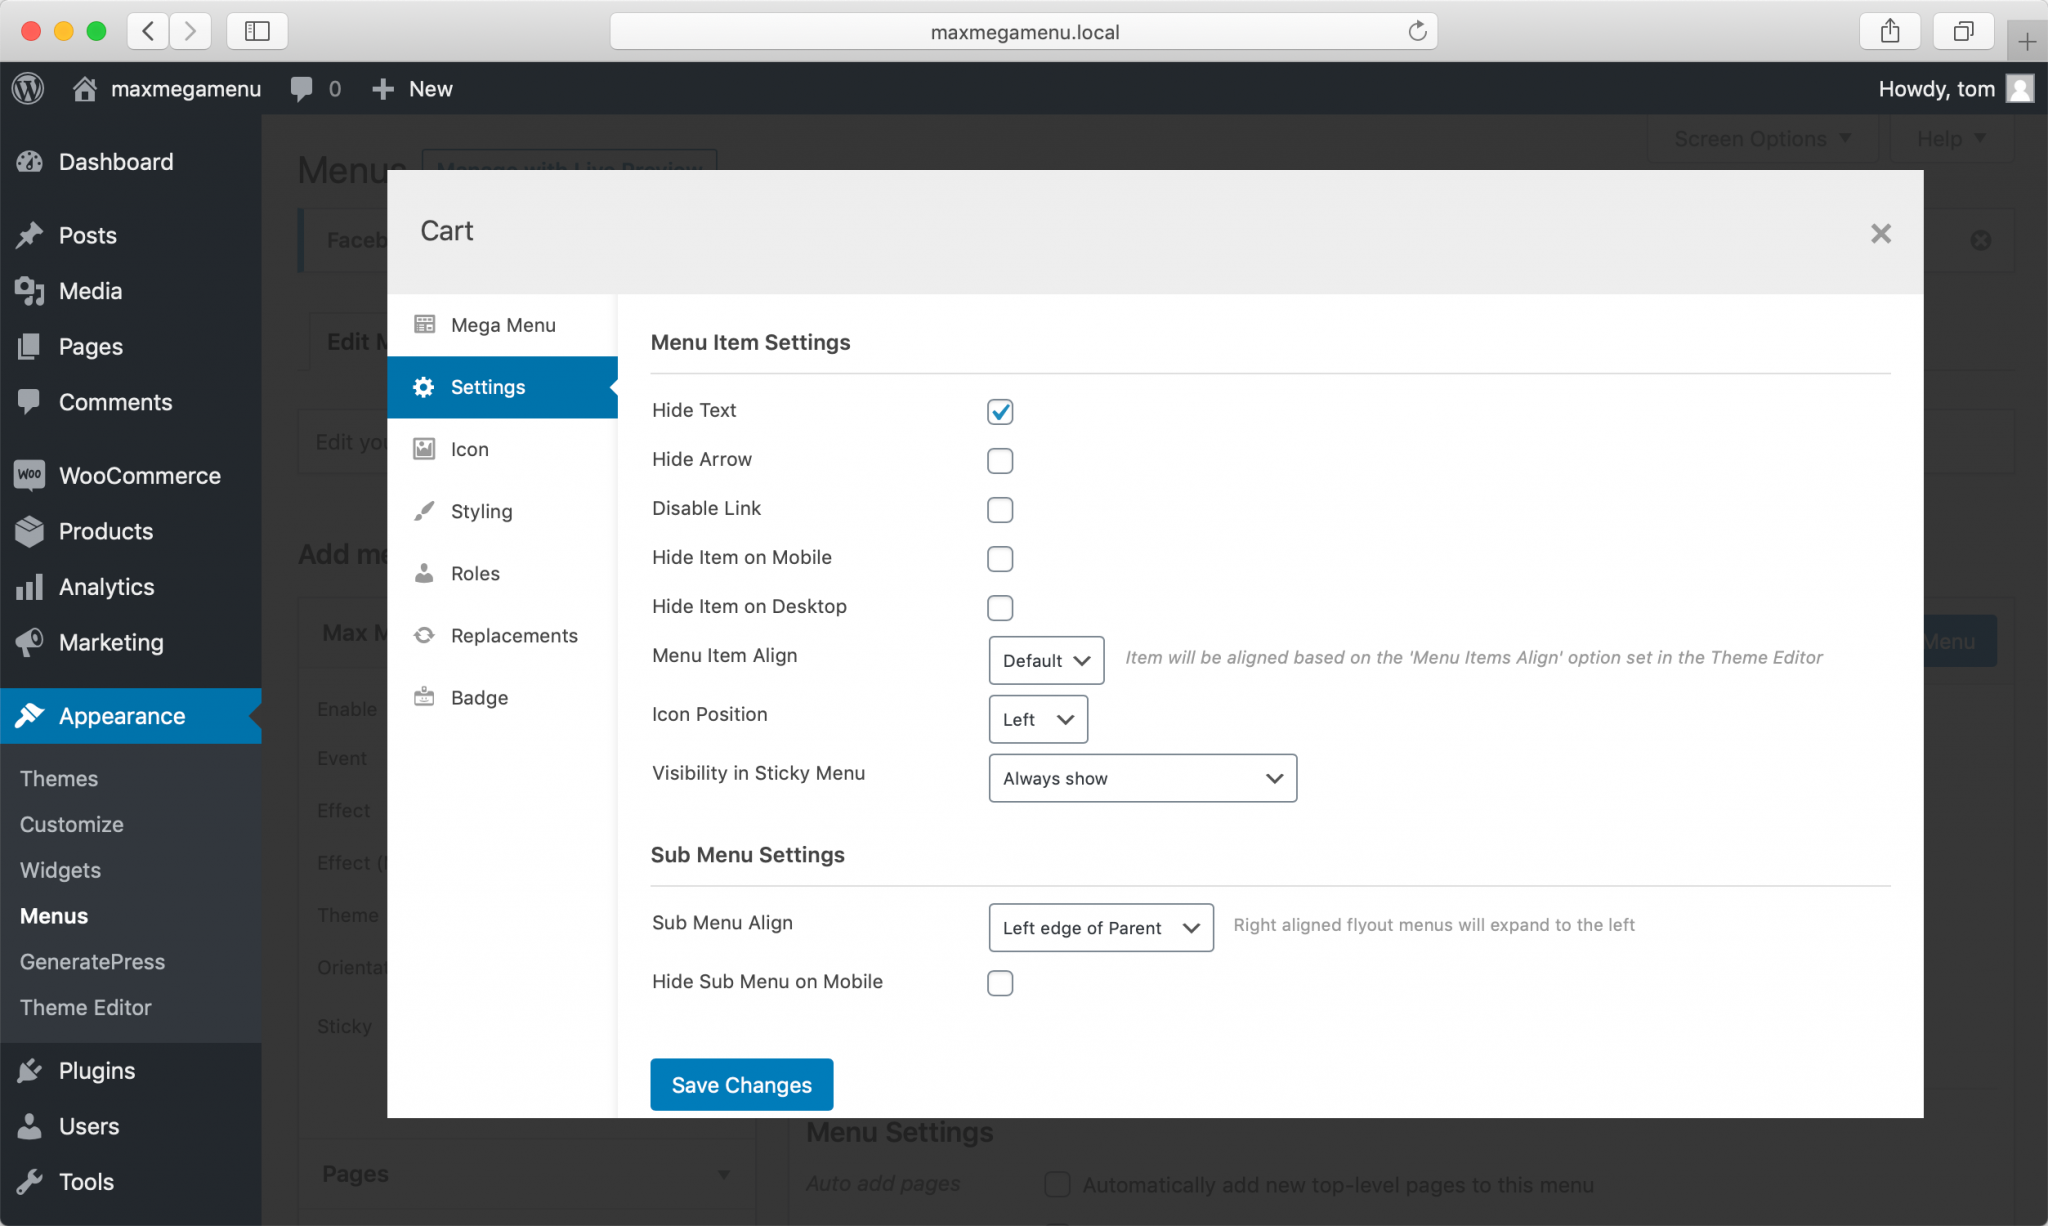
2) Then, open the Max Mega Menu settings.
3) Now, let’s add an icon. As you’ll display the total amount in the cart, a cart icon is perfect.
![]()
4) Additionally, you can hide the text from the general settings.
5) Once you have done that, you will see the icon but not the name of the item. Then you need to open the Badge settings. Copy the shortcodes [maxmegamenu_woo_cart_count] and [maxmegamenu_woo_cart_total], and paste them to the Badge Text field.
![]()
6) Finally, save the changes and that’s it! To see the results, go to your shop and on the top menu, Max Mega Menu will display the total price the users have in their carts.
 If you haven’t added any products to your cart, the cart will display a total of 0.
Pros & Cons
Pros
- Easy to use.
- Won’t affect your website’s speed.
- No coding required.
- It allows you to show or hide different menu items depending on the user role.
- Lightweight code.
- Unique features.
- Rich and clear documentation.
- Excellent support.
Cons
- Additional CSS is required for some customizations.
- Lack of pre-made themes.
Should you use Max Mega Menu?
To sum up, mega menus are great to improve your site’s navigation, especially if you have an eCommerce site with many products or a site with a lot of content. These menus allow you to add valuable content and links to your menu dropdowns to help the users find what they’re looking for. If you use Elementor and you’re looking for a mega menu, Max Mega Menu is your choice. Considering its features, support, and customization options, it’s the best free mega menu for WordPress.
Even though you may need some CSS knowledge to customize some options, overall it’s very to use and has all you need to take your menus to the next level. If you want to have a look at other options, check out the best Elementor mega menus for WordPress. Have you used Max Mega Menu? What do you think about it? Please let us know in the comment section below!

I really didn’t know some of these things before which you have shared with us through your helpful and informative article. also, I like your writing skills. keep sharing awesome stuff.
Good guide – thanks. I’ve used it before. A query though is over compatibility with Elementor’s own Hello theme?
IE I installed the Max Mega Menu without issues on an Astra/Elementor Pro build with custom menu settings et al – but decided to test swapping to the Hello Elementor theme and now it won’t display. The widget is the same location (custom header) and is Elementor editable but the menu itself didn’t show at all then looked for advise – which brought me here. Is there any reason that the menu shouldn’t work with the Hello theme when it does with Astra? Many thanks.
Q.
Hello there!
I am pretty sure that you are now running on the latest version of WordPress (5.5).
As I checked, the Hello Elementor theme is not updated for a while.
So, the issue can be a conflict with the WordPress core.
You can try contacting the theme author regarding the same. If you need a quick fix, check out our article on how to fix WordPress 5.5 update issues. We have mentioned a plugin called jQuery Migrate Helper there. It will help you to get rid of conflicts temporarily.
Thanks James, glad to hear that!