
How to Filter WooCommerce Products by Attribute
Do you have WooCommerce products with multiple attributes? If so, allowing your customers to filter products by attribute can come in very handy and improve your shop’s user experience. If you are looking for a step-by-step guide, we have got you covered. In this article, we will show how you can add a product filter to filter WooCommerce products by attribute.
But first, let’s check out what product attributes are and why we need them.
What Are Product Attributes?
Product Attributes are values assigned to each product based on its characteristics. A product can have multiple attributes. For example, if you are running an online shop selling mobile phones, you need to add brand, OS, screen size, software, and Android version to each mobile phone you sell.
This way, you will have a well-organized shop, and you can offer a better experience to the visitors. The most common attributes online shops use are:
- Brand
- Color
- Size
- Weight
and so on.
But you can easily create custom product attributes from your WooCommerce settings and assign values to them.
Now you know about the product attributes. Next, let’s see why you need to add a product filter to filter products by attributes and how it can be helpful.
Why Do We Need to Filter Products by Attribute?
Some customers prefer certain brands or styles based on their quality, style, or personal liking. They may also be looking for a specific color, size, weight, etc. To help them find what they are looking for, we need to offer several product filters, so they can easily filter out unwanted results. Let’s explain this to you with a good example.
Let’s say that we have a WooComemrce store that sells clothes. Now some of our customers would be looking for specific types of dresses. They can look for clothes based on color, size, style, or even class.
That’s where the WooCommerce attributes can be helpful.
By adding custom attributes to the products while listing (or updating) them, we have a better chance of making more conversions and generating more revenue. For example, if a customer is looking for clothes size Large (L), he can easily use the size attribute. Once he selects the Large size, all the other sizes will be omitted from the search results or shop page, and WooCommerce will only show all products assigned under the Large attribute.
This way, the customer will have a user-friendly experience as they can find their desired products pretty quickly. As we mentioned, this will result in increased conversion rates and reduced bounce rates.
Hence, you need to use the filter products by attribute feature inside your WooCommerce store if you want to make the most out of your online venture.
How to Filter WooCommerce Products by Attribute
We have two methods to add a product filter that will filter WooCommerce products by attribute.
- Default Filter
- A Dedicated Plugin
We will show you both methods below. So, you can pick your preferred way according to the requirements.
Without any further ado, let’s get started.
1) Default Method
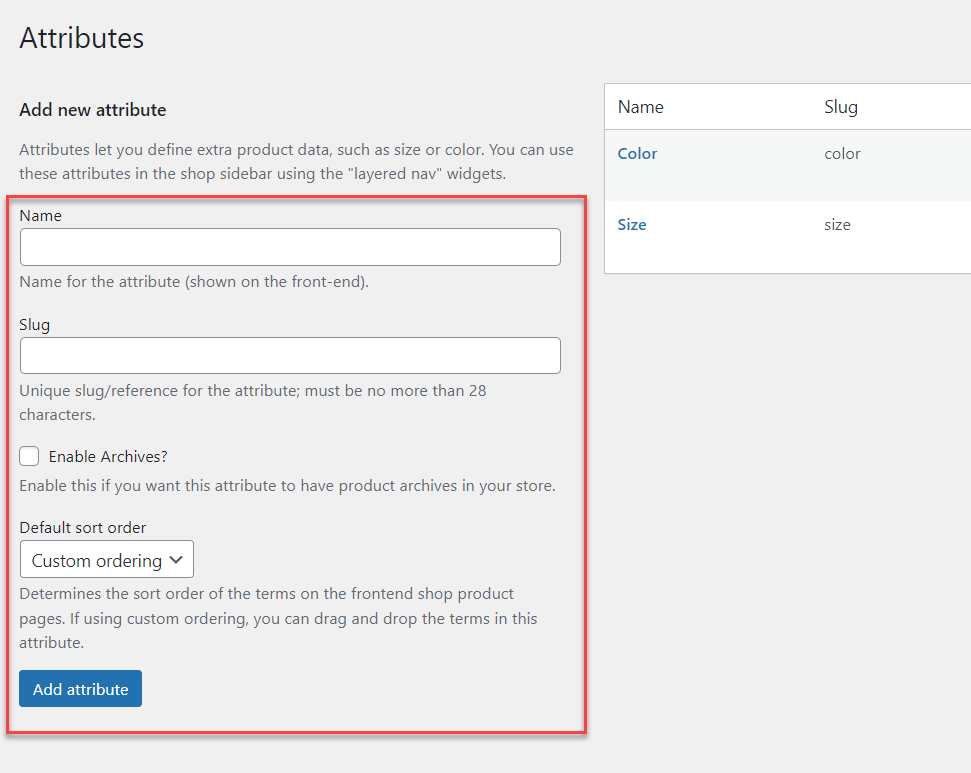
Here, we will show you how to add the filter without using third-party plugins or tools. First, log in to your WordPress installation and ensure you have created enough attributes and assigned them to the product. Under Products > Attributes, you can see all the available options.
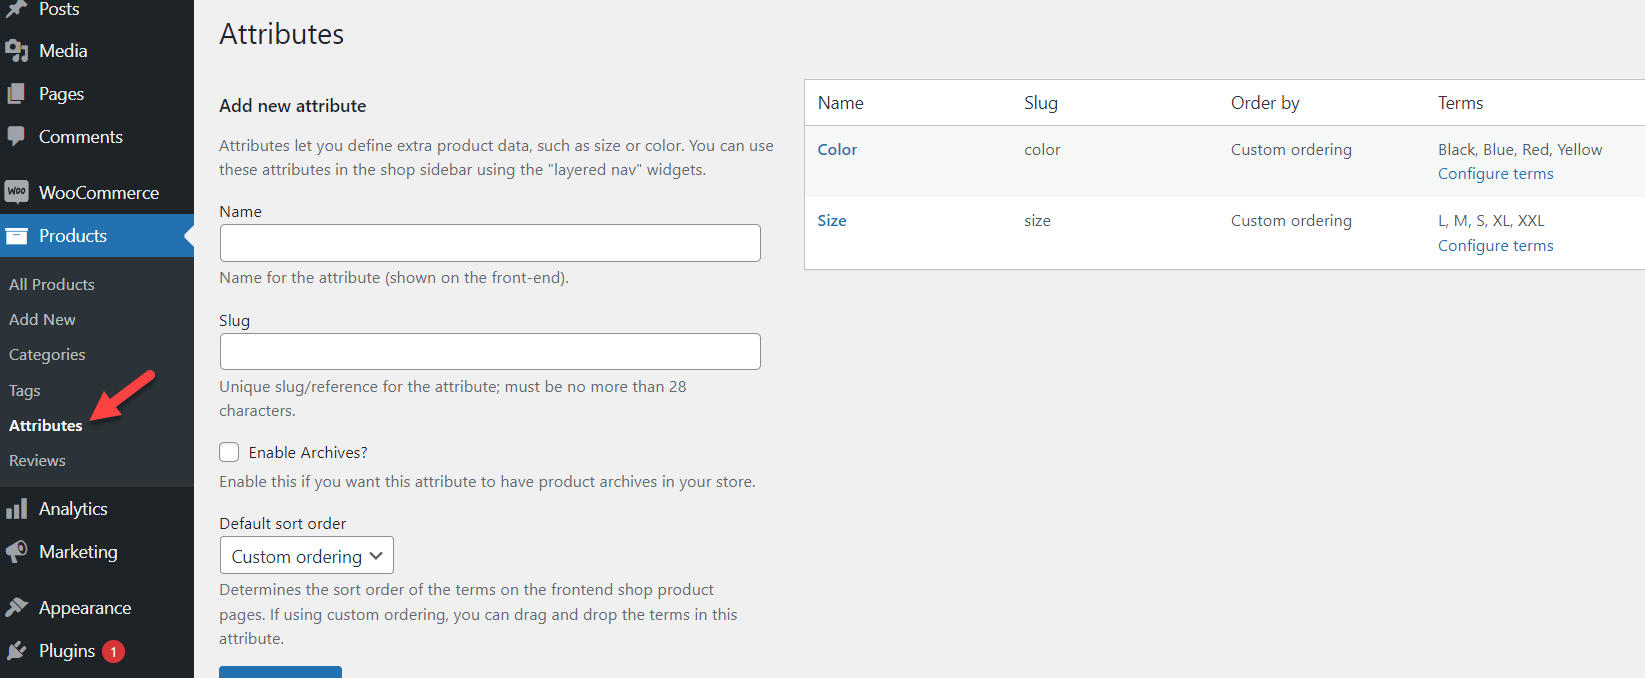
Add a New Attribute
If you need to create one, feel free to use the left-hand section of the page.
Our local WordPress installation has a few attributes created and assigned to the products. So, we do not need any additional attributes, and we are good to move forward. If you check our sample store, you can see all our listed products.

In the next section, we will show you how to display a widget allowing customers to filter through attributes.
Configure and Display Product Filter Widget
First, go to the WP Admin Dashboard and navigate to Appearance > Widgets. 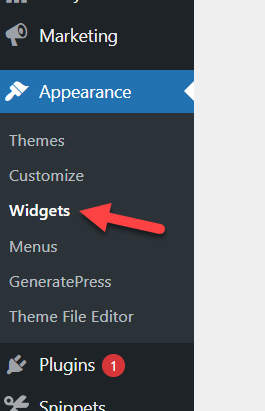
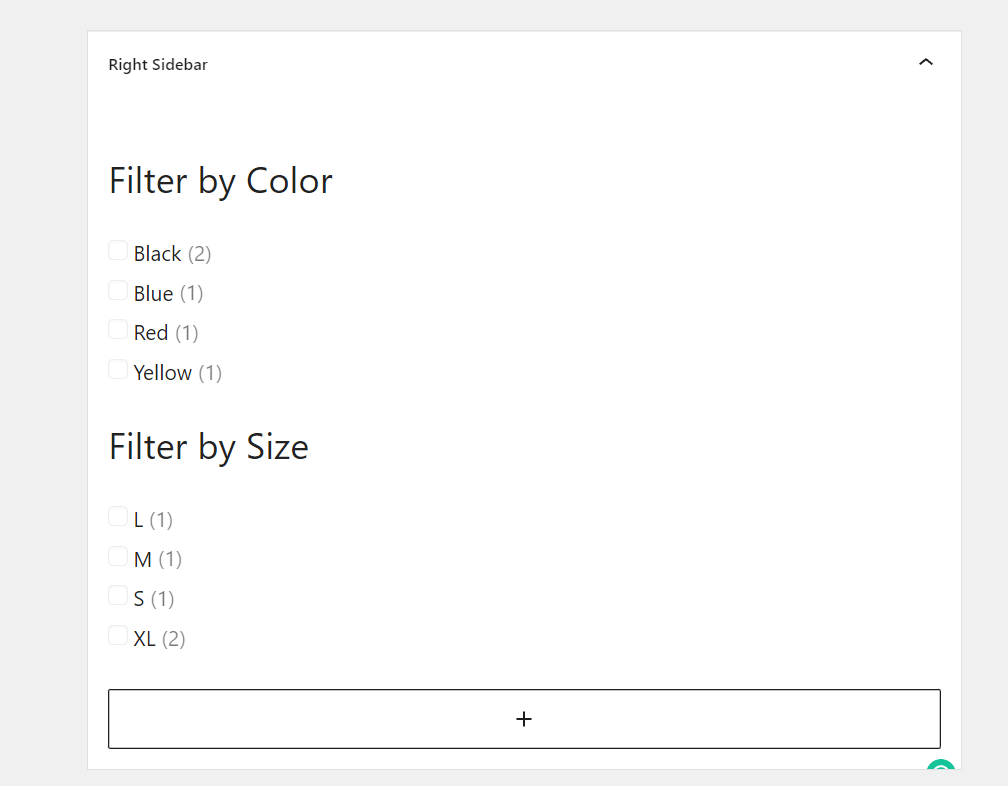
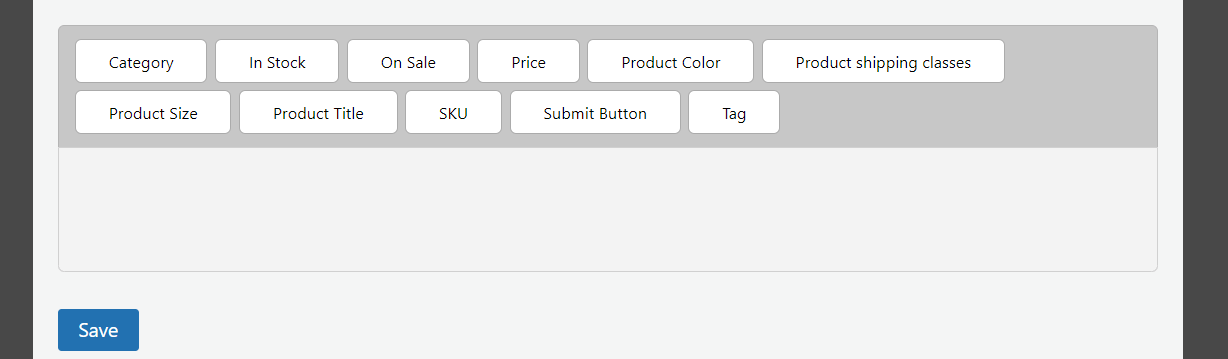
We will be adding the widget inside the right sidebar widget area. So, inside the widget section, search for Filter Product by Attribute.

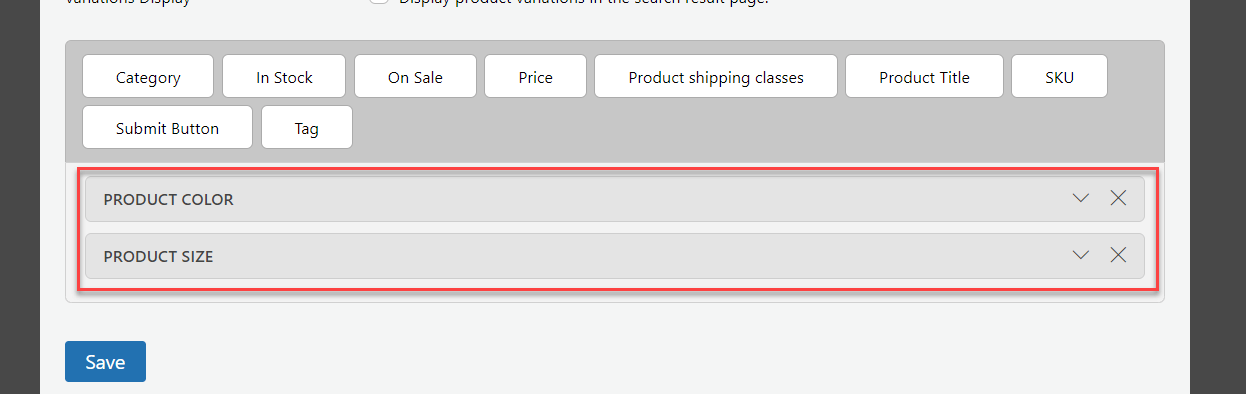
Add the widget to the right sidebar widget area.
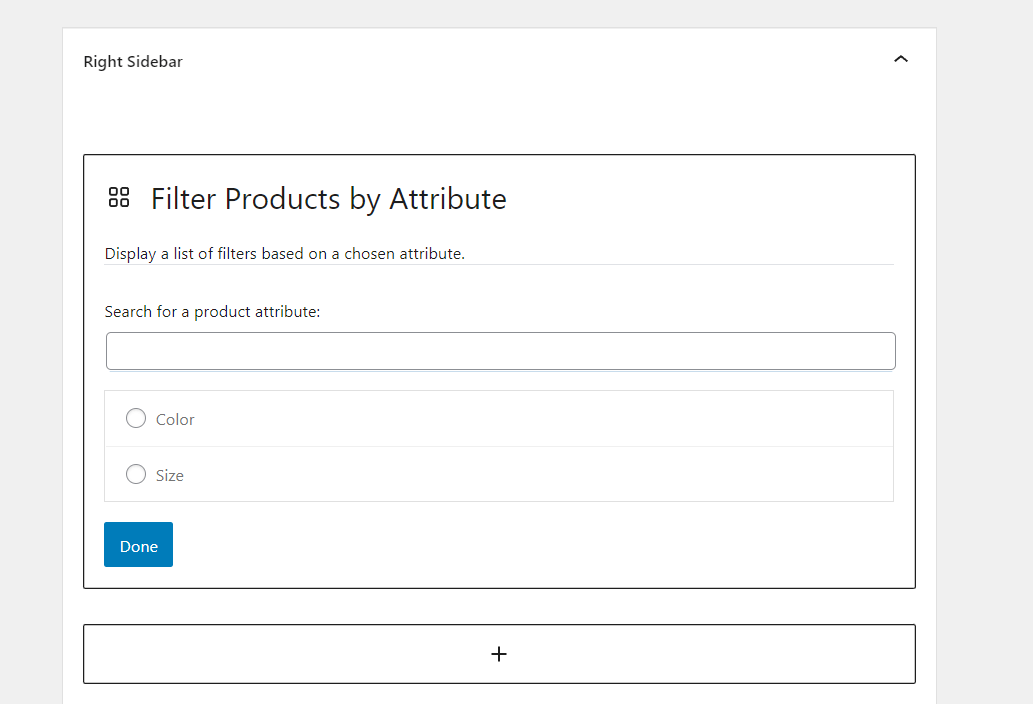
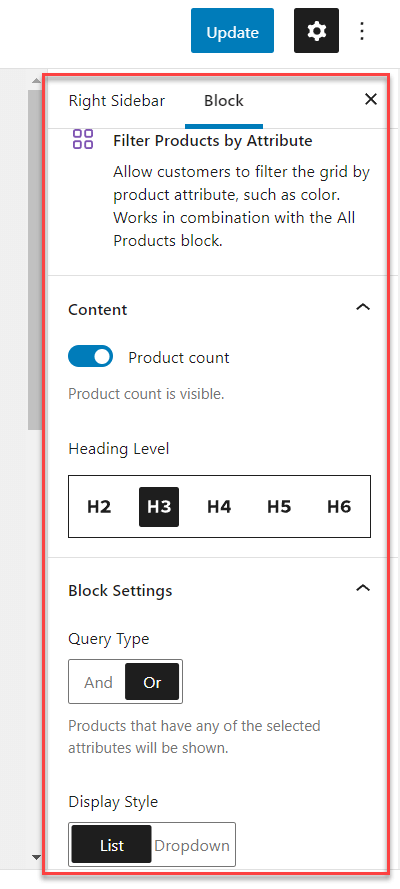
The widget requires only minimal configuration. You need to select a product attribute to use. The widget will display all the attributes available in your WooCommerce store. In our case, the two attributes available are
- Color
- Size
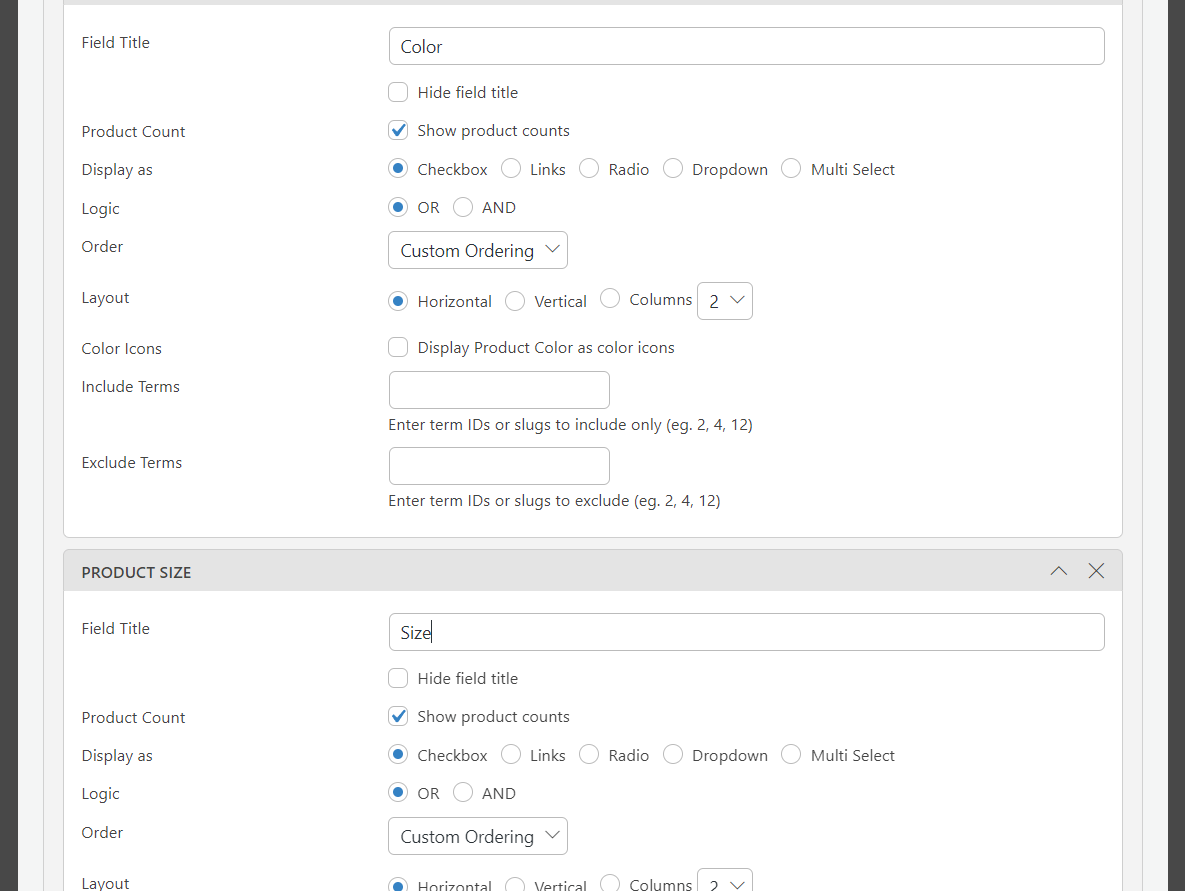
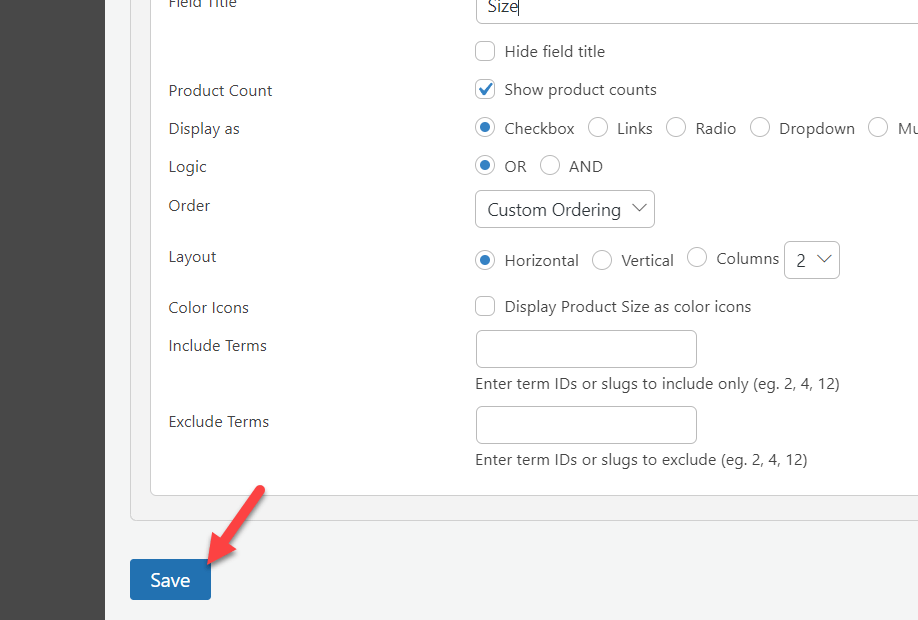
Select the attributes, and the final widget configuration will look something like this.
You can also see the block configuration on the right-hand side of the page.
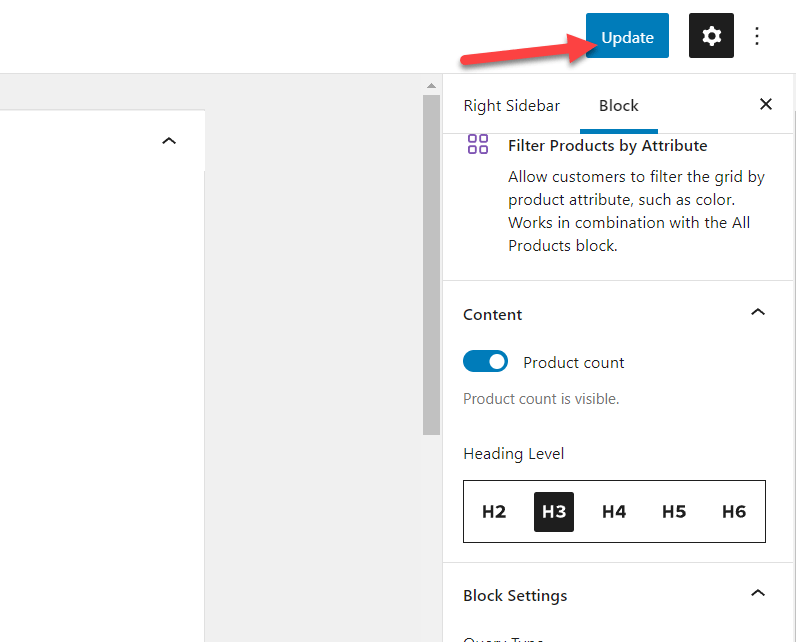
Once you have done modifying the widget, Update the settings.
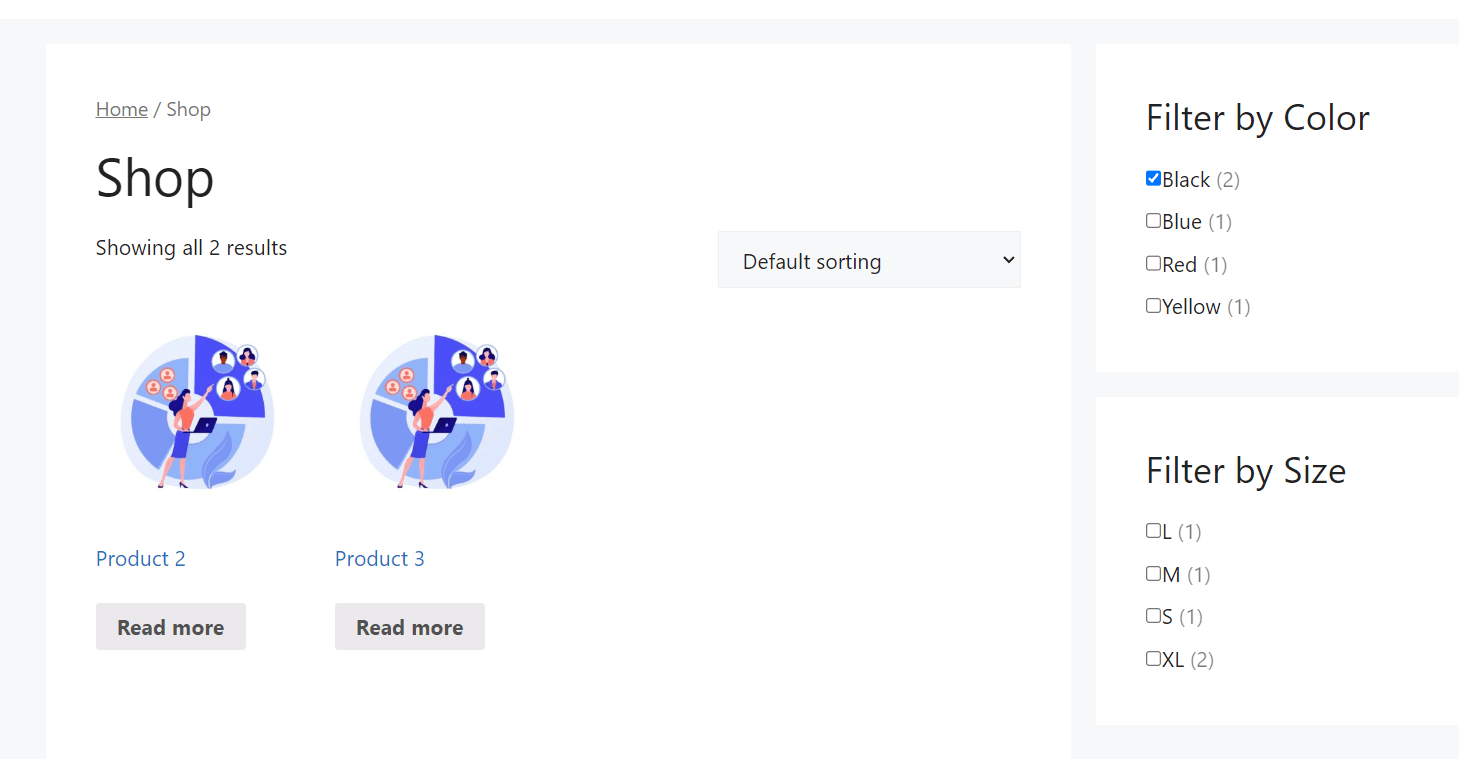
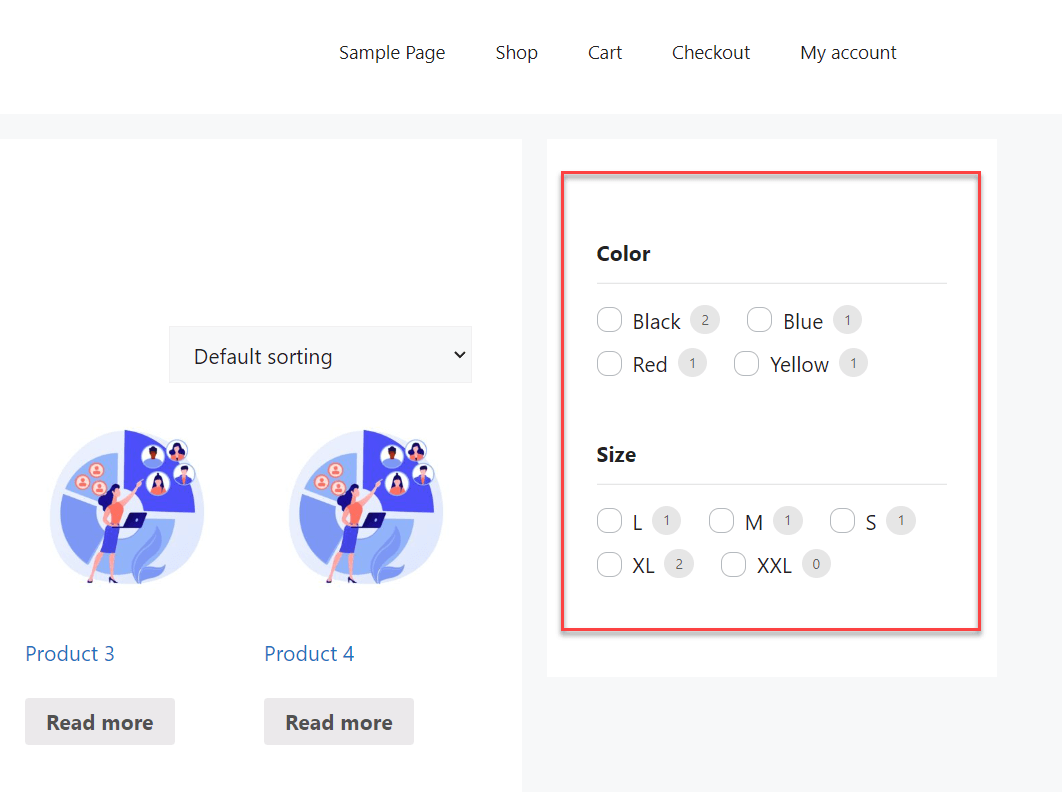
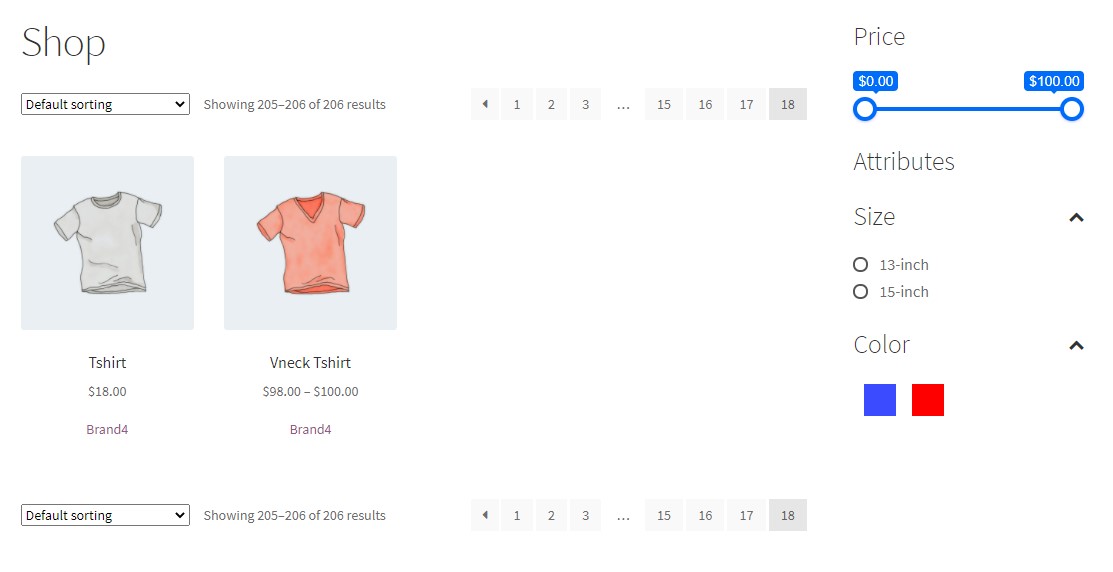
Now, go to the front end of your website and check the right sidebar.

As you can see in the screenshot, the filters will be visible in the front end according to your customization. So, if you have added a new attribute to the store and want to add it to the widget area, you will have to revisit the widget and select the new attribute, as already explained, to update the widget. Once you have reconfigured the widget, you will see the new filter display on the front end.
If you or your customer select any attributes, the shop result will be modified accordingly. Here, we set the attribute Color as Black, which displays two of our products that match the color black.
That’s it!
This is how you can filter WooCommerce products by attribute without using third-party tools or extra codes.
2) Plugin Method
If you prefer using a plugin to add the filter to your WooCommerce store, this section is for you. Here, we will show you how to use a plugin to manage the said task. There are several plugins available for filtering WooCommerce products. If you are looking for the best product filter plugin, we have a dedicated post with the best plugins to help you with the job.
For the demonstration, we are going to choose Themify – Product filter. It is a free and feature-rich WordPress plugin available in the WordPress repository for free.
Install and Activate the Plugin
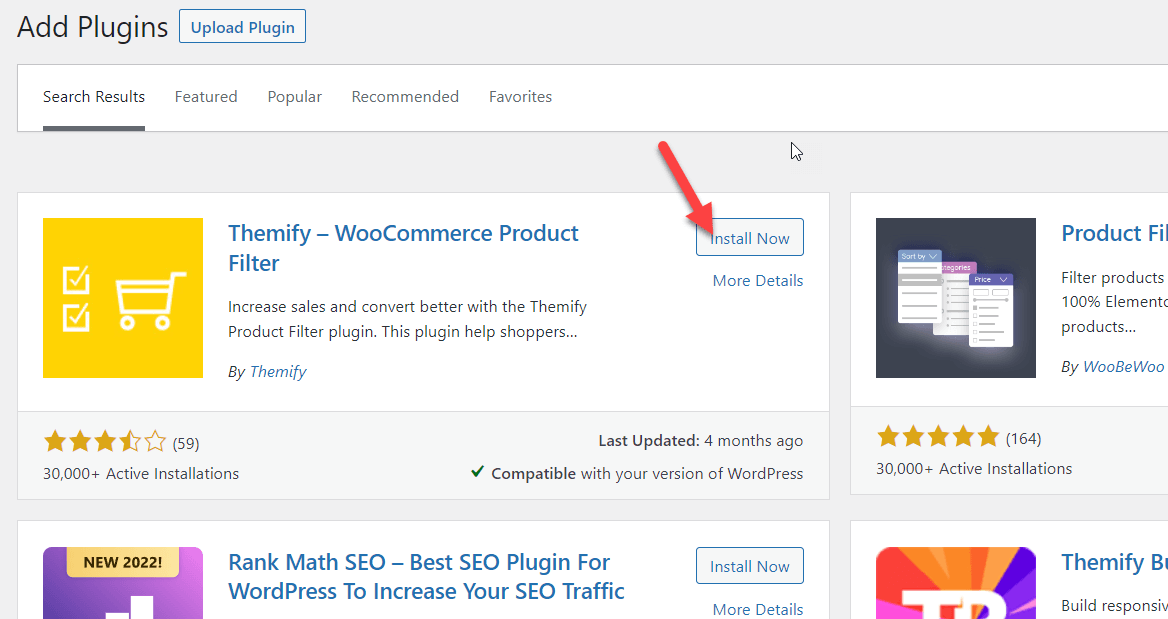
The first thing you have to do is install and activate the Product Filter plugin on your WordPress site. Go to Plugins > Add New and Search for the plugin. Once you have found the right one, Click on the Install Now button to install it.
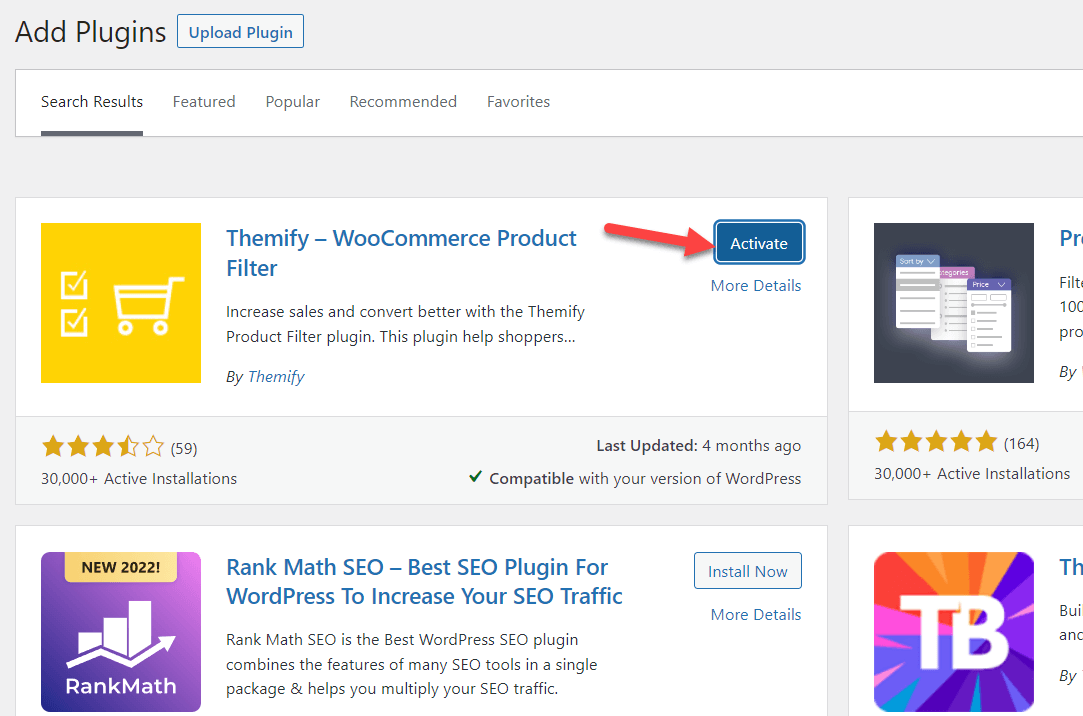
Once you have installed the plugin, hit Activate to activate it on your site.
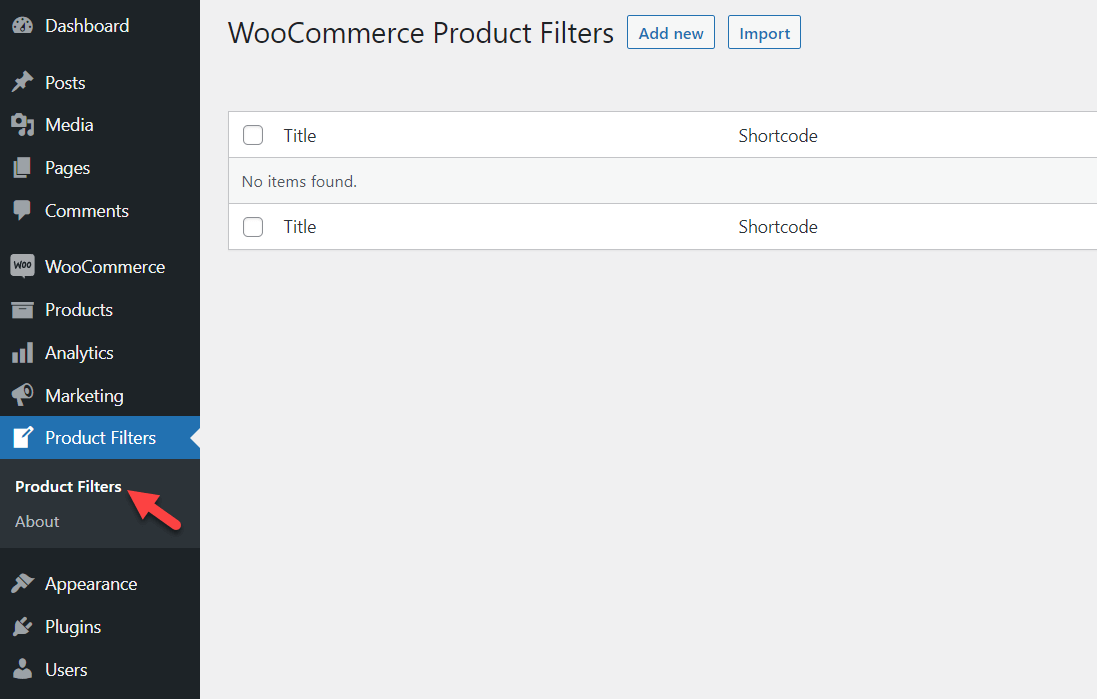
After activation, you can see the plugin settings on the left-hand side of your WordPress dashboard.
Add a New Filter Using the Plugin
You can create new filters from there, or if you have existing ones, you can import them easily. In this case, we are going to make a few filters.

Click on Add New, and a lightbox will appear with all the parameters you have to customize.
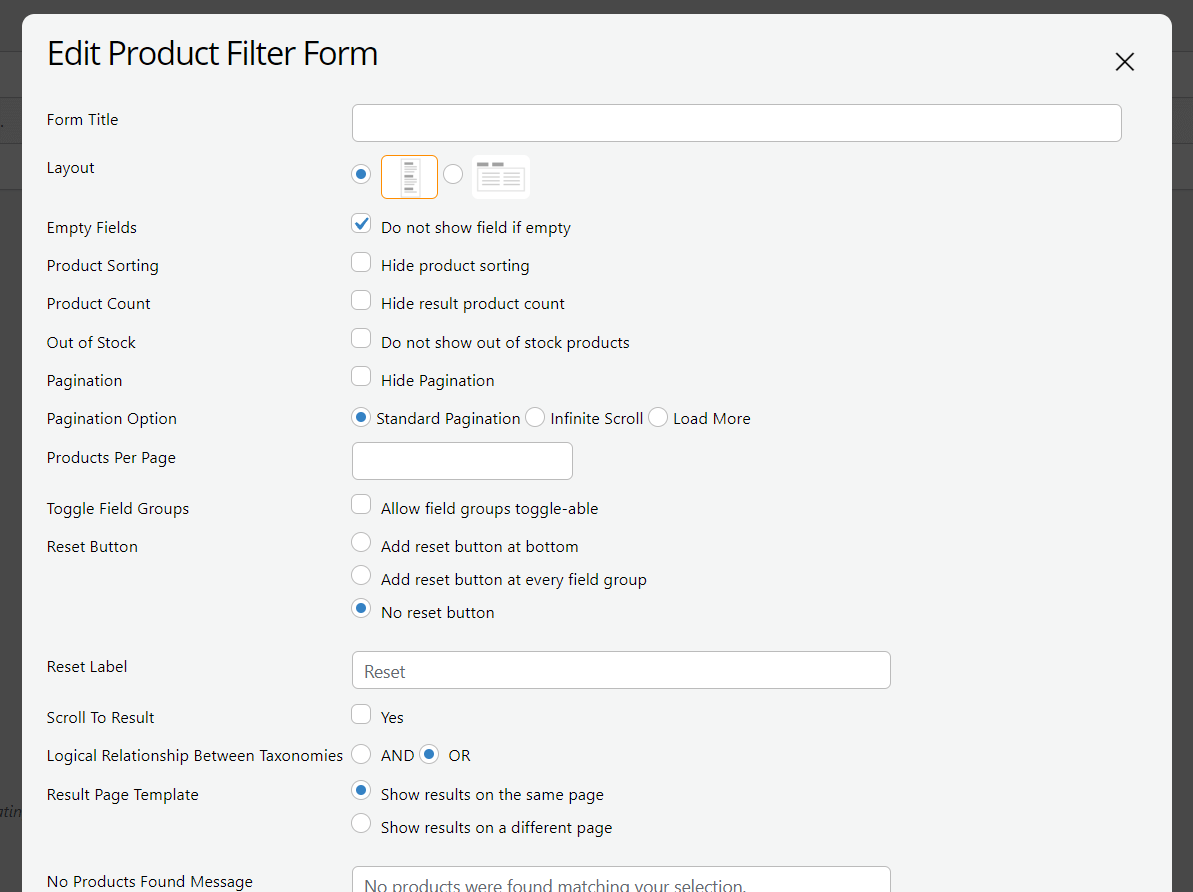
You can choose them according to your preference. If you scroll down to the bottom, you will see a box with customizable attributes.
That’s where you need to modify. By default, the plugin will not display any attributes in the front end. So instead, you must drag the attribute you need to display to the bottom of the box.
In this case, we have created Color and Size attributes and assigned them to some products. So, we will be dropping those attributes in the active area.
Each option is customizable. You can add a title and modify similar things.
Once you are done with the modification, save it.
Display the Product Filter
The plugin will create a new shortcode for this configuration. You can see the unique shortcode from the plugin’s settings.
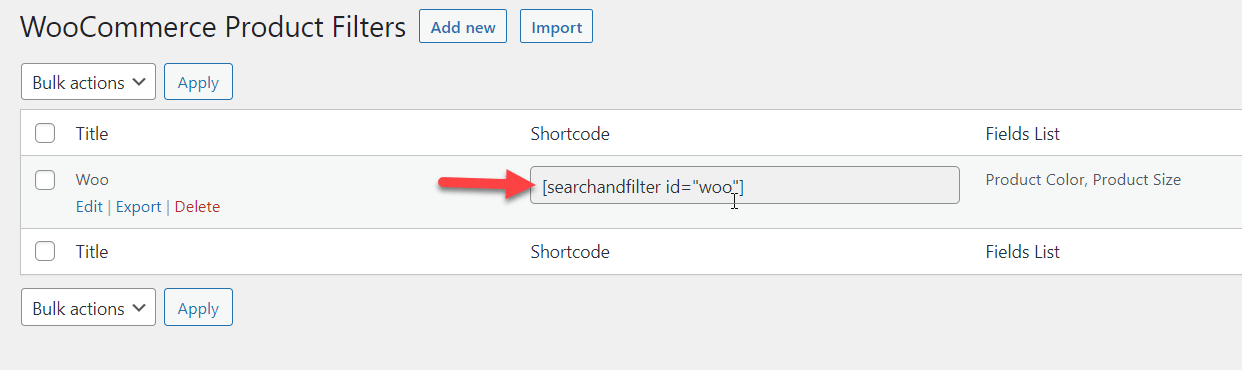
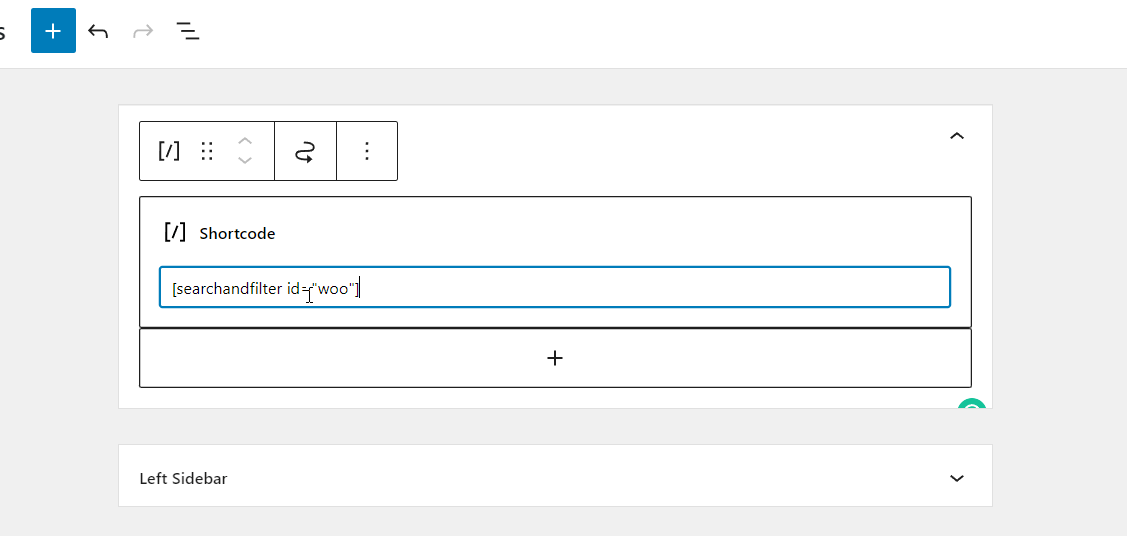
Copy the shortcode from there and visit any widget area. In this case, we will use the filter option inside the right sidebar. So, add a new shortcode block to the right sidebar widget area and paste the shortcode.
After updating the setting, check your WordPress site from the front end. You will see the filters in action.
The best thing is you can modify the filter anytime you want. So, this way, you can use a plugin to add a product filter to allow your customer to filter WooCommerce products by attribute.
BONUS: How to Add WooCommerce AJAX Product Filters
Refreshing the web page whenever customers update their filter is pretty annoying and can lead to cart abandonment. This can affect your online business negatively.
To optimize the experience, you can use a technique called AJAX. AJAX is a common practice web developers use to load required data without causing additional page loads or refreshes.
This can help you improve the conversions because the customer will not feel irritated with every extra page load.
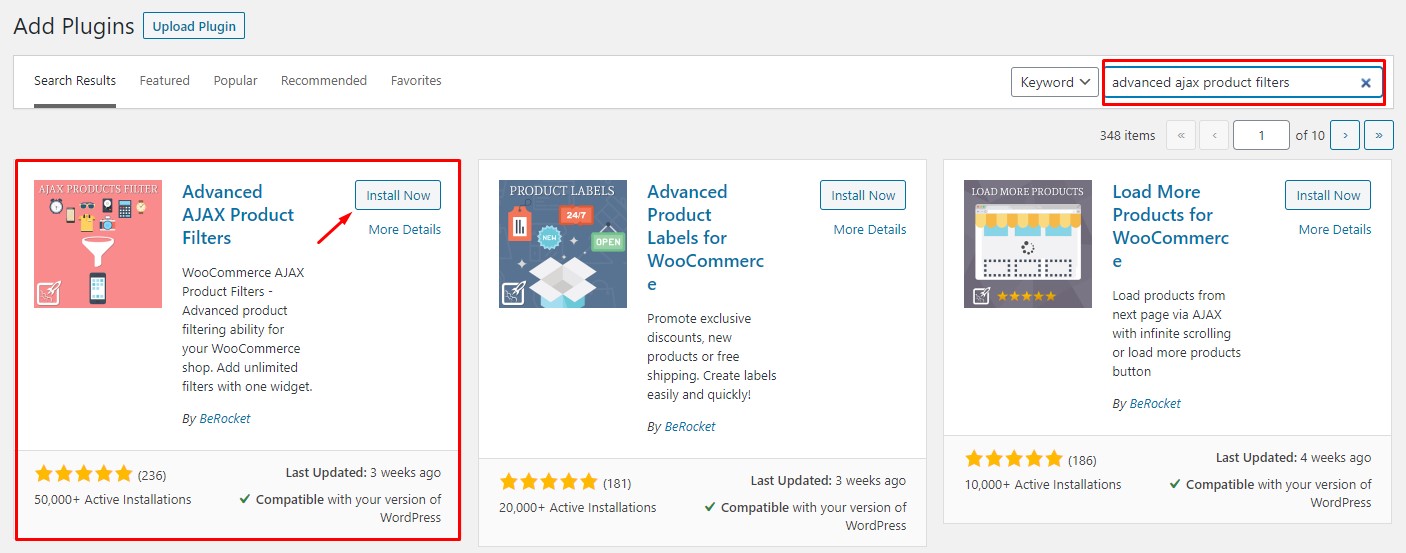
To do that, we will use the Advanced AJAX Product Filters plugin to accomplish this task. It is one of the finest plugins you can get to add WooCommerce AJAX product filters to your store.
The very first thing you need to do is install and activate the plugin on your WooCommerce installation. To do this, you have to go to Plugins > Add New. After that, you can search for the plugin and install and activate it.
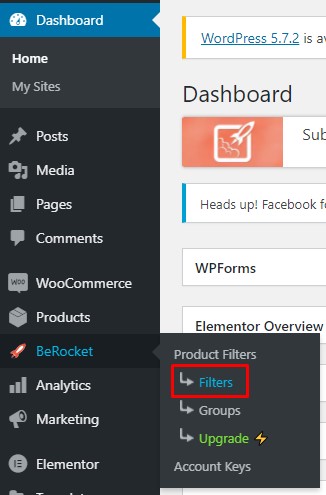
After activation, you can see the plugin’s settings on the left-hand side of your WordPress dashboard. Go to the Product Filters option there.

This is the general configuration area of the plugin. From there, you can modify the values and everything. For example, choose the Filters option, as shown below, if you need to create a new filter.
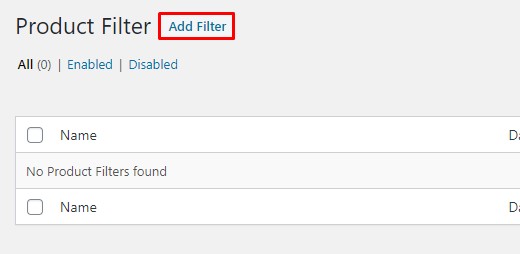
Add a New Filter
Click on the Add Filter button to create filters on your WooCommerce store.
On the next page, you will see every customization option you can do with the filter.
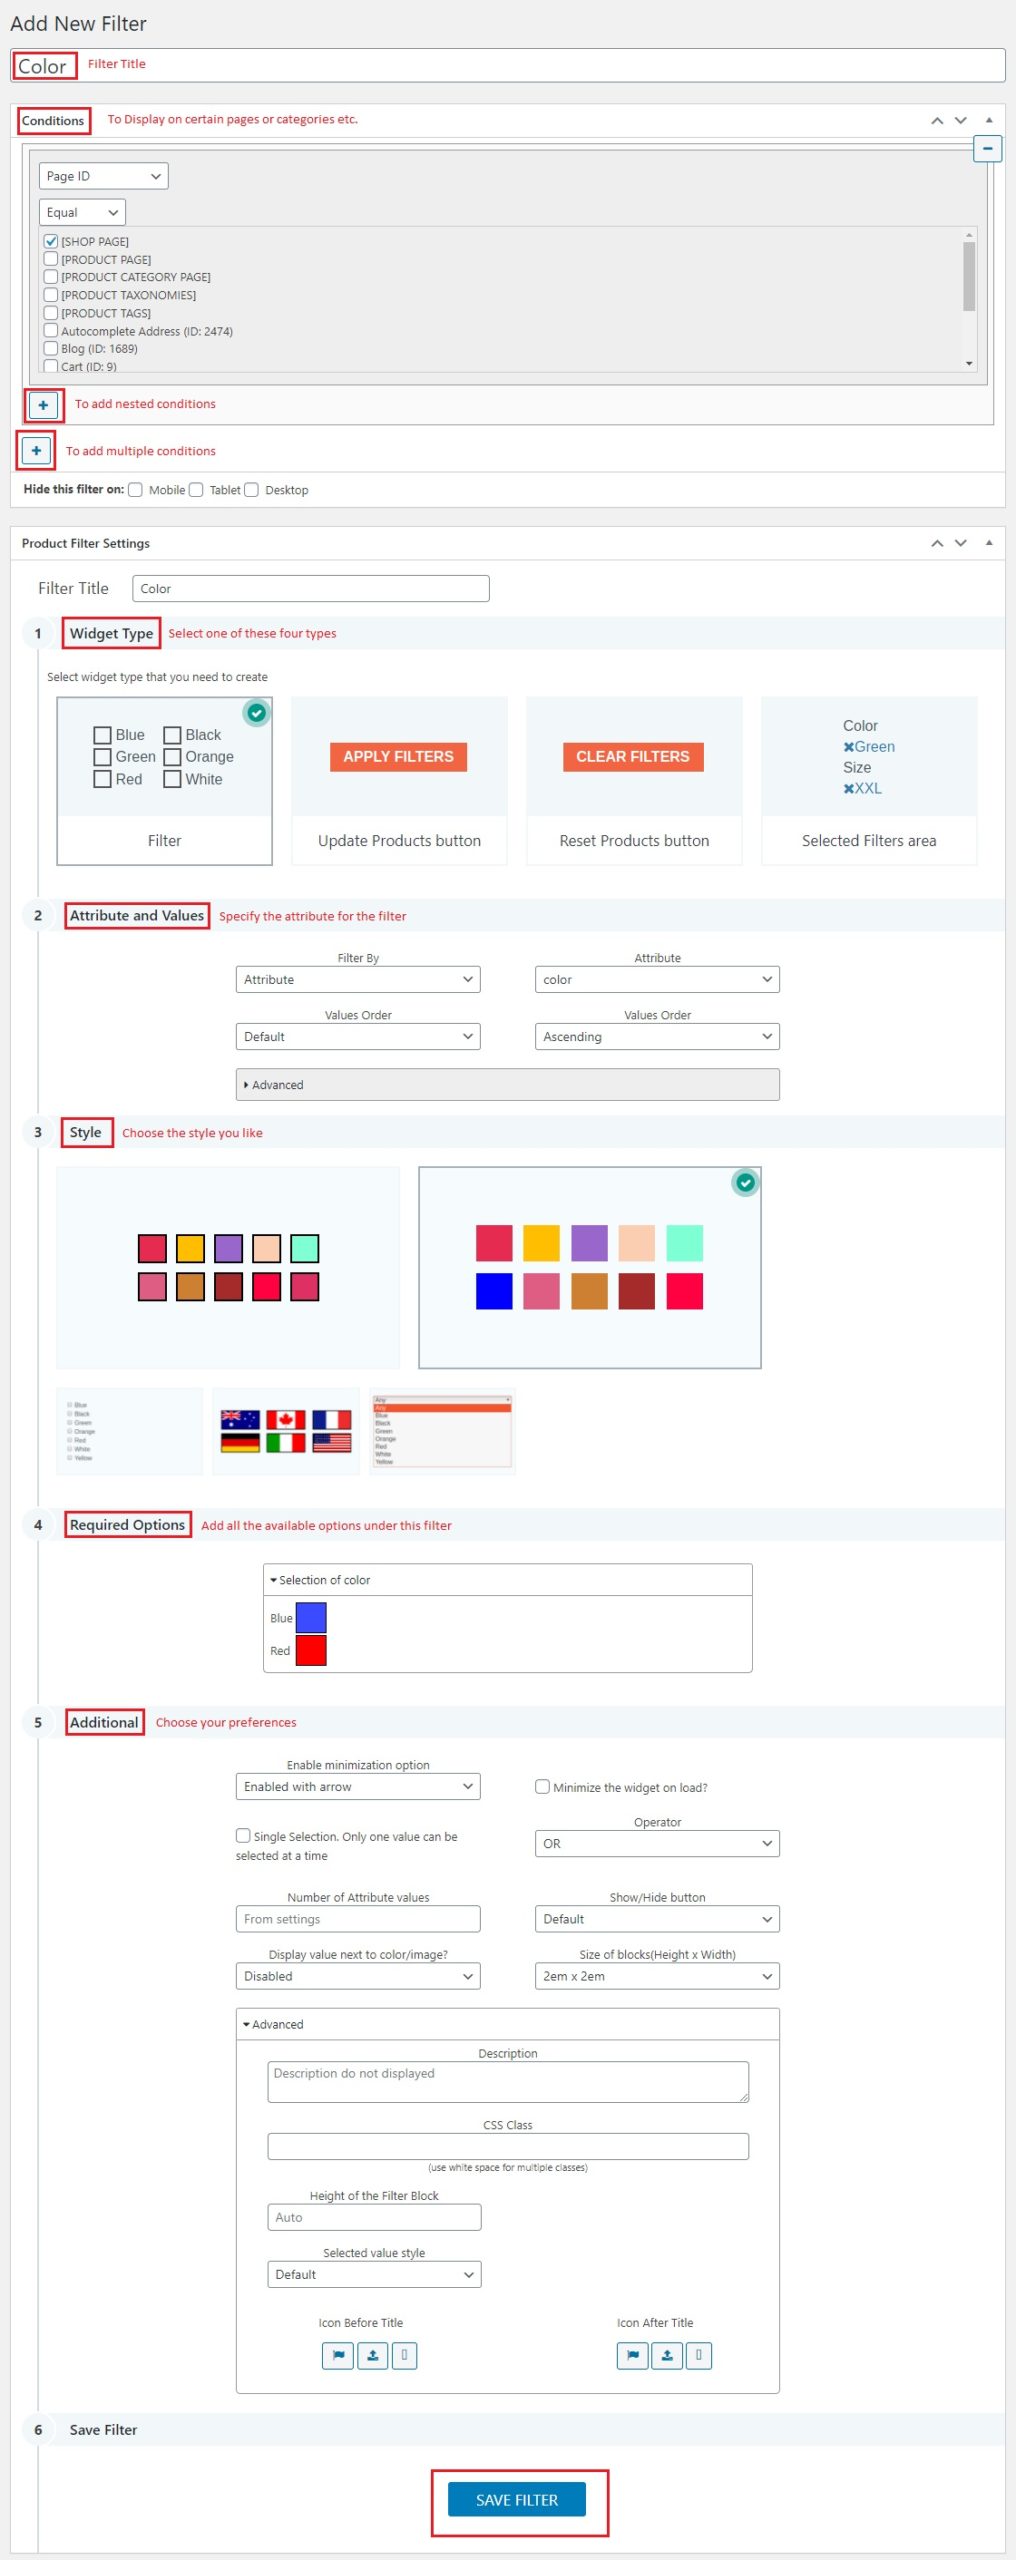
Save the filter once you have modified everything, and you are good to go.
From now on, you can see all the filters under BeRocket > Filters.
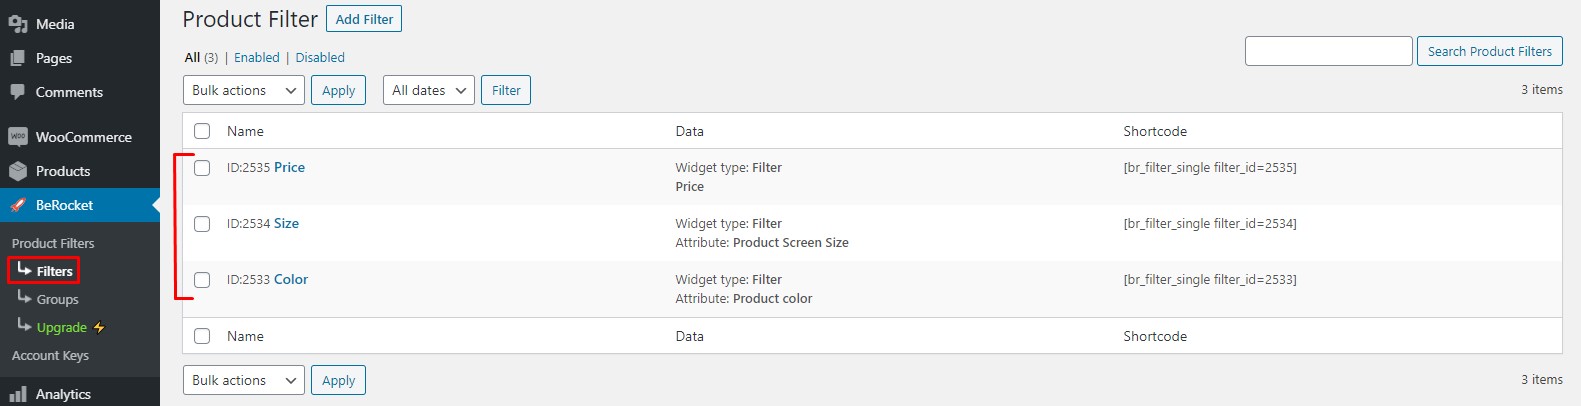
You can create as many filters as you need or modify the existing ones. Similar to this, you can also create a filter group. So when you need to assign multiple filters under one group, this feature can be handy.
Display the AJAX Filter
The next step is to display the filter on your front end. To do so, you can use shortcodes or the dedicated widget that comes with the plugin. The widget is the easiest option you can use. All you need to do is go to the widgets section and use the AAPF filter widget.

You can modify the filters and filter groups according to your preferences. As a result, the AJAX filtering option will be present in the front end of your WooCommerce store.
This way, you can use the Advanced AJAX Product Filters plugin to add a filtering option to your WooComemrce installation.
However, there is a lot more you can achieve with this plugin. If you are interested, check out our dedicated article on How to Add WooCommerce AJAX Product Filters.
Conclusion
In this article, we have covered two methods for adding a product filter to filter WooCommerce products by attribute.
- Default method
- Plugin method
If you need an easy-to-use method, the default method is preferred. You do not need to use any extra codes or other customization. Once you have assigned an attribute to the products, you can use the dedicated Gutenberg block to display the attribute on the front end of your WooCommerce installation.
On the other hand, you can use a plugin to do the same. But it will take you more time. However, the plugin method can be a good fit if you need more configuration/customization options. The best part about the plugin method is you will have total control over the created widget.
So, pick a method according to your use and preferences.
We hope this guide helps you in adding your required filter to your WooCommerce store. So, which method are you going to use and why? The default method or the plugin method?
Let us know in the comments!
If you are interested in other similar articles, you can check out our blog archive or go through these handpicked posts:
