
How to Add Brands to WooCommerce
Cataloging your WooCommerce stores and adding sorting options based on brands are great ways to improve your website’s shopping experience. Including brands to improve product recognition and even letting your customers view products based on brands can be a great way to boost your conversions. This is why today we’ll have a look at a complete guide on how to add brands to WooCommerce.
First, let’s see why you should consider including brands in your store.
Why Add Brands to WooCommerce?
It’s no surprise that brand recognition is an important deal to customers. People are more prone to buying products from brands they recognize. They even tend to purchase products solely off-brand and will consider sticking to them if they prefer some of their products. For example, if you’re selling shoes on your website, customers are more likely to purchase shoes from brands such as Nike, Adidas, Jordan and Under Armor.
To offer a better customer experience, it makes sense to add brands that you have in your store. Moreover, if you have brand deals, it is even more critical to ensure that your customers know which brands you support and if they can have specific deals from those brands.
By default, WooCommerce doesn’t let you display brands or sort products based on brands. This also means that WooCommerce lacks filtering based on brands, so, we’ll use an external plugin to add brands to WooCommerce.
How to Add Brands to WooCommerce
The best way to include brands in your shop is to use a dedicated plugin. For our demonstration, we’ll use Perfect WooCommerce Brands. It’s free, lightweight and easy to use and lets you add your brands and use shortcodes to display any products assigned to these brands. Alternatively, if you’re looking for other tools to include brands in your store, you can check out our article about brand plugins.
Installing and Activating the Plugin
Let’s start by installing and activating the plugin. Open your WP Admin Dashboard and go to Plugins > Add New.
Then, use the search bar on the top right to search for Perfect WooCommerce Brands.
Click Install on the plugin’s tab and click on Activate once the button switches to activate the plugin.
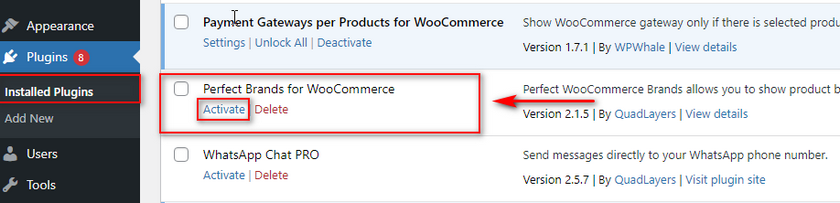
If you want to activate/deactivate the plugin manually, you can do so by navigating to Plugins > Installed Plugins and pressing activate/deactivate under the plugin’s listing.
Now that we have the plugin installed, we can start adding brands to our website. If you don’t have any brands in your store, you’ll have to create them. Let’s see how to do that with Perfect Brands for WooCommerce.
How to Create Brands in WooCommerce using the plugin
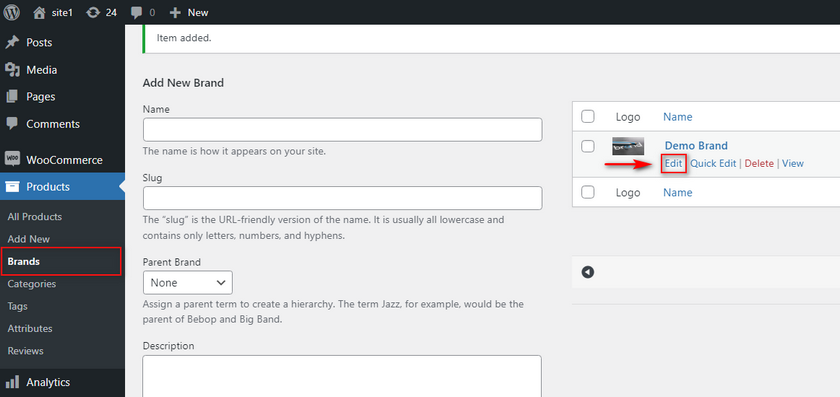
Let’s create a brand for our products first. Open your Brands page by clicking on Products > Brands on your WordPress Admin Dashboard.
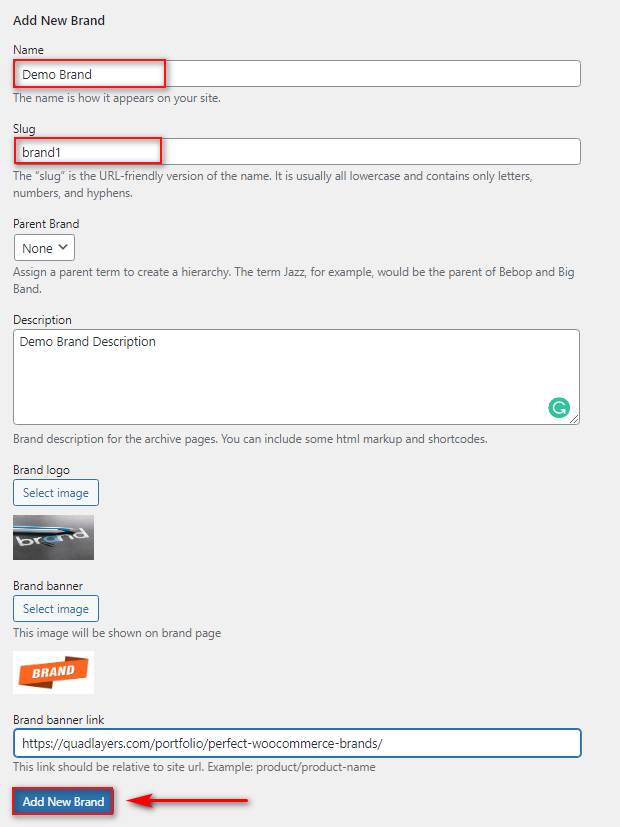
Then, you can use the Add New Brand section on the left half of the page. Fill in the required details of your new brand, such as name, slug, and parent brand (if necessary.) You can also add a short description of your brand and add images if required. Once you’re done, click on Add New Brand.
If you want to edit your brand, later on, you can do so by simply clicking on Edit next to the name of your newly created brand on the Brands page.
Now that we have a brand created, we can assign products to this brand.
Assigning Products to a Brand
Start by clicking on the Products tab in your WP Admin Dashboard. Then, click on Edit under any of the products you want to assign to the brand.
On the right, you should see the Brands section, which you can use to assign the product to any of your brands. Simply select the brand or multiple brands to which you want to assign the product, and click on Update.

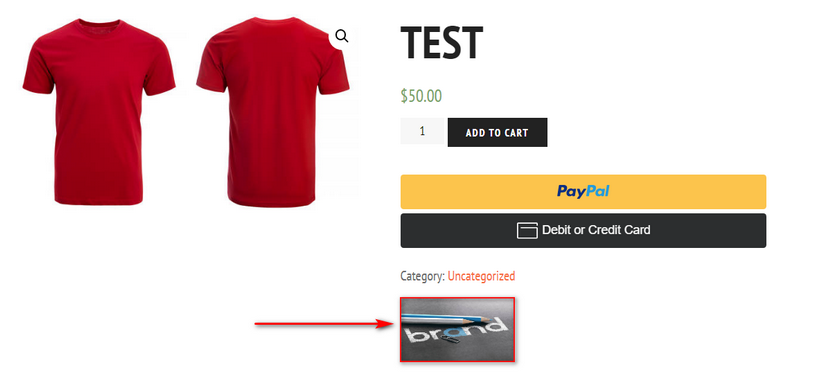
Now, if you check your product’s page, you will see the brand logo next to the product details like so:
How to Display Your Brands
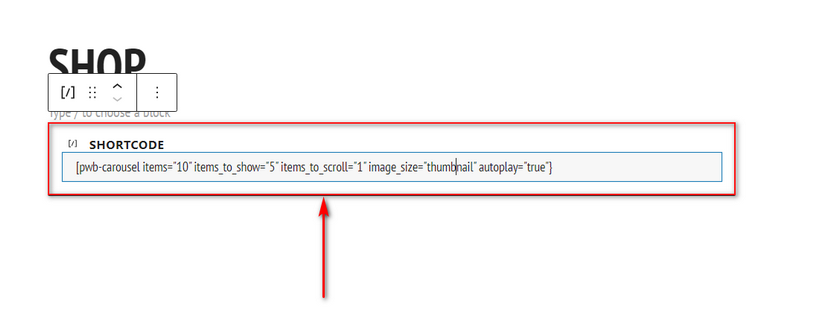
Now, to display all your brands on your website, you’ll need to use a shortcode. Of course, this shortcode can be added to any part of your website that accepts shortcodes—everything from your widgets to your posts/pages. Additionally, with the help of your Page builder or even the Full Site Editor, you can add this shortcode to any part of your website. Simply paste in this shortcode to the WordPress page where you want to display the brands:
[pwb-carousel items="10" items_to_show="5" items_to_scroll="1" image_size="thumbnail" autoplay="true"]
We’ll be adding this for our demo to our Shop page, but you can follow the same process to add your brands to any post or page. Simply edit your page in the WordPress editor and add a Shortcode block by clicking on the Add New block button. Then, search for shortcode and click on it.
Then, paste the above shortcode to the block and Save/Update your page.
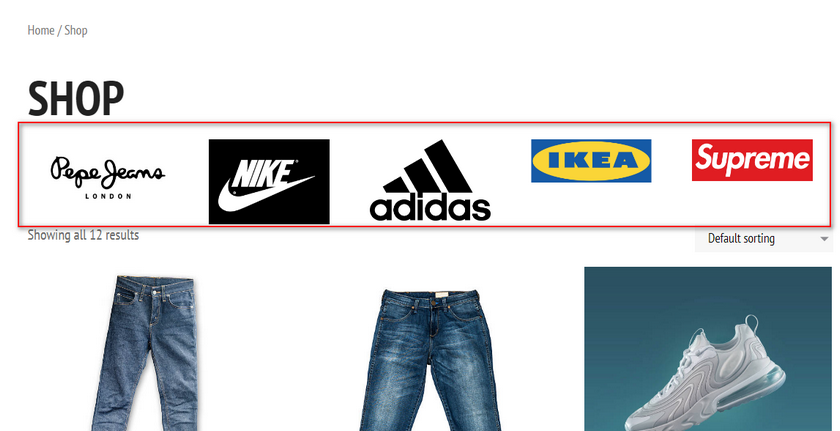
This shortcode will now add a customizable brands carousel to your page, which should show up like this:
Now, you can customize this shortcode the way you want by changing the shortcode’s parameters. You can check out the documentation here if you want to learn more about using the shortcode.
Simply put, you can customize the following parameters for the shortcode:
- “items” [int / featured] – The Total number of brands the carousel will display.
- “items_to_show” [int] – Number of brands to display per page.
- “items_to_scroll” [int] – Number of brands to scroll each time you scroll the carousel.
- “image_size” [thumbnail / medium / large / full / custom size] – The size of the image displayed in the carousel.
- “autoplay” [true / false] – This option lets you enable/disable the Carousel autoplay.
- “arrows” [true/false] – With this option, you can show or hide the navigation arrows
How to Filter Products by Brand
You can also add a filtering option to your website sidebar that filters your products by brand. All you need to do is add a simple widget to your website’s widget locations. To do so, open your Widgets page by clicking on Appearance > Widgets on your admin sidebar.
Then, click on any of the Widget locations your theme provides you. Then, click on the Add block button and search for Brands. Click on the Brands Dropdown widget and customize it the way you want.
Once you’re done, click on Update on the top right, and you should see a brands dropdown list in your widget location.
How to Add Brands to WooCommerce using a Brand Carousel
Alternatively, you can also add carousels that display products based on the brand too. For this, you’ll need to use this shortcode:
[pwb-product-carousel brand="brand-slug" products="10" products_to_show="5" products_to_scroll="1" autoplay="true"]
Simply replace the brand-slug text in the brand parameter with the slug of your required brand. For example, we have our Demo brand with the slug’ brand1′, so we’ll edit the shortcode as so:
[pwb-product-carousel brand="brand1" products="10" products_to_show="5" products_to_scroll="1" autoplay="true"]
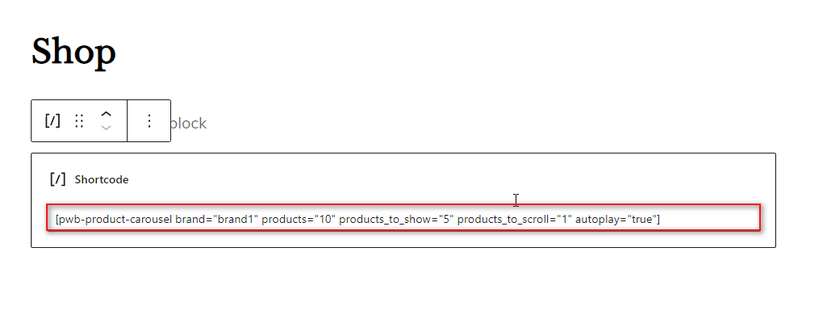
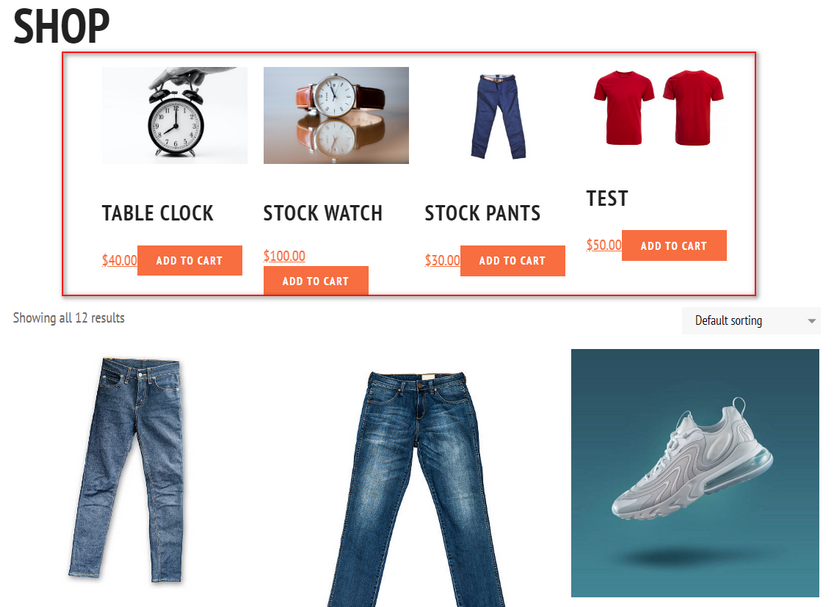
Now, paste this shortcode into any of your pages and update the page. You will see a carousel with all the products assigned to that specific brand.
How to list Products by Brand
In case you want to add a page with only the products of your brand instead of using a carousel, you can use the ![]()
AI Copilot
From: $0.00 / year
Instagram Feed Gallery
From: $0.00 for 1 year
Perfect WooCommerce Brands
From: $0.00 / year
QuadMenu
$30.00![]()
Social Chat
From: $0.00 for 1 year
TikTok Feed
From: $0.00 for 1 year
WooCommerce Checkout Manager
From: $0.00 for 1 year
WooCommerce Direct Checkout
From: $0.00 / year![]()
WP Menu Icons
From: $0.00 / year
AI Copilot
From: $0.00 / yearInstagram Feed Gallery
From: $0.00 for 1 yearPerfect WooCommerce Brands
From: $0.00 / yearQuadMenu
$30.00Social Chat
From: $0.00 for 1 yearTikTok Feed
From: $0.00 for 1 yearWooCommerce Checkout Manager
From: $0.00 for 1 yearWooCommerce Direct Checkout
From: $0.00 / yearWP Menu Icons
From: $0.00 / yearThen, replace the brand-slug text with your slug. For example, we’ll use:
AI Copilot
From: $0.00 / yearInstagram Feed Gallery
From: $0.00 for 1 yearPerfect WooCommerce Brands
From: $0.00 / yearQuadMenu
$30.00Social Chat
From: $0.00 for 1 yearTikTok Feed
From: $0.00 for 1 yearWooCommerce Checkout Manager
From: $0.00 for 1 yearWooCommerce Direct Checkout
From: $0.00 / yearWP Menu Icons
From: $0.00 / year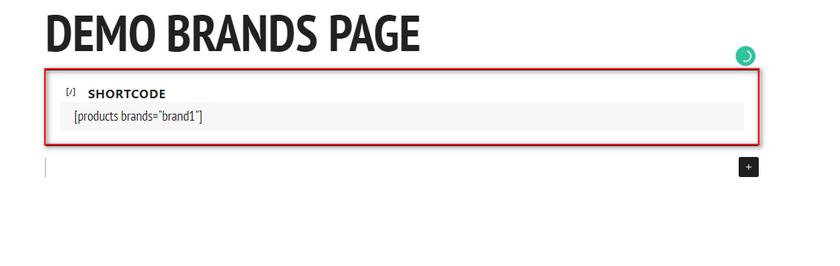
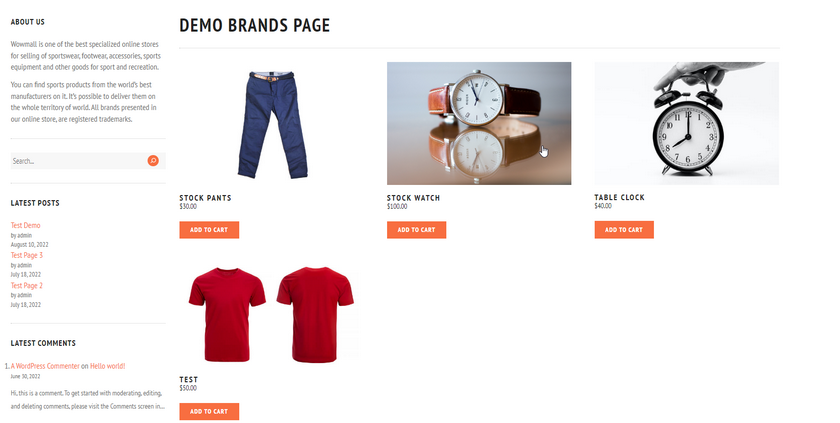
Add this to any custom page/post using the shortcode block. Once you save the page, this should show up like this:
How to Display All Brands in a page/post
Similarly, if you want a display section for all the brands your website stocks, you can also do that using the [pwb-all-brands] shortcode.
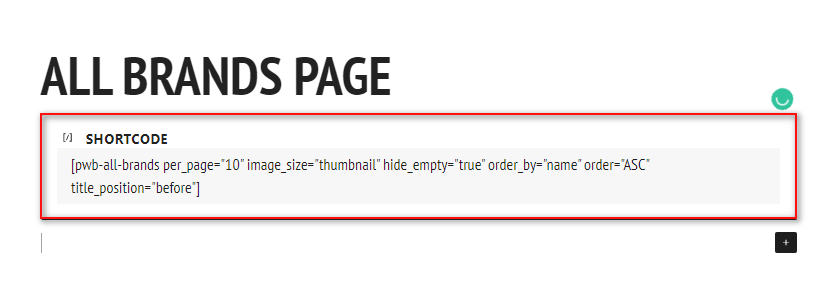
For this, you’ll be using the shortcode:
[pwb-all-brands per_page="10" image_size="thumbnail" hide_empty="true" order_by="name" order="ASC" title_position="before"]
Paste this into the shortcode block like so:
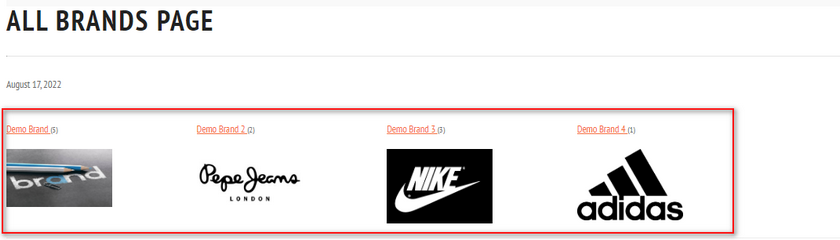
Now, you should have all your brands pages displayed on the page like so:
How to add Brands to WooCommerce using an A-Z listing
If you want to add brands to WooCommerce pages using an A-Z listing instead, you can also do that. This works excellently if you have tons of brands instead of just a few ones, and you want your customers to be able to access each brand and their products individually.
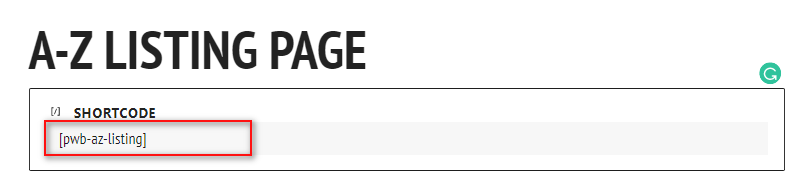
For this, you can add this shortcode in your editor:
[pwb-az-listing]
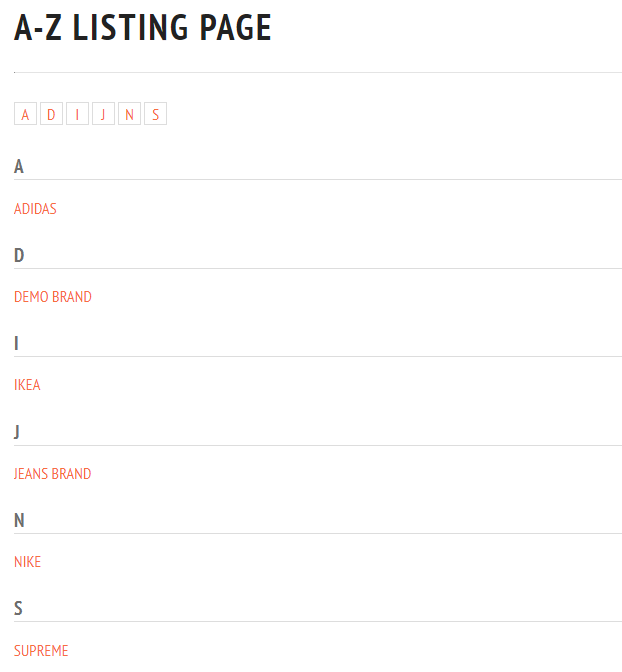
Then, preview your page, and you should see a clean A-Z listing of all of the brands in your WooCommerce.
Conclusion
And that is how you can add brands to WooCommerce. Using the Perfect Brands for WooCommerce plugin, you can easily create brand carousels or even add brand listings and dedicated pages for your brands.
Let’s quickly summarize what we’ve covered in this post:
- How to add brands to your WooCommerce store
- Assigning brands to products
- Displaying brands using a carousel
- How to add filtering based on brands
- Creating dedicated listing pages for brands
- Adding an A-Z listing for brands
This plugin has many other features and further shortcode customization that you can access for free. To learn more about how to use all these features, have a look at our guide on how to organize brands.
Have you tried adding brands to WooCommerce? How much impact do you think brands have on sales? Let us know of your experience in the comments below.
Furthermore, if you’re looking for other smart ways to catalog your products and improve your conversion rates, why not check out some of our other articles as well:
