How To Edit Footer In WordPress (The Definitive Guide)
Last week, we showed you how to edit the header of your blog to customize the look and feel of your site, add the Google Analytics tracking code or Google AdSense verification code to your site. Another very important section of your website that’s usually overlooked is the footer. Today we’ll show you how to easily edit the footer in WordPress.
NOTE: We will be editing the theme files for the modification process. So to keep your data safe, you might want to generate a complete website backup. This way, if anything goes wrong, you can restore all your information!
Why edit the Footer of your site?
The footer is a key part of your site and contains important information so you should make the most of it. That’s why you should spend some time editing and customizing it. You can remove or add things, change their style, put links to your policies or social media, and much more. Additionally, most WordPress themes come with 3-4 footer widget areas so it’s recommended that you customize it and use it properly.
If you are planning to do Google Search Console verification, Google AdSense verification, or Google Analytics integration but not via the header, you could add the codes to the footer.
How To Edit Footer In WordPress
There are several ways you can edit the footer in WordPress. In this guide, we’ll show you how you can customize your website footer using different methods, how to add a widget, and how to remove the “Powered by WordPress” link from the footer to make the most of it.
- Via Theme Editor
- Using an FTP client
- Using Insert Headers and Footers Plugin
- How to add Widgets To WordPress Footer
- How to Remove The “Powered By WordPress’ Link
1) Via The Theme Editor
This is one of the most elegant ways of editing your site’s footer without using any plugins or third-party services. 1) Under the Appearance menu, go to the Theme Editor. 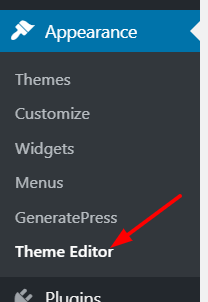 You will see the editor that looks like this:
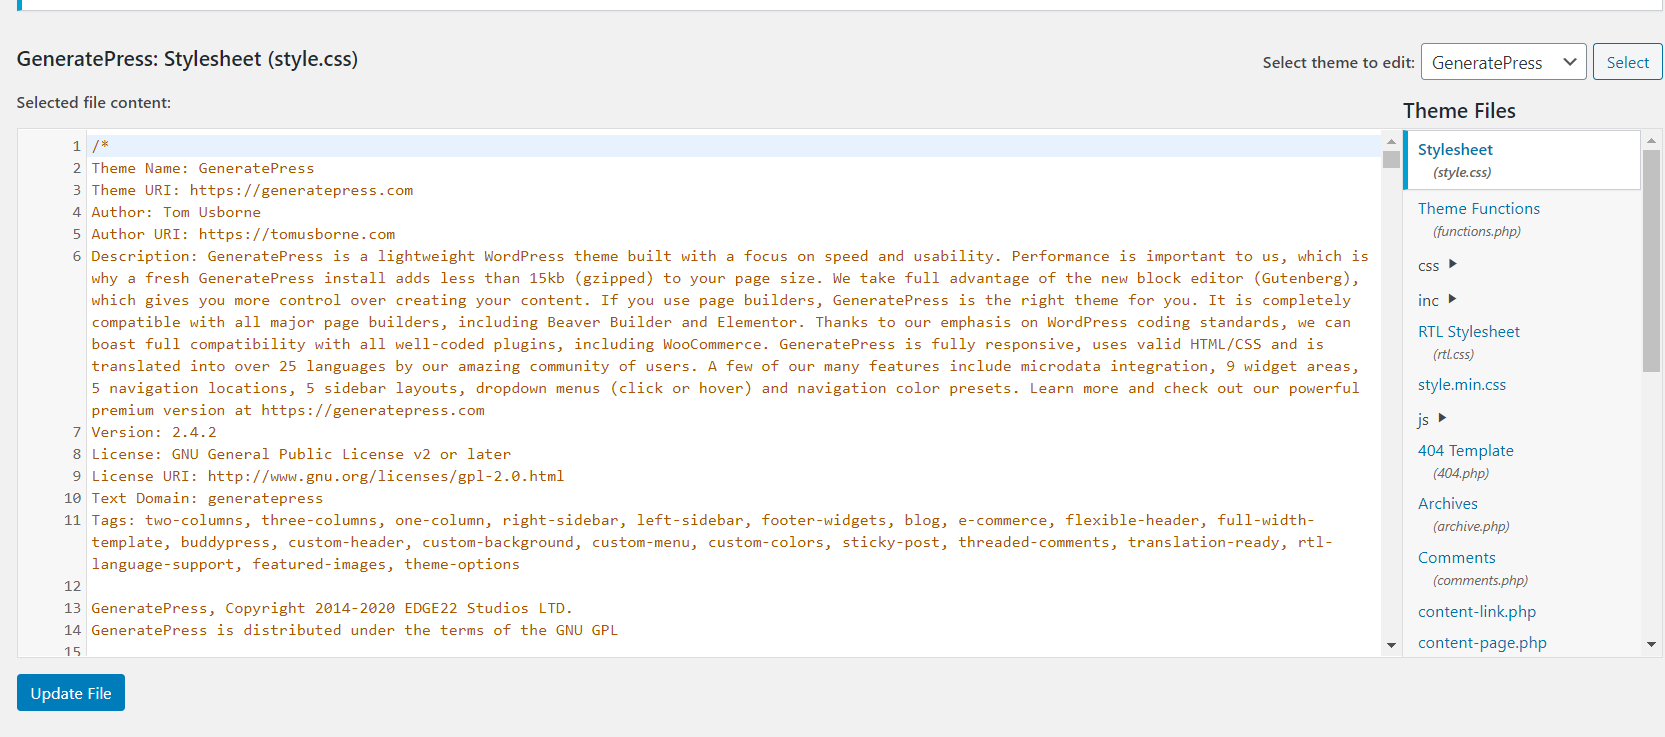
2) The Style.css file will be opened by default. From the theme files section on the right, select the footer.php file. 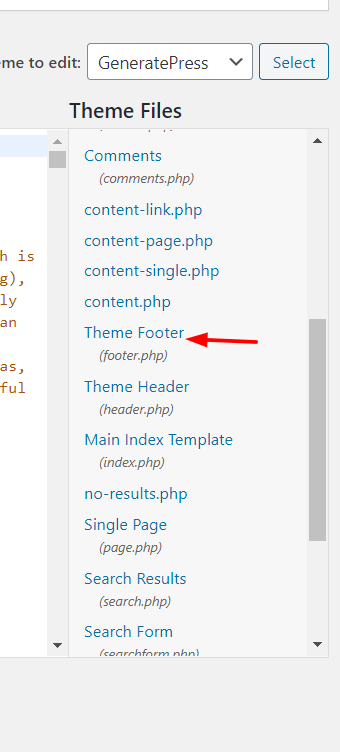
3) Then, scroll down and paste your code right before the </body> tag.
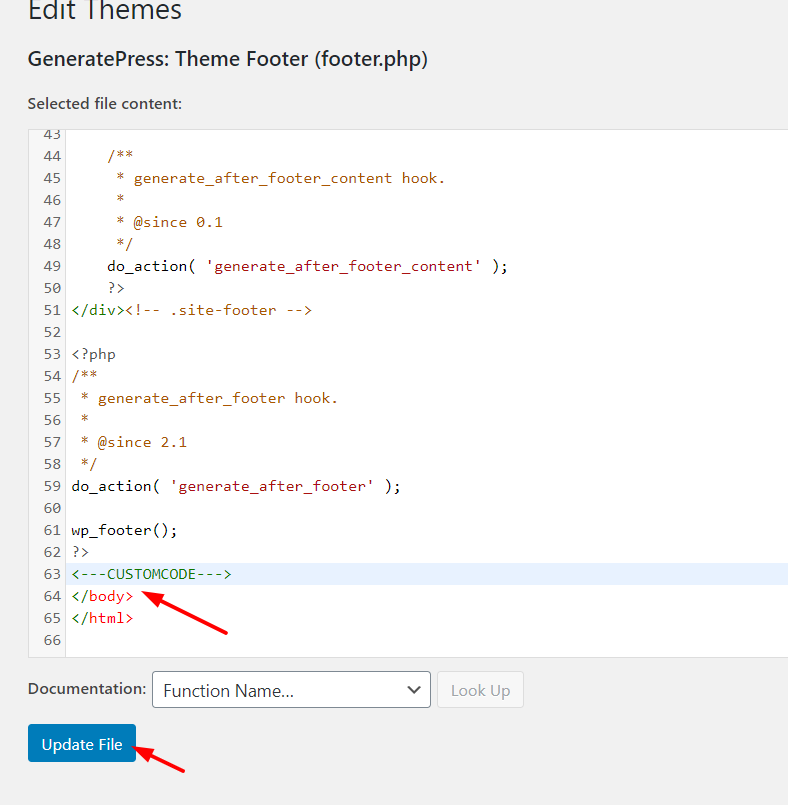
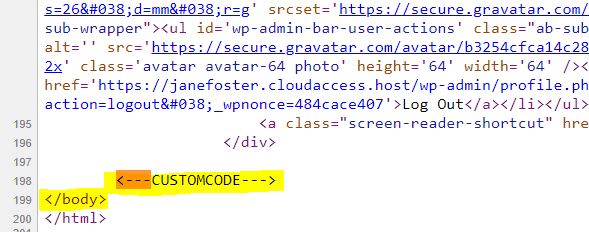
4) Update the file, save the changes and they will be reflected in the frontend instantly. You can verify the addition by viewing the source.
It’s important to note that if you choose this method to edit your WordPress footer, you should create a child theme and apply the changes to it and not directly to the theme files. Why? Because when you update your parent theme files and save the changes, they will be applied in that theme until you update it. In the next update, the theme files would be replaced with the new ones so the changes you made will be lost.
However, you can avoid it by making changes to the child theme. There are several plugins to create child themes. Our favorite is Child Themify that will allow you to make child themes without additional coding.
2) Using an FTP Client
The second method to edit the footer in WordPress is using an FTP client. You’ll edit the same footer.php file as in the previous method but not from the WordPress admin area. This way, you’ll use an FTP client to modify the website files.
1) First of all, you need to create an FTP account. If you are using shared hosting, there must be an option in your cPanel about FTP accounts. You can create one FTP account from there, and then use the credentials for logging in to the server. In this guide, we will be using FileZilla software but you can use the one you prefer.
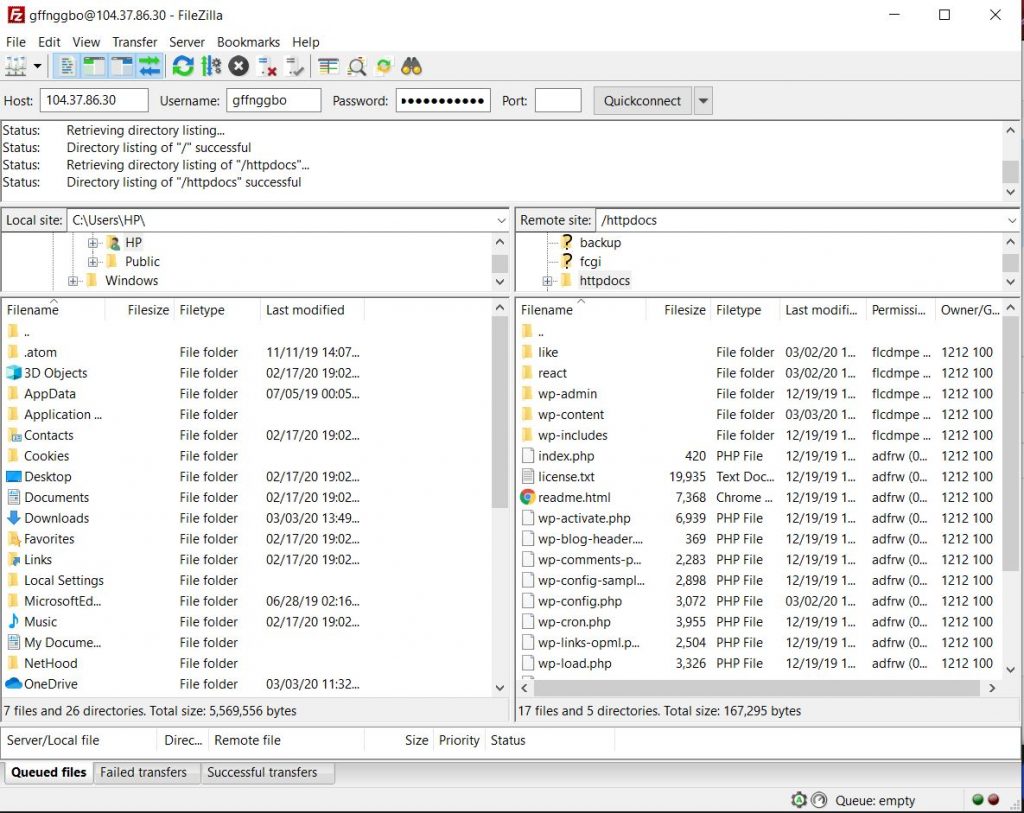
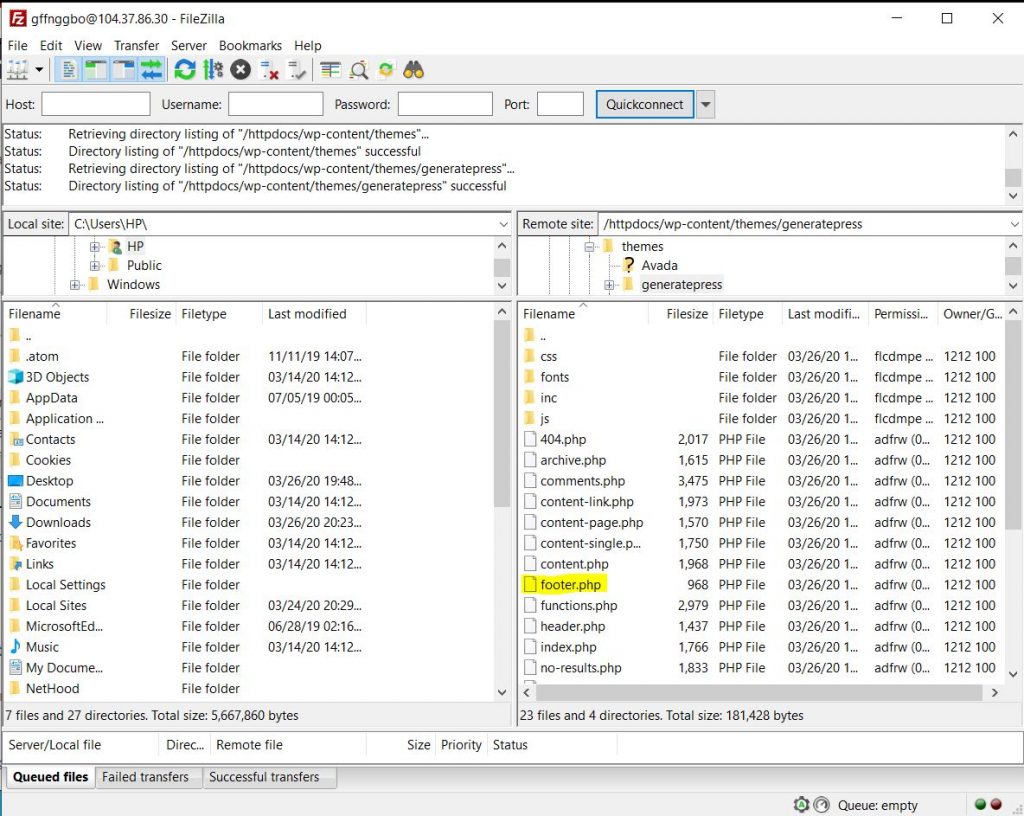
2) On the left side, you’ll see the files and folders you have on your local computer while the right side will show you all the data you have on your web server. Here, go to the active theme folder. The path would be something like: /wp-content/themes/generatepress/. However, the theme name would change according to yours.
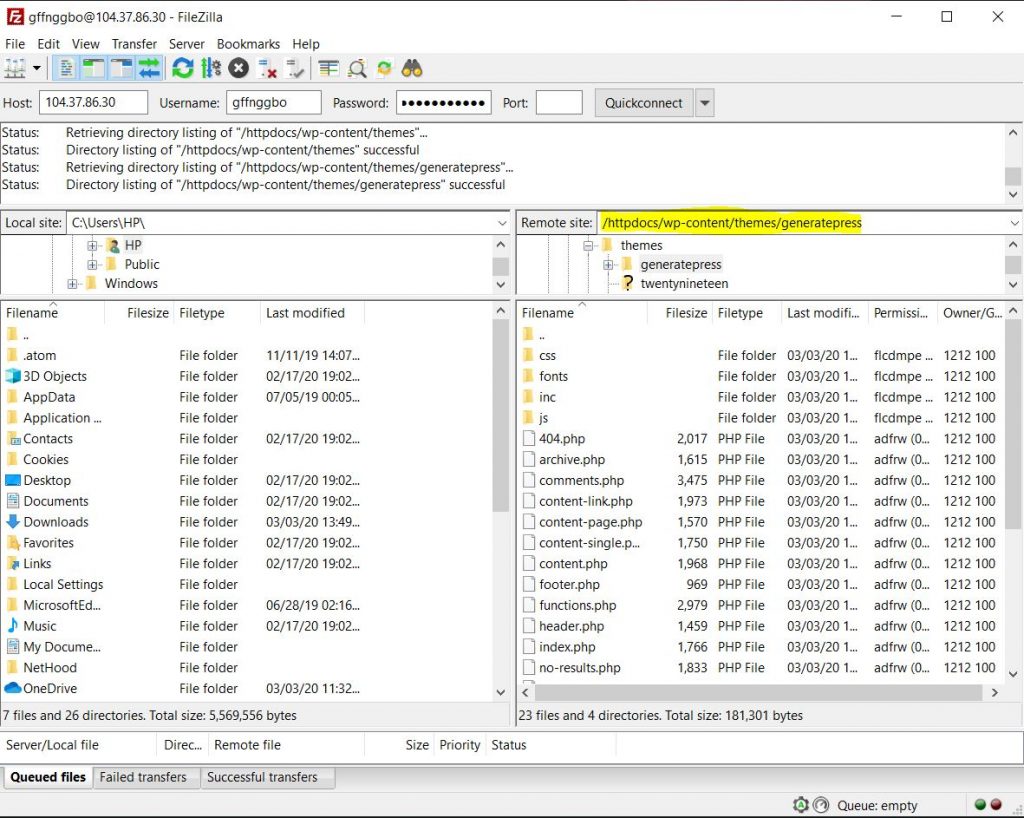
3) There, choose the footer.php file. Right-click on the file and select View/Edit. A sample copy of your file would be downloaded to your computer.
4) Then, you’ll need a text editor such as NotePad or NotePad++ to modify the file.
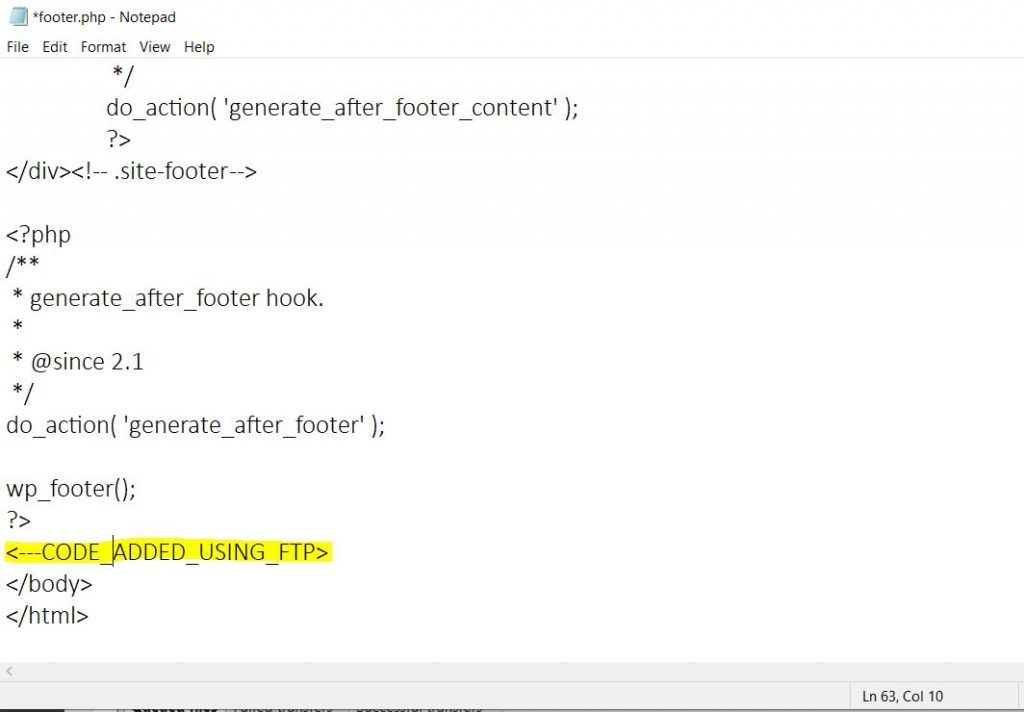
5) Now, add the code just before the </body> tag and save the file. Then, upload it back to the server.
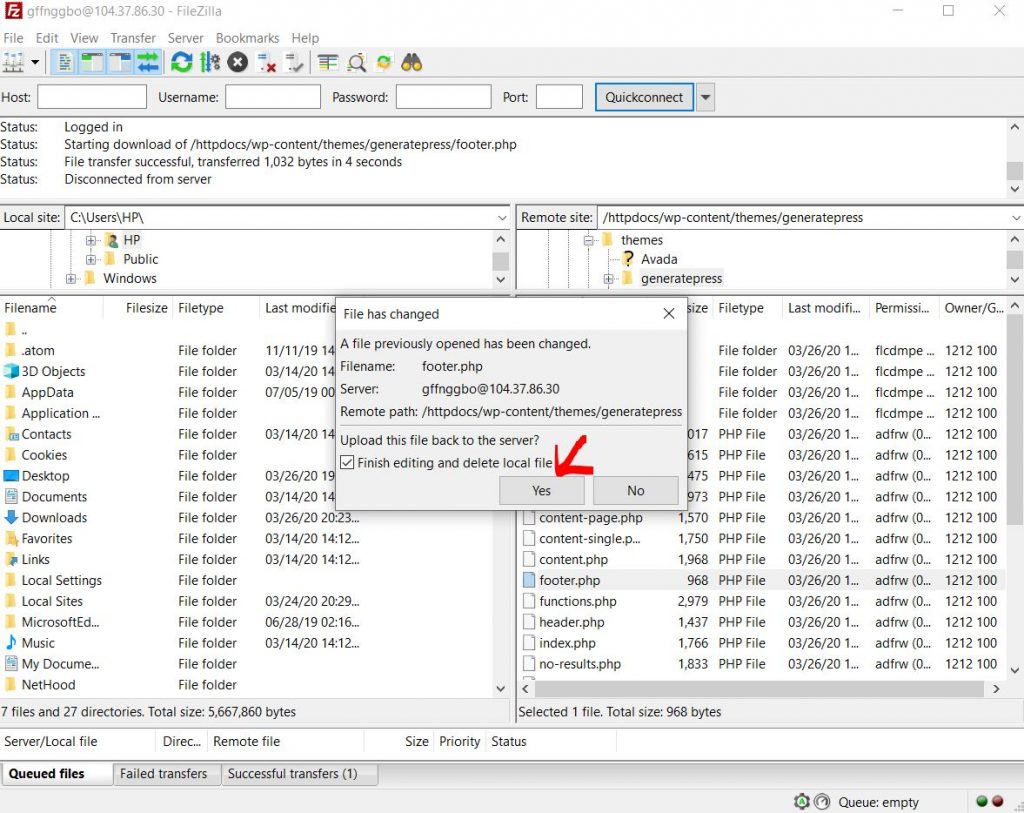
6) You have successfully edited the WordPress footer! It’s always good to verify the website’s frontend and view the source to make sure that there are no problems.
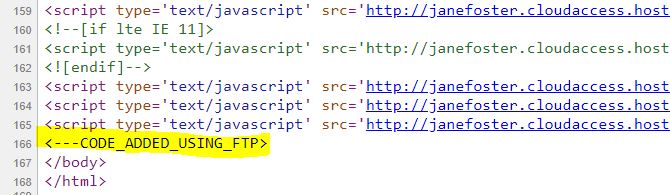
As you can see in the above image, everything is fine! Now, let’s move on to the next method.
3) Using Insert Headers and Footers Plugin
Another simple way to edit your WordPress footer is by using Insert Headers and Footers. It’s a free plugin that you can use to make changes to both your header and footer. This tool has more than 900,000 active installations and it’s one of the best in the market.

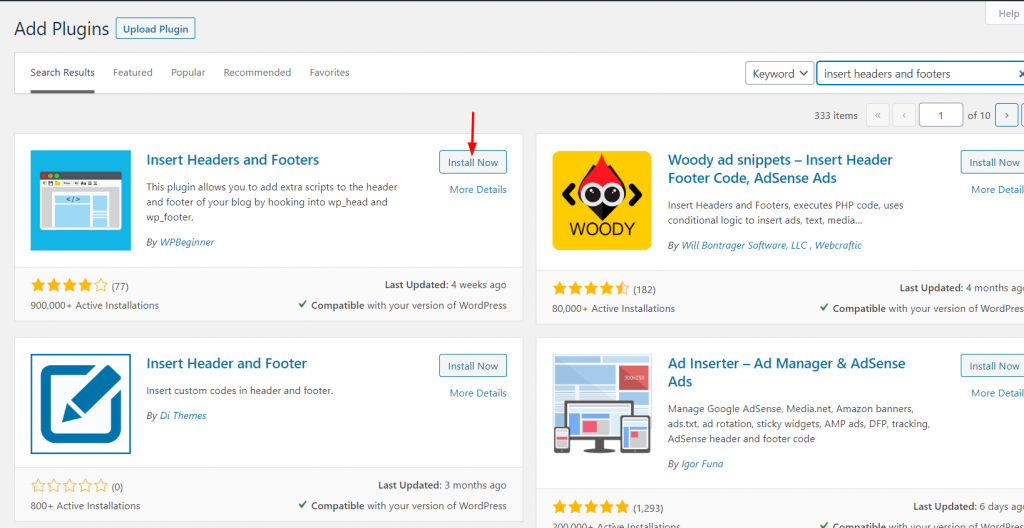
1) First of all, you need to install the plugin. Go to the Add new plugins section and search for “Insert Headers and Footers”. Once you find the search result, click Install now.
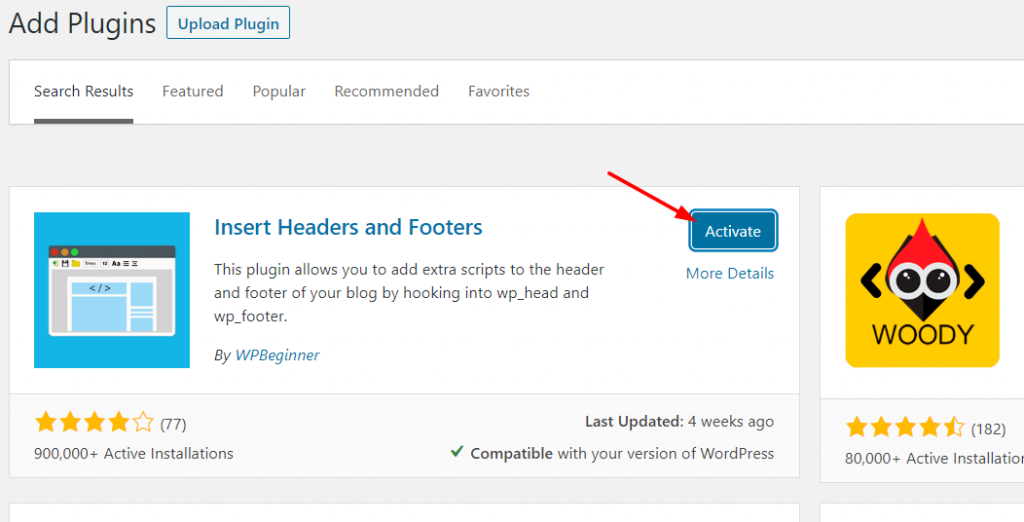
2) Then, activate it.
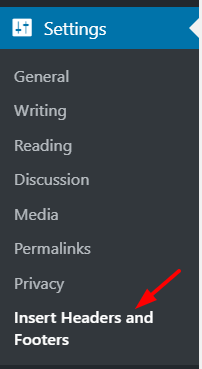
3) After you’ve successfully activated it, you’ll see the plugin’s settings under the WordPress settings section.
4) Here the fun part begins. The best part about Insert Headers and Footers is that customizing the WordPress footer is very simple. You will see three main customization options.
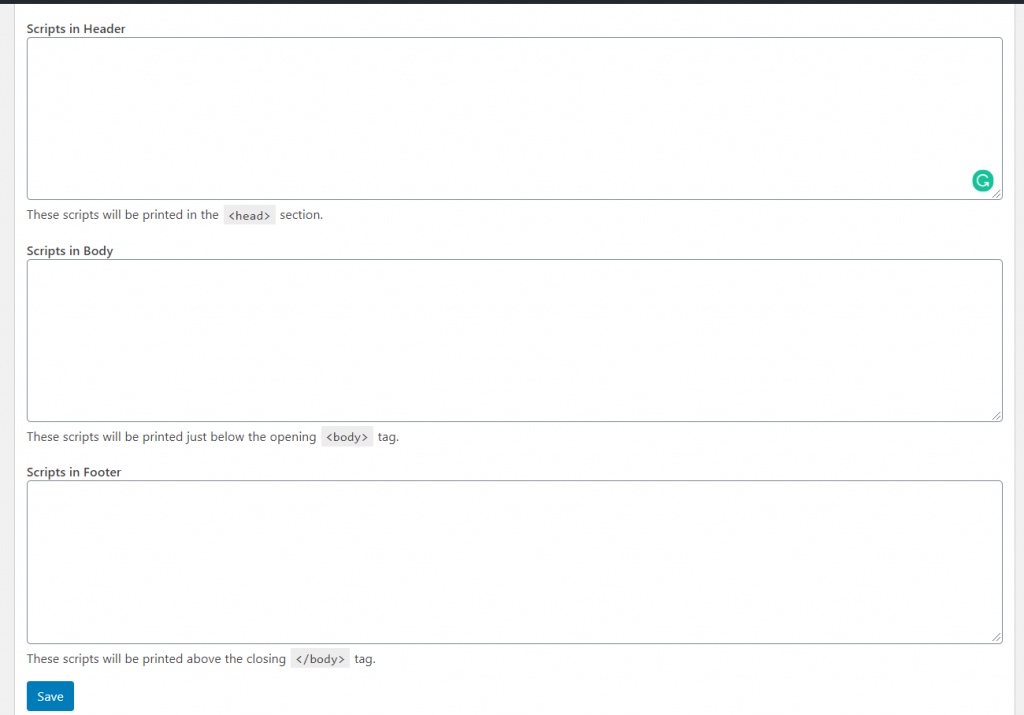
- Header
- Body
- Footer
5) In this case, all you need to do is edit the footer. The modifications will be reflected just before the </body> tag. Simply copy the code you want to paste in the footer section of your website, then, paste it in the plugin settings, and save the changes. In our case, we are about to add a sample Google Analytics code to the footer.
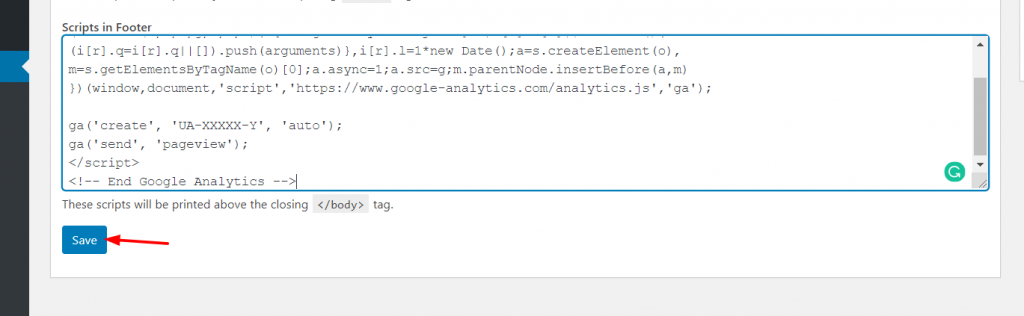
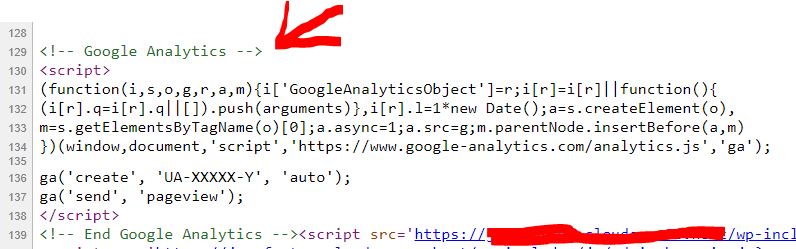
6) After that, you can verify that everything is correct in the frontend by inspecting the source. On the other hand, if you are planning to verify the Google Analytics or Google Search Console property, you will have an option on the property page to confirm the verification. Here, we’ve inspected the source and found that our code got placed successfully in the footer.
As you can see, it’s a very simple way to add code to your footer. In case you don’t want to modify the theme files to edit the WordPress footer, we recommend this plugin method.
4) How to add Widgets To WordPress Footer
Apart from changing the code, you can also add widgets to your blog’s footer. To do this, there are two options:
- From WordPress Widgets Settings
- Through the Customizer
In this guide, we’ll describe both methods.
WordPress Widgets Settings
You can see the Widgets settings under the Appearance menu. 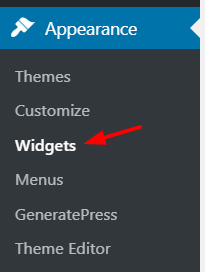 If you select that option, you will see all the available widgets.
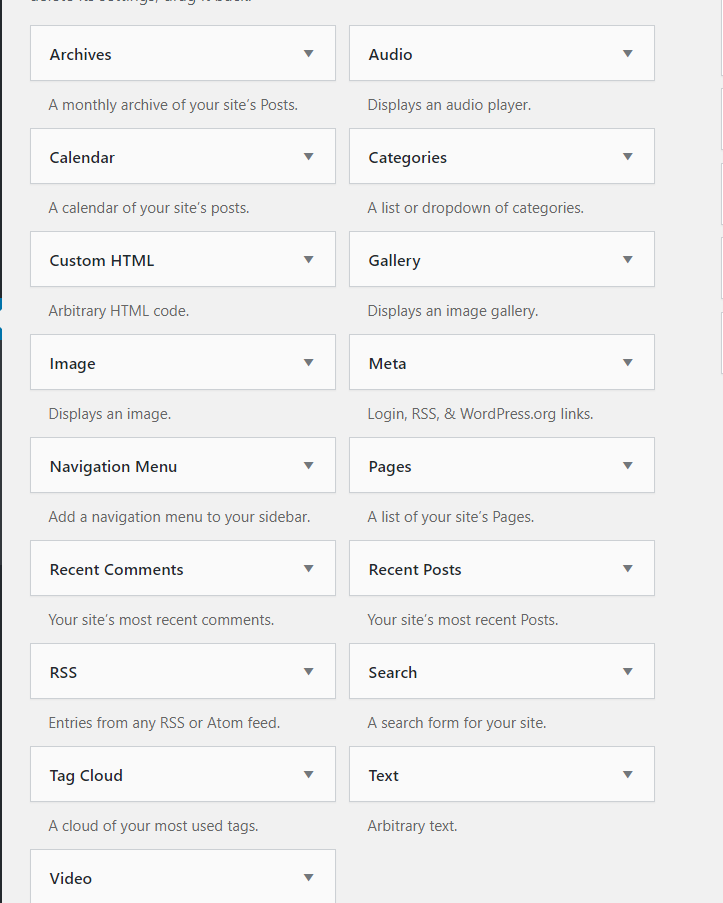
And also the widget areas.

Some WordPress themes come with custom-coded widgets and also widget areas. On top of that, with a little coding and styling, you will also be able to create widget areas for your websites. In this demo website, we are using the free version of the GeneratePress WordPress theme which comes with:
- 2 Sidebar Widget Areas
- 2 Header Widget Areas
- 6 Footer Widget Areas
So, when you need to add a widget to the footer, simply drag the widget from the left side and drop it in the footer area.
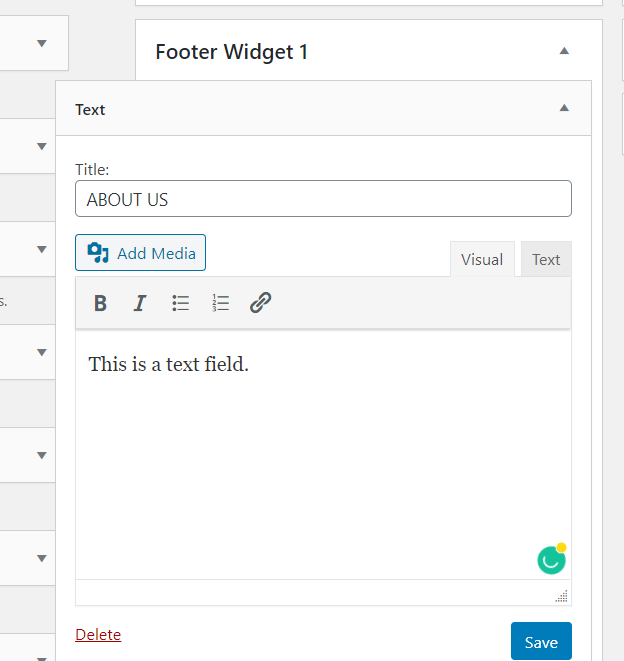
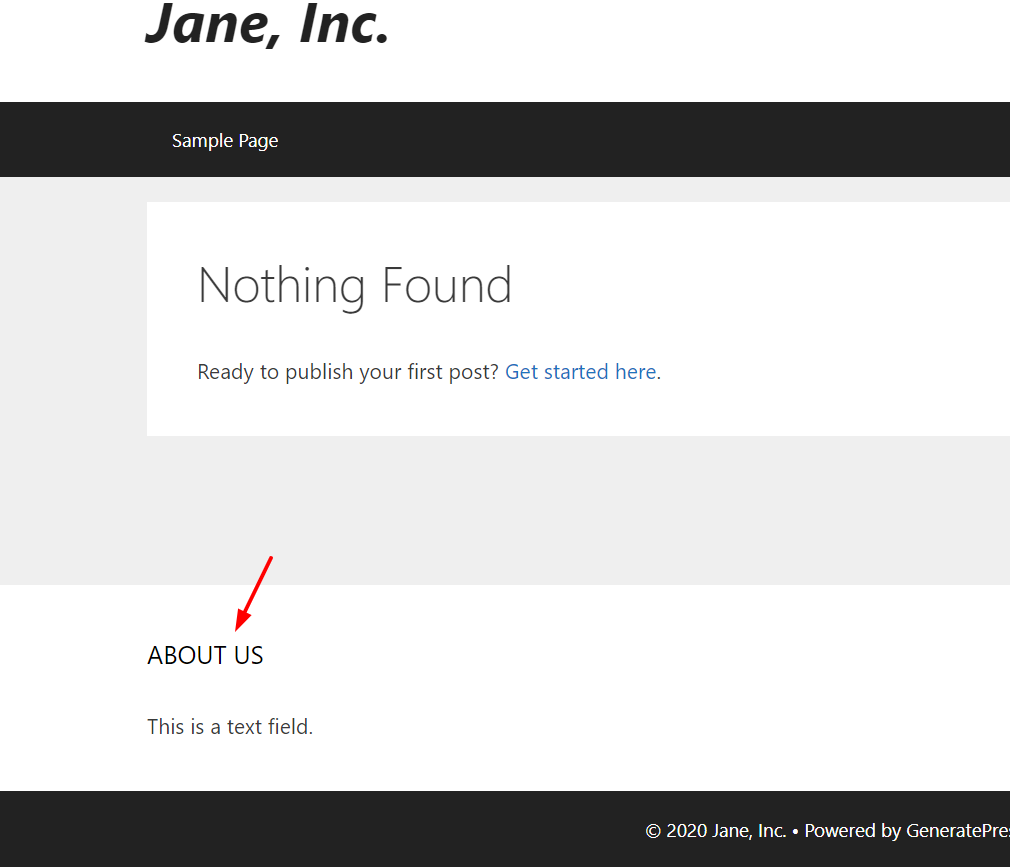
Here, I have added a text widget to the footer widget 1. After you make the changes you want, click “Save“. Then, you check the website’s frontend and you will see the widget.
One con of this method is that you need to check the frontend every time you add a widget to the footer. However, if you prefer a more comfortable way, we recommend inserting and editing widgets from the customizer.
Customizer
In your WordPress dashboard, go to Appearance > Customize. 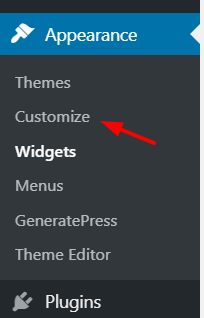 Choose the Widgets option from the customizer.
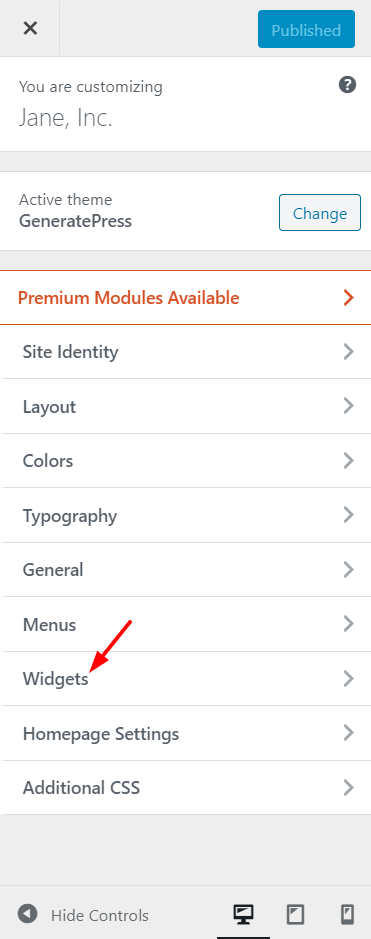
There, you’ll see all the available areas on the screen.
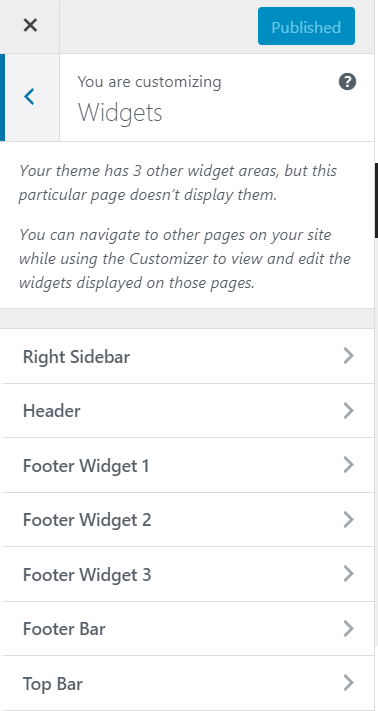
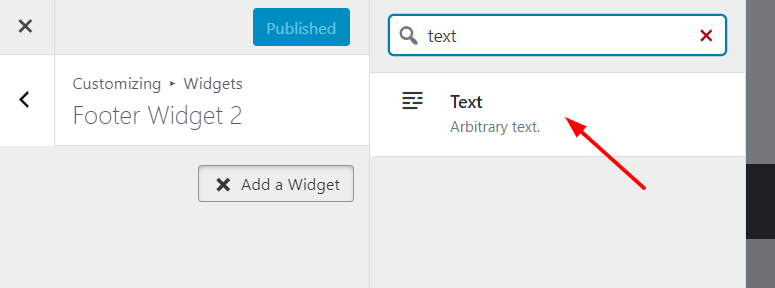
Then, choose an area to add a widget. In this case, we are going to choose the Footer Widget 2. Once you’ve done that, add any widget you like to the field.
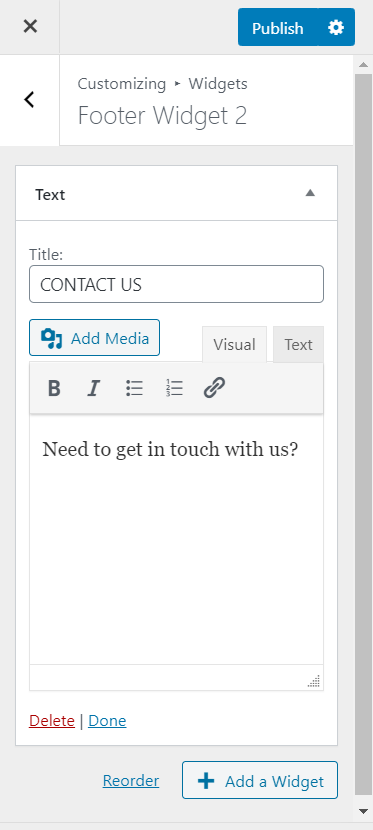
Add contents to the widget.
The best part is that in the preview mode, you’ll see the changes after a few seconds.
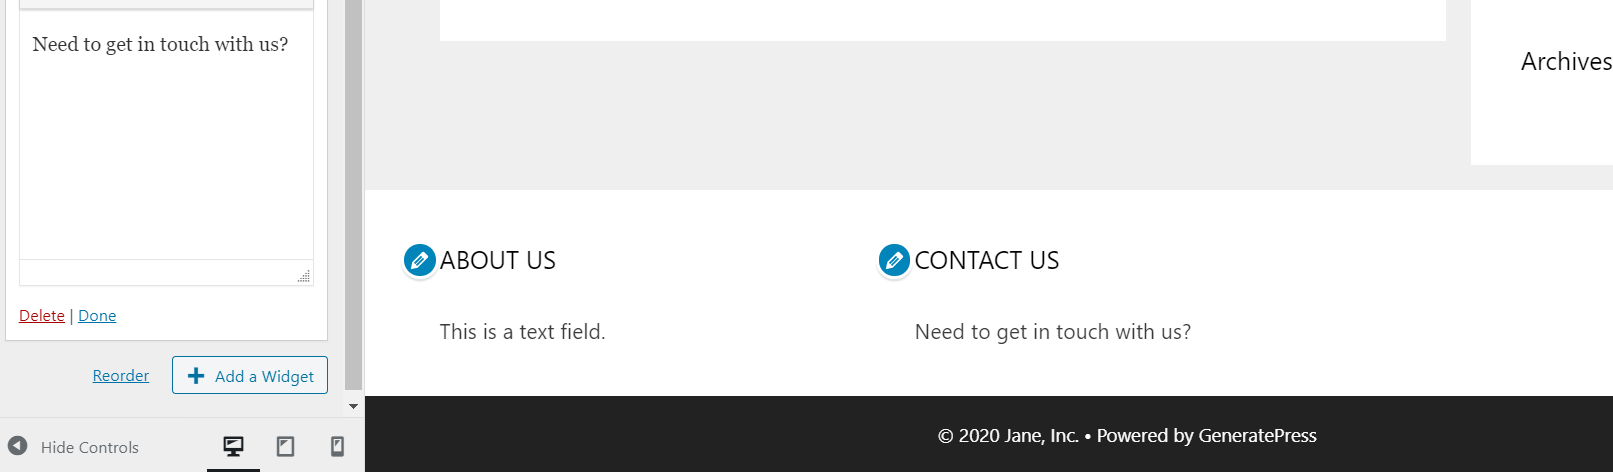
Once you’re happy with the changes, simply publish them. In case you need to change something, you can delete/ modify the added widgets, and then save the configuration again.
5) How to Remove The “Powered By WordPress’ Link
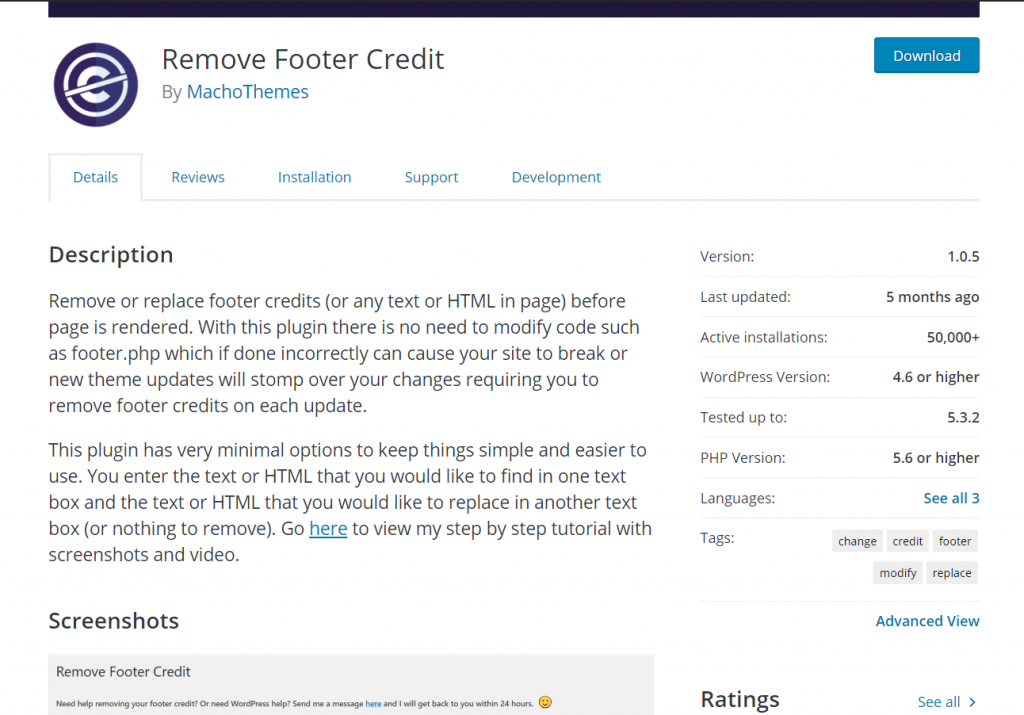
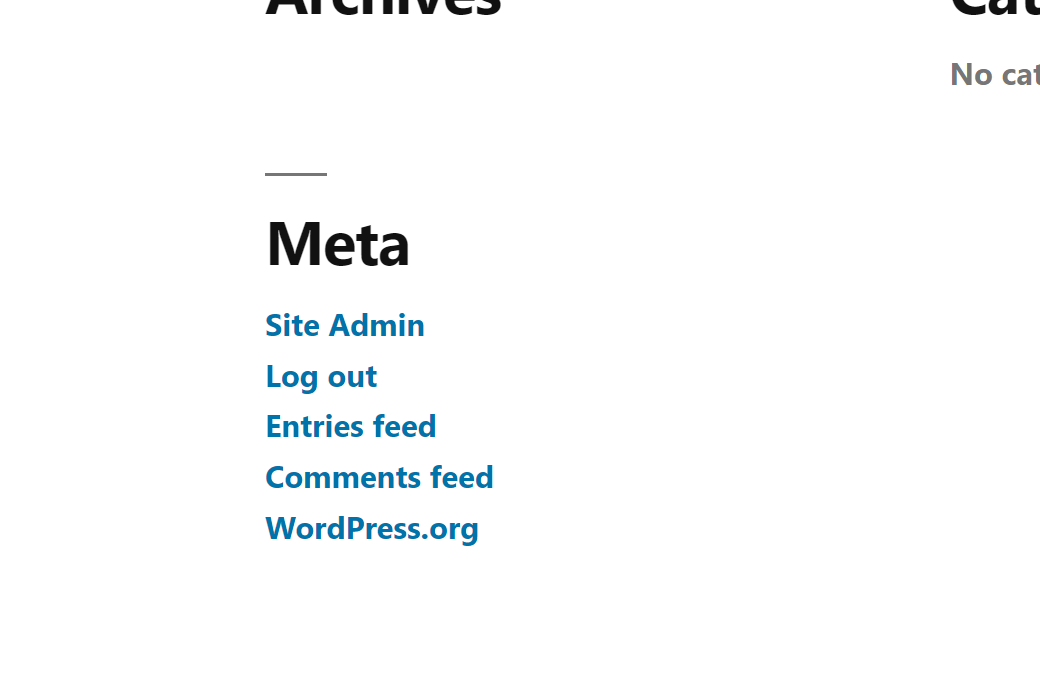
By default, most WordPress themes show a “Proudly powered by WordPress” link in the footer. And the text will link to the self-hosted WordPress. 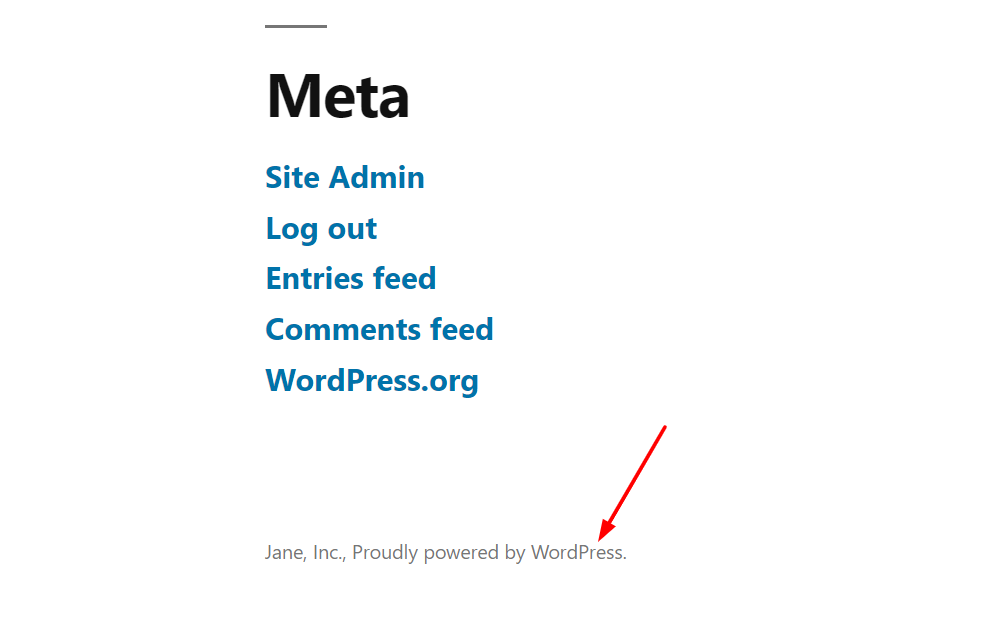 However, if you don’t want to show it, there are simple ways to remove it. In this section, we are going to show you how you can remove the link from your footer without editing the theme files. Instead of editing the theme files, you’re going to use Remove Footer Credit, a free tool available in the WordPress plugins repository.
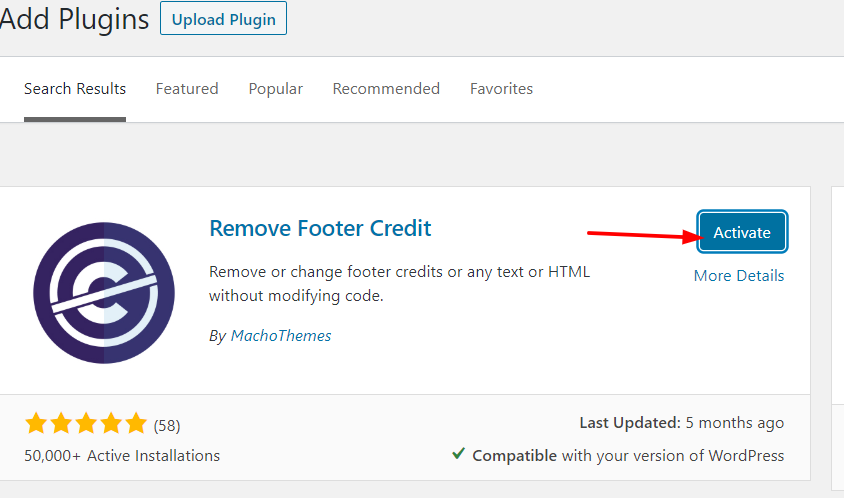
First, install and activate the plugin on your site.
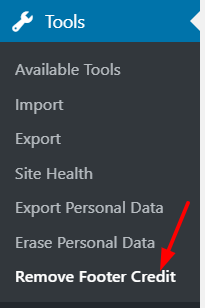
Under the tools section, you’ll see the plugin settings.
There, you will see two main customization sections.
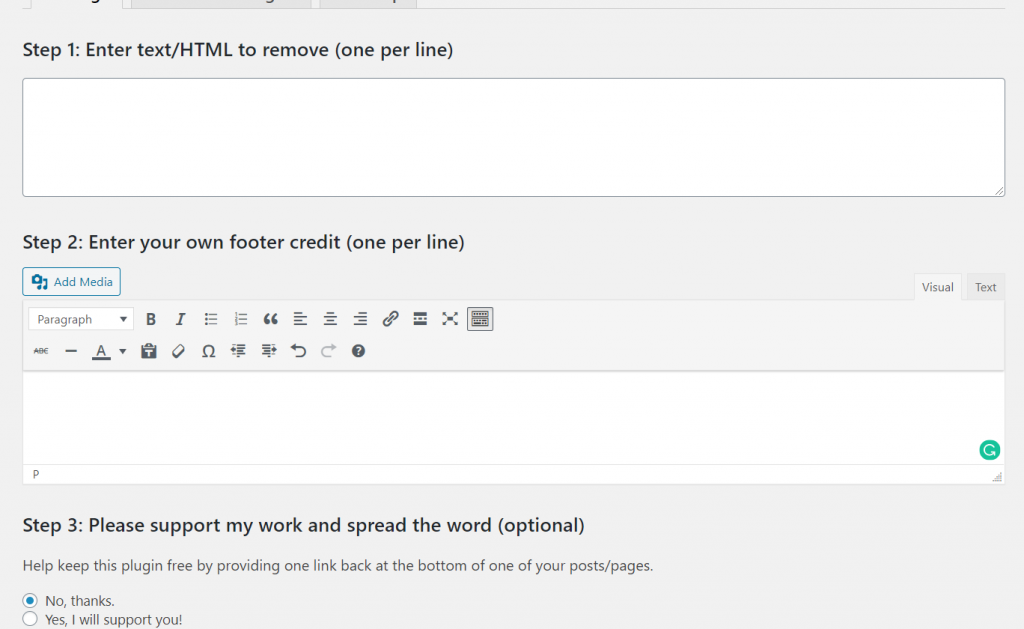
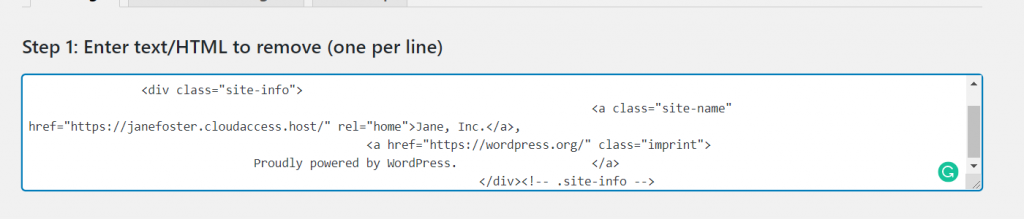
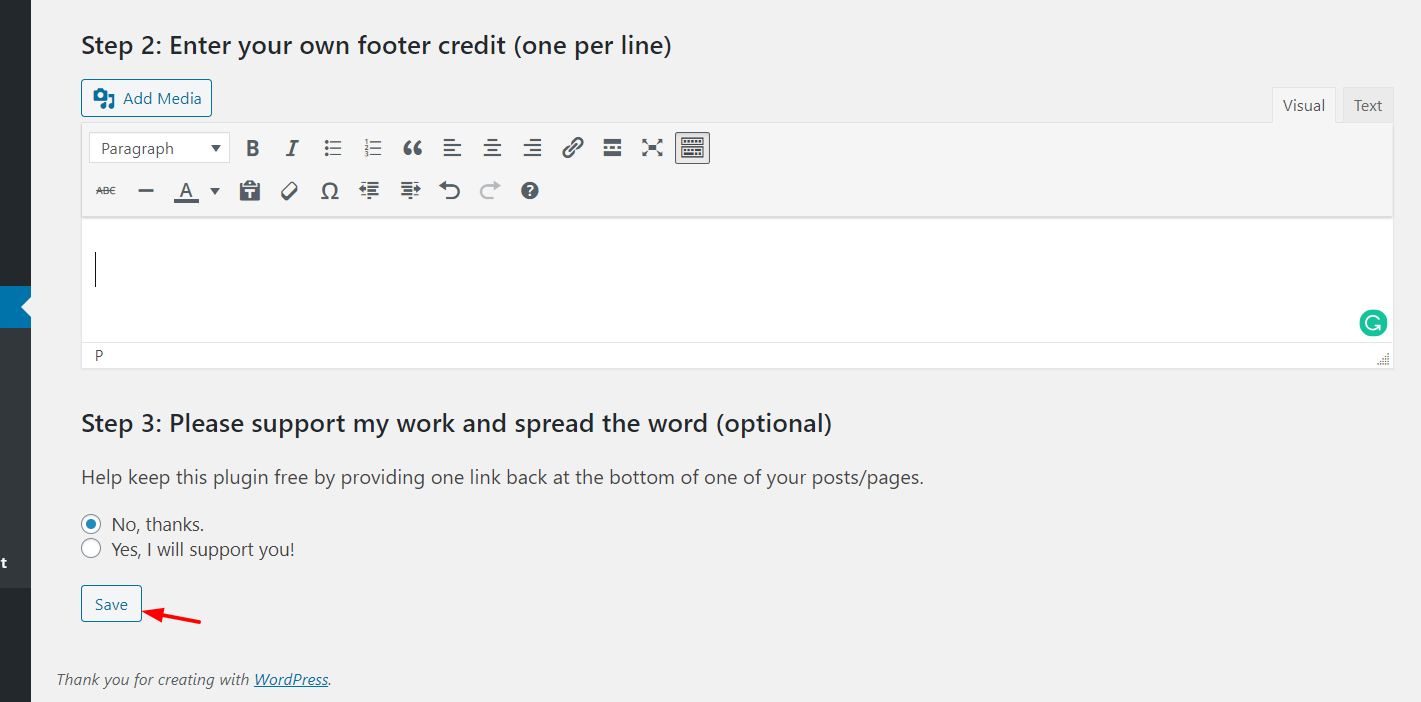
In Step 1, enter the text or HTML you want to remove from your WordPress footer.
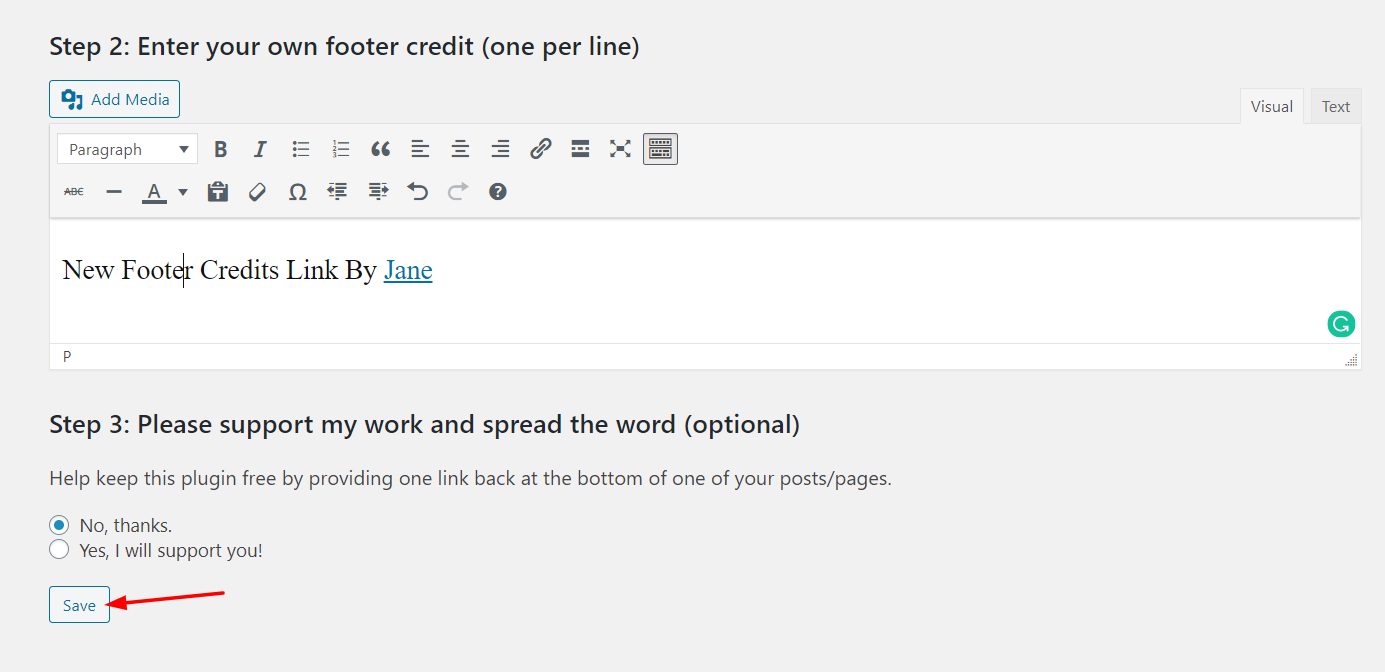
In Step 2, you can add your custom footer link. If you don’t want to add anything you can just leave it blank. Here, we are going to show you how to add a custom footer. Simply add the text, link, font, and style you want, and then click Save.
The new text and link will be visible as shown below. 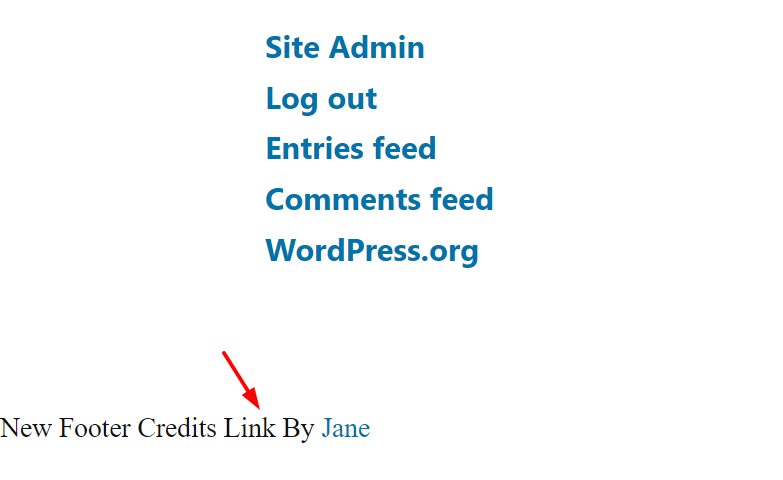 If you don’t want to show anything in this area, just remove the code and save it again.
You will see the results in the next page load.
Some themes such as Divi and Avada come with a feature in their theme panel that lets you add any code to your WordPress header/ footer.
What To Add In The Footer?
Now that you know how to edit the footer in your WordPress blog, are you wondering what to add in the footer section? This depends on your industry and your site but here are some ideas. Let’s say that you are running a blog for making money online through Google AdSense, affiliate marketing, and related monetization methods. Adding the most popular posts widget to your footer will help you increase page views and time on site.
If you are running a fashion blog, you might want to show pictures from your official Instagram account. A plugin like Instagram Feed Gallery would take care of it, handle the image fetching, embedding, and so on. If you integrate Google Calendar with your site, you could show the upcoming events to your visitors. As you can see, there are multiple options to improve your site by using the footer smartly.
How to edit footer in WordPress – Conclusion
All in all, editing the footer in WordPress is pretty simple. If you’re wondering which method is the best, that depends on your skills and needs. If you’re a beginner and don’t have coding skills, we recommend the plugin method. It’s the easiest way, it provides several customization options and you don’t need to worry about creating a child theme if you don’t want to lose your customizations when you update the parent theme.
Additionally, if you are not going to change your theme, the footer.php editing method is a good option. However, make sure you’re using a child theme and making changes to it instead of editing the parent theme.
If you’re looking for guides on how to customize the footer in specific themes, check out the following posts:
Which method do you prefer to edit the footer in WordPress? Share your experiences with us in the comment section below!

There’s definately a great deal to learn about this topic.
I really like all of the points you have made.
Thanks Suzanne
It’s really a nice and useful piece of information. I’m satisfied that you just shared this helpful information with us.
Please continue to keep us informed like this. Thank you for sharing.
To customize the footer in WordPress, you can follow these general steps:
1.Log in to your WordPress dashboard.
2.Go to “”Appearance”” and select “”Customize””. This will open the WordPress Customizer.
3.Look for the””Footer”” option in the Customizer sidebar. The exact placement and labeling may vary depending on your WordPress theme.
4.Click on the””Footer”” option to expand its settings.
5.Explore the available options to customize the footer.
By implementing the above steps you can customize your footer.
Hello Julia,
Thanks for leaving a comment. Some WordPress themes allow users to customize the footer through the customizer, and others don’t. So, it is based on the theme you are using on your WordPress/WooCommerce website.