
Images are very important for any kind of site. They help us attract users and improve the appearance of the website. The problem is that when you update a new image, WordPress creates several thumbnails. This means you can quickly end up having a huge media library that may slow down your site. That’s why in this guide, we’ll show you how to delete thumbnails in WordPress and clean up your media library
Why Delete Old Thumbnails in WordPress?
Before you learn different methods to remove thumbnails, let’s better understand why you should do it.
Every time you upload an image to the media library, WordPress generates several thumbnails to display the image in places like featured posts, sliders, and so on. Additionally, some themes and plugins also require different image sizes. As a result, the Media Library can store many fields and take up a lot of space in your server, which can also slow down your site.
On top of that, most hosting companies limit the file count per cPanel account. For example, Bluehost has a limit of 50,000 files per account. So, all those extra images can not only affect user experience but also cost you more money if you have to upgrade your plan. That’s why it’s important to manage your images smartly and delete old thumbnails from your WordPress site.
In summary, if you want to keep the thumbnail count low, you can delete all the images not in use from the media library. This will help you:
- Keep your media library optimized
- Save server resources
- Keep your site running smoothly without affecting user experience
How to Delete Thumbnails in WordPress?
In this guide, we’ll show you 3 different methods to delete old thumbnails in WordPress:
- Manually
- From the WP-Admin
- With Plugins
All of these methods are very effective and easy to apply so you can choose the one that best suits your skills.
1. Delete Thumbnails Manually (functions.php file)
If your theme registers custom image sizes, WordPress will generate thumbnails according to the theme’s specific dimensions. A simple way to avoid creating unnecessary thumbnails is by editing the theme’s functions.php file. Even though you won’t do any difficult coding, we recommend this method for those who have some experience making changes to the theme’s core files.
NOTE: As you are going to make some modifications to the theme’s core files, we recommend you use a child theme and backup your WordPress site to keep your data safe.
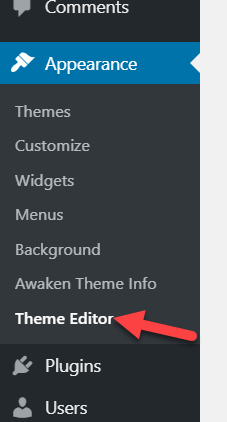
The first thing you need to do is go to your WordPress admin dashboard > Appearance > Theme Editor.
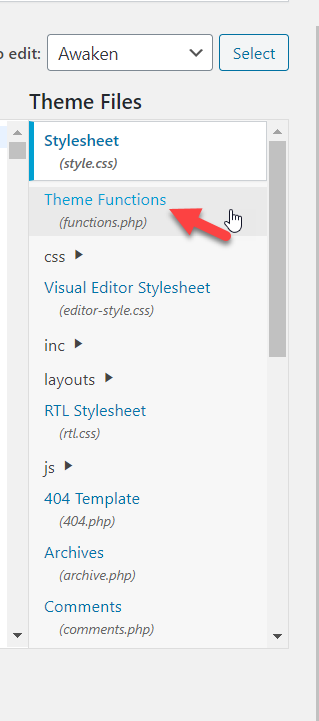
Then, choose the functions.php file under the Theme Files on the right.
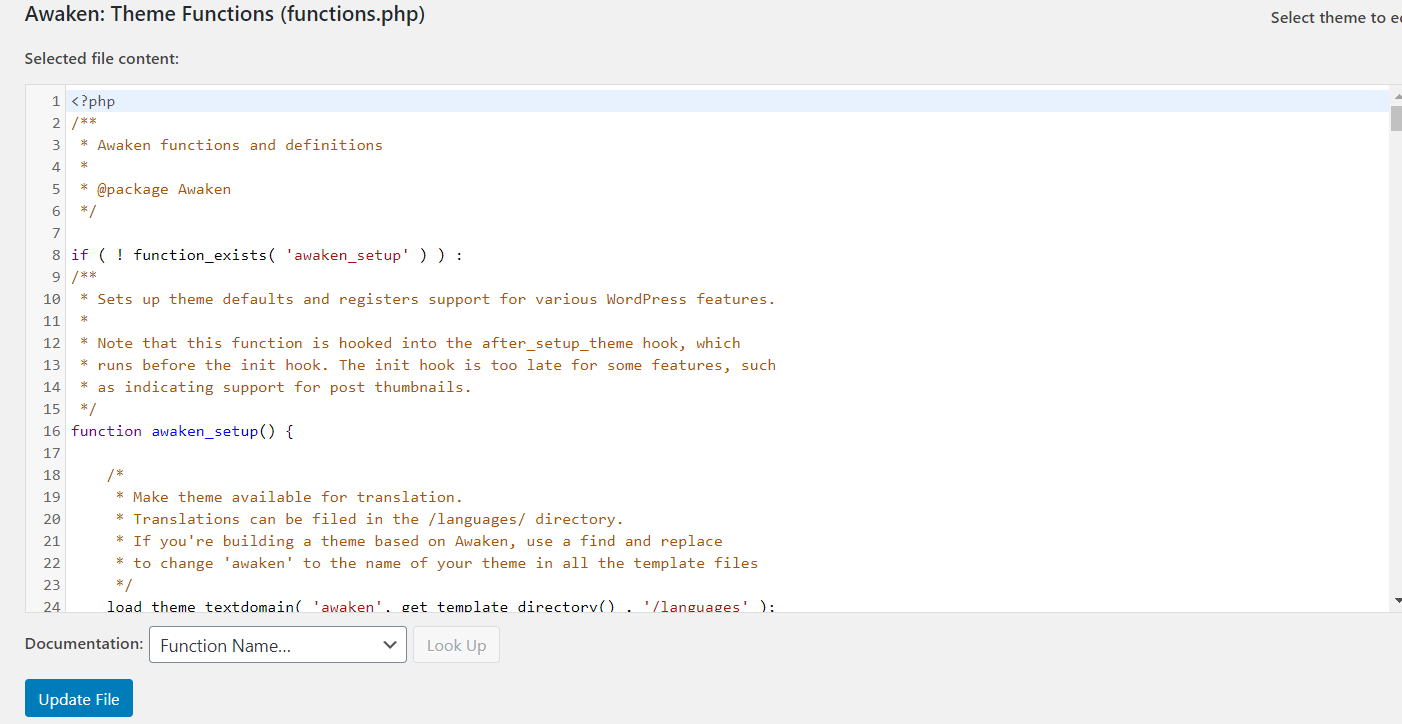
Then, you will see the functions.php file in the text editor.
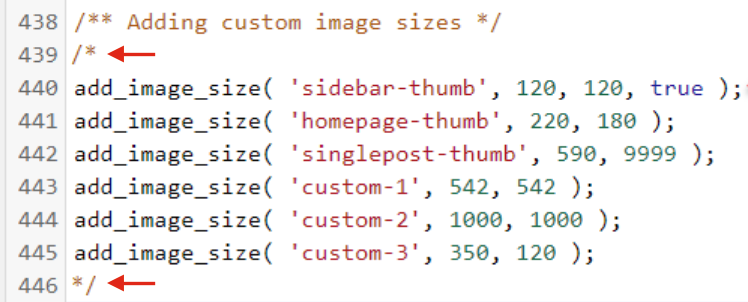
If you have a closer look at the code, you will see the custom image size register codes. For each thumbnail that it creates, it specifies the size.
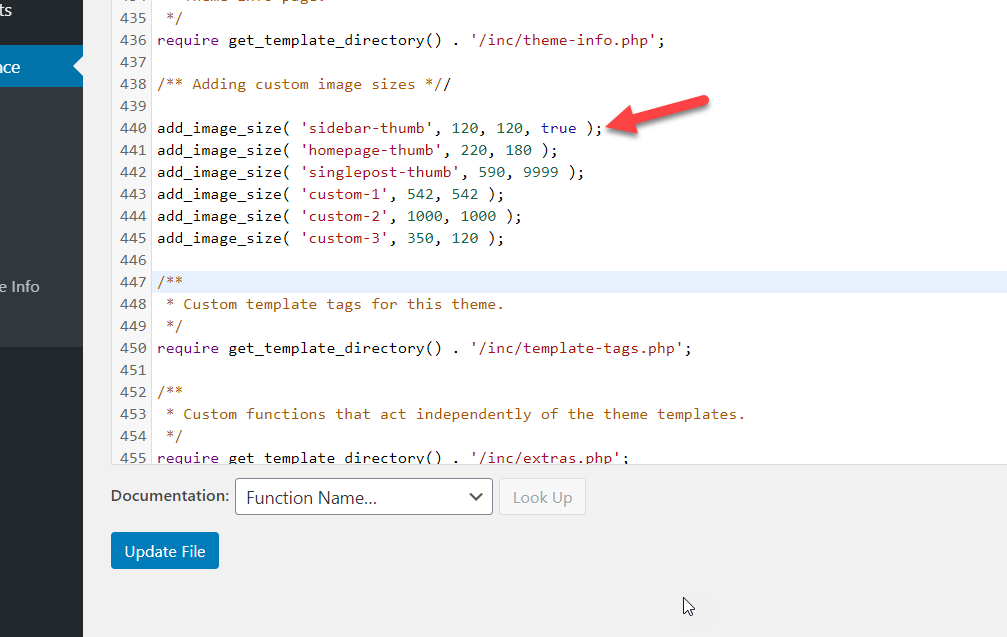
All you need to do is deactivate the thumbnails you don’t want to generate. To do that, you need to add /* at the beginning and */ at the end of the thumbnails you want to disable. For example, you can disable all of them as follows:
Another option is to comment on the lines of codes you want to disable by adding // at the beginning of the code. This can be useful if you want to disable specific lines of code. However, to disable multiple thumbnails, it’s better to use the multi-line comment /* */.
And once you are happy with the changes, update the file. This way, you will avoid your theme creating the thumbnails that you have disabled in the functions.php file.
If you also have plugins that create thumbnails, you can do the same and disable them. To do that, go to Plugins > Editor and select the plugin you want to edit. Then select the functions.php file and repeat the process.
2. Remove thumbnails from the WP-Admin Panel
If you’re not comfortable editing your theme’s and plugins’ core files, you can also delete thumbnails from the WordPress admin panel.
To do this, log in to your site and go to Settings > Media. You will see three custom image sizes:
- Small
- Medium
- Large
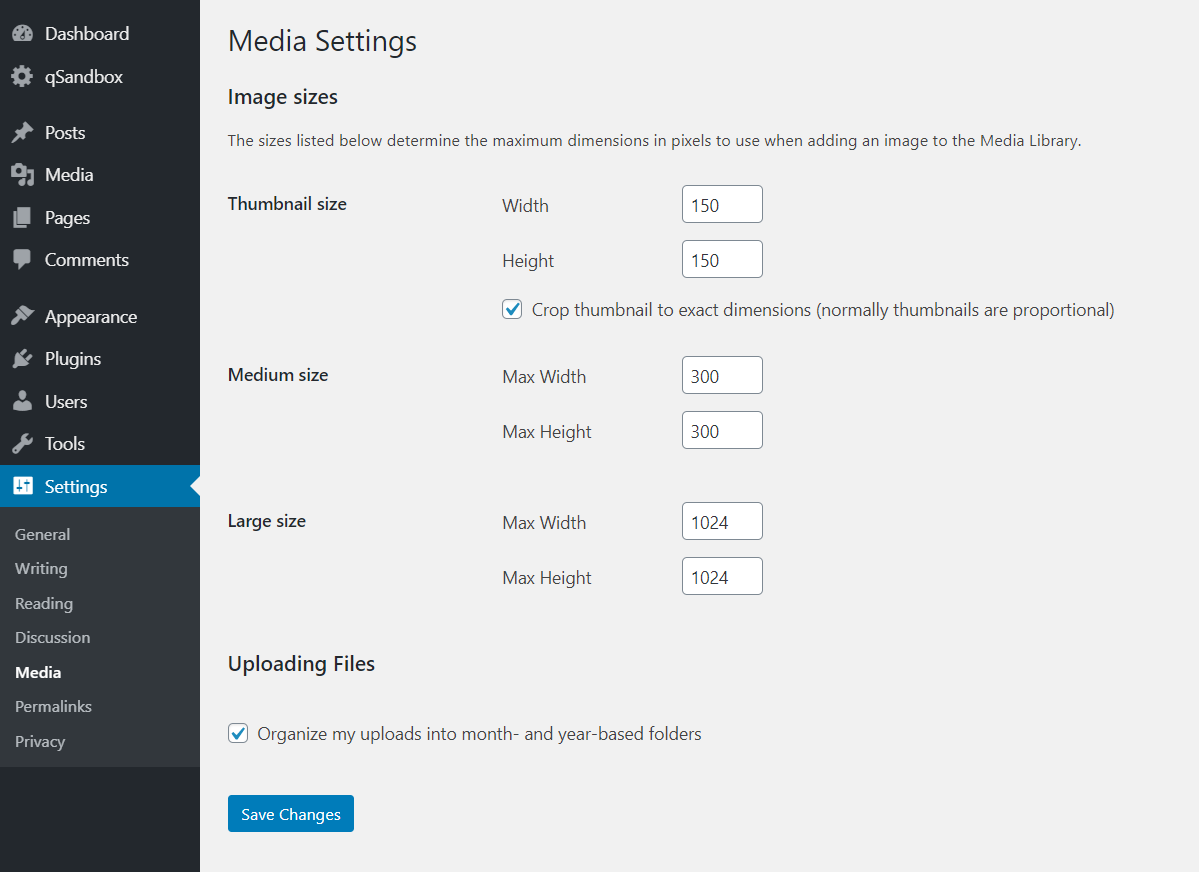
By default, WordPress specifies some values for each image size. When you upload an image to your media library, your server will automatically create thumbnails of that original image in these sizes. If you have many images, this can take up a lot of disk space.
If you are not planning to use any thumbnails, you can simply turn this feature off.
All you need to do is, enter 0 as the value in all the fields and save the changes.
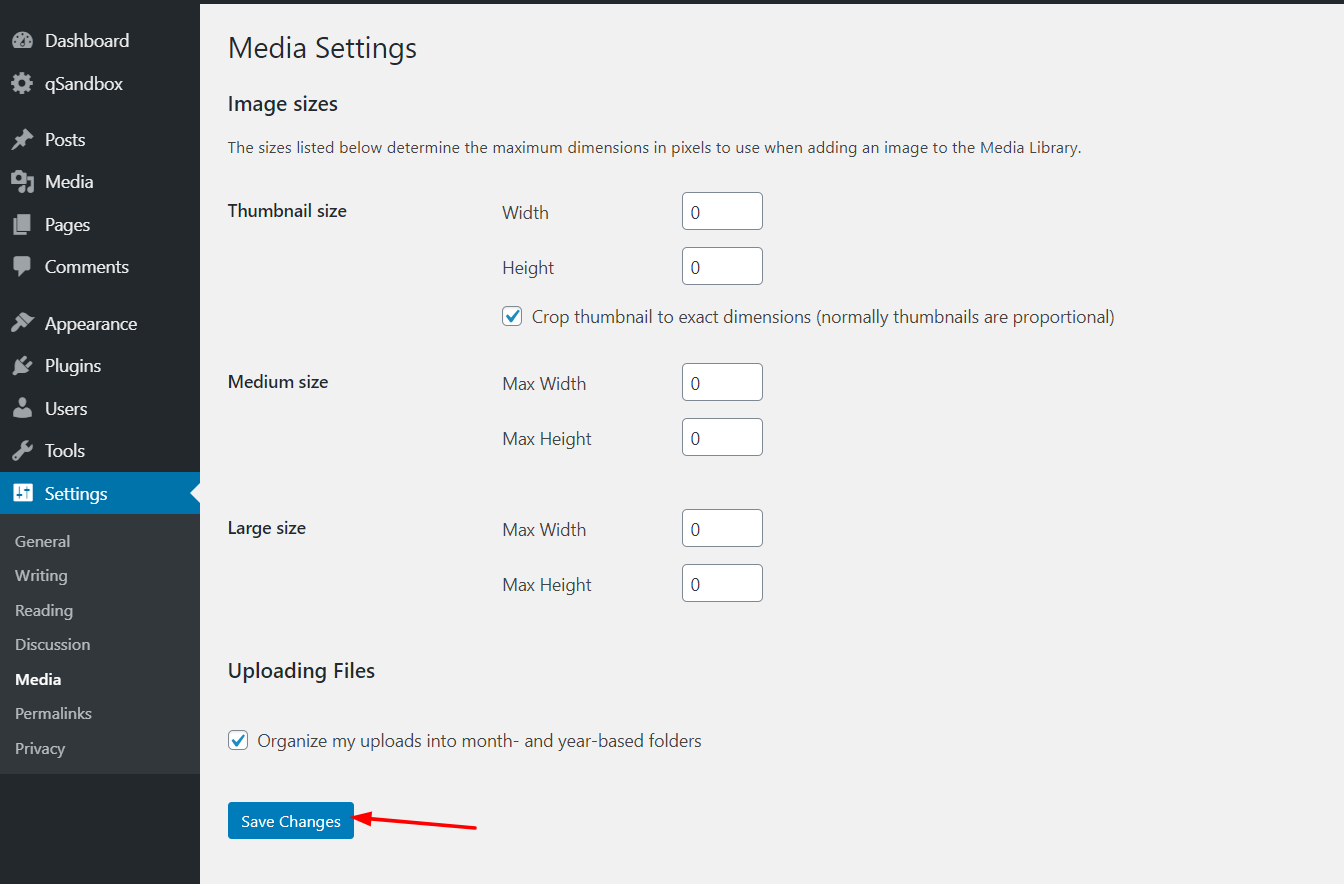
Since you set 0 as the height and width, WordPress won’t save multiple copies of the images you upload.
This is an excellent and effective method to reduce the number of thumbnails that your site creates.
3. Delete WordPress thumbnails with Plugins
The third method to delete thumbnails in WordPress is by using plugins. In this section, we’re going to show you two great plugins for this task:
- Media Cleaner
- Regenerate Thumbnails
Let’s have a look at each tool.
3.1 – Media Cleaner
Media Cleaner is an excellent free plugin that will help you clean all the unused thumbnails on your site. So, first, install and activate this plugin.
Then, you will see the settings in the admin section.
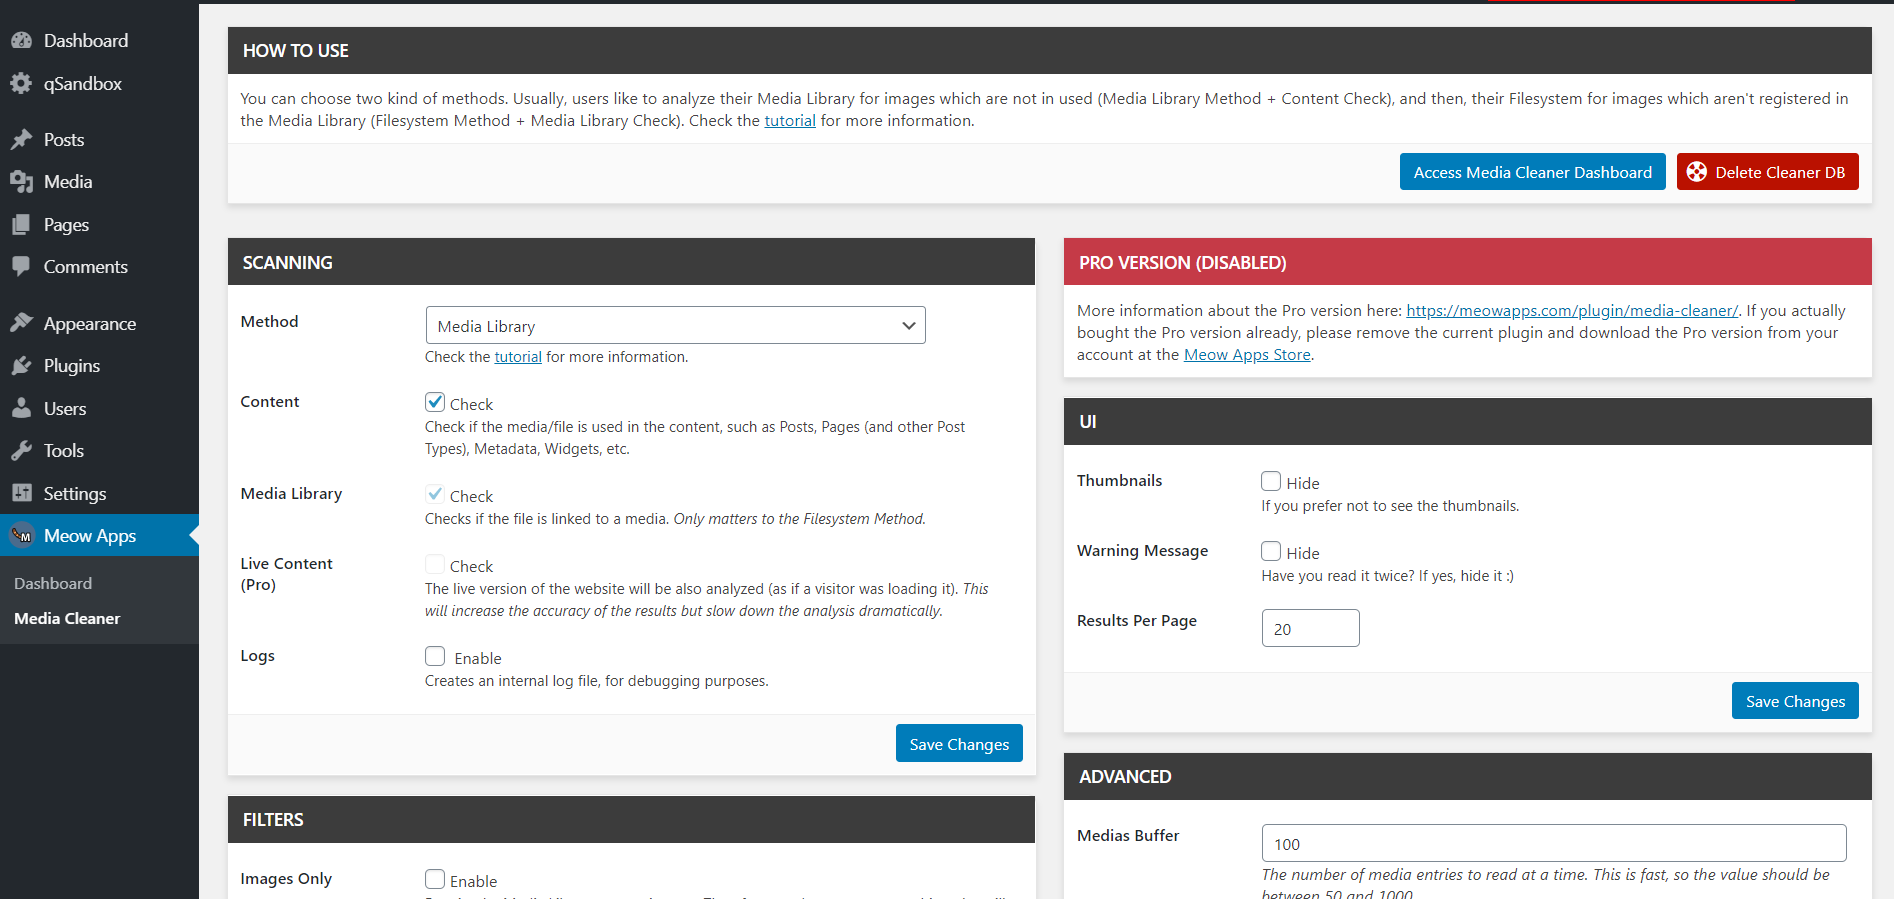
Media Cleaner also has a premium version that includes more advanced features and costs 24 USD. However, with the free version, you can remove thumbnails from your WordPress site.
So, to start the image scan, you need to go to the Media Cleaner Dashboard.

Once there, press the Start Scan button.
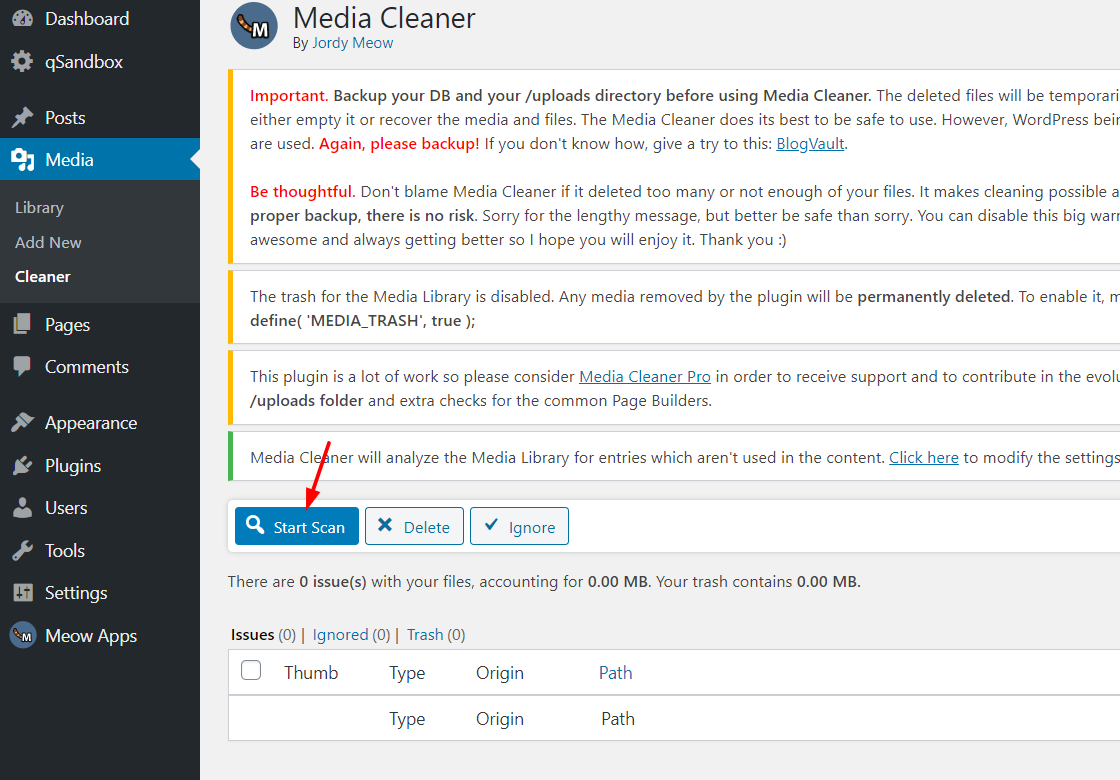
After that, the plugin will scan every media on your site and show you their issues.
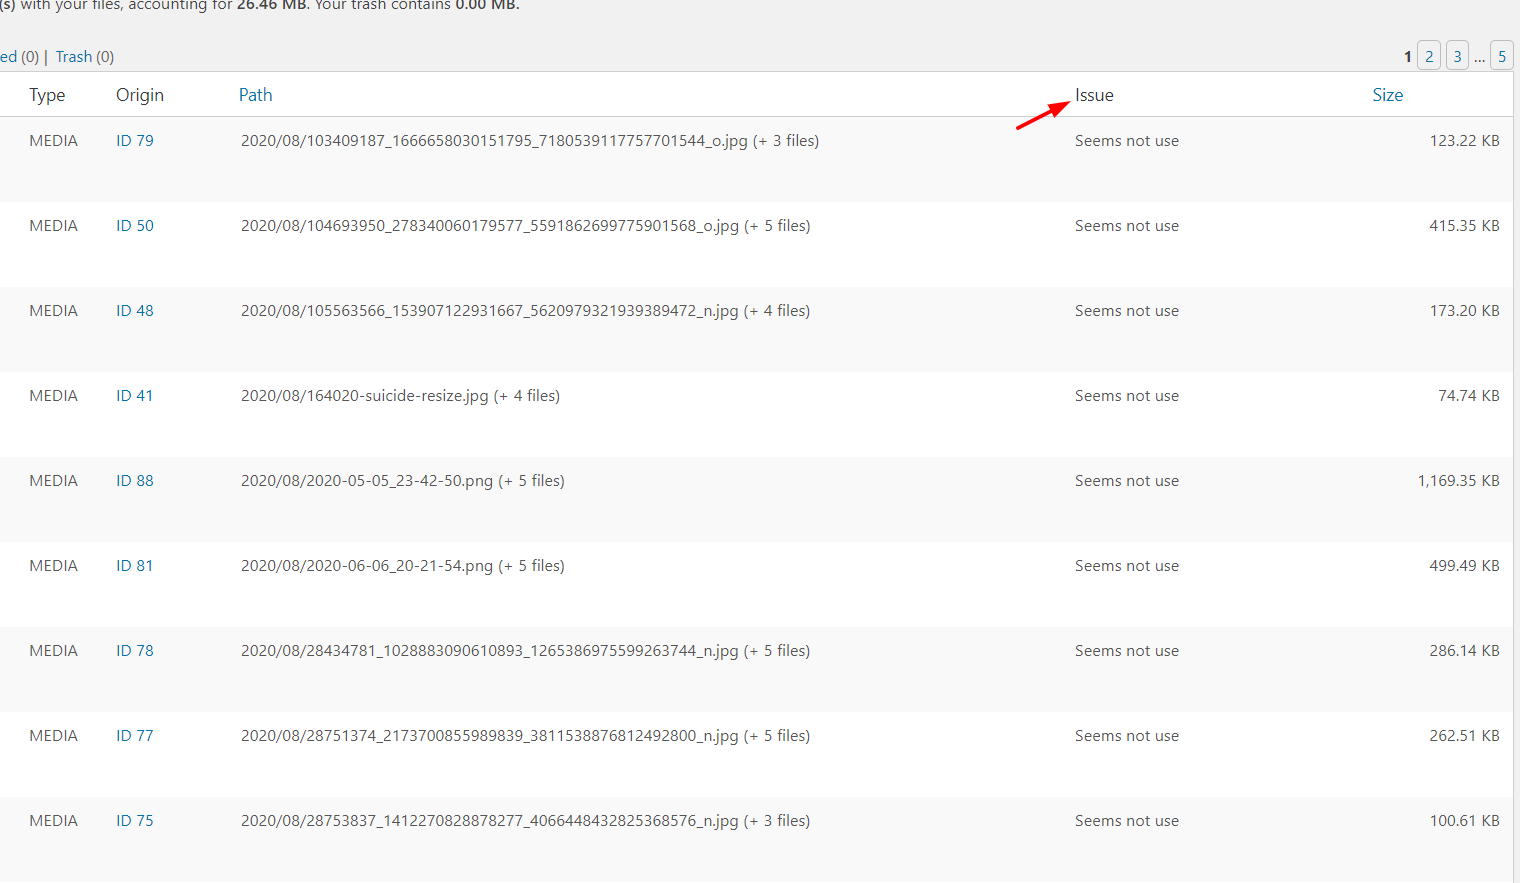
Media Cleaner will list all the media that’s not in use on your site. That is images that you haven’t used in your blog posts, content, or widget areas. These are images that are taking up precious space in your server so it’s better to delete them. To do that, select the files you want to remove and click Delete.
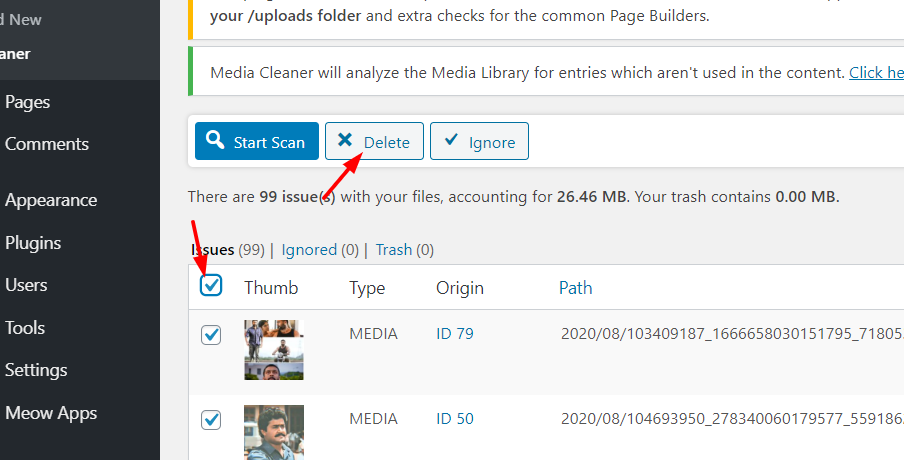
This will move the selected images to the trash.
On the other hand, if you are planning to use some of those images in the future, you can simply ignore those files.
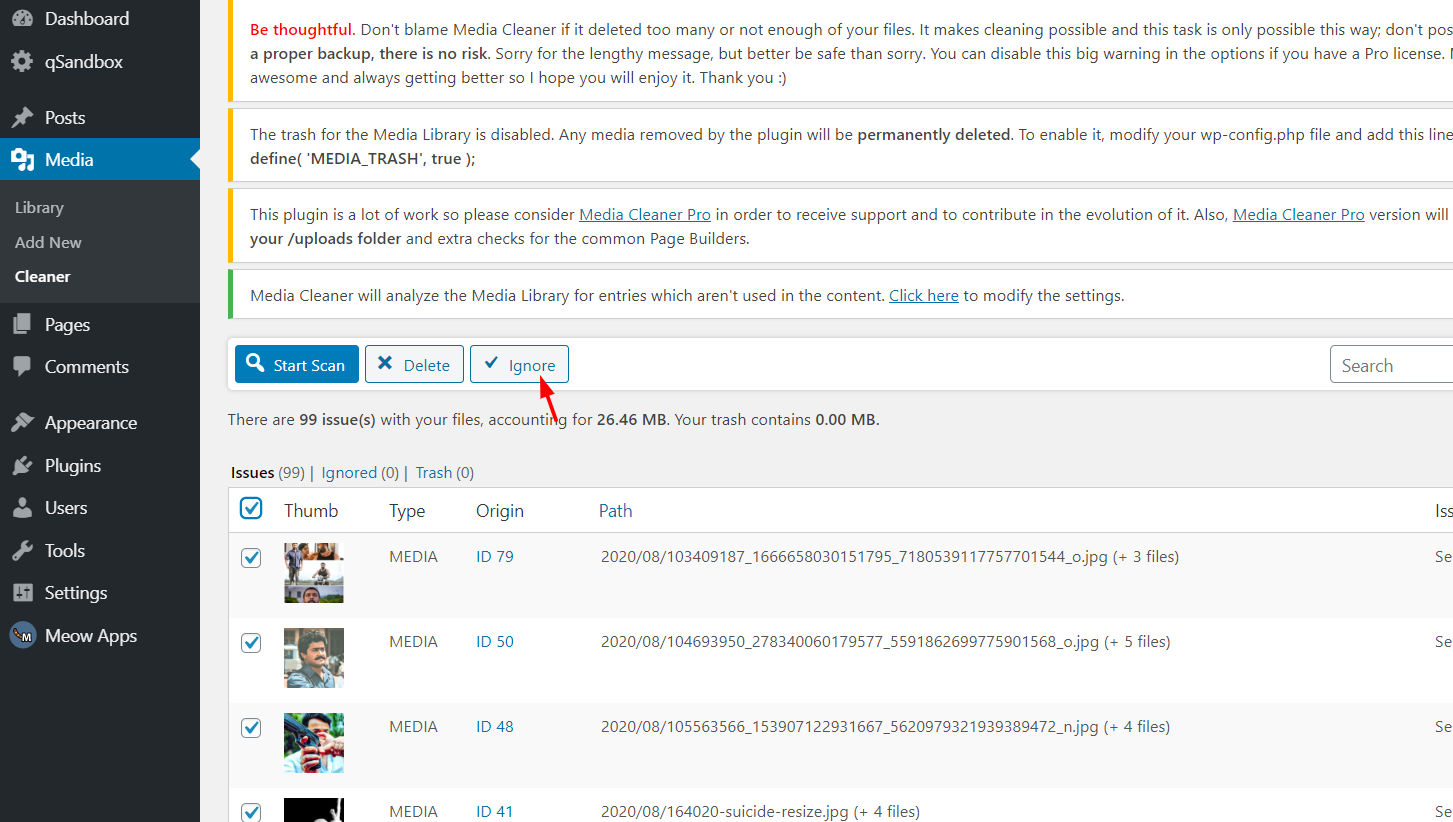
Keep in mind that if you do that, the plugin will never catch that image again.
3.2 – Regenerate Thumbnails
Another excellent tool to delete thumbnails in WordPress is Regenerate Thumbnails.
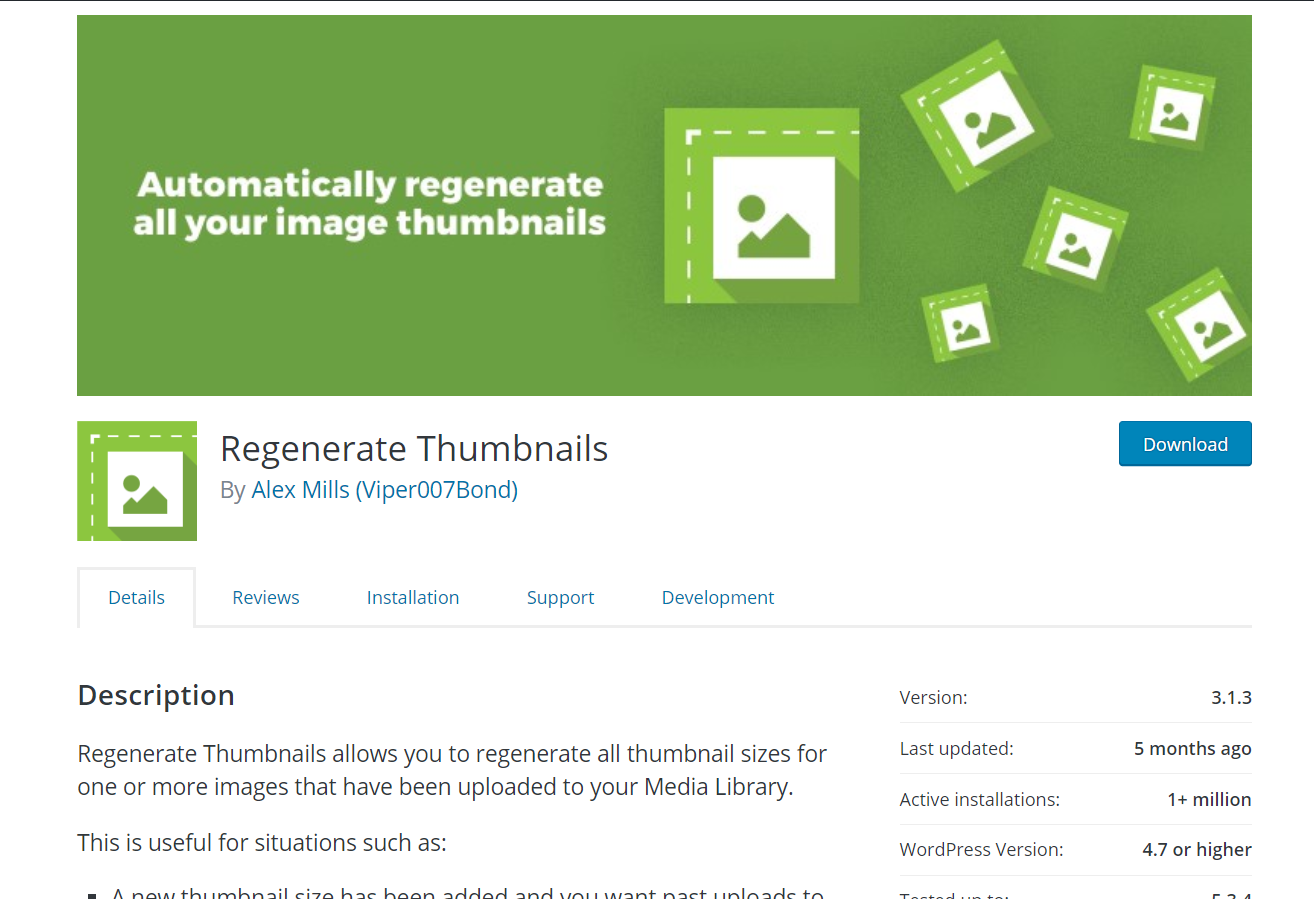
Regenerate Thumbnails is a very popular plugin with more than 5 million active installations. Let’s see how you can use this plugin on your site.
The first thing you need to do is install and activate Regenerate Thumbnails.
And under the WordPress Tools section, you will see the plugins’ settings.

As its name suggests, this plugin’s main focus is to regenerate thumbnails. For example, if you have disabled the option to create all thumbnails on your site, WordPress won’t create any thumbnails when you update an image. However, you can tell your server to generate thumbnails manually.
So, with this plugin, you can create thumbnails of different sizes that you can select from the settings.
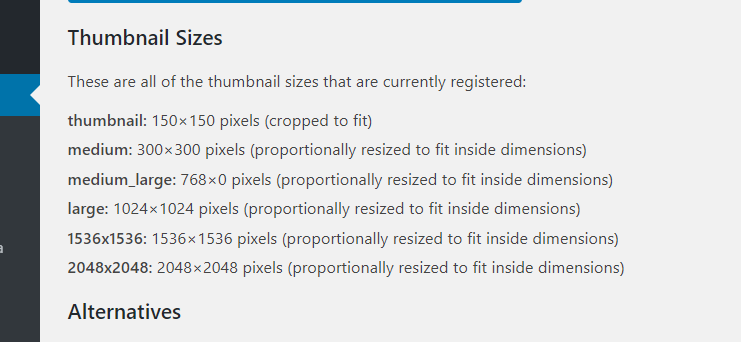
So, if you have added additional image sizes or you want to generate thumbnails for certain images, you can quickly create them by clicking the Regenerate Thumbnails button.
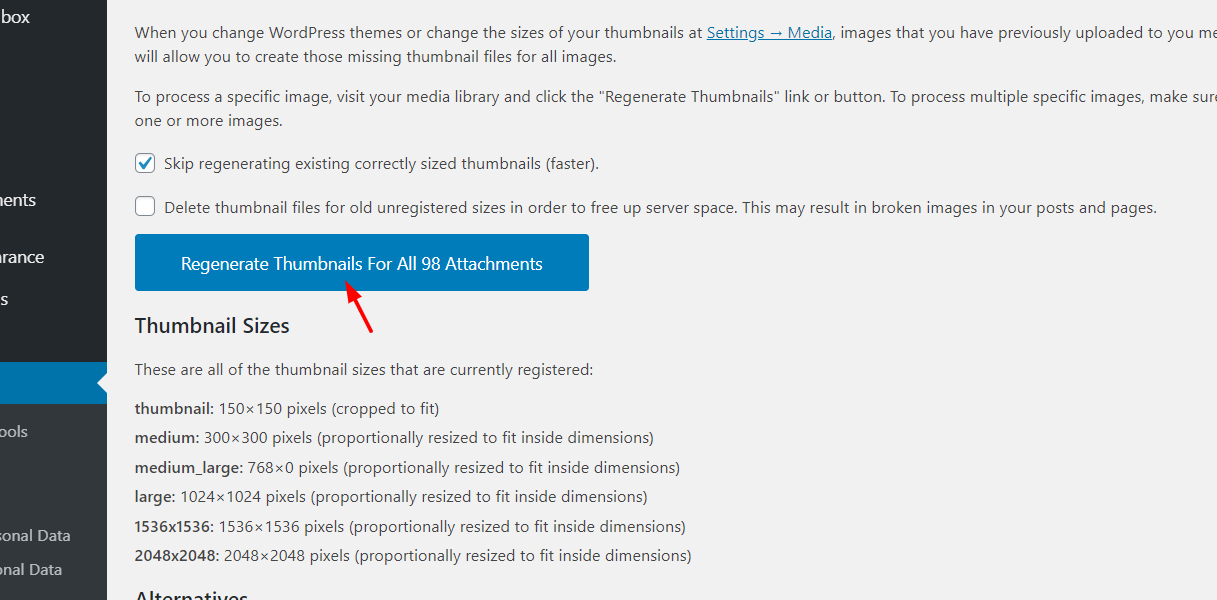
Additionally, if you have unregistered any image sizes and need to delete the thumbnails from your site, you can enable the corresponding option and start regenerating them.
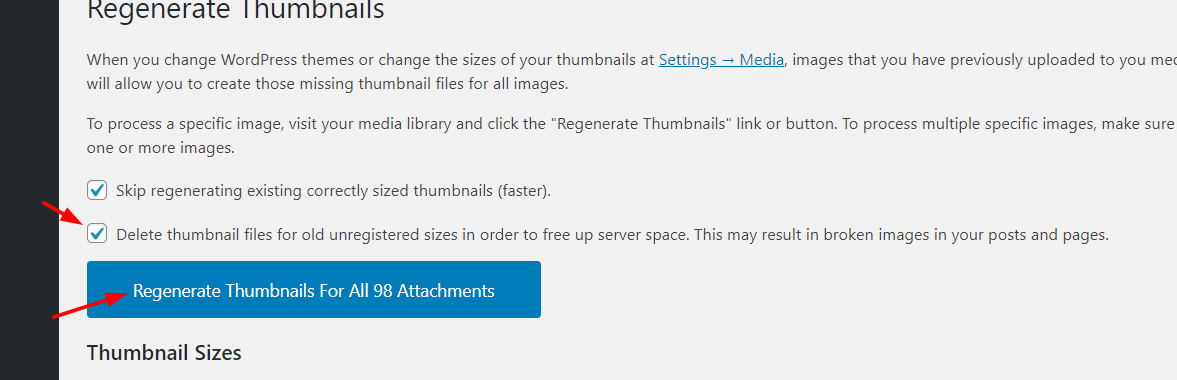
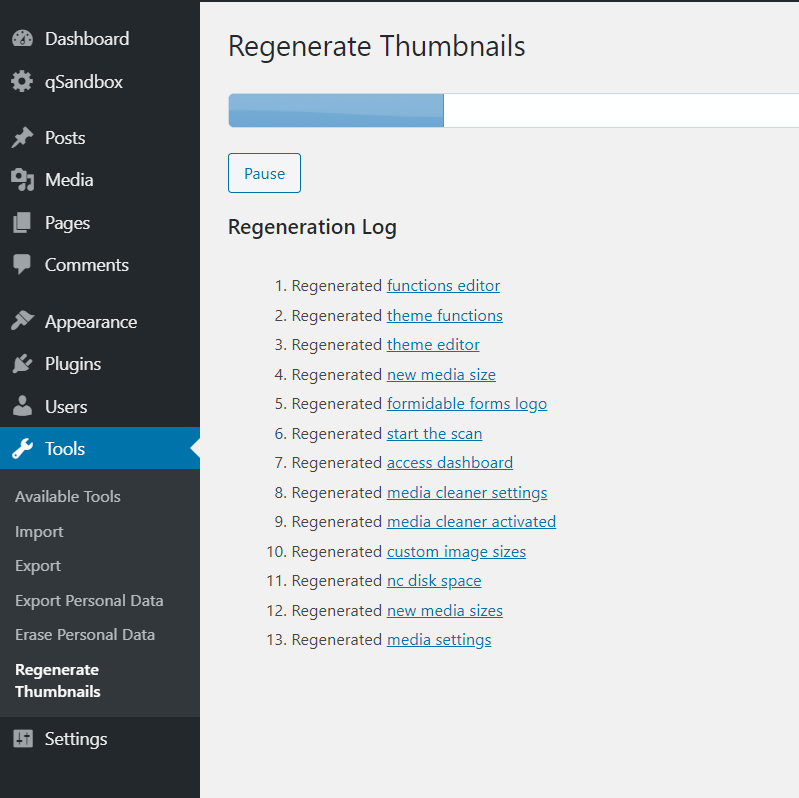
Now, the plugin will start regenerating new thumbnails and deleting the old ones from your WordPress website.
How to Delete Unused Thumbnails From Your Server?
Now, let’s see how you can delete the unused thumbnails from your server and save valuable resources. For this task, you can either:
- Use an FTP client
- Use plugins
The FTP method is very time-consuming because you have to locate every image manually. Additionally, there’s a free plugin that will take care of it in no time so let’s see how to remove all the old and unused thumbnails with a plugin.
For this task, we are going to use a tool called Force Regenerate Thumbnails. This tool hasn’t been updated for a while but it still works pretty well.
First, install and activate the plugin on your site.
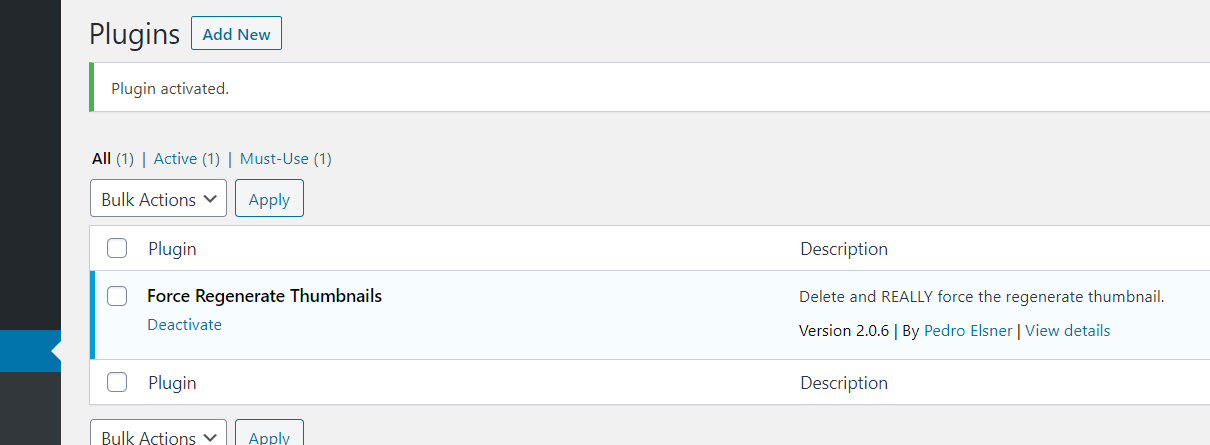
Under the WordPress Tools section, you will see the plugin’s settings.

When you click on the Regenerate All Thumbnails button, the server will start fetching all the images you have on your site, regenerating the thumbnails according to the image sizes you have set.
And if you have old image sizes that don’t adjust to those parameters, those unused images will be deleted from the server! This is a bulk process, so it’s a great way to easily get rid of all the unused images from your server.
This will help you save server resources and potentially speed up your site.
Pro-Tip
If you plan to use custom size images on your site, we recommend you specify the size under the media settings. This way, WordPress will only generate thumbnails of those sizes. For example, if you are going to use the 1024*1024 size, you can set that and disable the other two options as follows:

This will help you optimize the images you upload and save space on your server.
Bonus: How to see the thumbnails that your WordPress site generates?
If after reading this post on how to delete thumbnails in WordPress you’re still thinking if this is happening to you, there’s a quick way to check. To see all the media files that you have uploaded to your site, you would go to your WordPress admin > Media > Library. However, you won’t find the thumbnails there. There are two main options to check the number of images you have on your site:
- Some hosts allow you to view the directory of all the files using the File count in the File Manager.
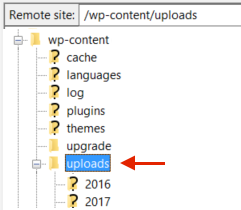
- Another alternative is to use an FTP client to check the number of files in the Uploads folder. If you have images stored in different months or years, you will need to add the number of files to get the total. The number of thumbnails you have will be the difference between the total number of images and the files you have in the Media Library.
Another way to identify the thumbnails is by having a look at the names of the files. In most cases, thumbnails take the name of the parent image plus the dimensions. For example, if you have an image called “test-image.jpg”, the thumbnail that’s 150×150 pixels will be called “test-image-150×150.jpg”.
In any case, if you can’t figure out how many images you have on your site, you can contact your hosting company and ask them for help.
Conclusion
All in all, every time you upload an image, WordPress generates several thumbnails. If you don’t manage this properly, you’ll end up with lots of images that you don’t use and take up valuable resources from your server. This can slow down your site and, since most hosting companies have a limit on the file count, also cost you more money in server upgrades.
So, to solve this issue, you should delete old and unused thumbnails from your WordPress site. Here, we’ve shown you three different methods to do it:
- Manually
- From the WP-Admin
- With plugins
All of them have pros and cons, but we recommend using plugins. You can use Media Cleaner to find the unused images and delete them. Additionally, Force Regenerate Thumbnails can help you quickly generate new thumbnails and remove the old ones. Both plugins are free and extremely easy to use, so that’s our best-recommended method from the list.
On the other hand, if you don’t want to use plugins, you can remove old thumbnails from the WP-Admin. It’s very easy and effective.
Finally, if you plan to use custom size images on your site, specifying the size from the WordPress dashboard is a great choice. And when you change your theme or delete any image sizes, regenerating thumbnails with the Force Regenerate Thumbnails plugins will help you save a lot of time.
So this is how you can remove thumbnails in WordPress. If you found this guide helpful, please consider sharing it on social media. For more WordPress related tutorials, you can always check out our blog section.
Which method to delete thumbnails did you use? Do you know any others? Leave a comment below and let us know!

After reading your post I was able to perfectly delete the WordPress Thomsonail.
Great!
Will removing the thumbnails from the WP-Admin Panel work also for thumbnails of already uploaded files? Or does it work just from now on?
It will help you with future thumbnails, Dorota
Good job. Thanks.
You’re welcome
Merci pour ces informations j’utilise media Cleaner depuis un moment mais le tuto va un peu plus loin parfait
Media Cleaner est trés utile pour faire le ménage merci MEOW
this worked great! I got rid of so much junk. My file sizes are much more lightweight than the ones that WordPress generated as thumbnails, so my page loads faster.
I have one problem though. I trashed one of the sizes that WordPress is still trying to show. So about half of my posts’ images are broken. I see where to fix it but I don’t know how to do it programmatically.
Do you know of a way to bulk fix something like this
change this code:
<img src="https://my.site/wp-content/uploads/image-922×1024.png" (broken link)
to this code:
<img src="https://my.site/wp-content/uploads/image.png"
Hi,
I would like to use this force regenerate thumbnails plugin, but first of all I have to know that if I use it the regenerated pictures URL will change?
I uploaded them in folders like …./uploads/2021/01/….. So this will stay like it was or the new pictures gonna get the new folder in the URL like this: ….uploads/2022/03/…..
Could you help me with this question?