
How to customize WooCommerce Shop Page in Elementor
Do you use Elementor and want to improve your online store? In this guide, we’ll show you how to set up and customize your WooCommerce Shop page in Elementor using blocks, widgets, and more. If you’re running an online business, having an attractive, easy-to-use shop is crucial for your website. Having carousels, featured item sections, best-selling recommended item sections, and overall a very accessible means of browsing your catalog is essential for your shop to flourish. That’s why today, we have something very special for all the Elementor users who have online stores. In this complete guide, you’ll learn step-by-step how to set up and customize your WooCommerce Shop page in Elementor.
Why customize the WooCommerce shop page?
A WooCommerce Shop page is simply a post-type archive page for your products. In other words, it’s the page where you display all your shop products. This simple definition, however, doesn’t emphasize enough how important a well-customized shop page can be for your WooCommerce website.
First impressions matter a lot, and for a WooCommerce store, the shop page is one of the most important ones. The way you showcase your items can make a big difference in your conversion rates. You can easily tell how much attention a business pays to its website by considering how clear and well-designed its Shop page is. Everything from well-managed product grids to nifty additions like filtering options, categories list, and cart buttons are crucial to the look and feel of your WooCommerce site.
Additionally, your customers are going to spend a lot of their time on your shop page browsing your products. So, you need to take extra steps to ensure that their shopping experience is perfect. Make it as simple as possible for them to buy your products with a well-arranged and organized shop page. On top of that, you can customize your shop page to add lead generation elements and increase your profits. This includes call-to-action buttons, featured product sections, pop-ups for sales and offers, and much more.
A customized WooCommerce shop page opens so many opportunities for you to improve customer experience and boost your sales. We’ve previously seen different methods to customize the Shop page in WooCommerce. However, with Elementor, the process is much easier.
Elementor and WooCommerce: The perfect combo
WooCommerce and Elementor are two of the most popular plugins available out there. The flexibility and the sheer number of features each of them provide are just innumerable. If you’re running an eCommerce store, WooCommerce is the penultimate plugin for almost every need that you might have.
Additionally, Elementor is one of the best drag and drop website builders. It allows you to design, customize, and furnish nearly any of your site’s pages. And if that’s not enough, you can also create mega menus and enjoy a wide variety of add-ons and templates that are very convenient. Using both WooCommerce and Elementor, you can design and build professional-grade Shop and Business pages with minimum expenses and effort. Fully set up your Shop layouts, product grids, carousels, as well as enjoy a wide range of beautiful layouts with the help of Elementor. Additionally, you can set up and customize your checkout pages and cart pages, and integrate them with a wide range of payment options and features for better customer convenience.
You can even add custom pages and designs for digital goods and include custom page options for shipping, payments, post, and pre-purchase pages, and much more. All of this ensures that your business site looks both professional and customer-friendly. You can also add WooCommerce features on top of user-friendly call-to-action buttons, parallax-ready sliders, and much more. The sheer number of opportunities is simply endless. Now, if you’re convinced enough, let us guide you on the steps that you can take. There are multiple things that you can do so the idea is that these steps will help you get started on creating a more welcoming Shop page for your WooCommerce store.
Before we start
Before you start with the process, note that to create an archives page for your WooCommerce store you will need to use Elementor Pro. You might not be able to follow our instructions well if you’re using Elementor Free. Of course, there’s a significant number of advantages to using Elementor Pro over the free version and most other drag and drop page builders out there. Elementor Pro includes amazing features such as:
- 50+ pro widgets and 300+ pro page templates
- Full integration with WooCommerce, including a WooCommerce builder and dedicated WooCommerce widgets
- Custom pop-up builders for better lead generation for your website
- 10+ full website demos/templates to use
- And many others
If you’re considering buying Elementor Pro, we highly recommend you do so. Elementor pricing starts at 49 USD per year for a single site. 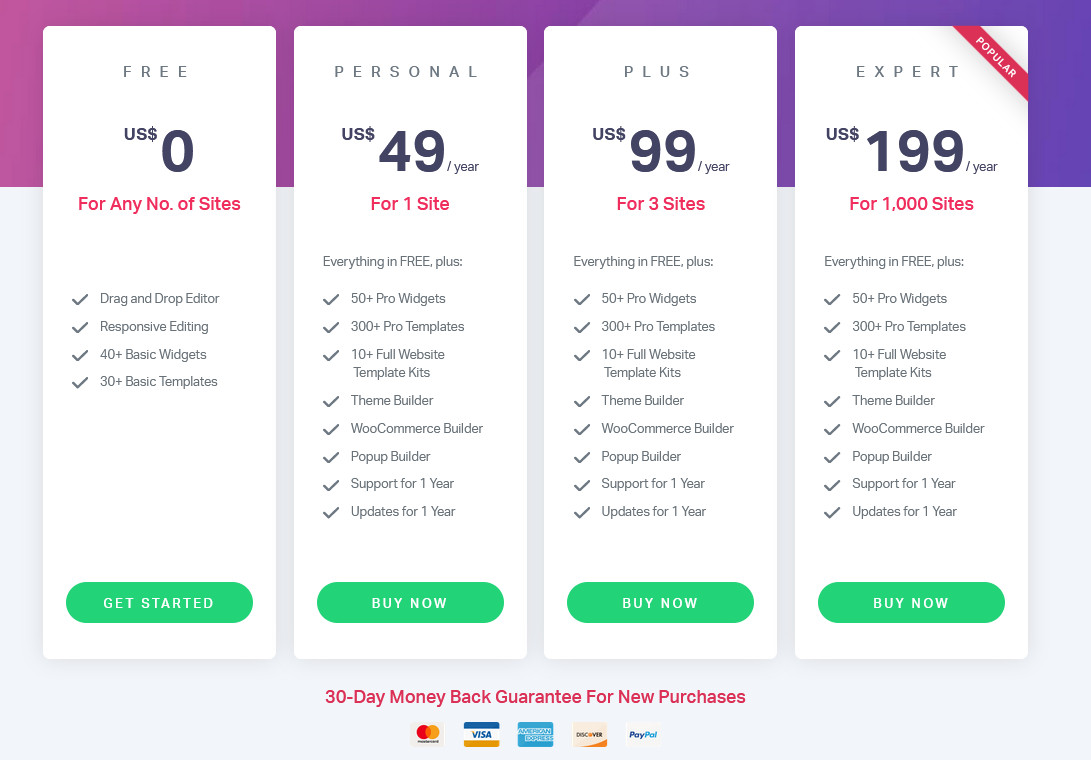
How to customize the WooCommerce shop page in Elementor
Now let’s start with our tutorial. We’re going to assume that you have Elementor and your WooCommerce plugins installed and set up. There are tons of pages and shop page content you can manage with Elementor and WooCommerce. But let’s start by creating your customized WooCommerce Shop page in Elementor. To do this, you need to create a product archive using Elementor. So, in your WordPress Admin Dashboard, go to Templates > Saved Templates. Then, click Add New on the top left.  Then, pick the type of element as Product Archive and name your Template. Once you press Create Template, you’ll go to the Elementor page to customize your archive page.
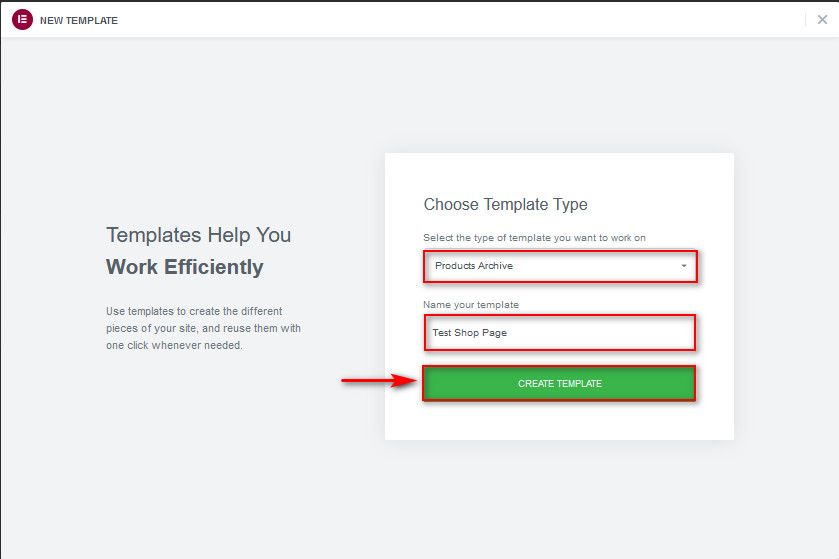
Customizing your template and enabling Elementor Blocks and Templates
Once you open the Elementor page, instead of having to start from scratch, you’ll automatically have the option to insert a fully furnished Archives block for your shop page. 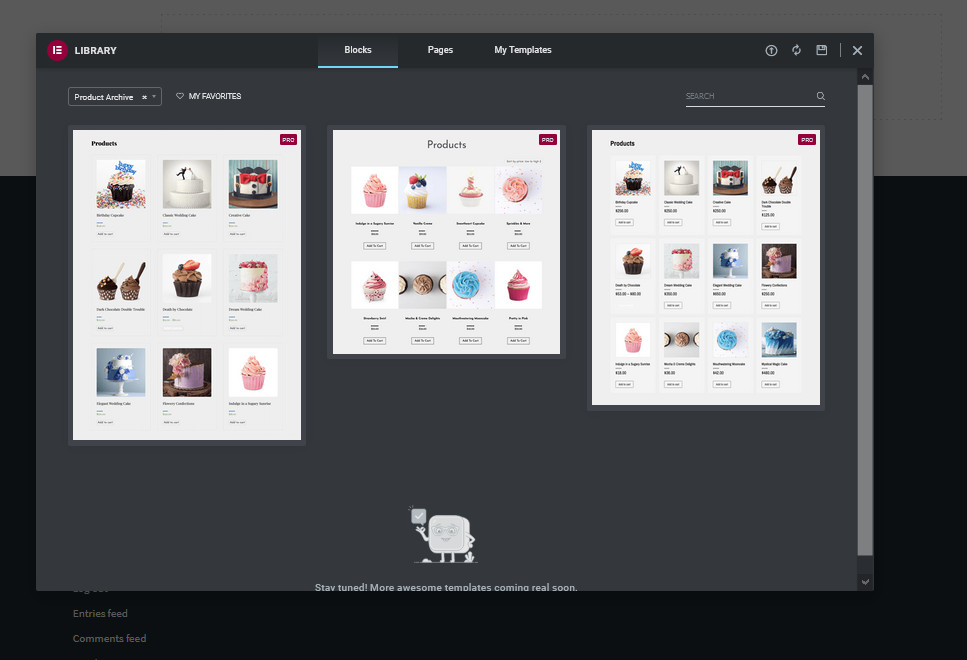 To open this whenever you want, you can just click on the folder icon on the Drag widget here section and press the Blocks tab. You can also use the Filter option to choose specific blocks for specific pages. After that, click on any of the blocks that fit your needs and then press the Insert button.
 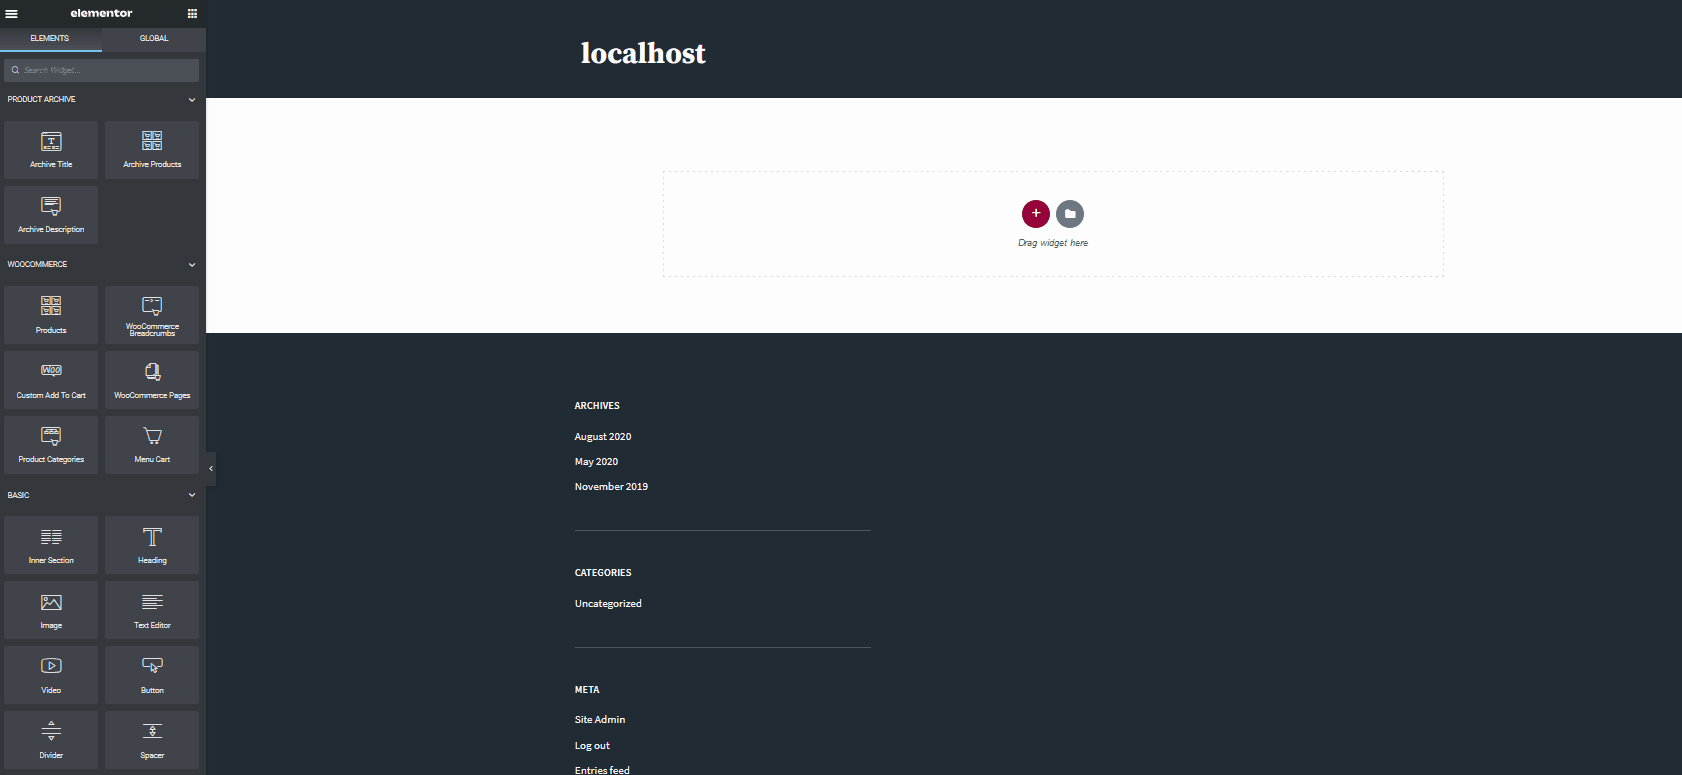 This way, you will save a lot of time and start with a demo page designed by Elementor to help you set up your shop page much faster. To do so, click on the Folder icon on the Drag Widget here section and press Pages. Then, choose one of the page designs you like. Alternatively, you can use the search bar to find page designs for the kind of shop page you want. After you choose your design, click Insert to import the page to your archive template.
  You can learn more about pre-designed blocks and page templates and all you can do with them here. Now, let’s see how to customize a block and add additional elements to the WooCommerce shop page with Elementor.
Customize WooCommerce Shop Page in Elementor
To customize the shop page, you can add some widgets and edit them to fit your website’s look and feel. So, let’s start by adding some essential widgets to your store. After you’ve added your base block, let’s include some useful widgets such as Menu cart and WooCommerce breadcrumbs. There are many other widgets that you add to your shop page using Elementor, and you should play around and find the best ones for you.
Add Widget Section
Let’s go ahead and add a widget section by clicking on the Add Section button (Blue Plus button). 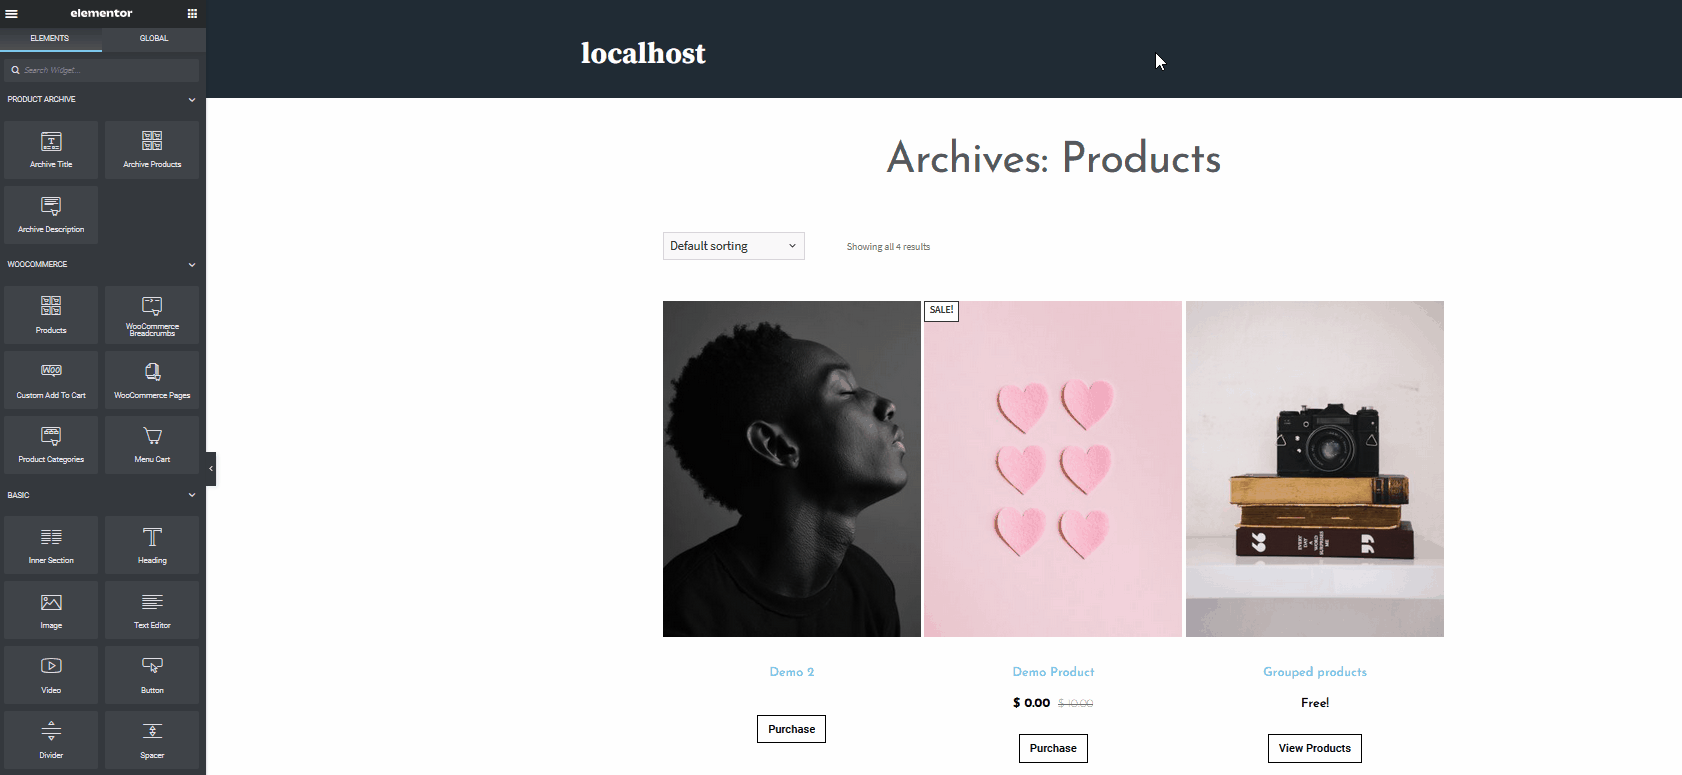 This will open a new widget section. Next, click on the Plus button labeled as Add New section under the Widget area and choose the structure. Since we’re just going to add WooCommerce Breadcrumbs and a menu cart button, let’s choose the 2×1 structure. This will add a simple 2×1 grid section where you can add your widgets to the specified location.
 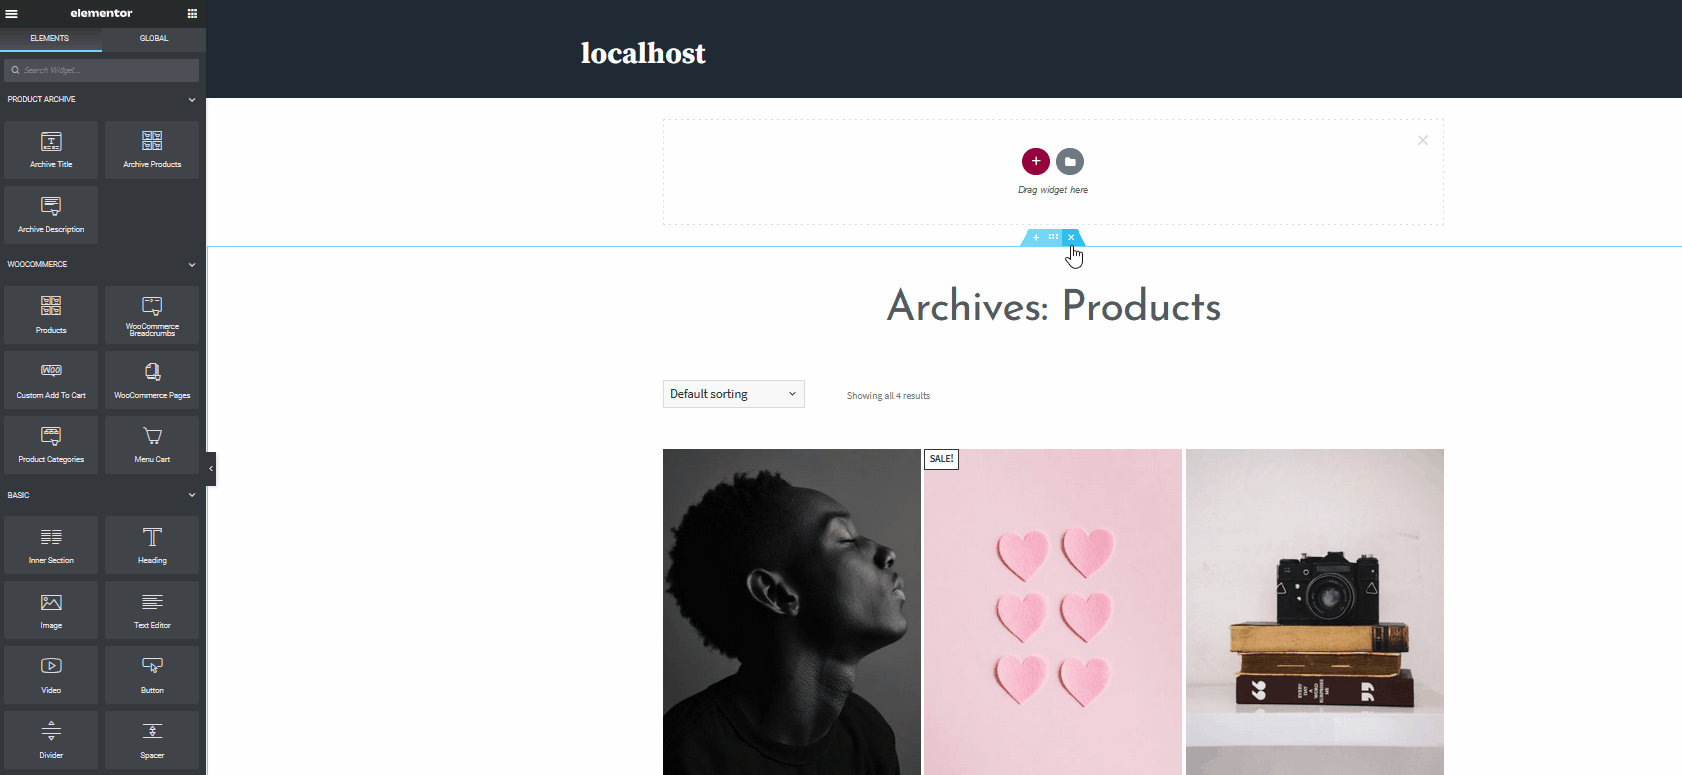 After that, use the sidebar and move to the Elements list by clicking on the grid icon on the top right of the sidebar.
 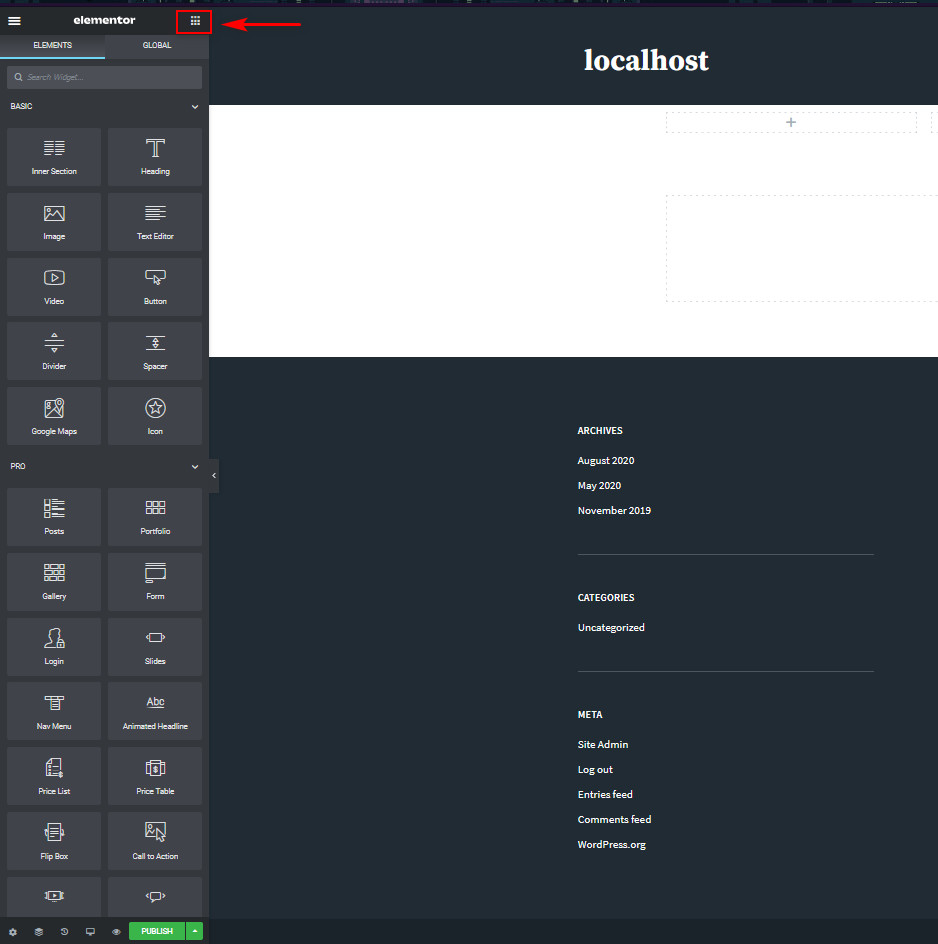 Then, Drag the widgets you want to the widget area. For this demo, we’re going to include the Menu cart and the WooCommerce Breadcrumbs widgets. So, use the search bar to quickly find the right widgets and drag them to the widget area. First, let’s drag the Menu cart widget.
 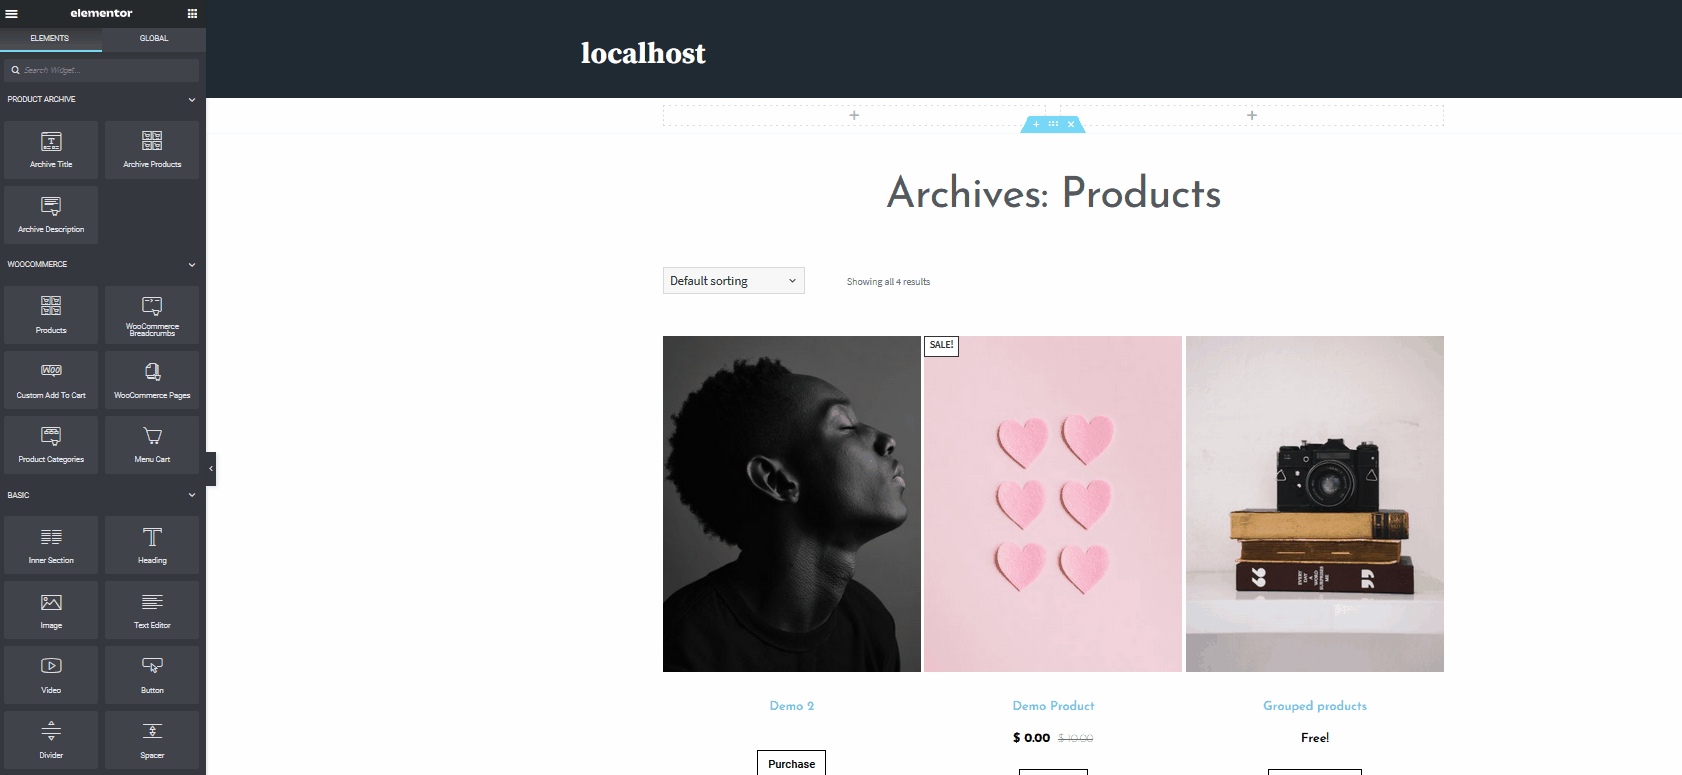 Then, click on the Menu cart widget and customize the options on the left sidebar. For example, let’s change the icon and the alignment to the right using the sidebar.
 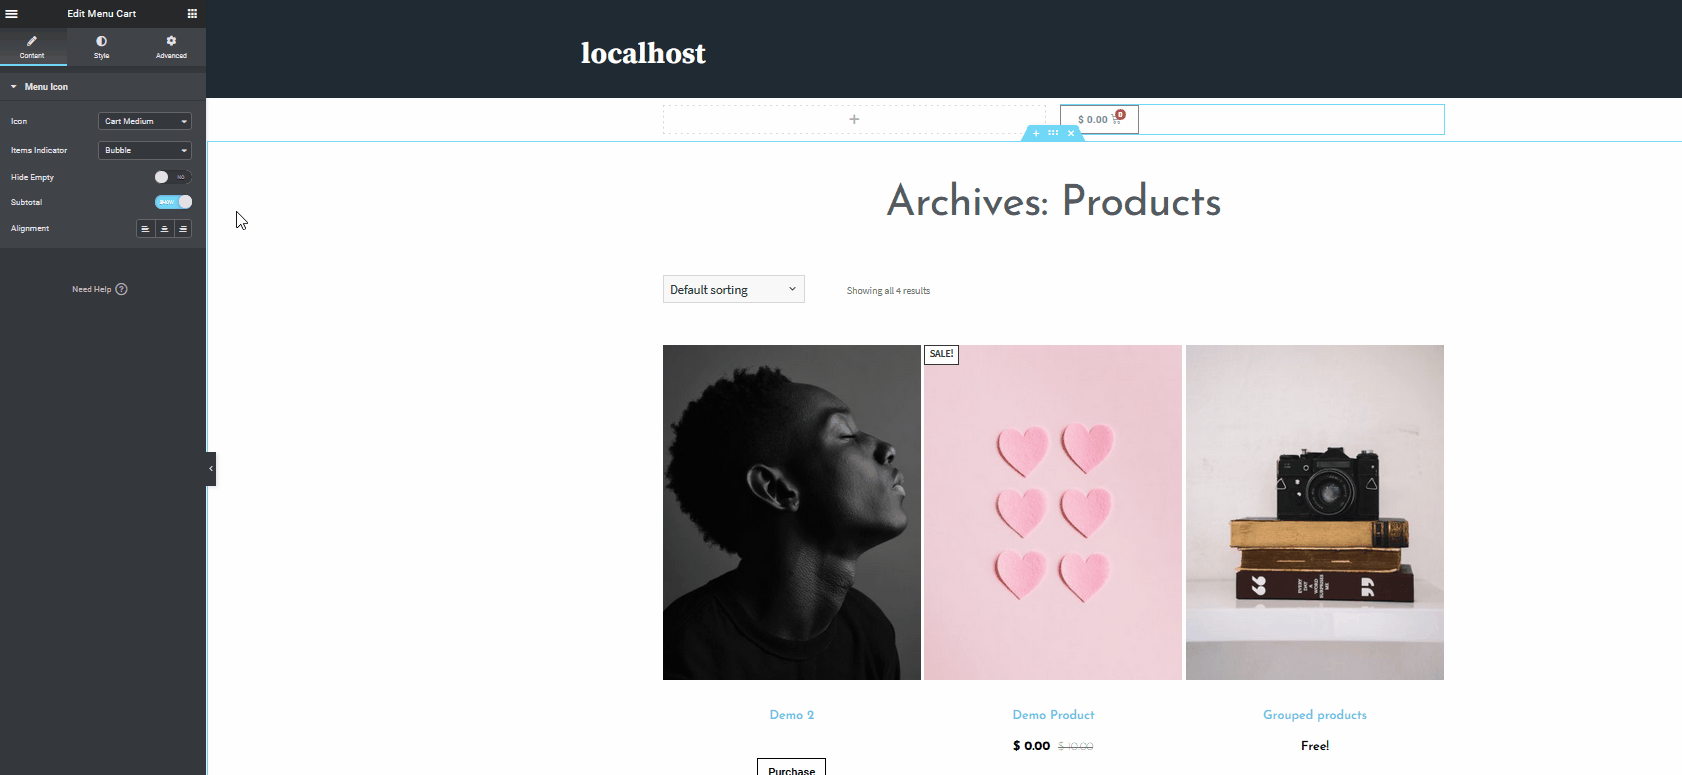 Now, let’s do the same to add the WooCommerce Breadcrumbs widget. So, let’s click on the Widgets icon on the left sidebar and search for the WooCommerce Breadcrumbs. Then, drag it onto the widget section and customize it. For example, we’ll change the text color, link color, typography, and alignment.
 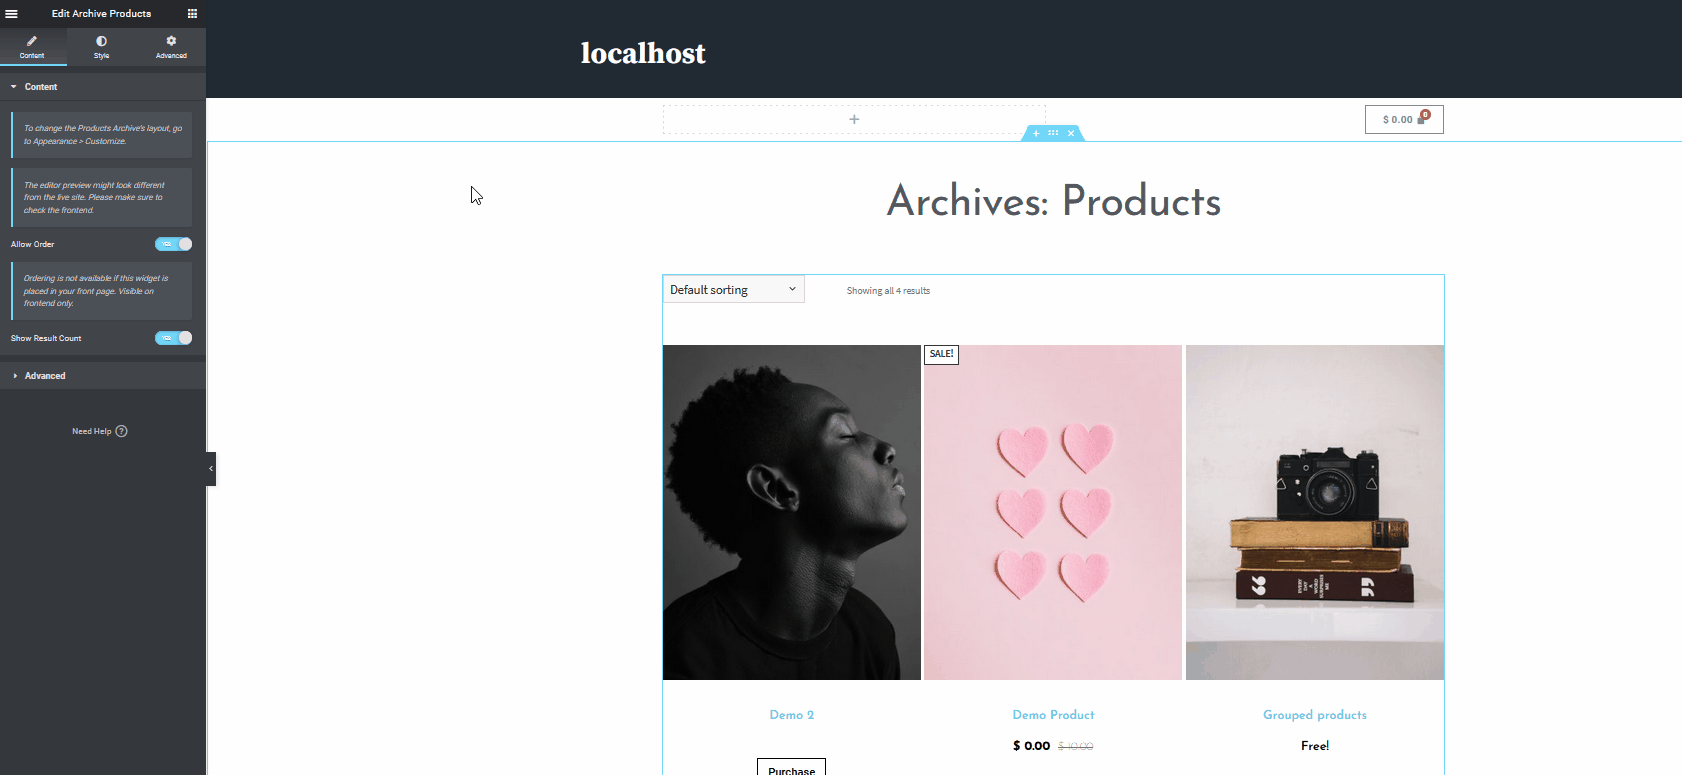 Once you finish the customizations, remember to save your newly designed template by clicking on the Save Options button on the bottom left, next to the Publish button. Then, select Save As Template and give your template an appropriate name. Now, your template will be accessible anytime under the Saved Templates section of your WP Admin Dashboard.
Set up your Customized Template as the WooCommerce Shop page
We can now quickly follow similar steps to add extra sections that your shop page could use. Do you want to display a video to demonstrate your products? What about a short text section for additional information? Or maybe add a carousel setup with your products or testimonials about your business? Regardless of the option you choose, you can similarly enable them. It’s all so convenient using Elementor’s drag and drop page builder that perfectly complements WooCommerce.
Customize the template even more
Now, let’s have a look at how to customize your Shop page with Elementor even more. Let’s say you want to add a video. Simply use the search bar and drag and drop the Video option to the shop page. Then, you can change the video URL, activate autoplay, enable loops, mute it, and so on. 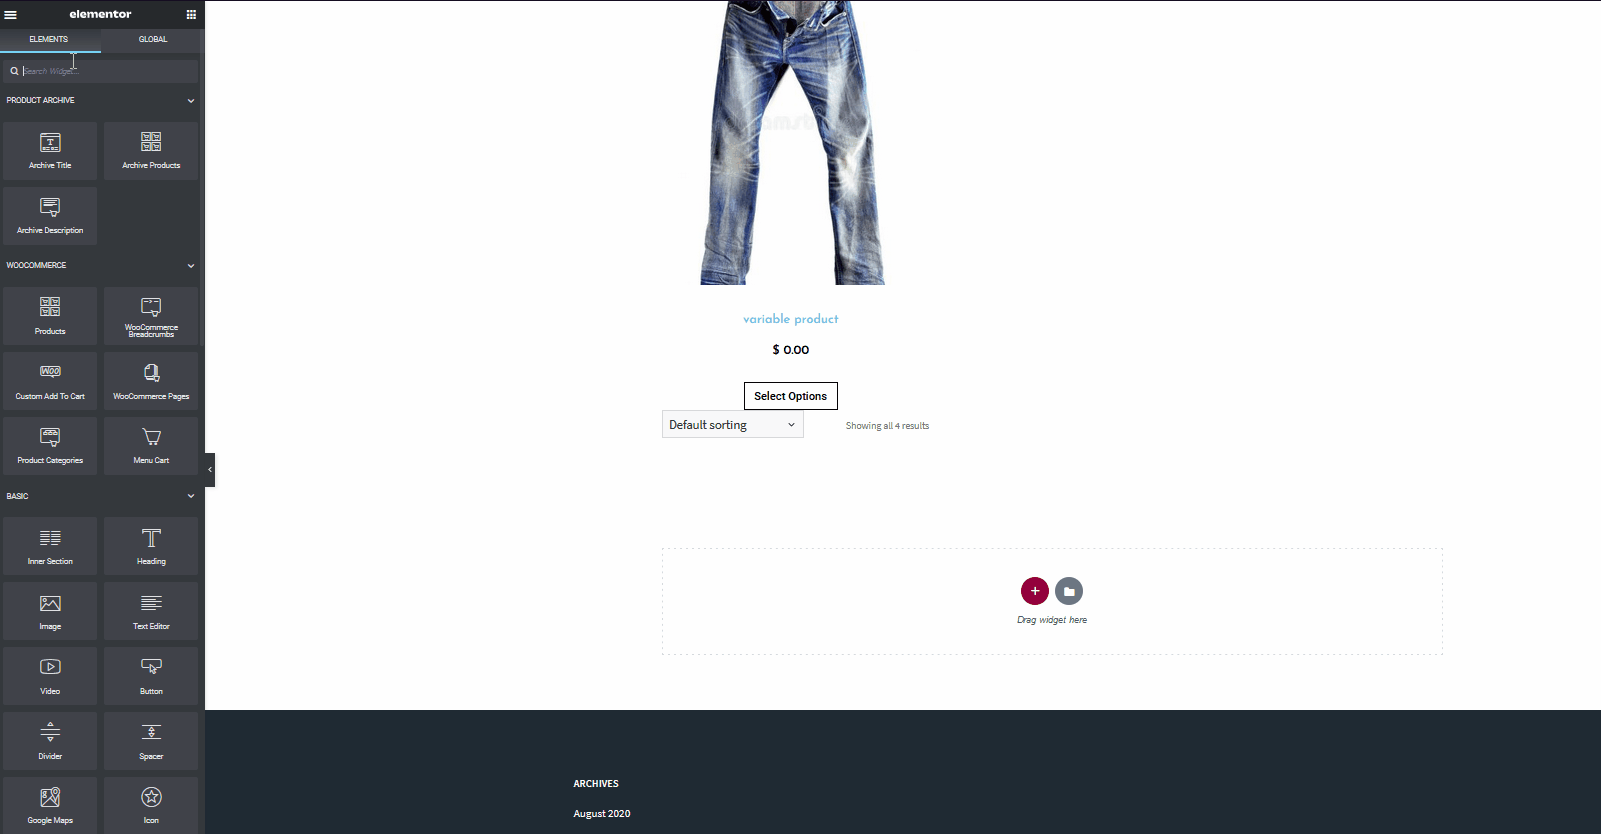 Once you’re done, remember to click on the Publish button at the bottom of the Left Sidebar.
 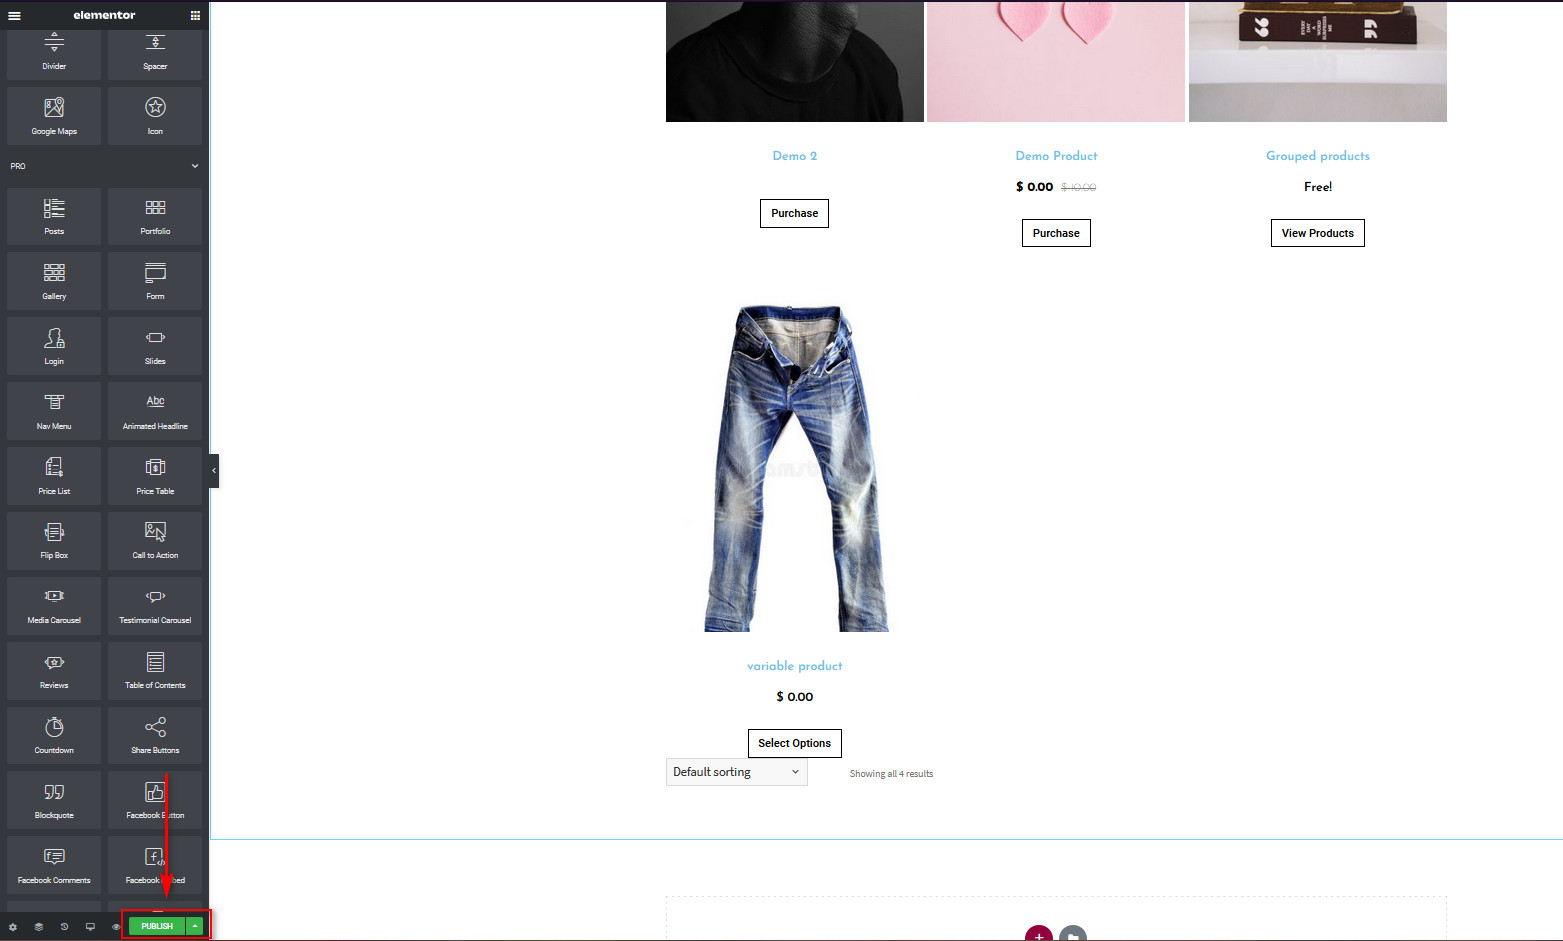 Here, you’ll have to decide where you want to display your template. Click on the Add Condition button, and you’ll have to choose where you want to use the template. You can display your template sitewide or on specific places such as search results, shop pages, and even category pages. For now, since we’re only going to show our template on the WooCommerce Shop page, let’s choose the condition to display the template only on the Shop page. We’ve created the template for the Shop page so use the drop-down list and select the Shop page. Then, click on Save and Close, and your newly made template will be set up as your WooCommerce Shop page.
 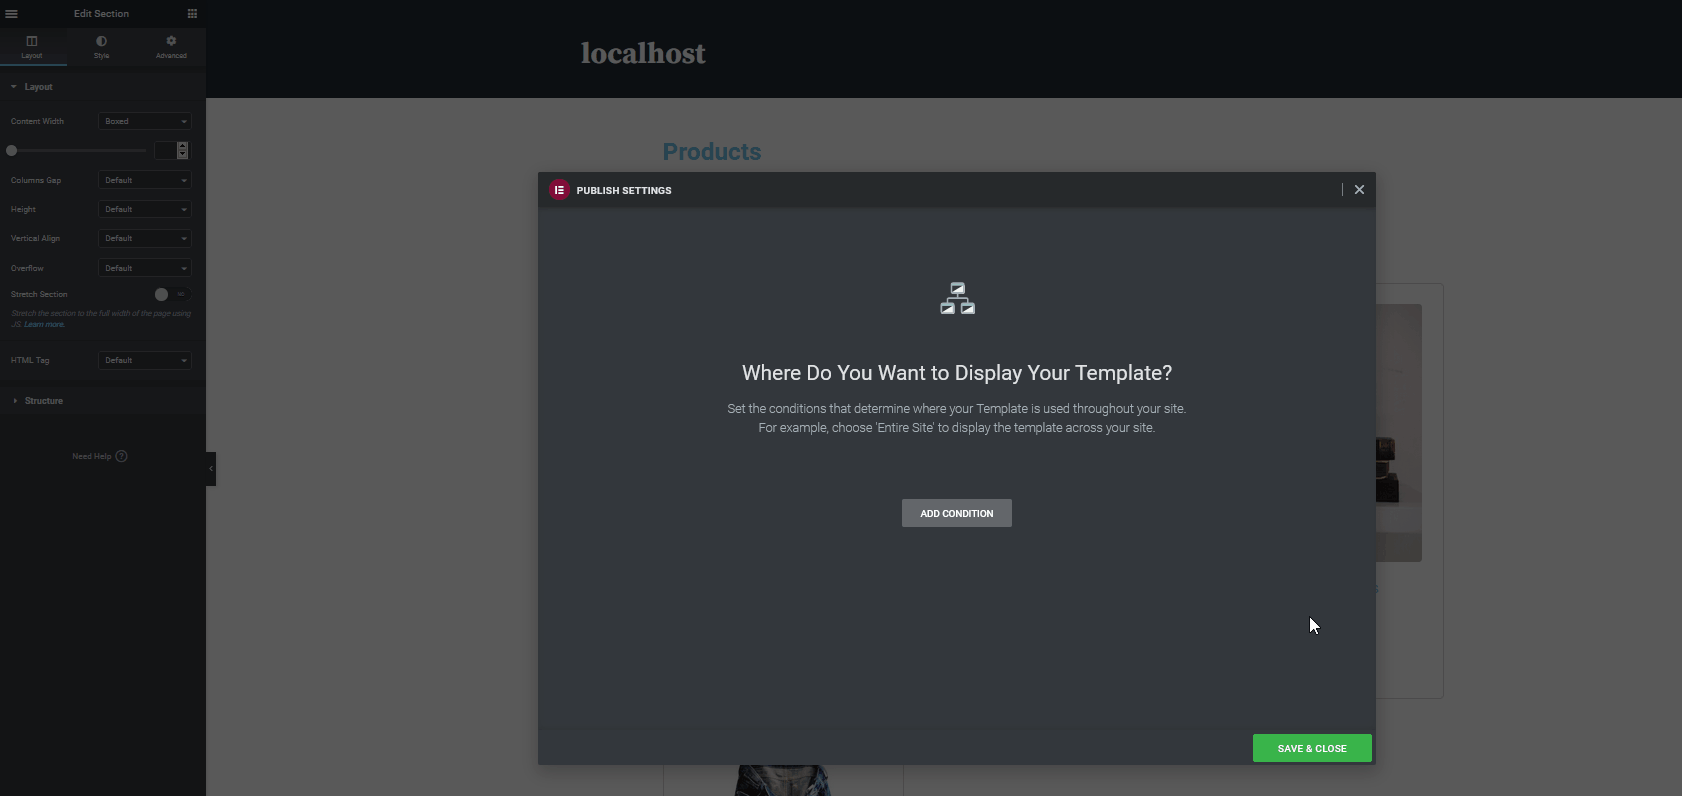 That’s it! You’ve just customized your WooCommerce shop page with Elementor. The page is live and ready to use! Of course, this isn’t all you can do to edit your WooCommerce website. You can also customize the WooCommerce checkout page, products page, carts page, and much more using Elementor.
Conclusion
All in all, customizing your WooCommerce shop page with Elementor can have a great impact on your store. The way you organize and display your products to your shoppers can help you make a sale or turn them away. In this guide, we’ve shown you how to set up and customize your WooCommerce Shop Page in Elementor. However, keep in mind that this is just the tip of the iceberg. This is a basic demonstration to show you what you can do with Elementor to build the perfect Shop page for your store. We recommend you use this as a base and play around with it to make the most of this excellent page builder. For example, you can try out the following things to improve your WooCommerce shop page even more:
- Add up-sell widgets and additional marketing widgets
- Enable pop-ups, advertisements, and featured carousels to boost conversion rates
- Setup sprawling mega-menus to make navigation much easier for your website. This includes adding product items and additional shop menus directly
- Customize and optimize your WooCommerce cart pages and your checkout pages
And this is just a small list. You can also use a full-page template and edit it even more to fit your needs and enable some of the most unique shop designs out there. For more guides on how to make the most of both WooCommerce and Elementor, you can have a look at some of the following guides:
Do you have any questions regarding this tutorial? Let us know in the comments section below!

No one includes the sidebar with category menu in shop page, why? This is a basic and an important thing, very important.
This is the most awesome guide on customizing woocommerce with elementor. Thank you thank you thank you!!!