6. Actions
The Action Module enables users to create and utilize actions to enhance posts, ranging from improving spelling to generating images from the provided text.
Actions comprise predefined configurations for content generation, which users can customize to their preference. Each action is distinguished by a primary attribute:
- Origin:
- SYSTEM: System-based actions are immutable and cannot be removed. However, users can create a duplicate.
- USER: User-originated actions offer flexibility; they can be modified, deleted, or duplicated as needed.
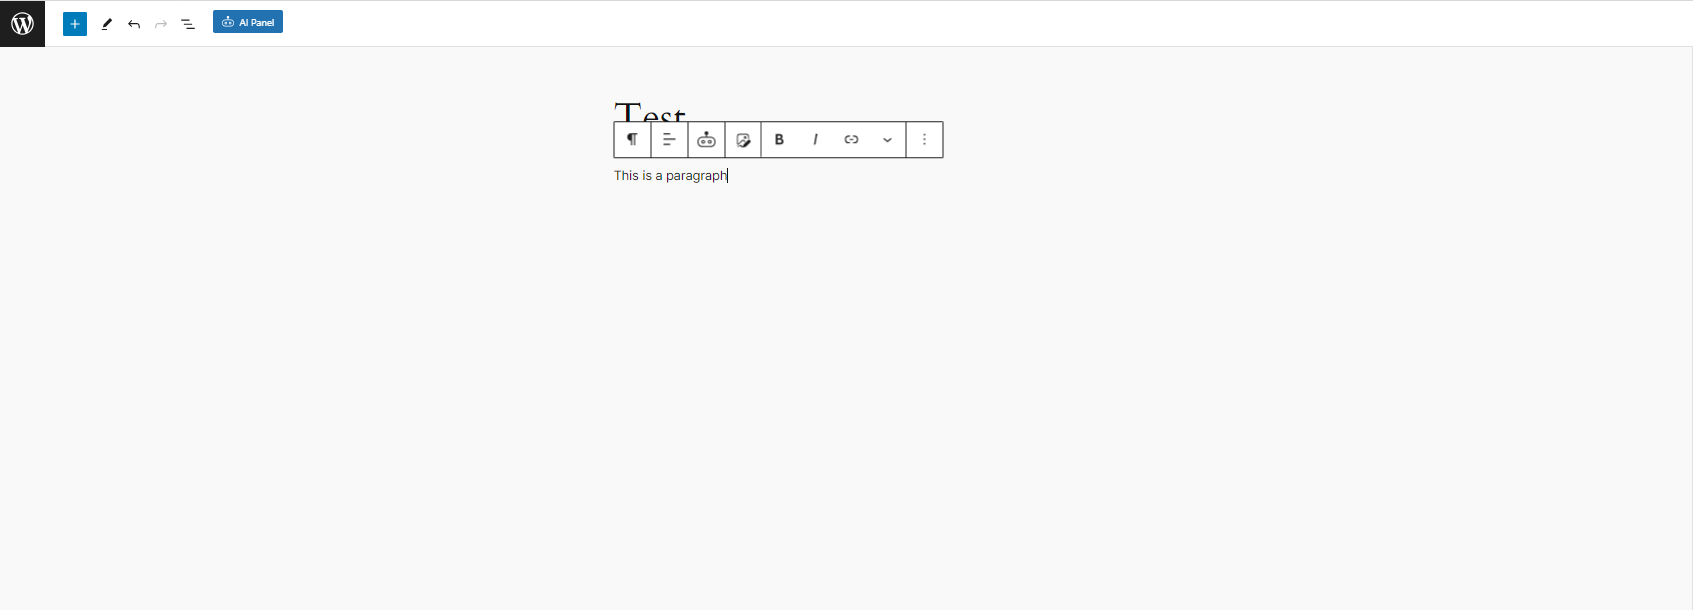
Within the post type editor, whether you’re using the Modern or Classic version, you’ll notice additional buttons in the toolbar.

6.1 Actions Tab
The actions used for editing content have built-in features that allow you to add new ones, view them, make changes, and remove any you no longer need.
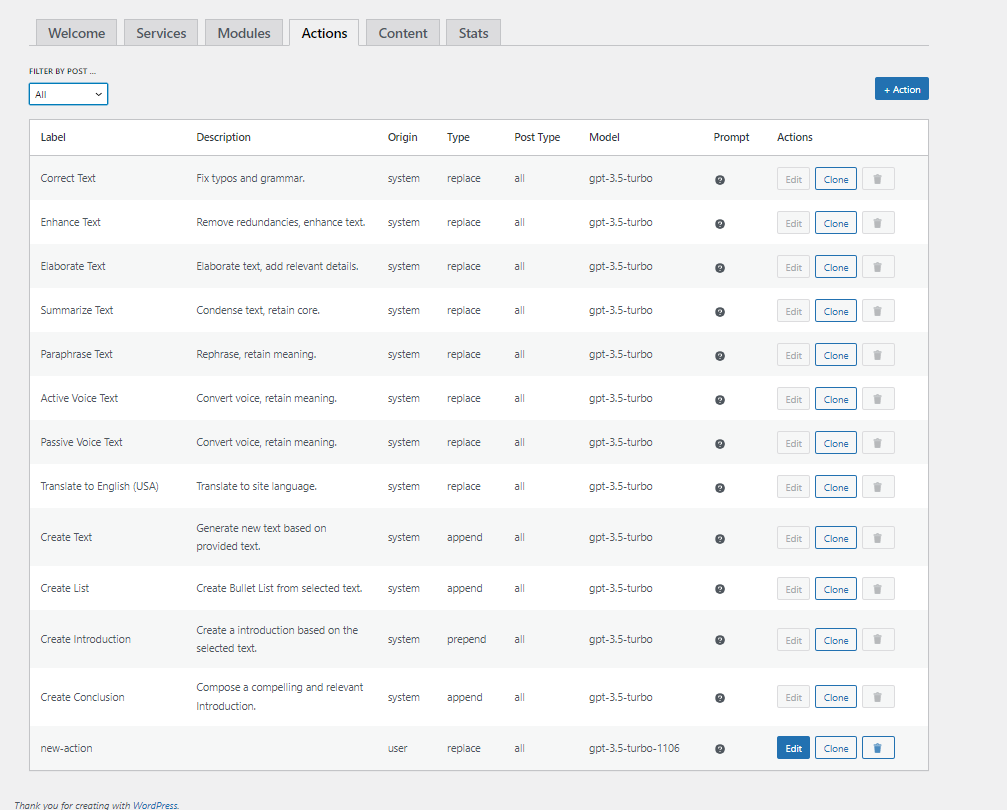
Here, you can manage Actions for content generation: you can view, filter, create, modify, delete, or even duplicate them.
Below, we provide a detailed explanation for each section of this tab:
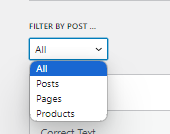
6.1.1 Actions Filters
You can filter templates based on their POST TYPE:
6.1.2 Actions Table

This table offers several actions:
- Edit: Opens a modal showcasing a range of settings to customize the action.
- Clone: Creates a duplicate of the action.
- Delete: Removes the action.
6.1.3 Creating an action
To create an action, click on the "+ Action" button. This tutorial also covers how to edit an action using the "edit" button.
Within the modal window, you’ll find various customization options, grouped for your convenience. We’ll go over each of these options in the following sections.
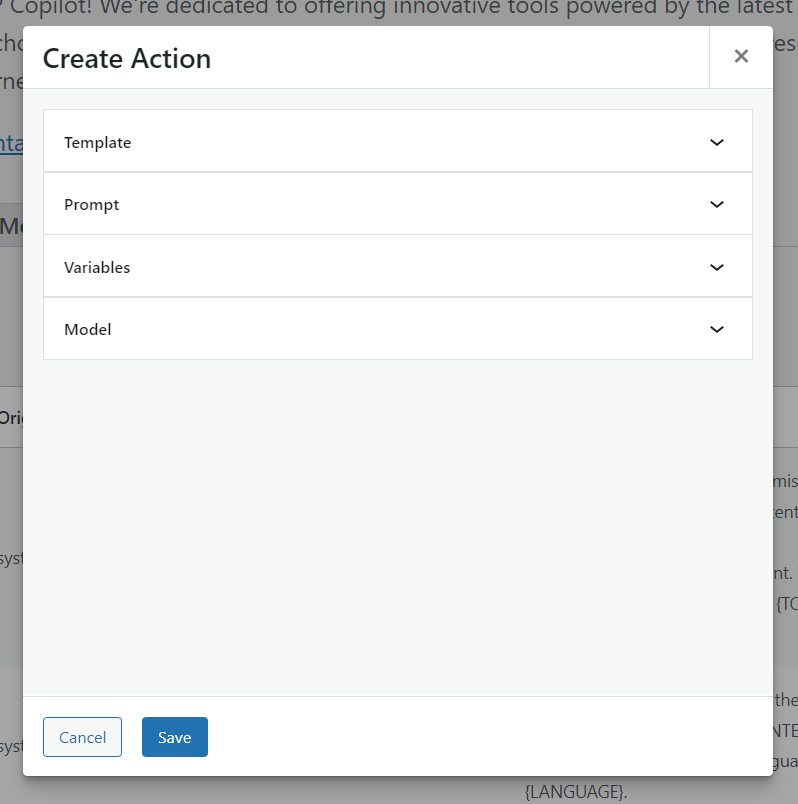
Template
This group focuses on the essential attributes of your template.
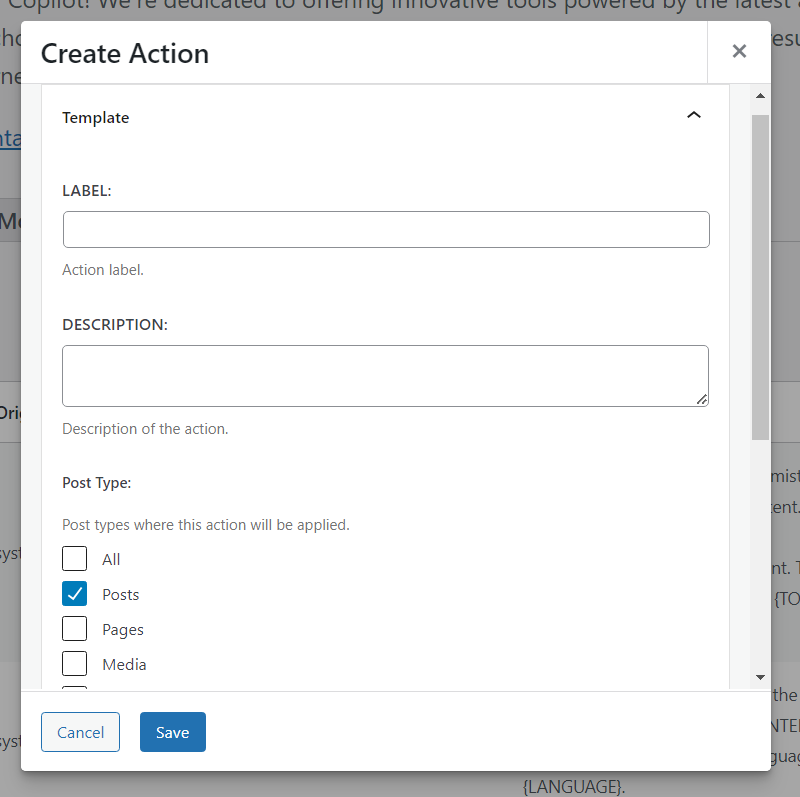
- Label: Here, you can give your action a name or label for easy identification.
- Description: A dedicated space for you to jot down a brief description or any relevant notes about the action.
- Post Type: This dropdown allows you to specify which category of content the action is meant for.
- ALL: An all-encompassing option, suggesting the template can be used across any content category.
- Specific Options: Tailor your template for certain types of content by choosing among options like “Post,” “Images,” “Pages,” “Media,” and others.
Prompt
In this group, you define the specific requests or “prompts” that guide the AI’s behavior.
Throughout these instructions, there are variables enclosed in curly braces, such as “{TOPIC}”, “{LANGUAGE}”, “{WRITING_STYLE}”, etc. These are placeholders meant to be replaced by the corresponding field content.
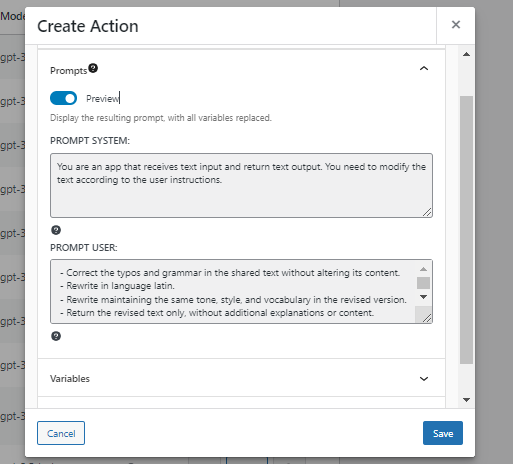
- Replace Variables Toggle: At the top of the “Prompt” section, there’s a toggle labeled “Replace variables”. When this toggle is switched on, the placeholders in the prompt template are substituted with actual values from the corresponding fields, allowing users to preview the finalized request to the AI.
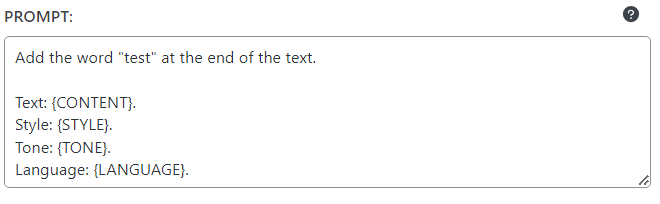
- Prompt Section Overview The “Prompt” section provides a template for structuring requests to the AI. The core structure of the prompt is presented with placeholders enclosed within curly braces (e.g.,
{CONTENT},{STYLE},{TONE},{LANGUAGE}).
For instance, if you wish to append the word “test” to the end of the text, you can achieve this by editing the prompt:
Variables
Offers a set of adjustable parameters designed to shape the content generation process according to specific requirements.
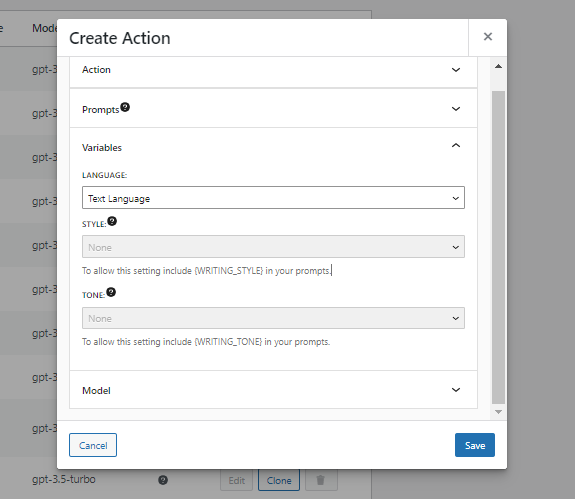
- LANGUAGE: This dropdown lets users select the language in which the content should be generated. The default setting is now ‘Site Language’, which reflects the primary language of the website,
- STYLE: This option defines the overall approach and texture of the content, some options are:
- Informative: Content that presents facts clearly and straightforwardly.
- Descriptive: Content that paints a vivid picture and provides detailed information.
- Creative: Content that showcases originality and imaginative flair.
- Narrative: Content that tells a story or describes a sequence of events. … and other styles. The “Informative” style is currently selected.
- TONE: This parameter allows users to set the mood or attitude of the content. Available options include:
- Neutral: Unbiased and objective tone.
- Formal: Professional and respectful tone.
- Assertive: Confident and direct tone.
- Cheerful: Positive and uplifting tone.
- Humorous: Playful and light-hearted tone. … among others. The current selection is “Neutral”.
Model
This section provides controls and settings related to the AI model and how it generates content.

- MODEL: This dropdown allows users to select which version or type of AI model they’d like to use. In the image, “davinci-003” is selected.
- TEMPERATURE: The temperature parameter affects the randomness of the AI’s output.
- The slider range is between 0 and 1.
- At lower values, the model’s output is more deterministic and focused.
- At higher values, like the displayed “0.8”, the model becomes more experimental and might take more risks in its responses. This can lead to more diverse but potentially less predictable outputs.
6.2 Using actions in the editor.
Within the editing environment, users have access to a powerful toolset via the Actions button located in the toolbar. This isn't just any regular editing feature—it integrates advanced AI functionalities tailored to enhance and refine your content, regardless of its type, be it a post, page, order, or any other content format.
To get started with Actions, create a block that supports text.
In the toolbar, you’ll notice a new button shaped like a robot icon. Clicking this button reveals a list of actions that have been defined in the tab.
Some principal actions are:
- Correct Text: Fix typos and grammar
- Enhance Text: Remove Redundancies.
- Translate to English: Translate the highlighted content into English.
- Summarize Text: Condense the highlighted content to provide a concise summary.
- Expand Text: Elaborate on the selected content, providing more detail.
- Paraphrase Text: Reword the selected content to convey the same meaning in a different manner.

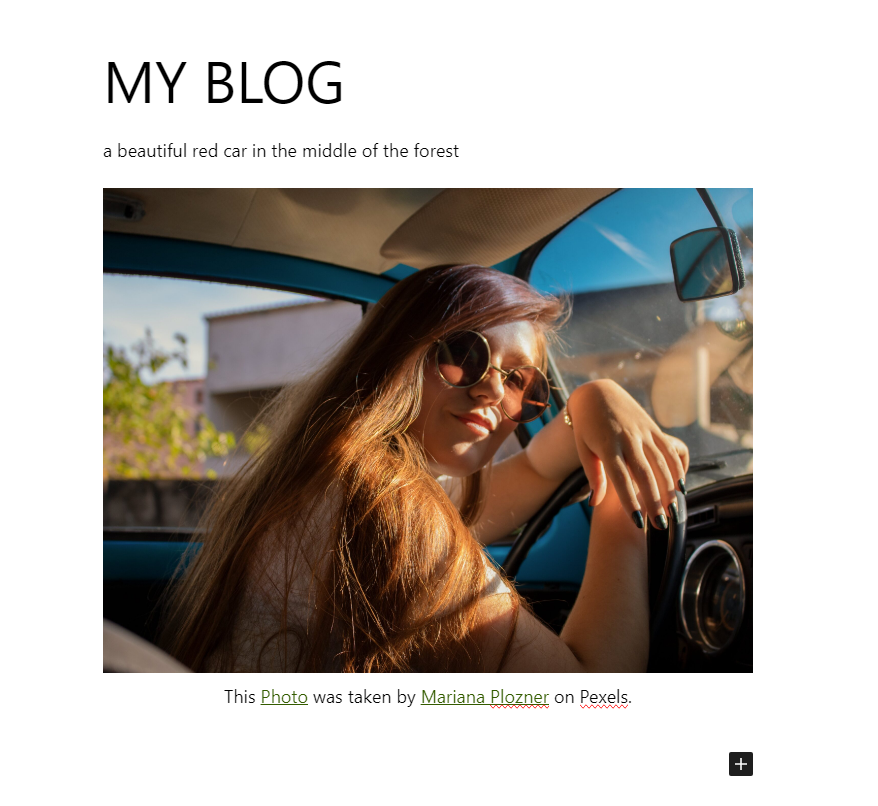
6.3 Generating images in the editor.
Users also have the ability to create images using the page's content in an easy and intuitive manner.
To generate an image, simply click on the text you want to use for creating that image, which will capture the entire paragraph. You can also select the text specifically if preferred.
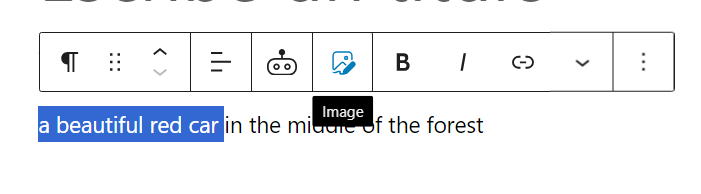
Then click in the “Image” button.
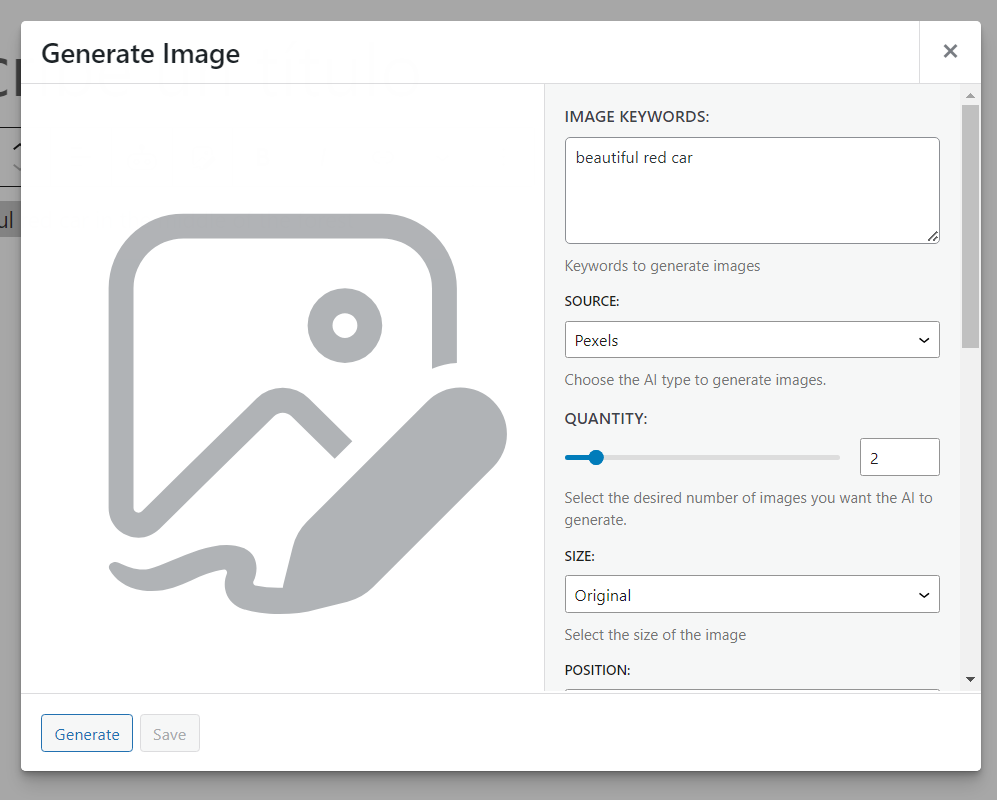
In the settings section, you can view and edit the keywords that the AI will use to generate your image.
Additionally, you can choose the source for the image generation service. Options include:
- Pexels, a provider of stock photography and stock footage. This means the image generated match with the text you’ve provided,
- Dall-E, an AI model from OpenAI specialized in Image creation. AI can create images using the text you’ve provided..
Furthermore, there are additional options such as the quantity, which determines how many images the AI will generate. You can also adjust the size and position of the images. Pexels offers exclusive settings such as the orientation of the image, the locale of the search, the quality, and the primary color of the image, allowing you to ensure that the chosen color will be the dominant hue in the image.
To start to generate an image, click in “Generate” button.
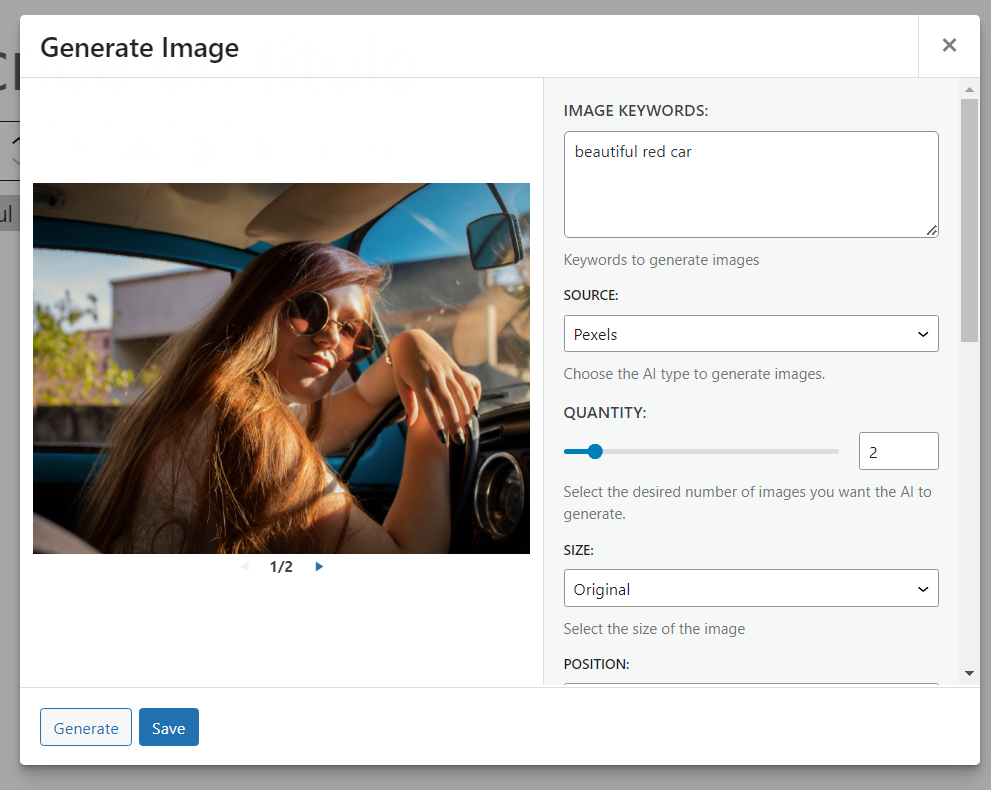
Once the image has been generated, you can review it. If the image doesn’t meet your expectations or you’d like to try a different variation, you can easily generate a new one by clicking “Generate” again. This allows you to replace the current image with a new one.
After you’re satisfied with the image, click in the “Save” button. This action will automatically create an image block in your editor, inserting the newly generated image above the text you used as keywords and will save the image in to your WordPress gallery.