8. Create multiple posts
This feature introduces a streamlined process for content creation in the post section. This feature, accessible through a new button, allows for simultaneous generation of material for multiple posts, significantly enhancing efficiency and saving time.
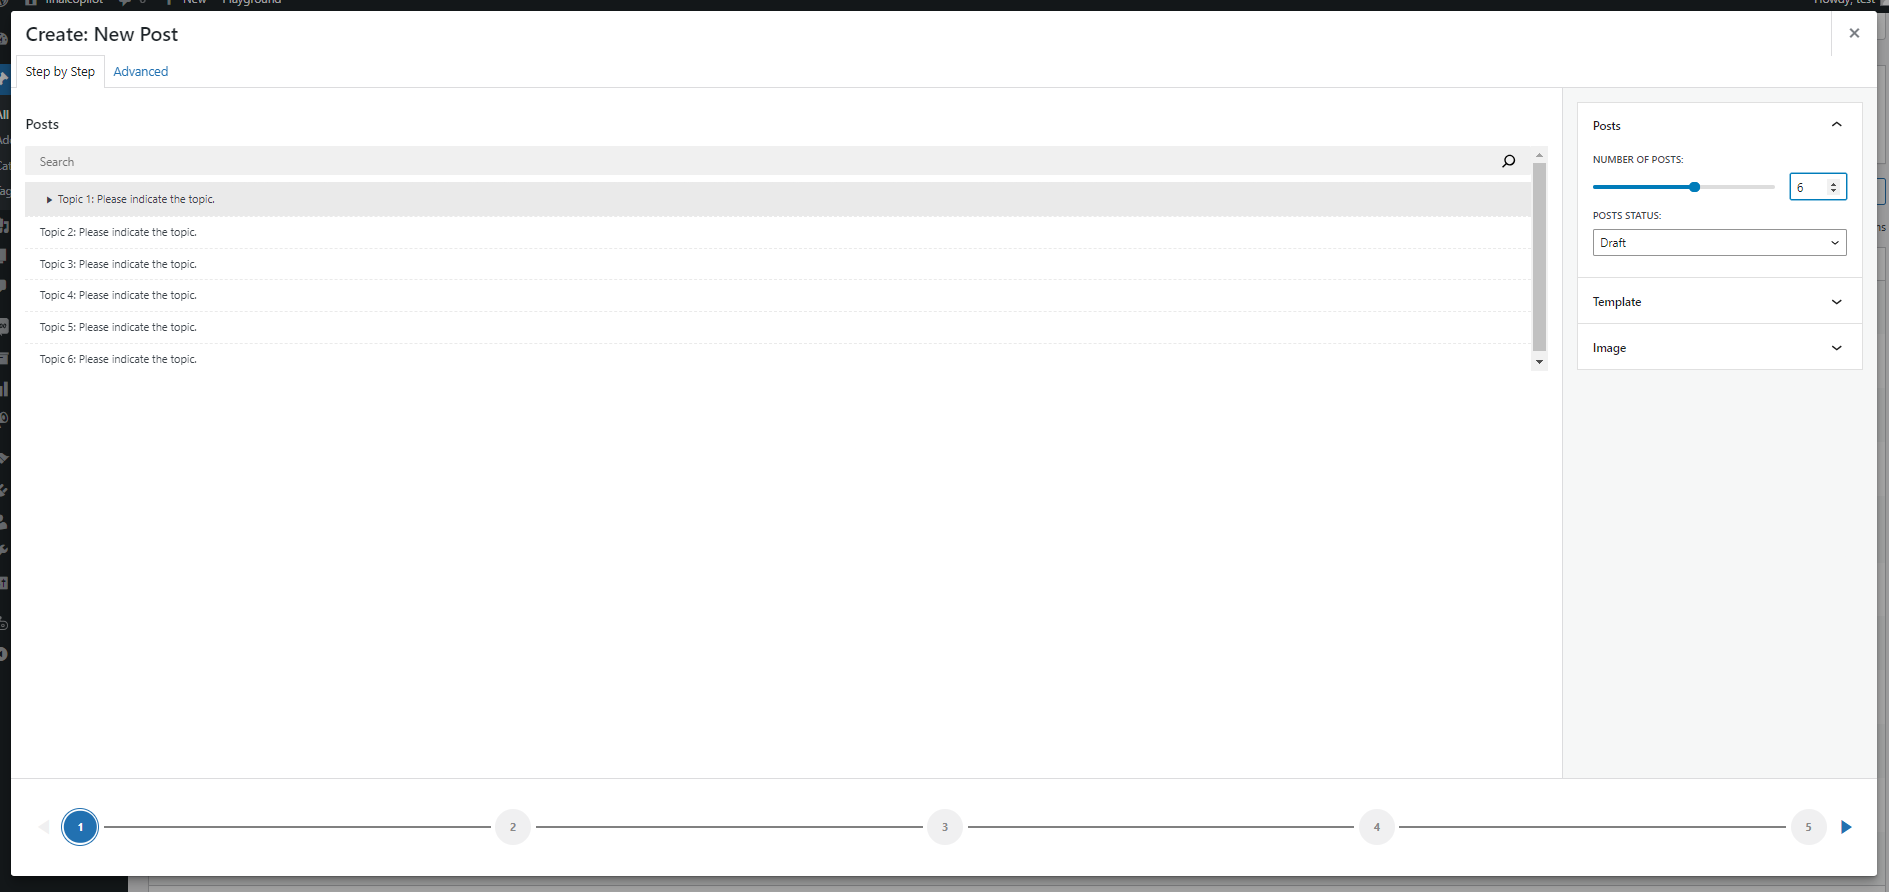
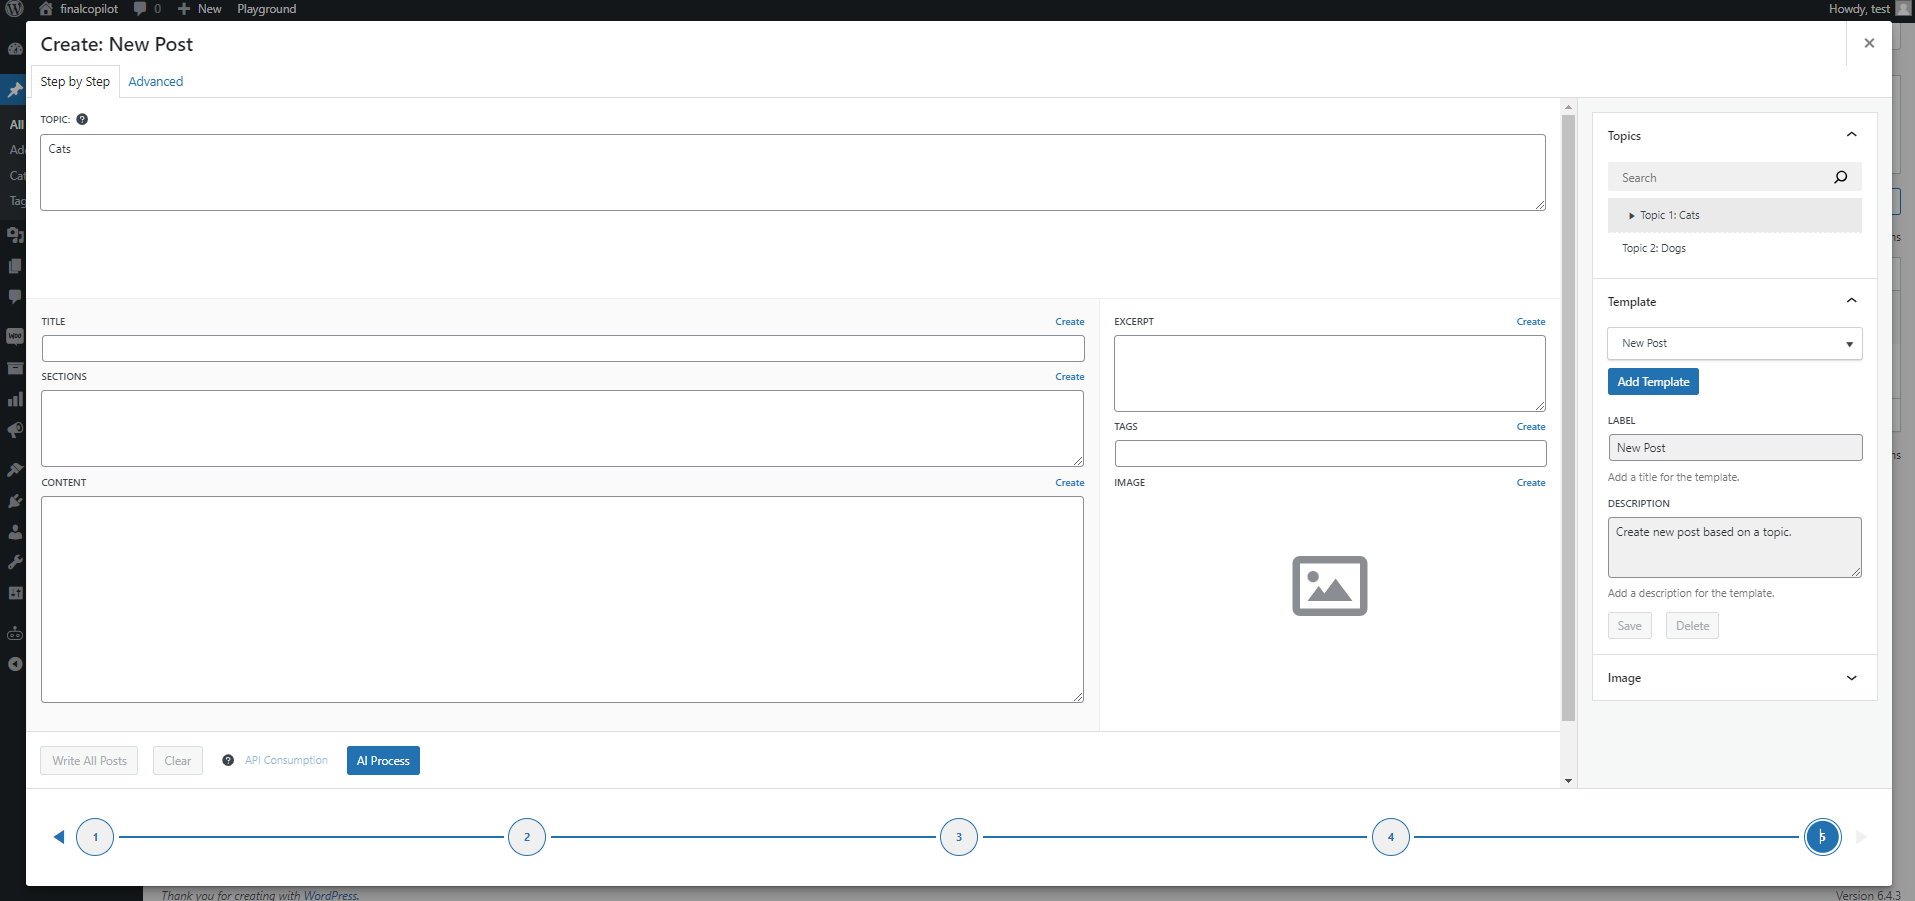
In the first step, we need to define a topic in order to generate our content. To edit each topic, double-click on the selected topic.
For detailed information on other aspects of the modal, please refer to the relevant section of our guide here.
8.1 Post settings
In the post section of the sidebar, we can set how many post we want to generate.
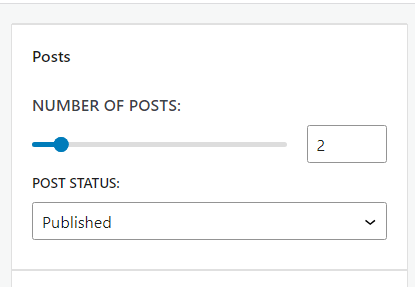
- Number of Posts: This range input allows for the creation of up to 10 posts at once, providing flexibility and improving the efficiency of content production.
- Post Status: Here, you can select the status for each post, with options like ‘Draft’, ‘Pending Review’, ‘Private’, and ‘Published’. This feature grants precise control over your content’s visibility and readiness.
8.2 Template settings
In the template section of the sidebar, we can pick or create a template for generation content.
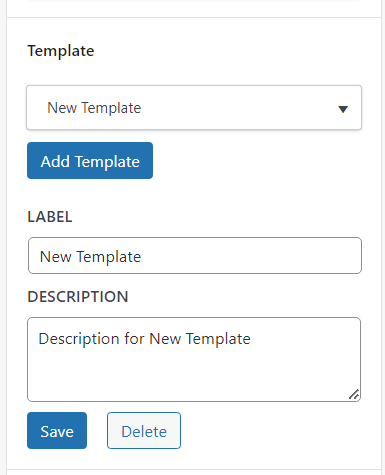
- Template: Choose a template for post creation. Options include ‘Create Post’, ‘Create Product’, and ‘Create Tutorial’.
- Label and Description: Name your template and provide a description for easy identification and use.
8.3 Generate content.
Once the post and template settings have been adjusted, we are prepared to generate our content.
This modal in the second step provides an intuitive interface for prompt generation, applicable to all configured topics.

When generating multiple posts, it’s necessary to specify a topic for each one. In the posts section of the sidebar, there is an additional selector, where we can switch between different posts to specify a unique topic for each
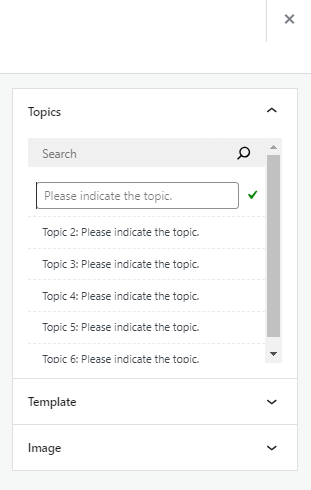 .
.
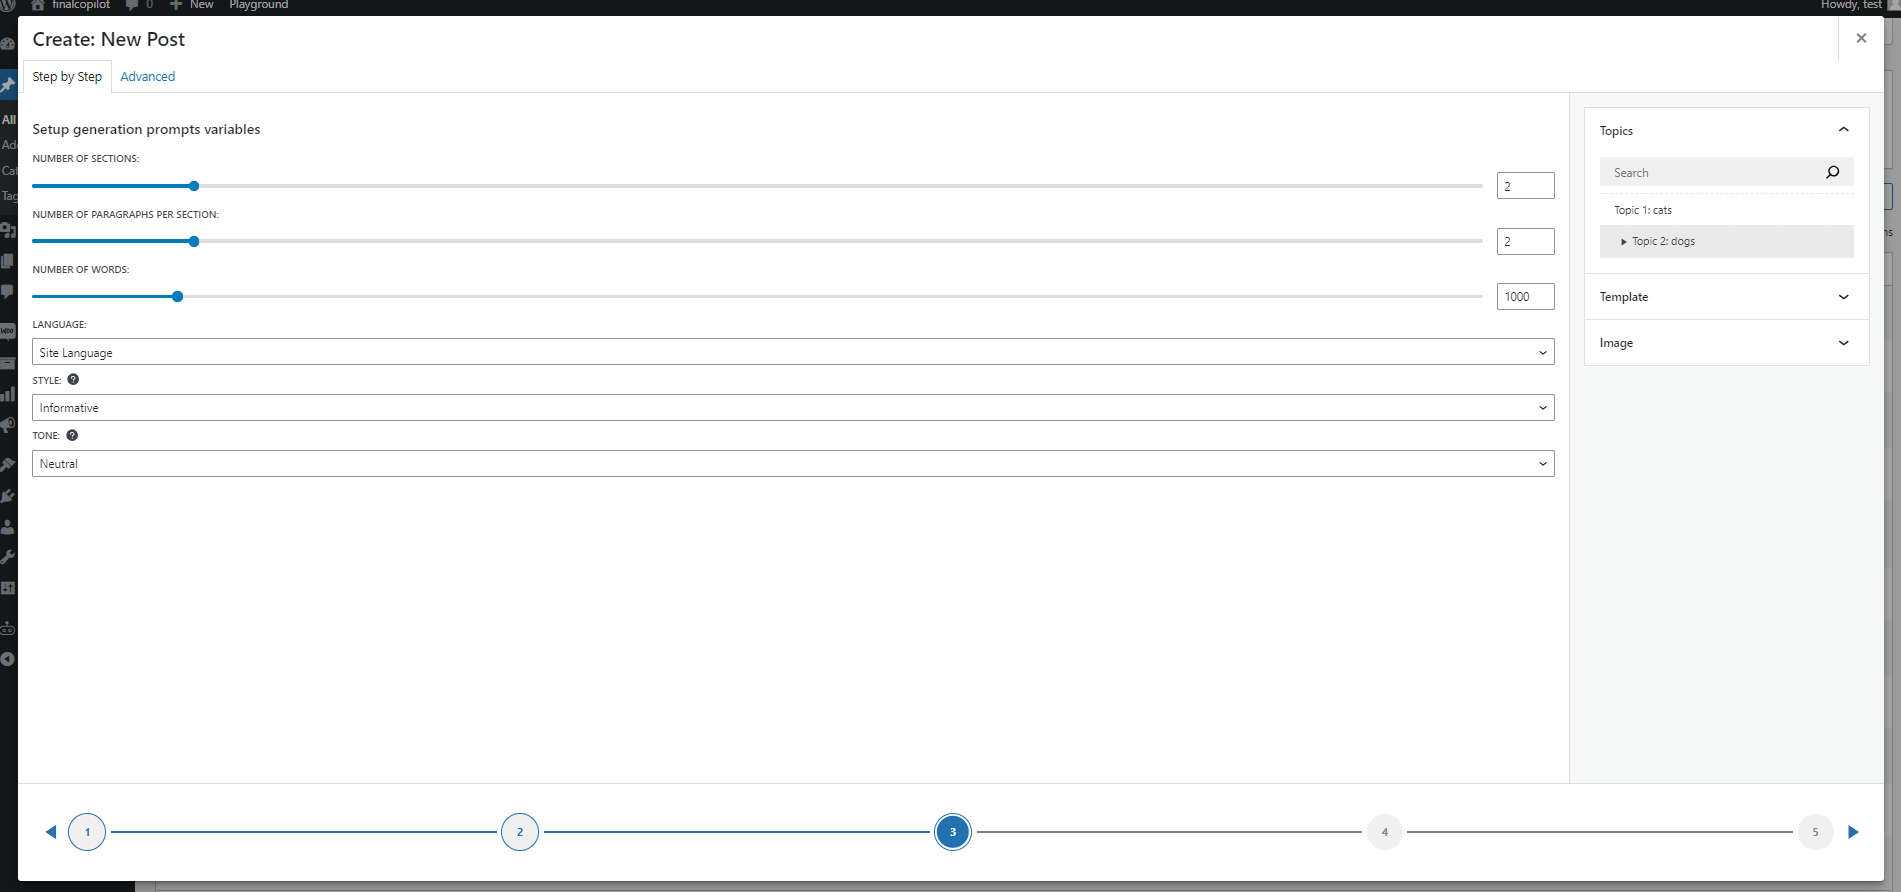
This 3rd step primarily focuses on the functionalities of Posts and Templates.
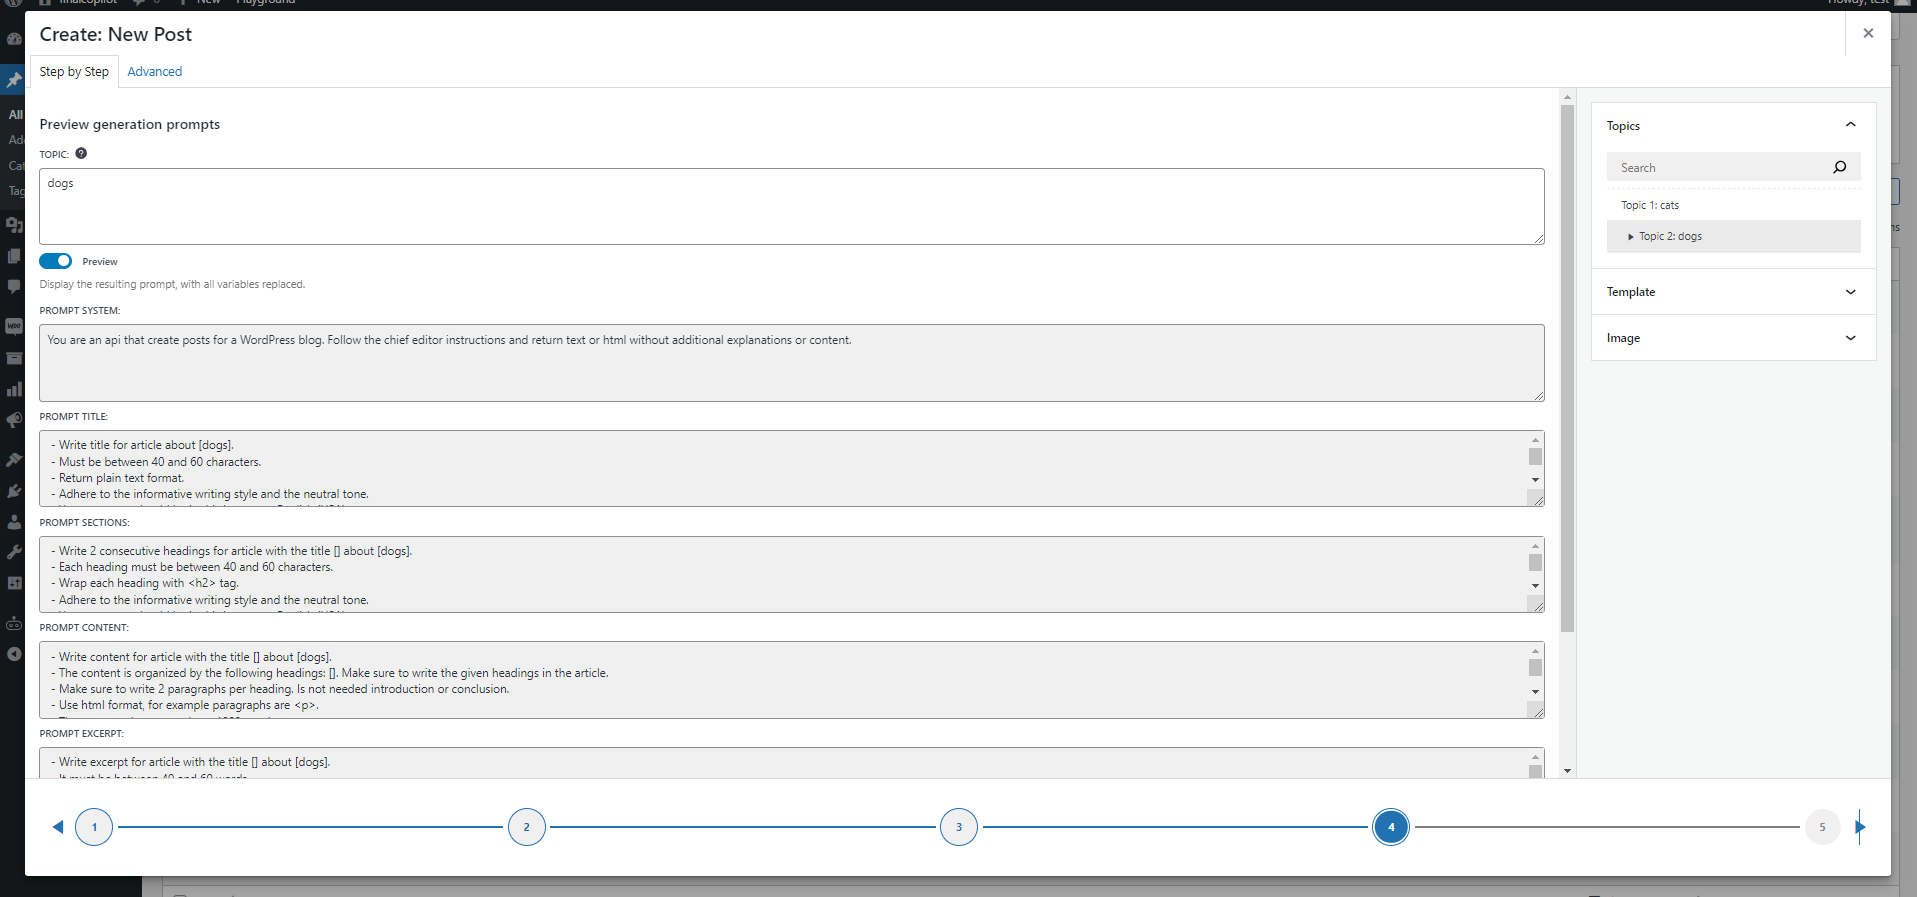
In this 4th step, you can visualize the preview of prompts tailored to each topic, reflecting the configurations made in previous steps. Additionally, if variables are not utilized in any of the prompts, they become inactive.
To initiate content generation in the final step, simply click the ‘AI Process’ button. After a brief moment, the generated content will be displayed
TOPIC 1
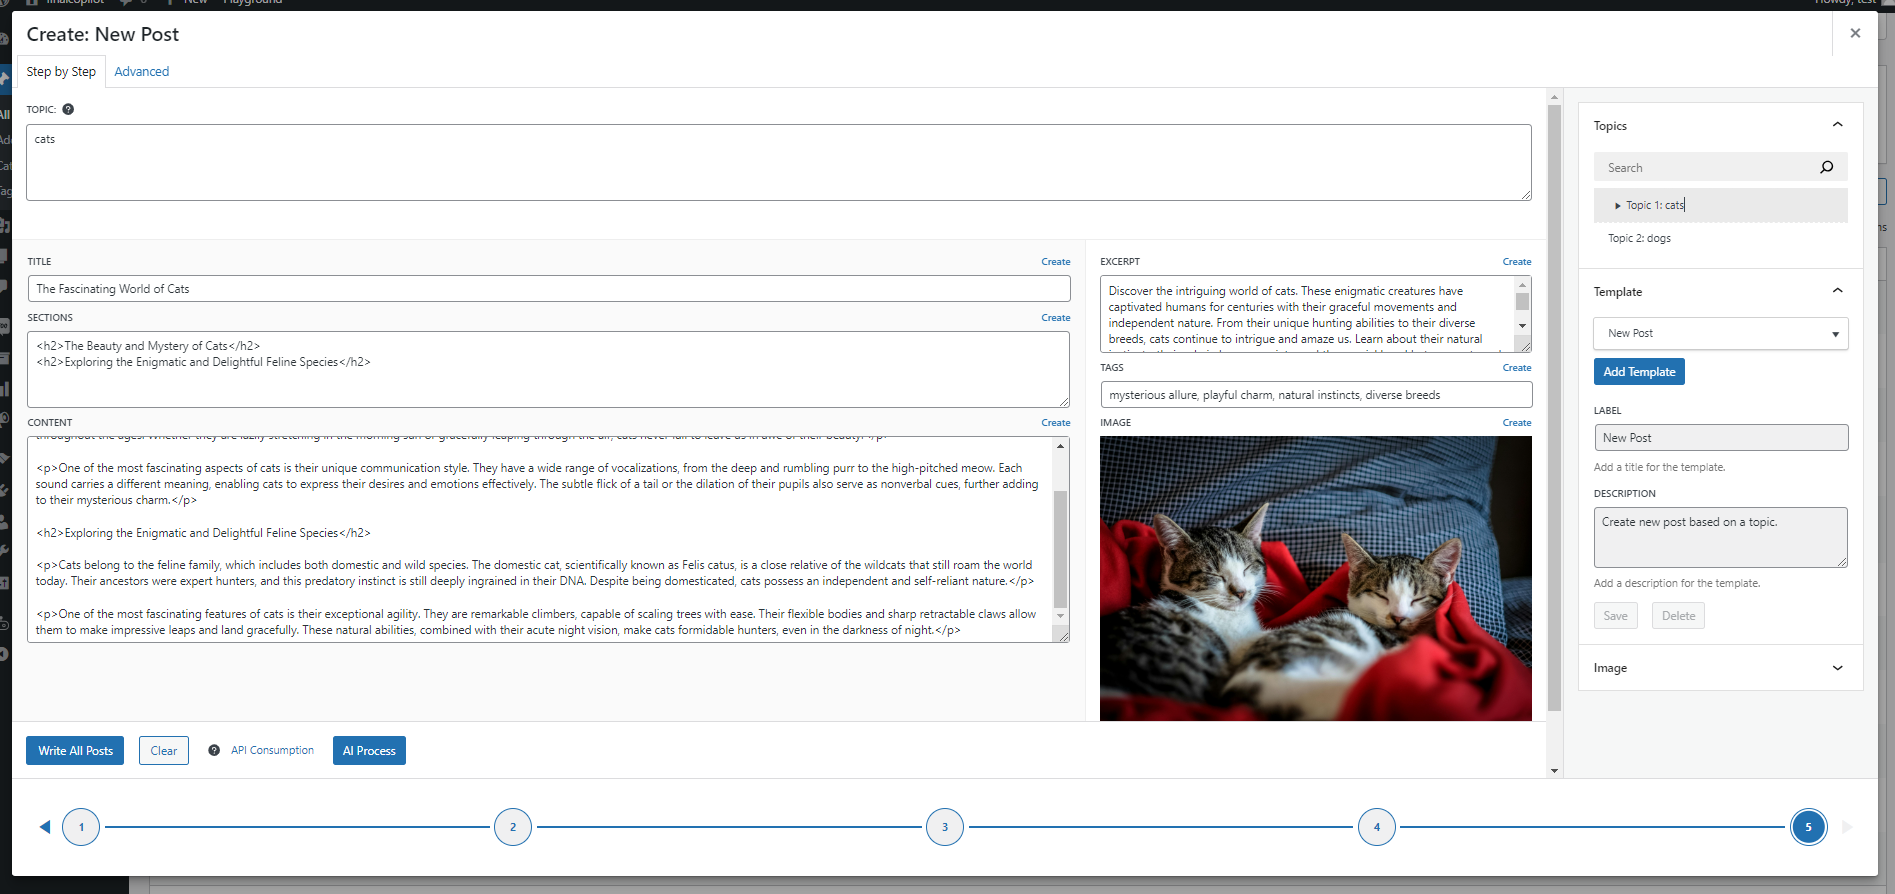
TOPIC 2

To finalize, click ‘Write All Posts’ to create individual posts for each selected topic.
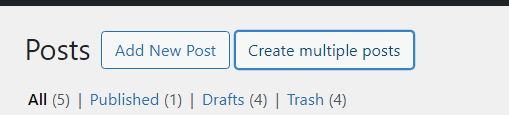
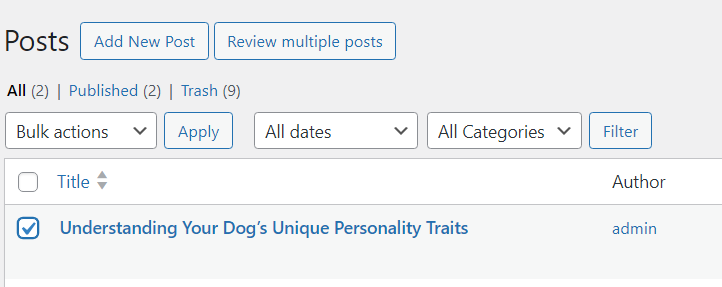
We can now view our newly created posts displayed in the posts page table.

8.4 Review posts.
If you want to make changes or updates to your posts, simply select the ones you need to edit. This will automatically switch the "Create multiple posts" button to "Review multiple posts," making it easy to manage your content.
Just like the “Create multiple posts” button, clicking on “Review multiple posts” will open the modal in review mode.
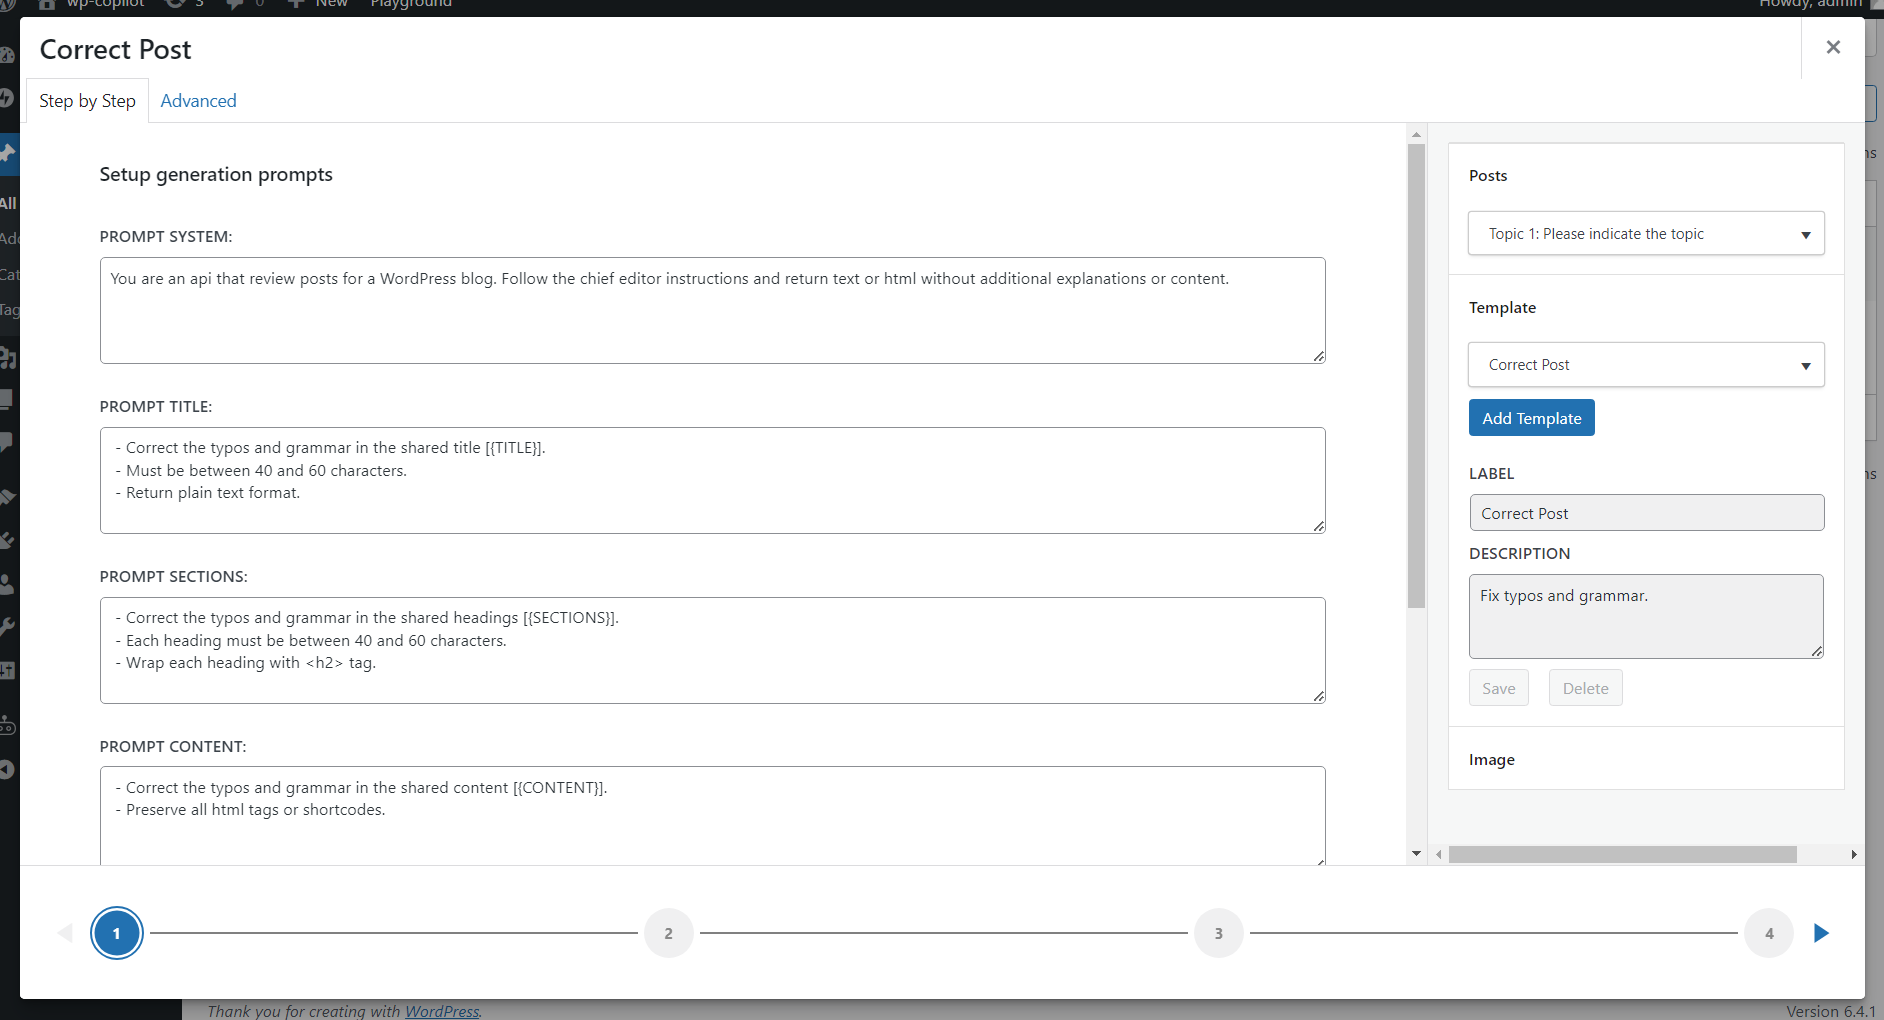
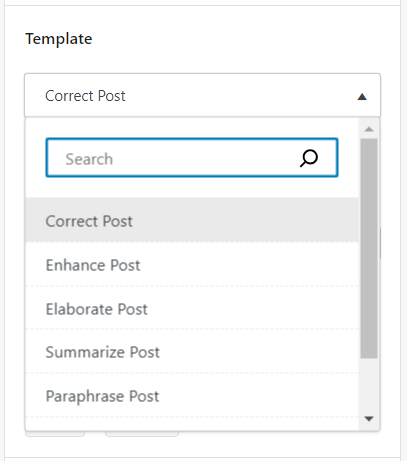
To modify the post, in the sidebar, you can choose a specific template. For instance, if you’re looking to enhance your posts, simply select the “Enhance Post” template.
Below, you’ll find an image showcasing a variety of options available for selection.
Similarly to create a post In the final step, the response section, simply click the ‘AI Process’ button to initiate content generation and then the “Write All Posts” button.
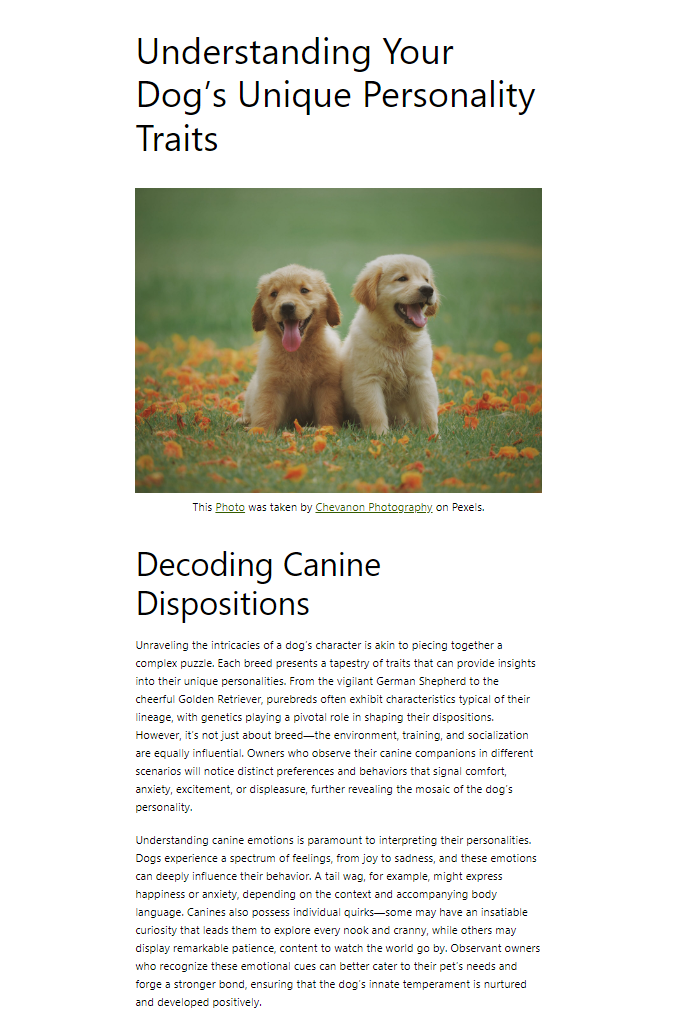
And that’s it! Below, you can view your post as it appears once published: