5. Content
The content generation module allows the user to choose different options for creating content for posts or reviewing already created posts.
Templates comprise predefined configurations for content generation, which users can customize to their preference. Each template is distinguished by two primary attributes:
- Type:
- Generation: Tailored for crafting new posts.
- Revision: Intended for revising or updating established posts.
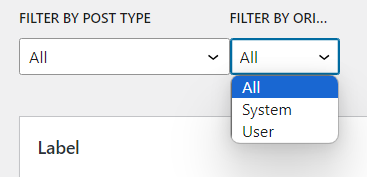
- Origin:
- System: System-based templates are immutable and cannot be removed. However, users can create a duplicate.
- User: User-originated templates offer flexibility; they can be modified, deleted, or duplicated as needed.
Within the post type editor, whether you’re using the Modern or Classic version, you’ll notice an additional panel named “Ai Copilot”.
Depending on whether you’re crafting a new post or editing an existing one, you’ll find either a “Generate Panel” or “Review Panel” button. Clicking this initiates a modal loaded with a comprehensive range of configurations, leveraging AI to facilitate the creation of tailored content.
5.1 Content tab
The templates used for creating and reviewing content have built-in features that allow you to add new ones, view them, make changes, and remove any you no longer need.
Here, you can manage templates for content generation: you can view, filter, create, modify, delete, or even duplicate them.

Below, we provide a detailed explanation for each section of this tab:
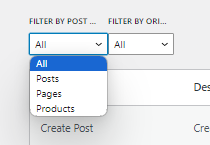
5.1.1 Content filters
You can filter templates based on their POST TYPE and ORIGIN:
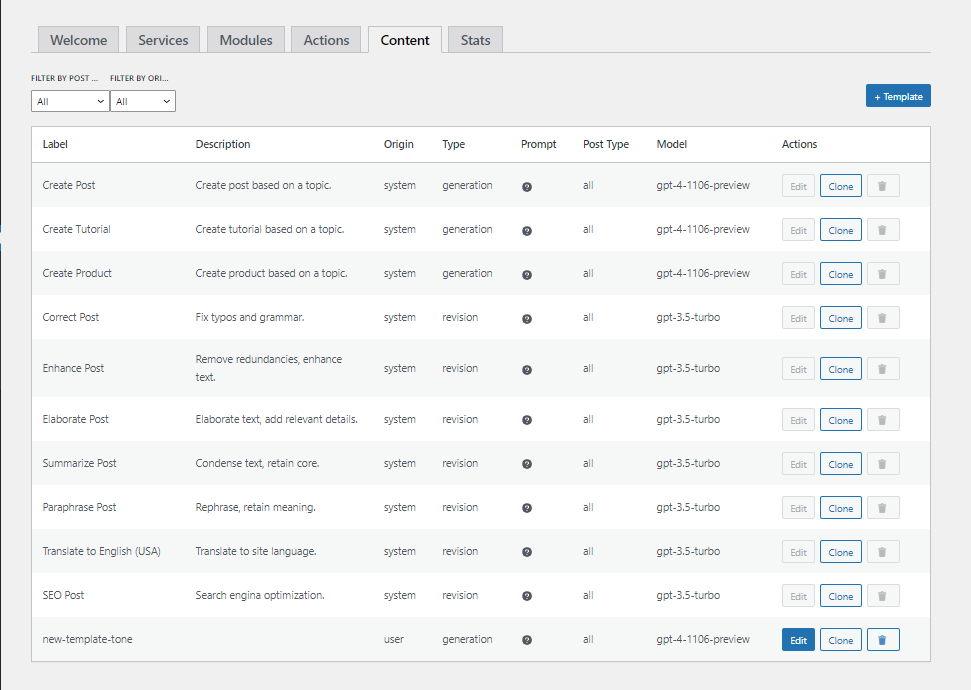
5.1.2 Content table
This table offers several actions:
- Edit: Opens a modal showcasing a range of settings to customize the template.
- Clone: Creates a duplicate of the template.
- Delete: Removes the template.
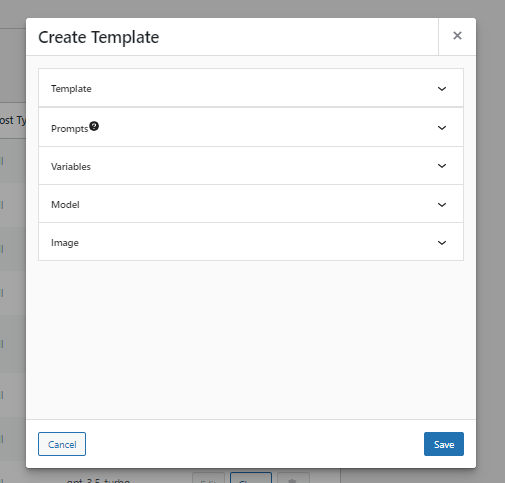
5.1.3 Creating a template
To create a template, click on the "+ template" button. This tutorial also covers how to edit a template using the "edit" button.
Within the modal window, you’ll find various customization options, grouped for your convenience. We’ll go over each of these options in the following sections.
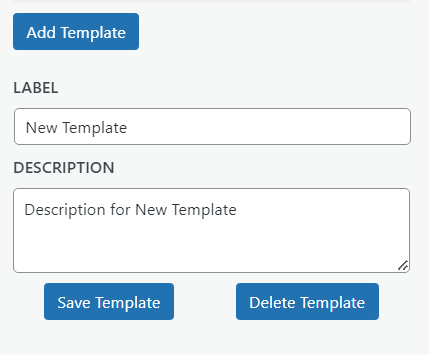
Template
This group focuses on the essential attributes of your template.
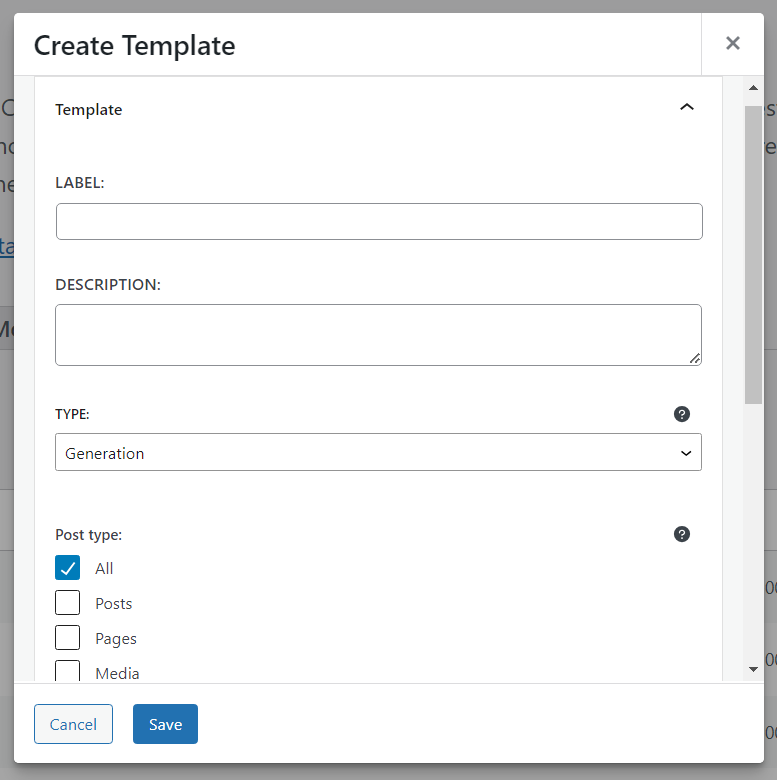
- Label: Here, you can give your template a name or label for easy identification.
- Description: A dedicated space for you to jot down a brief description or any relevant notes about the template.
- Type Select: This dropdown determines the primary function of your template.
- Generation: This indicates that the template is designed to assist in creating new posts.
- Revision: Picking this option denotes that the template is geared towards editing or updating existing posts.
- Post Type: This dropdown allows you to specify which category of content the template is meant for.
- ALL: An all-encompassing option, suggesting the template can be used across any content category.
- Specific Options: Tailor your template for certain types of content by choosing among options like “Post,” “Images,” “Pages,” “Media,” and others.
- For a more practical example: in platforms like WooCommerce’s product designer, only templates set with the “product” post type will be displayed. This ensures that the template fits the content it’s intended for.
Prompt
In this group, you define the specific requests or “prompts” that guide the AI’s behavior.
Throughout these instructions, there are variables enclosed in curly braces, such as “{TOPIC}”, “{LANGUAGE}”, “{WRITING_STYLE}”, etc. These are placeholders meant to be replaced by the corresponding field content.
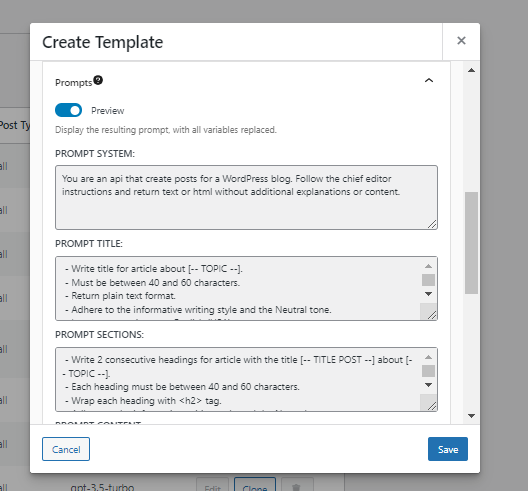
- Prompt Title: The API is designed to craft titles for WordPress blog posts. Users provide input such as the desired topic, language, writing style, and tone. Titles are constrained to a length of 40 to 60 characters and must remain free of quotation marks.
- Prompt Sections: This prompt directs the API to formulate headings for an article. It outlines the required number of headings, contextualizes them with the title, and specifies the desired language, style, tone, and format. Headings are expected to fall between 40 and 60 characters and be structured using the
<h2>HTML tag. - Prompt Content: Here, the API receives guidance on constructing content tailored to a specific title and topic. The content’s organization should align with the provided headings.
- Prompt Excerpt: The API is tasked with generating a concise excerpt for the article, rooted in the supplied title and content. This excerpt should adhere to designated style and tone, remain within 40 to 60 characters, and refrain from using quotation marks.
- Prompt Tags: This instruction revolves around tag creation for the article. Tags, which provide a quick summary or categorization of content, should be separated by commas and be pertinent to the article’s title and content. Notably, these tags should exclude any hash symbols.
Variables
Offers a set of adjustable parameters designed to shape the content generation process according to specific requirements.
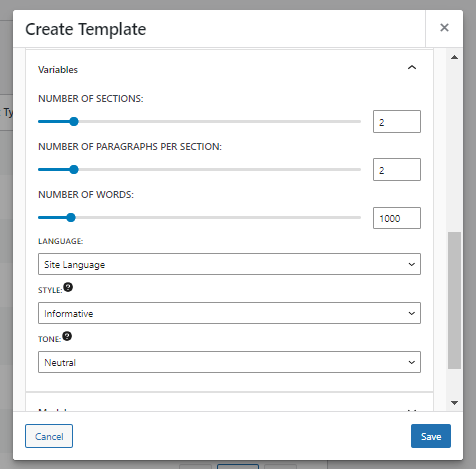
- Number of Sections: This parameter allows users to define how many distinct sections the generated content should have. By default it’s set to “2”, indicating that the content should be divided into two main sections.
- Number of Paragraphs per Section: This control determines the number of paragraphs in each section. With it currently set to “2”, it implies that each of the sections should contain two paragraphs.
- Number of Words: Here, users can specify the desired word count for the entire content. By default the word count is set to “1000”, meaning the generated content should be approximately 1000 words long.
- Language: This dropdown lets users select the language in which the content should be generated. The default setting is now ‘Site Language’, which reflects the primary language of the website,
- Style: This option defines the overall approach and texture of the content, some options are:
- Informative: Content that presents facts clearly and straightforwardly.
- Descriptive: Content that paints a vivid picture and provides detailed information.
- Creative: Content that showcases originality and imaginative flair.
- Narrative: Content that tells a story or describes a sequence of events. … and other styles. The “Informative” style is currently selected.
- Tone: This parameter allows users to set the mood or attitude of the content. Available options include:
- Neutral: Unbiased and objective tone.
- Formal: Professional and respectful tone.
- Assertive: Confident and direct tone.
- Cheerful: Positive and uplifting tone.
- Humorous: Playful and light-hearted tone. … among others. The current selection is “Neutral”.
Model
This section provides controls and settings related to the AI model and how it generates content.
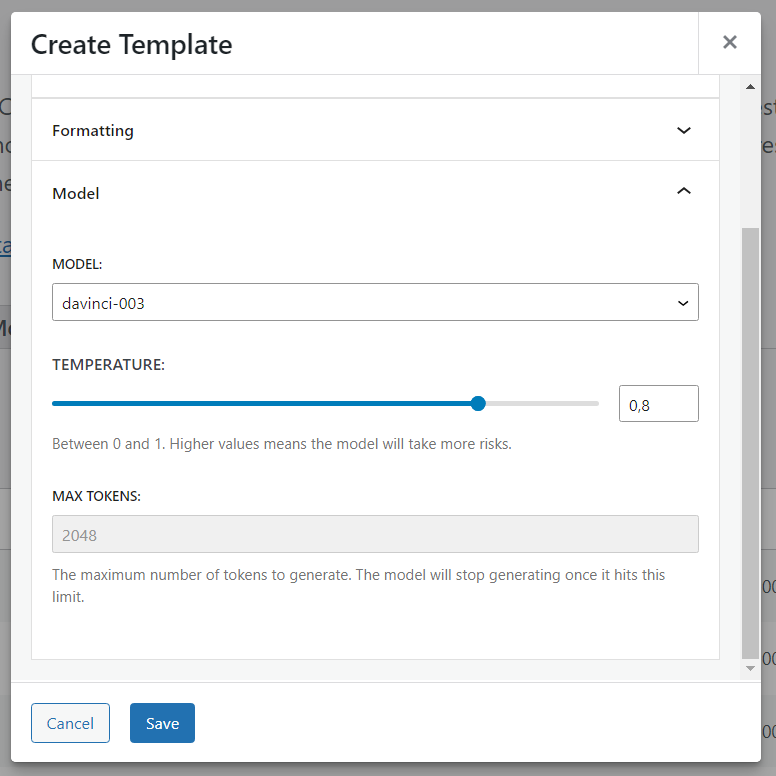
- Model: This dropdown allows users to select which version or type of AI model they’d like to use. In the image, “davinci-003” is selected.
- Temperature: The temperature parameter affects the randomness of the AI’s output.
- The slider range is between 0 and 1.
- At lower values, the model’s output is more deterministic and focused.
- At higher values, like the displayed “0.8”, the model becomes more experimental and might take more risks in its responses. This can lead to more diverse but potentially less predictable outputs.
- Max Tokens: This setting determines the maximum length of the generated content.
- A token can be as short as one character or as long as one word.
- In the image, the value is “2048”, meaning the generated content will not exceed 2048 tokens. Once this limit is reached, the model will stop generating further content.
Image
This section provides controls and settings related to image generation.
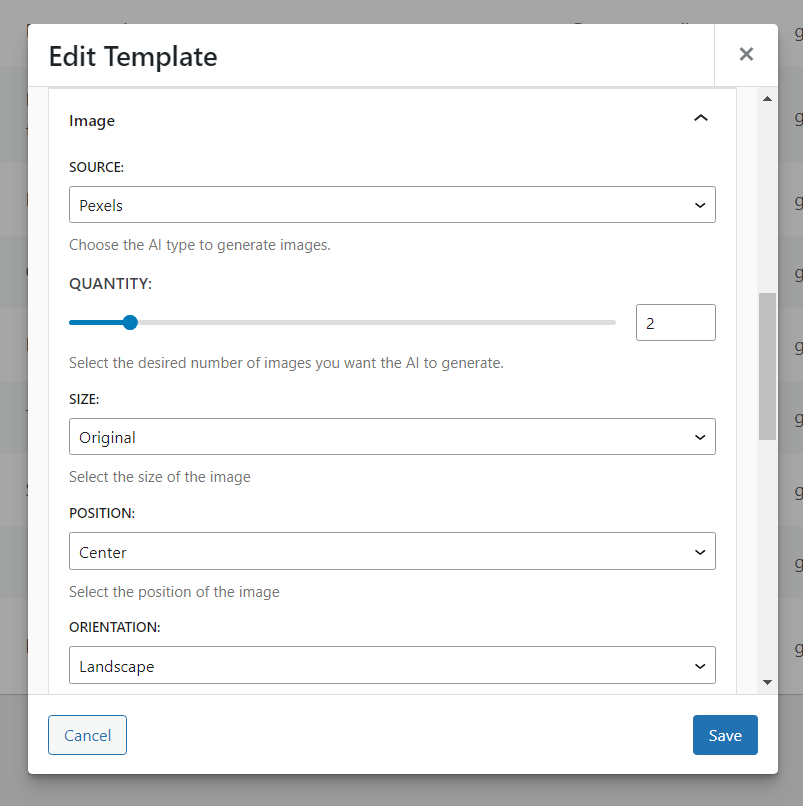
- Source: This dropdown allows users to select the services for the image generation. by default is Pexels.
- Pexels: is a provider of stock photography and stock footage. This means the image generated match with the text you’ve provided
- Dall-E: is AI model from OpenAI specialized in Image creation. AI can create images using the text you’ve provided.
- Quantity: How many images will be generated.
- Size: Size of the image.
- Position: Position of the image.
- Orientation: The image generated type can be landscape, portrait or square.
- Quaility: Quality of the image.
- Locale: The locale of the search you are performing.
- Color: The primary color of the image, allowing you to ensure that the chosen color will be the dominant hue in the image.
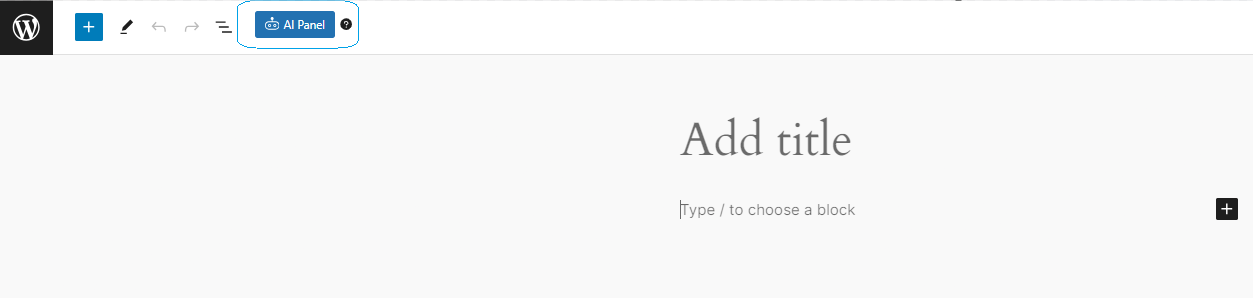
5.2 Using Ai Copilot in the editor
Within the editing environment for post types—whether a post, page, order, or other content—you'll notice an enhanced feature: the Ai Copilot panel. This specialized panel integrates advanced AI capabilities to assist in refining and enhancing your content. The Ai Copilot offers a sophisticated toolset designed to elevate the quality and coherence of your written material, ensuring it meets the highest standards of content creation.
To getting started with copilot, navigate to the “AI PANEL” button located in the header navbar. Alternatively, you can access it via the “Ai Copilot” section within the inspector on the right-hand panel.
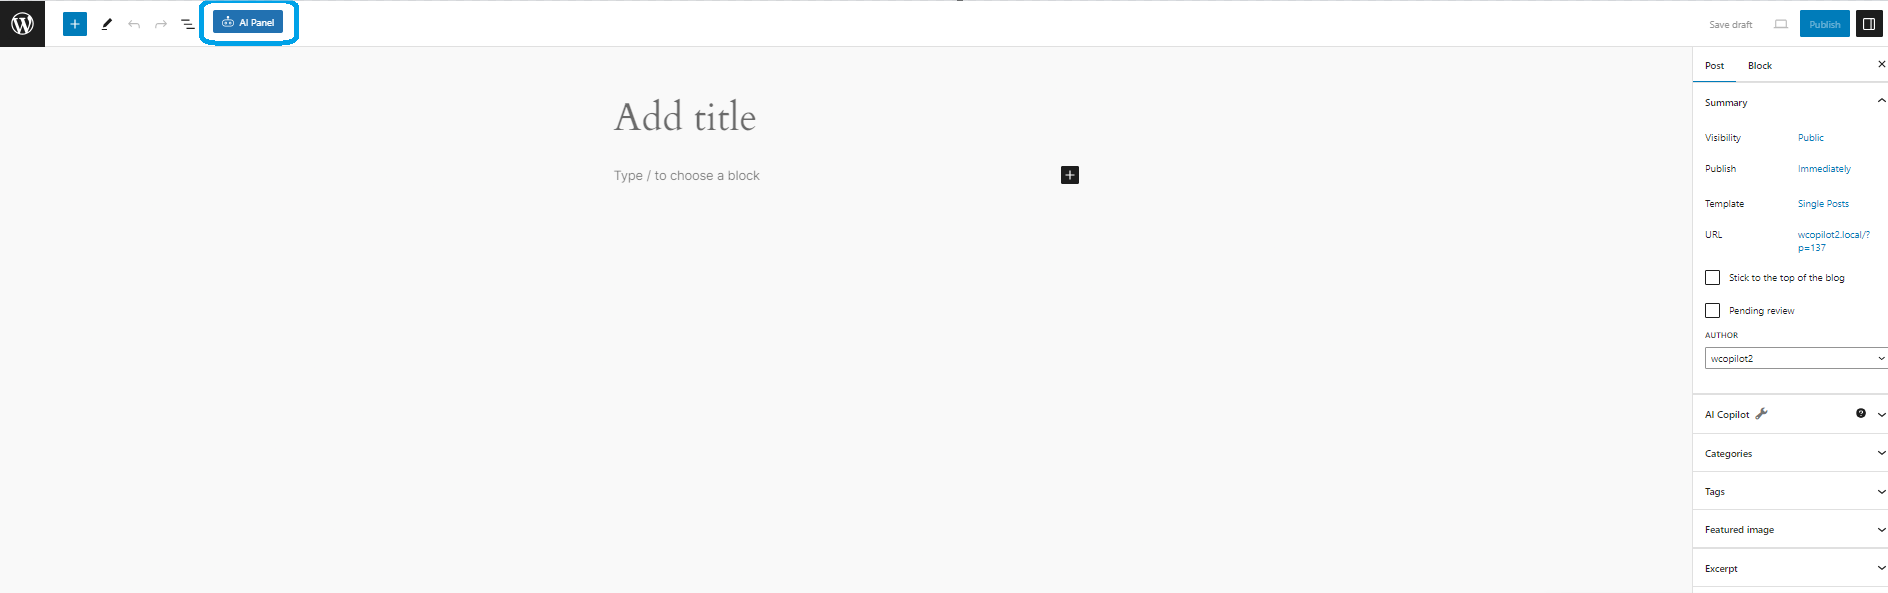
Upon opening the modal, you’ll find a neatly organized interface ready to assist you in your content creation.
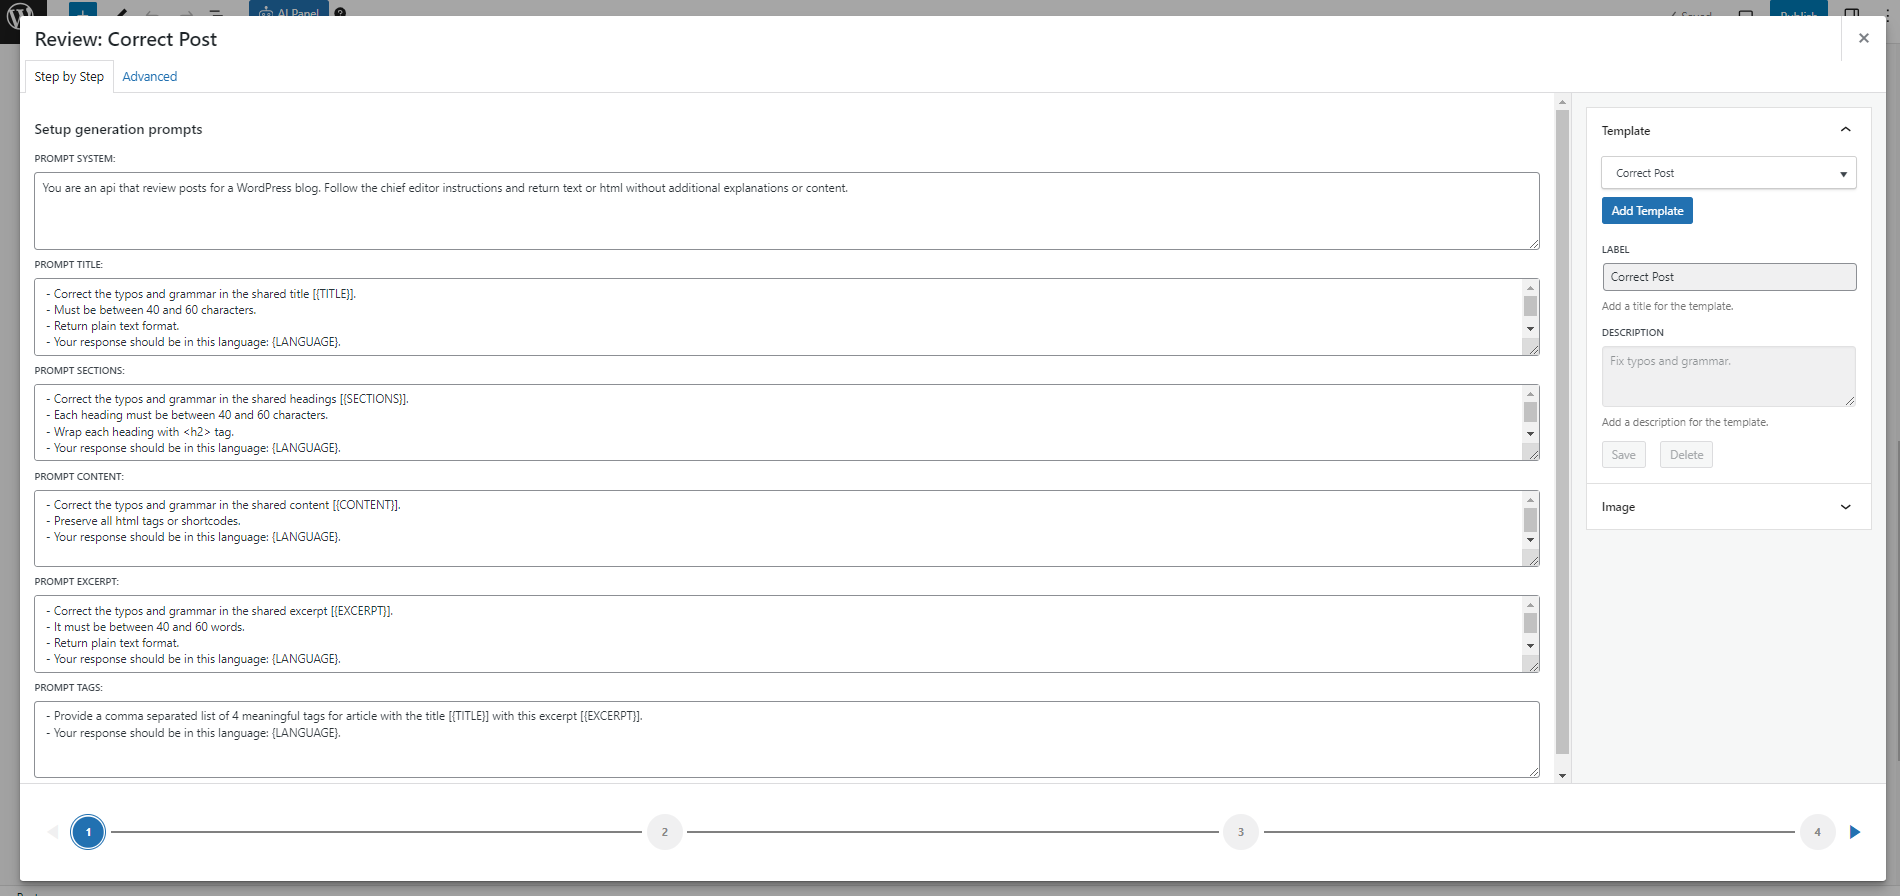
5.2.1. STEP 1: Setup generation prompts
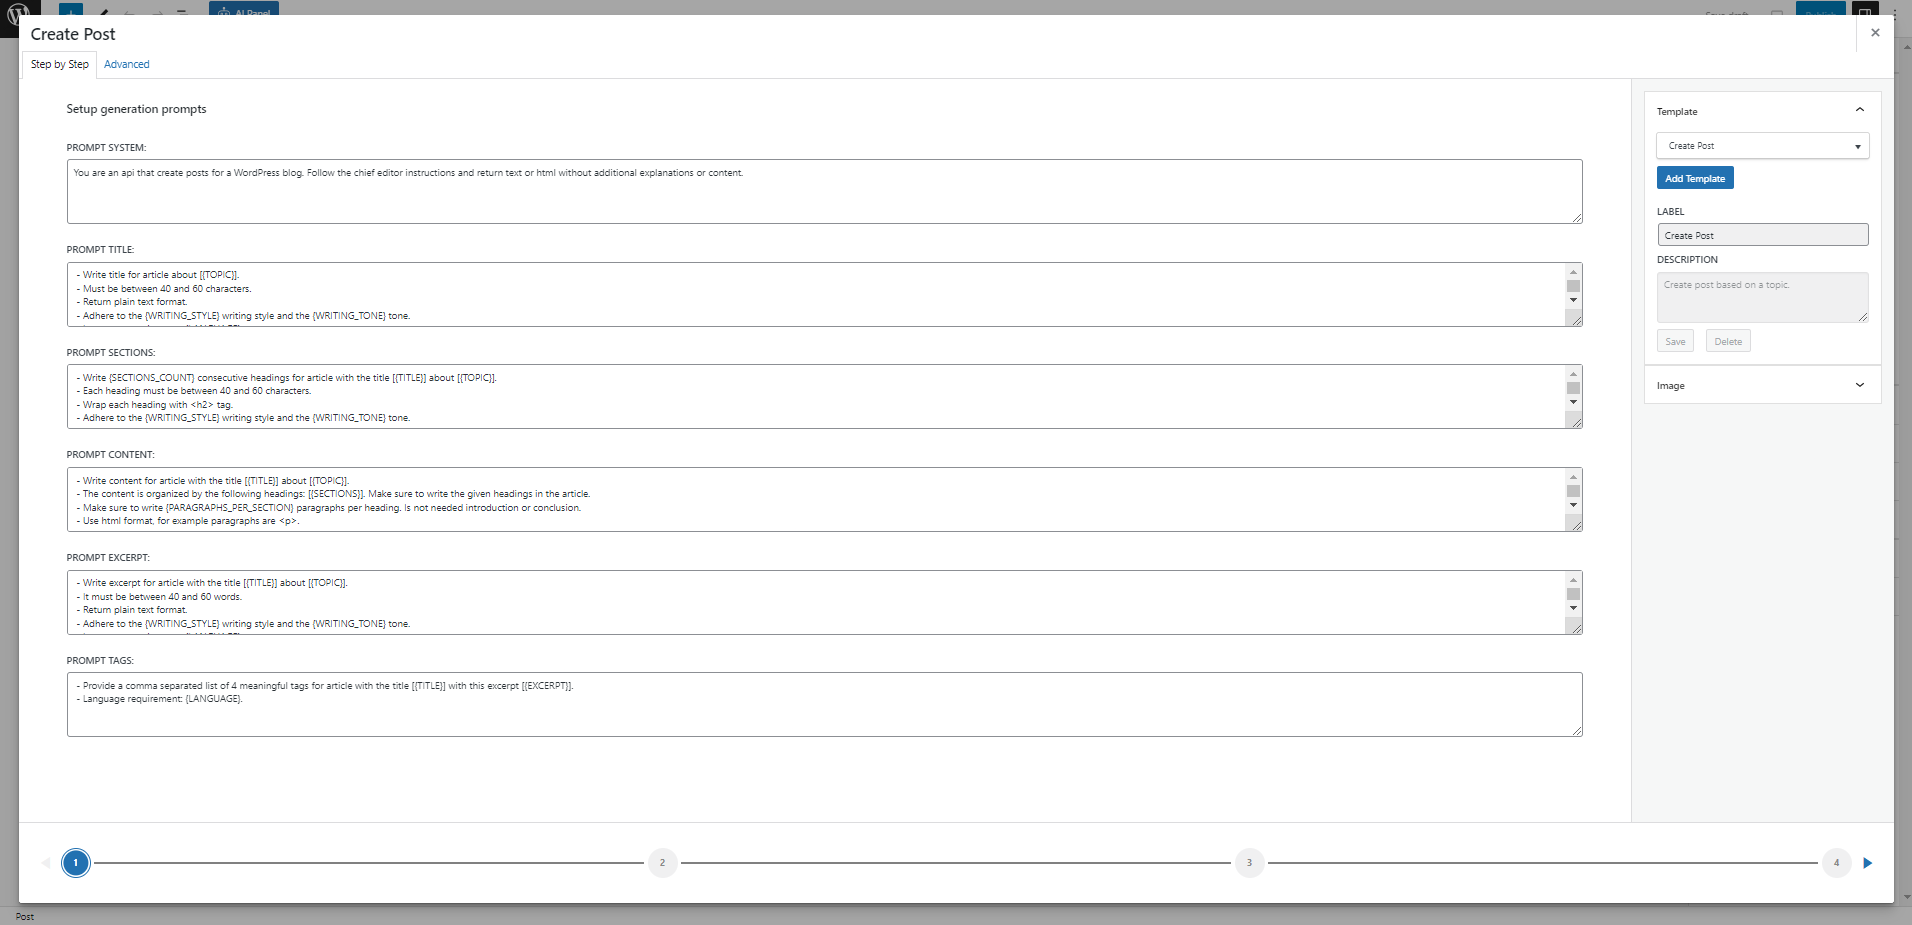
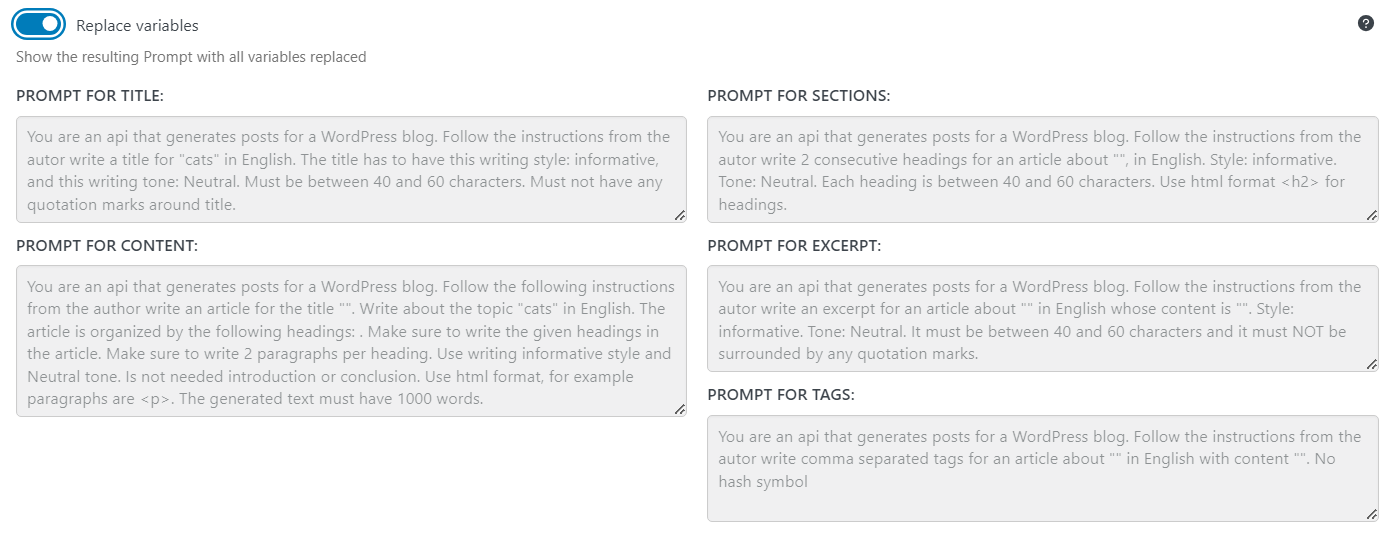
- Prompts Overview:
- Prompt for Title: Guidelines for crafting a post title, indicating topic, style, and tone.
- Prompt for Sections: Directions for creating section headings.
- Prompt for Content: Framework for main content creation, with emphasis on organization and style.
- Prompt for Excerpt: Instructions for producing a succinct excerpt.
- Prompt for Tags: Guidance for tagging the article.
- Template Management Panel: At the top, there’s an “Add Template” button, letting you create new content templates with ease.
Looking for existing templates? Simply utilize the integrated search function, which allows for swift access to previously created templates from the Ai Copilot menu in WordPress.
Before moving on to the final step, you can preview the prompts with your chosen topics included. Simply use the “Replace variables” toggle to see the integration in action.
In this example. we can view the topic “cats” integrated in each prompt.
5.2.2 STEP 2: Setup prompt variables
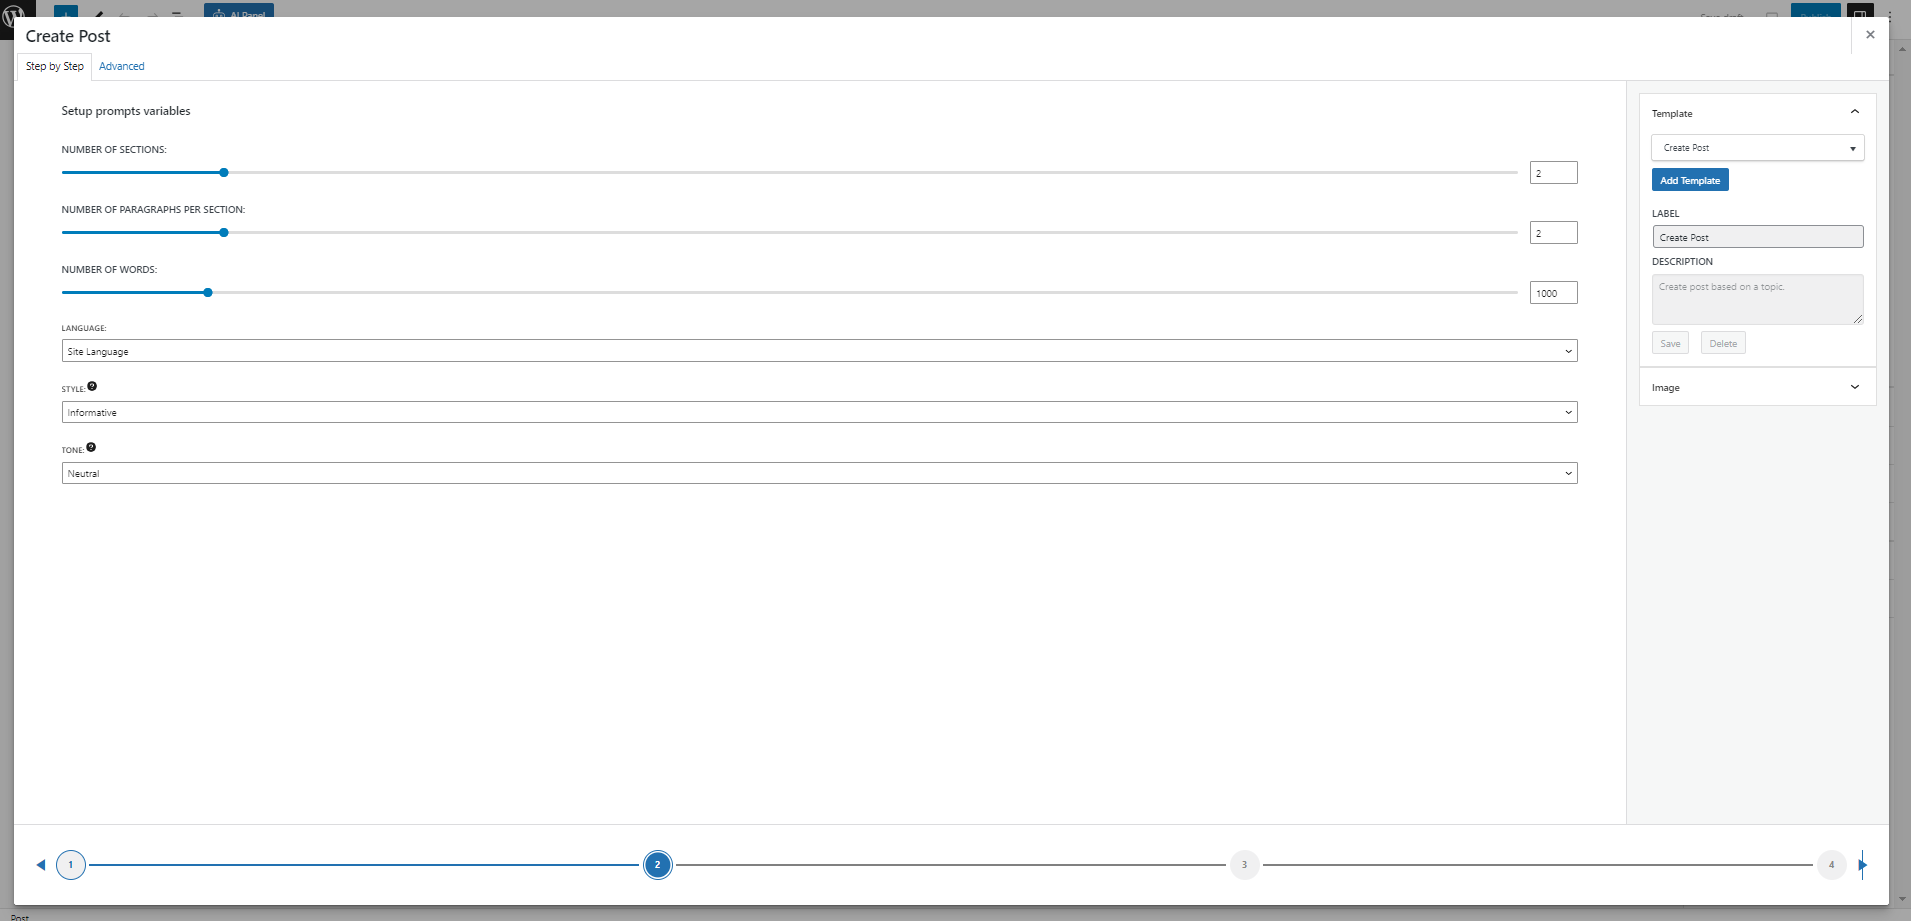
- Navigation Tabs: At the top, two tabs – “Step by step” and “Advanced”
- Content Settings:
- Number of Words: A slider to set your content’s word count, with the default set to 1000 words.
- Language: A dropdown, currently set to “English”, to select the desired language for the content.
- Structure & Style:
- Number of Sections and Number of Paragraphs per Section: Sliders that help in structuring your content, currently set to “2” for both.
- Style and Tone: Dropdowns to refine your content’s presentation, set to “Informative” and “Neutral” respectively.
- Sidebar menu configuration (same configurations as above)
- Template
- Image
5.2.3 STEP 3: Preview generation prompts
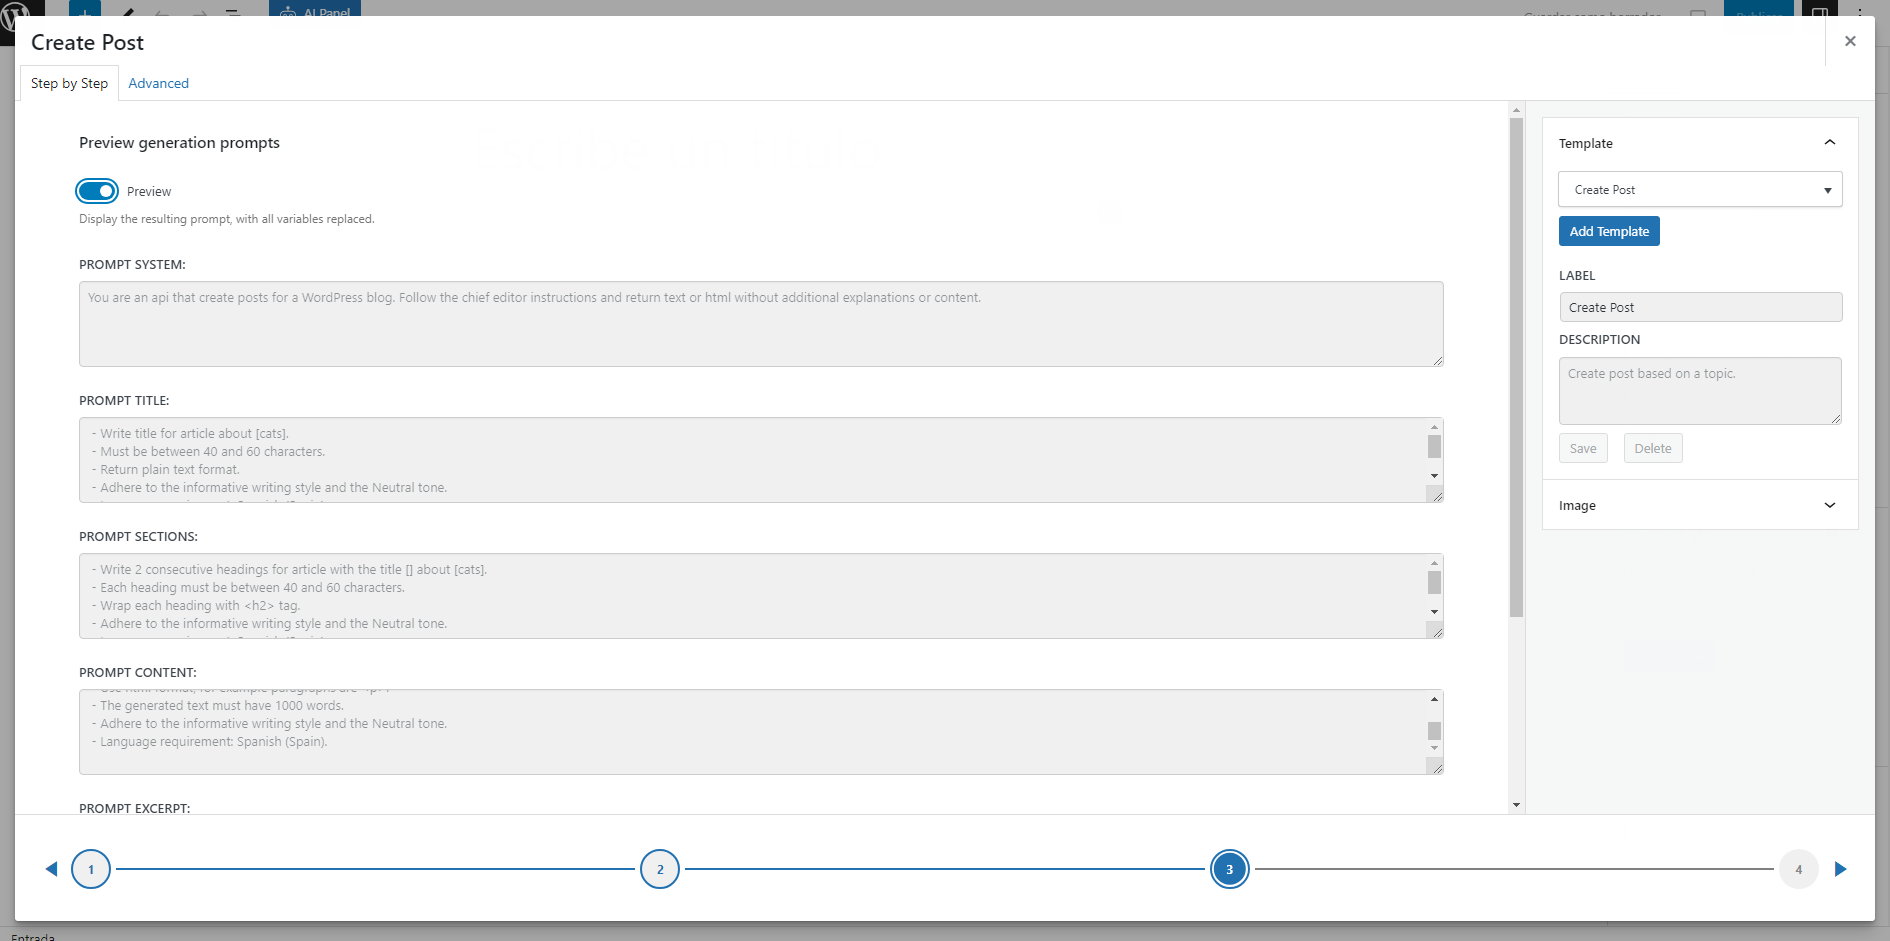
Before moving on to the final step, you can preview the prompts with your chosen topics included.
If we need to add some changes to the prompts we can do it switching the toggle Preview.
5.2.3 STEP 4: Response
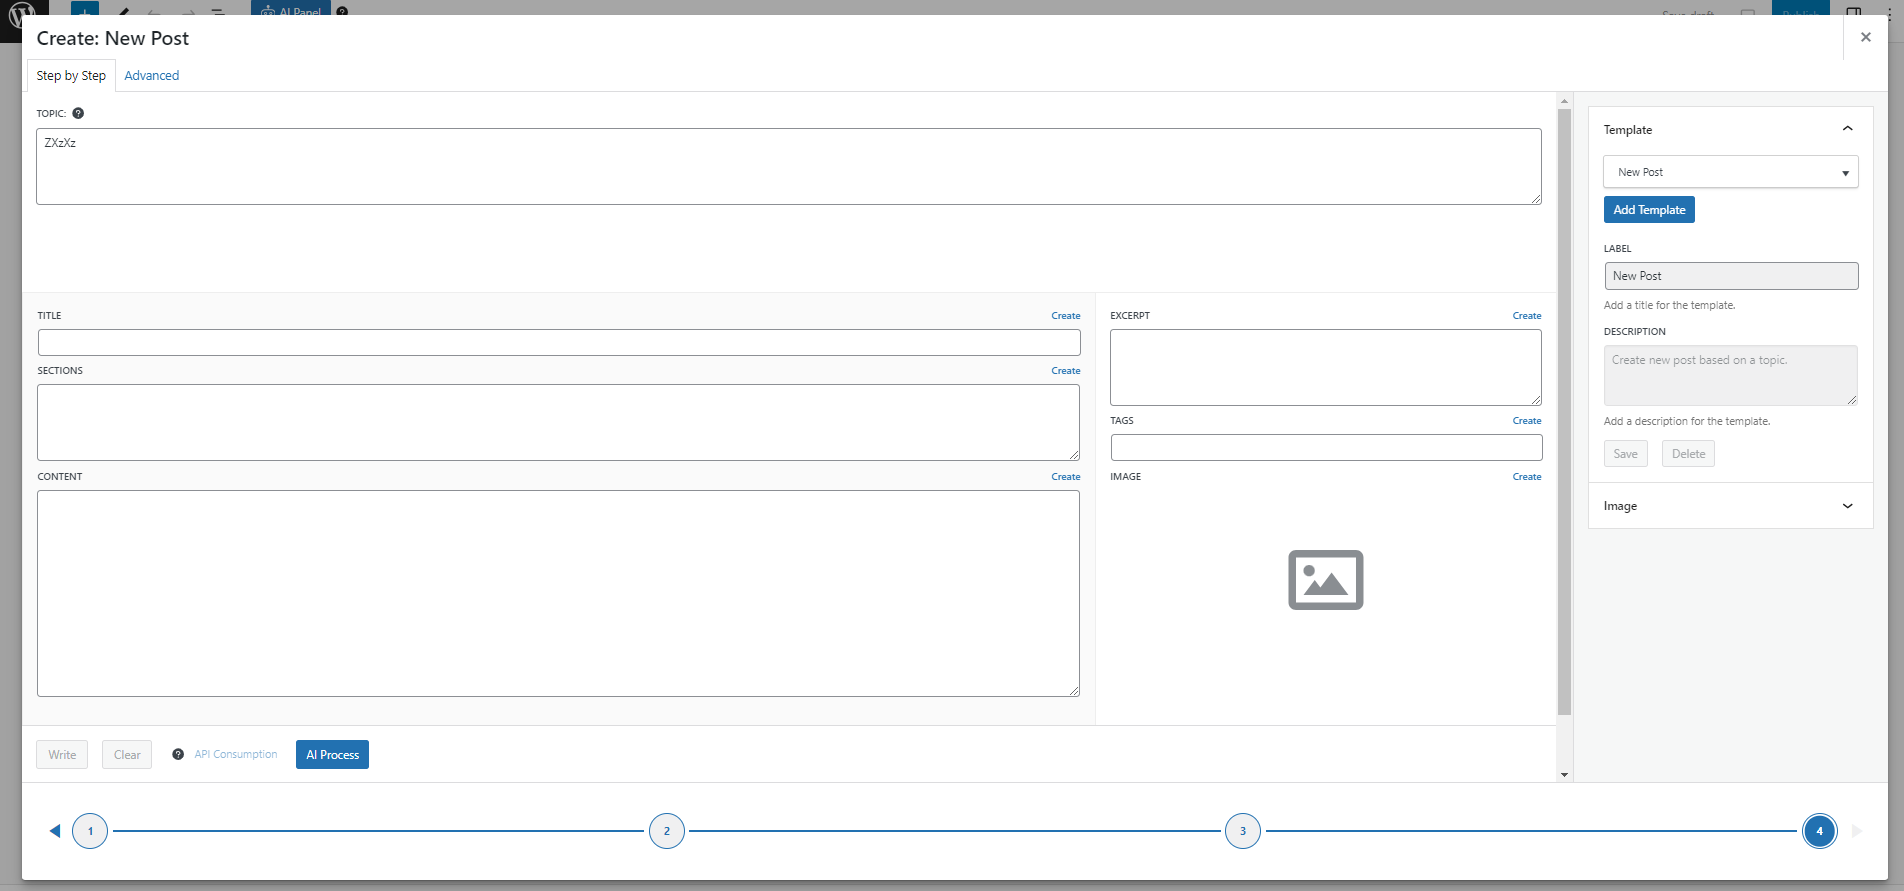
This is the main section where our content will be generated. Under “TITLE”, a specific title related to the topic is provided. The “SECTIONS” area lists two headers, mirroring those found in the main content area. “EXCERPT” provides a short summary of the content’s essence, while “TAGS” lists relevant keywords. Lastly, “IMAGE” generate an image based of the prompt
Each section in the sidebar has a “Create” button, this, integrate the AI-generated content directly into your post editor, this is useful if you only want to “Create” an specific content.
Below the content area, there are action buttons labeled “Write”, “Clear”, “API consumption”, and “AI Process”, providing functionality options for the user.
- Write: Utilize this function to integrate the AI-generated content directly into your post editor.
- Clear: If you wish to start afresh or remove existing content, employ the ‘Clear’ option.
- API Consumption: For those keen on monitoring usage, this feature offers a detailed breakdown of consumed tokens, associated costs, and more.
- AI Process: The cornerstone of this tool, the ‘Generate’ function commands the AI to produce and present content based on the provided parameters.
6. Revision content
If you want to make changes or updates to your posts, simply select the ones you need to edit. This will automatically switch the “Create Post” button to “Review posts,” making it easy to manage your content.
Just like the “Create multiple posts” button, clicking on “Review multiple posts” will open the modal in review mode.
To modify the post, in the sidebar, you can choose a specific template. For instance, if you’re looking to enhance your posts, simply select the “Enhance Post” template.
Below, you’ll find an image showcasing a variety of options available for selection.
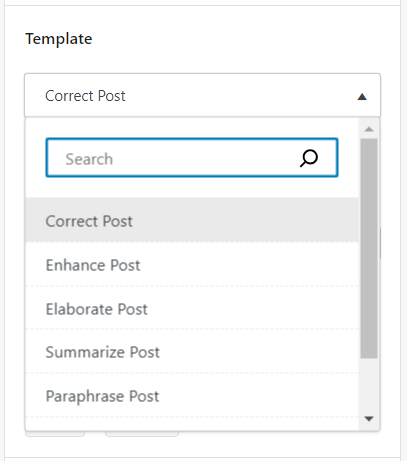
Similarly to create a post In the final step, the response section, simply click the ‘AI Process’ button to initiate content generation and then the “Write” button.
