How To Fix The htaccess File In WordPress? 3 Easy Ways!
Are you having issues with your .htaccess file? If you are facing an internal server or forbidden error, you might need to edit the .htaccess file. In most cases, these errors occur due to a corrupted .htaccess file. If that’s your case, don’t worry. In this article, we are going to show you how you can easily fix the .htaccess file in WordPress.
What’s the htaccess file?
The .htaccsess file is a configuration file used on web servers to run Apache software. In other words, it’s one of the WordPress core files and it has a certain configuration and gives instructions to the site’s server. You can customize this file and edit your website’s configuration without the need to directly edit the configuration files of the server.
Typically, the default .htaccess file in WordPress looks like this:
# BEGIN WordPress
RewriteRule ^index\.php$ – [L]
RewriteCond %{REQUEST_FILENAME} !-f
RewriteCond %{REQUEST_FILENAME} !-d
RewriteRule . /index.php [L]
# END WordPress
However, by modifying the .htaccess file, you can enable/disable features of the webserver. For example, some of the most popular .htaccess customizations are:
- Password protect the WordPress admin page
- Ban custom IP addresses
- Increase the file upload size
- Prevent image hotlinking
- Protect the wp-config.php file
- Disable directory browsing
How to find the .htaccess file
Usually, the .htaccess file is hidden so when you look for it on your WordPress installation directory, you can’t see it. But by enabling the hidden file visibility through cPanel or FileZilla, you can find it, save it, or modify it.
To find the .htaccess file, you will need to go to the WordPress installation directory. In most cases, webmasters install WordPress on the public_html directory, although some people prefer to install the CMS on a subdirectory.
First, go to the WordPress installation directory. To do this, you can choose cPanel’s file manager or FileZilla. In our case, we’ll be using the File Manager as you can see in the screenshot below.
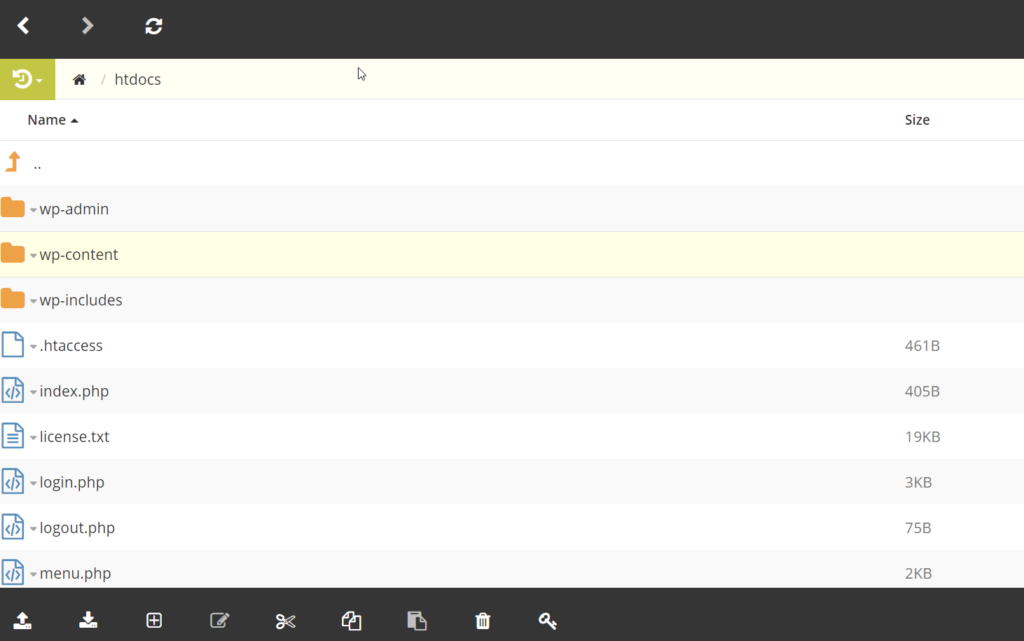
In the installation directory, you will be able to see .htaccess. If your server doesn’t show the file, you need to enable the show hidden files option. To do that:
- Go to the Files section in the File Manager
- Press the Settings button on the top-right
- Go to the Preferences tab and check the Show Hidden Files option
- Save the changes
If you are using an FTP client, you can view the hidden files by going to Server > Force showing hidden files.
How to fix the .htaccess file in WordPress
Now that you have located it, let’s see how to fix the .htaccess file in WordPress. To do this you can use:
- The File Manager
- An FTP client
Let’s see how you can do it with both methods.
1. Via File Manager
First, log in to your control panel.
Then, open the file manager and go to the directory where you have installed WordPress.
There, you will see the .htaccess file. If you can’t find it, enable the hidden files as described above.
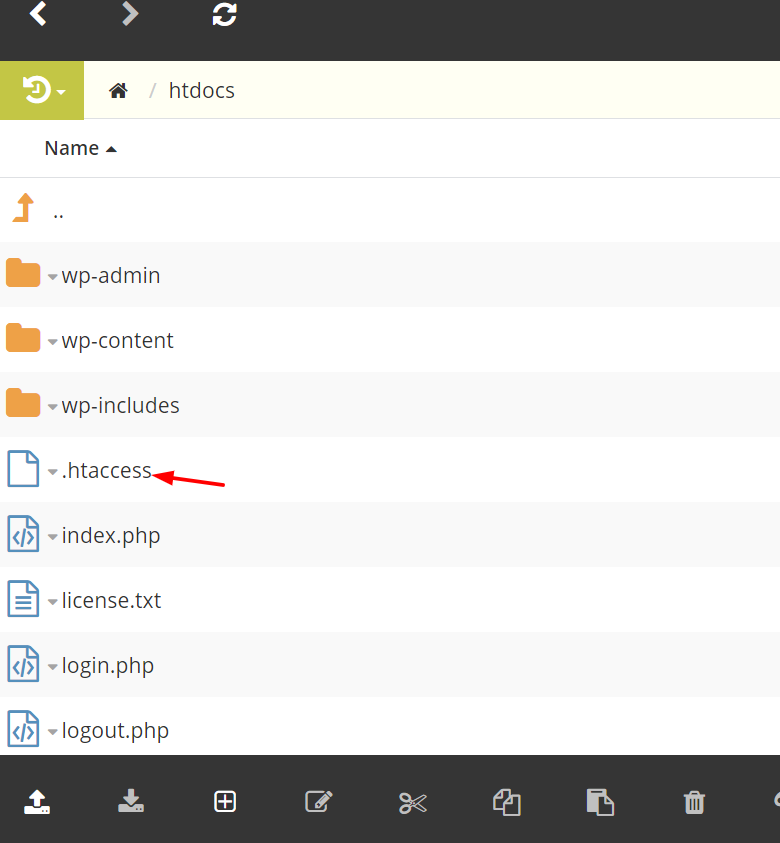
To edit the file, right-click on it and choose the edit option. Then the file will open in a web-based text editor. You can make all the customizations from there.
For example, here we’ll show you how to deny a specific IP address from accessing your website.
<Limit GET POST>
order allow,deny
deny from xxx.xxx.xx.x
allow from all
</Limit>
Simply replace the IP address with the visitor’s IP in the third line.
Finally, save the changes and it will instantly reflect on the server.
2. Through FTP Client (FileZilla)
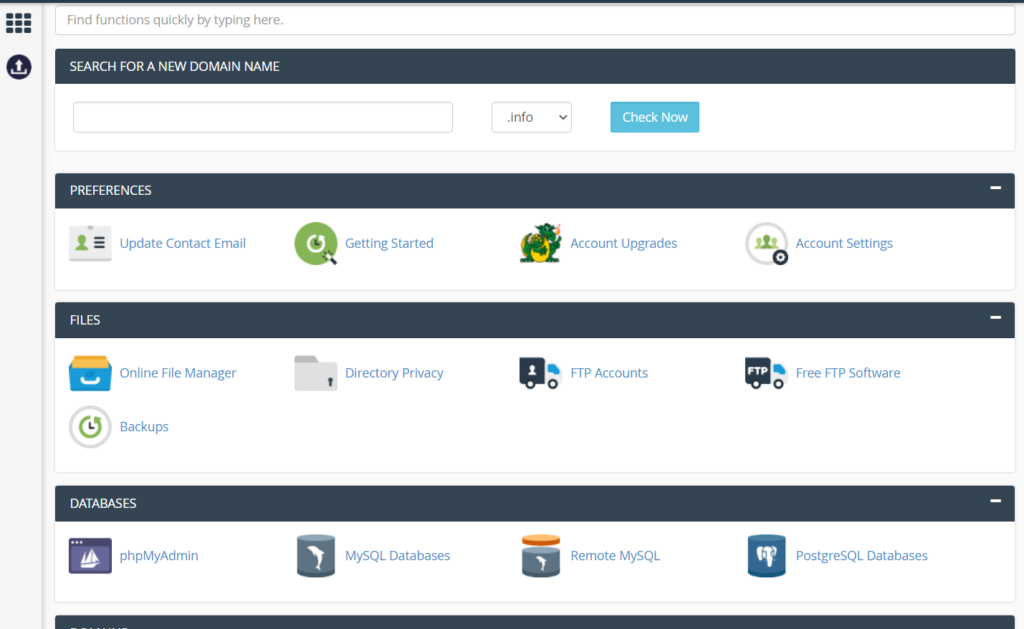
For this method, you will have to create an FTP account if you don’t have one. You can create an FTP account by logging in to your cPanel and clicking on the FTP Accounts section.
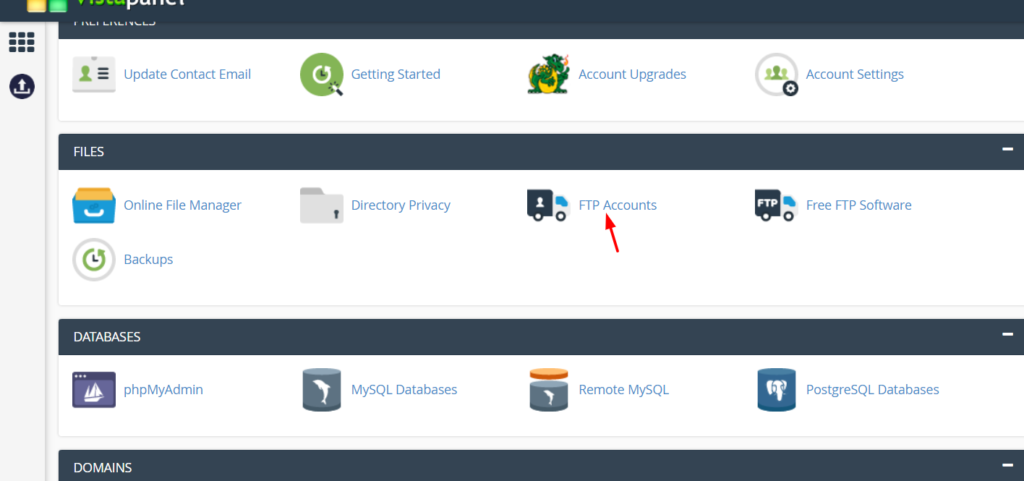
There, you will be able to see all the active FTP accounts you have on your server.

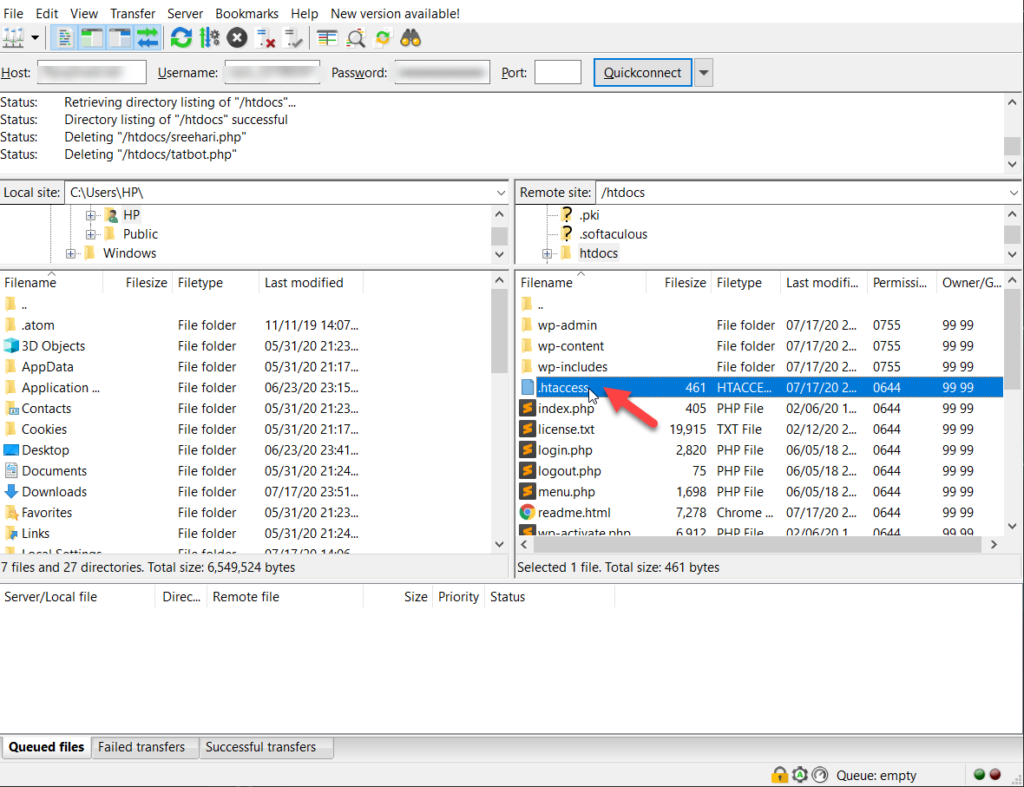
Besides, you can also create new accounts from the same wizard. Once you have created an account, you need to download the FileZilla software. After installing it, use the FTP credentials for logging in to your server. Then, go to the public_html/ htdocs directory.
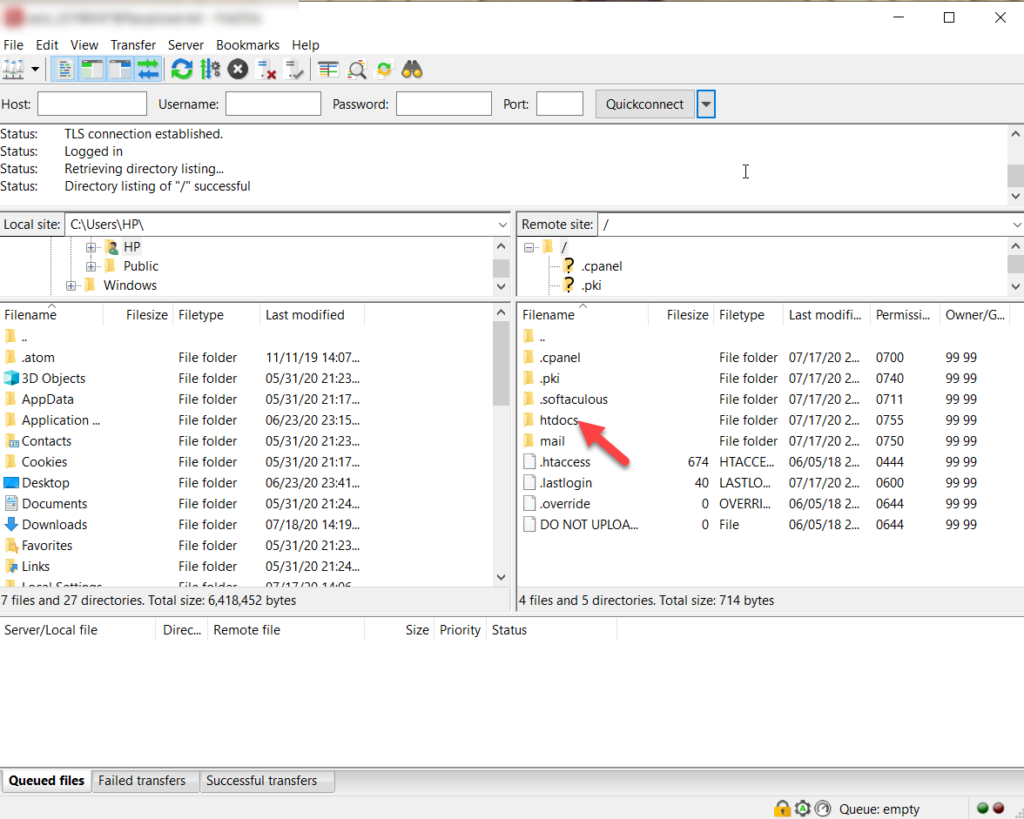
With the WordPress core files, you will be able to see the .htaccess file.
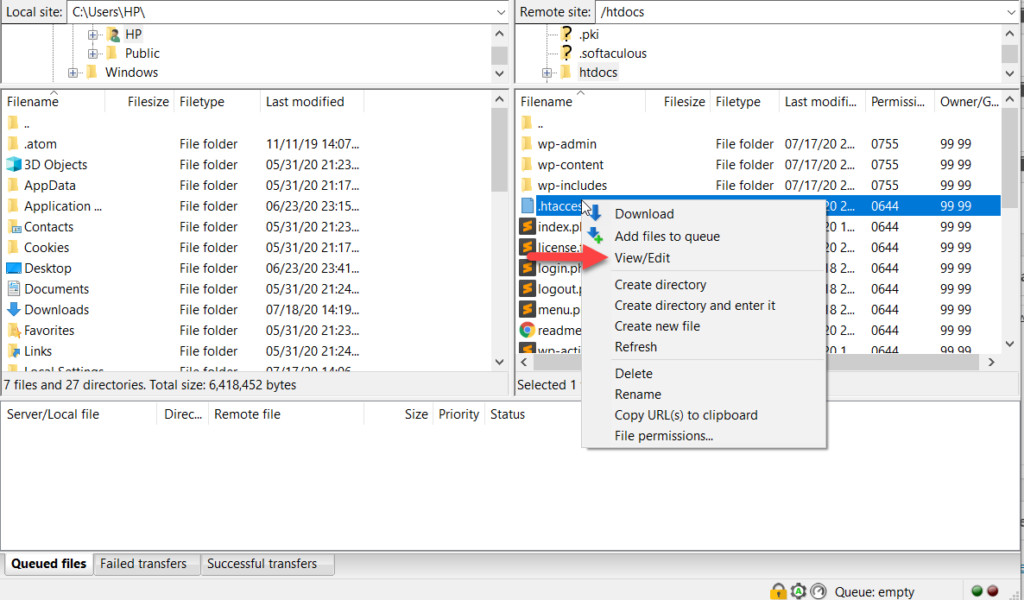
With a text editor, we will be able to see the contents of it, edit it, and upload it to the server. So, right-click on the .htaccess file and select the View/Edit option.
NOTE: We recommend you download the file to your computer for safekeeping.
Then, the file will open in a text editor.
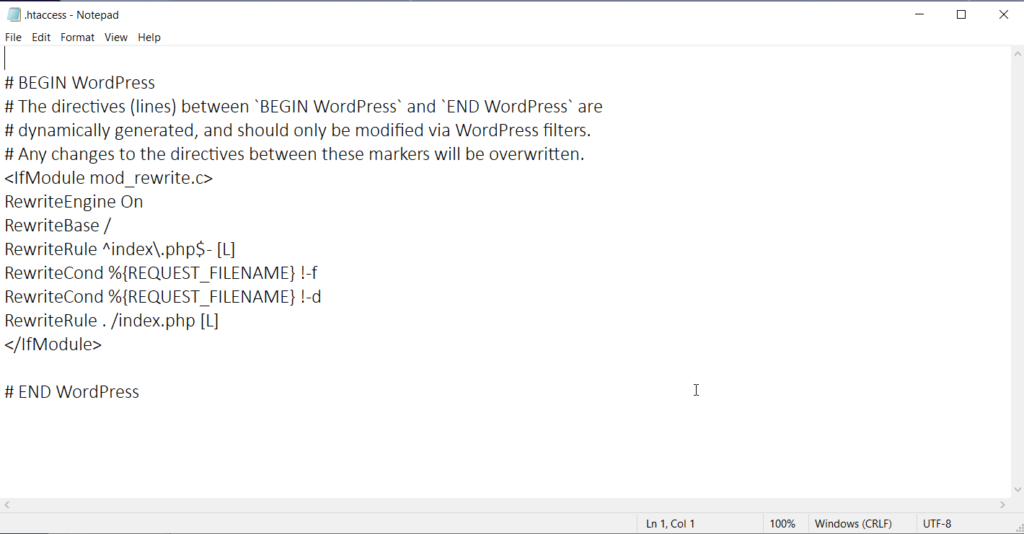
You can modify the file from there and save it to the server. For example, we are going to disable the directory browsing through .htaccess. The code to do it is the following:
Options -Indexes
After pasting the code into your .htaccess file, upload it back to the server and the changes will apply.
Bonus
If you’re using an SEO plugin like Yoast, Rank Math, or All In One SEO Pack, you might know that most of these SEO plugins come with a built-in .htaccess editor. This way, you can edit or fix the .htaccess file in WordPress.
For example, we will show you this method using the Rank Math plugin. Under the General Settings, you will see an option to edit the .htaccess file.

So when you need to modify your website’s .htaccess file, all you need to do is come to the plugin’s settings, edit the file according to your needs, and hit the Save Changes button.
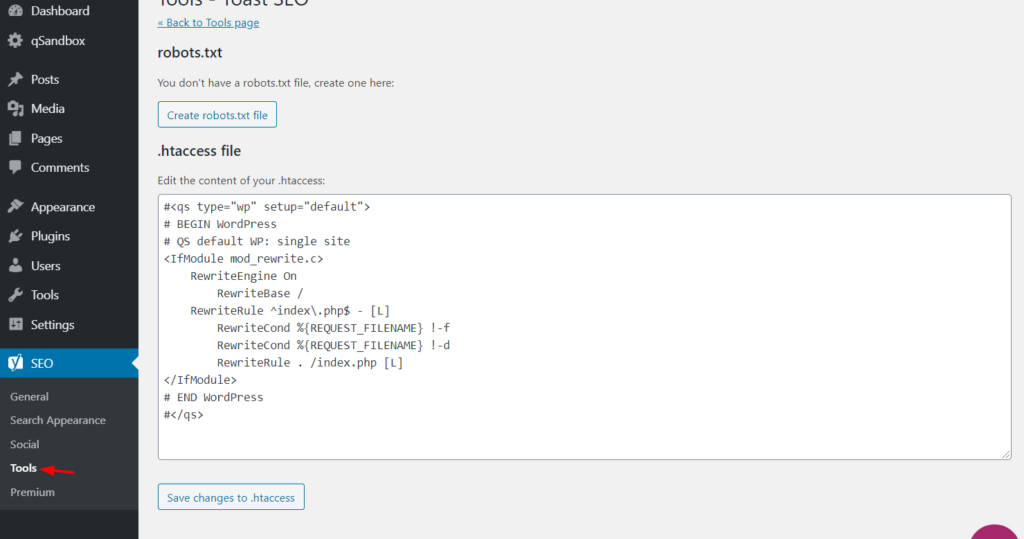
Similarly, if you are using Yoast SEO the process is very similar. Under the Tools section, you will find the .htaccess editor.
Conclusion
All in all, the htaccess file is very powerful so by editing it and fixing it, you will be able to solve some issues in WordPress and make the most of your site. Here, we’ve shown you three different methods to edit the .htaccess:
- Via the File Manager
- With an FTP client
- Through SEO plugins
All three methods are pretty straightforward. If you have access to the backend and you’re using an SEO plugin like Rank Math or Yoast, the third method may be the easiest as you can make the modifications through the plugin settings. Otherwise, you have to log in to your cPanel or use any FTP client like FileZilla.
On the other hand, if you are locked out of your admin area, the FTP method is preferred. As we mentioned earlier, it’s a good idea to download a copy of the htaccess file to your system for safety reasons. This way, if the modifications cause any issues, you will be able to delete the modified .htaccess from the server and upload the original one.
So this is how you can fix the .htaccess file in WordPress. If you are looking for more WordPress tutorials and reviews, feel free to check out our blog.
Do you know any other methods? Please share your experiences with us in the comments section below!

Thank you, but please slow down the video instructions. They change way too fast.
Thanks for the feedback. We’ll keep it in mind for future videos.