
Whether you are running a personal blog or an online shop, things can go wrong and you can lose important data. That’s why it’s always a good idea to generate website backups and store them in a safe location. And if you are not doing it, you should! In this guide, we’ll show you how to back up a WordPress site using different methods so you never lose any data!
Why Should You Backup Your WordPress Site?
Losing all your site’s data isn’t fun. Even though you may think that this hardly ever happens, unfortunately, it occurs more often than you imagine. So to avoid losing key data, you should backup your site regularly.
Performing backups can help you keep your information safe before unfortunate events:
- Hackers: Nowadays, WordPress powers 35% of the websites on the internet making it the most popular CMS platform. But popularity also attracts hackers because if they find a breach in a plugin or theme, they can use it to spread malware and access thousands of sites. Additionally, hackers can install a backdoor, or delete data.
- Human errors: Even though we’d like to think we’re perfect, the truth is that we all make mistakes. And sometimes we may delete important files, make some changes that generate errors or break certain functionalities, and so on. Even though there are usually ways to fix those mistakes, the safest way is to have a backup that you can restore.
- Compatibility issues: Every time you install a new plugin/theme, you run the risk of having compatibility issues.
If any of these or other bad things happen on the site, having a recent backup will allow you to quickly restore the previous version and get things back to normal with a few clicks.
Methods to backup a WordPress site
Here, we are going to show you some of the best methods to backup your site.
1) Manual (via cPanel)
Most people use shared hosting for their sites and have access to the cPanel. So if you don’t want to use any plugin or additional backup service, this manual method is your best option.
A) To back up your website using the cPanel backup feature, first, log in to your cPanel.
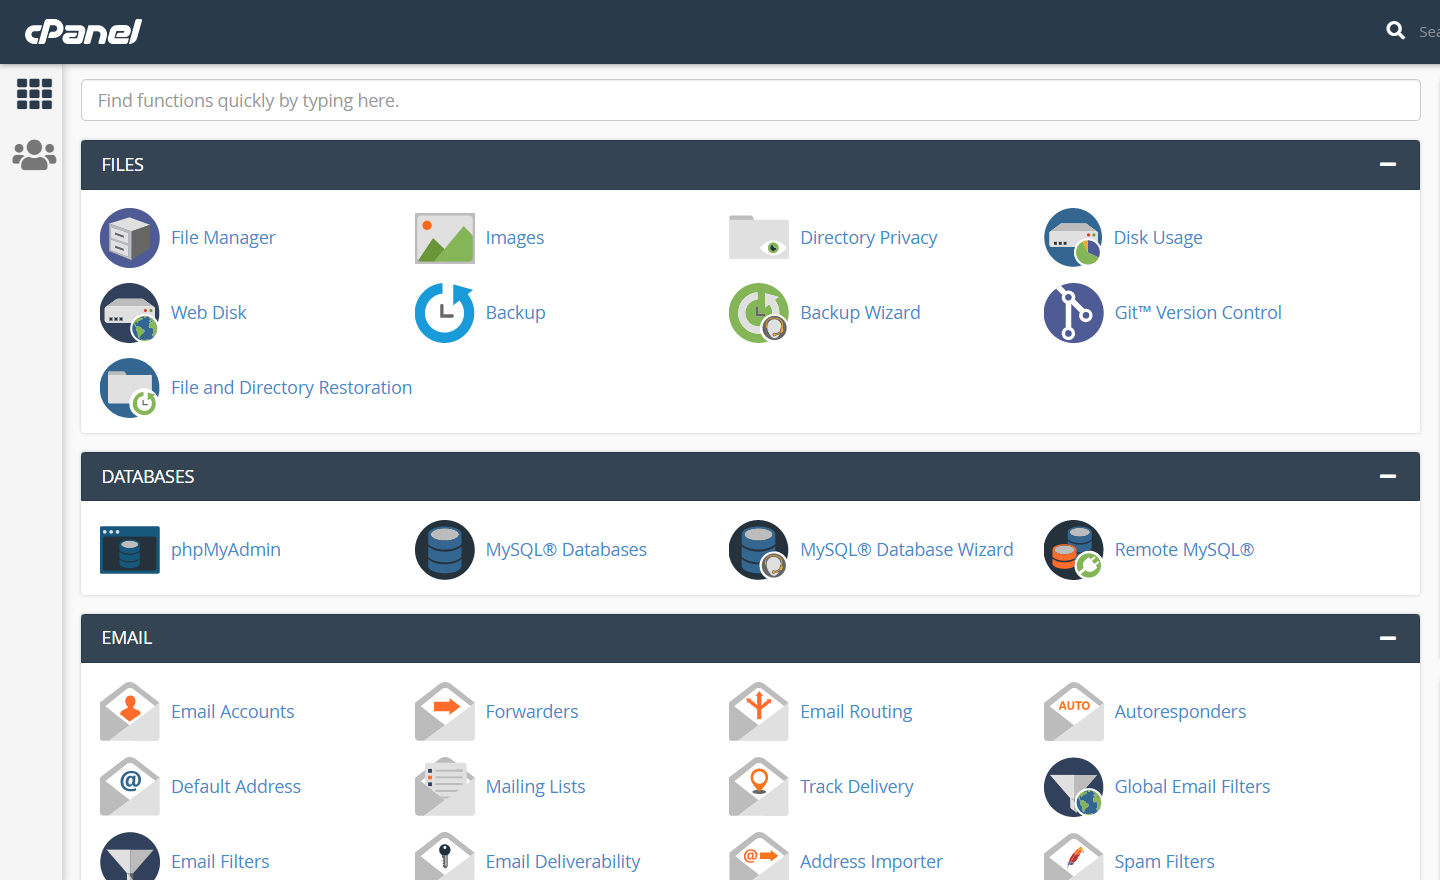
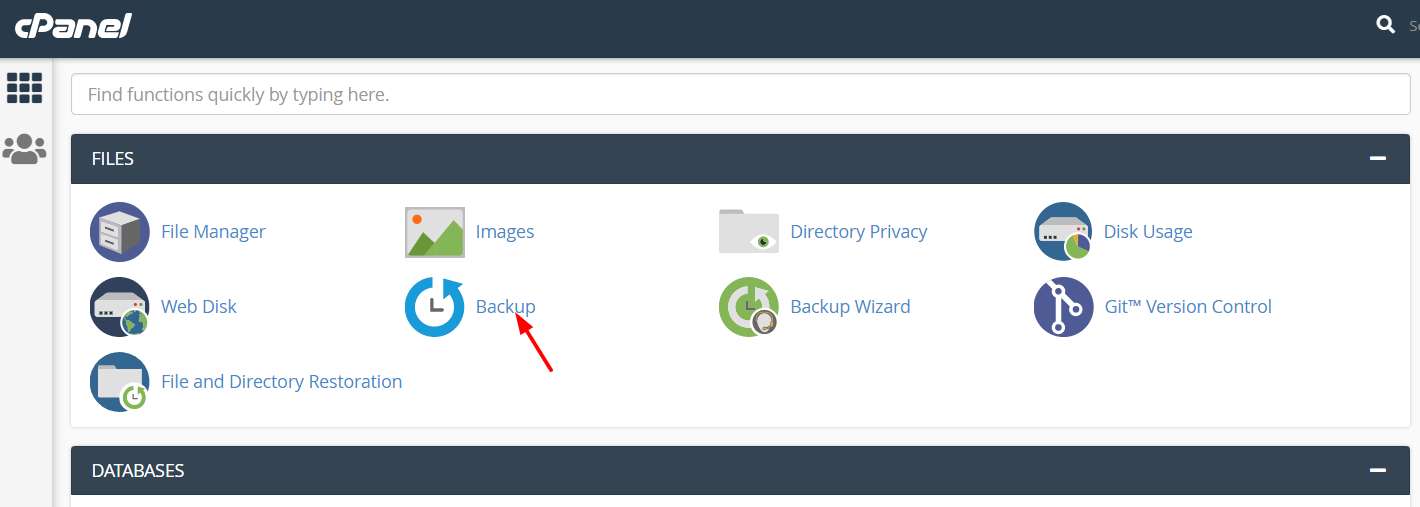
B) Under the Files section, go to Backup.
C) There, you’ll have the option to download a complete website backup or a partial backup:
- A partial backup will download the files inside the public_html directory
- A complete backup will download all your site’s files and configuration
We recommend that you generate a complete backup and also include your email address.

D) Then, click the Download button and a file will be generated inside your web server. The admin will also get a notification email to download the backup from there. Depending on your website’s size, the backup file size may vary.
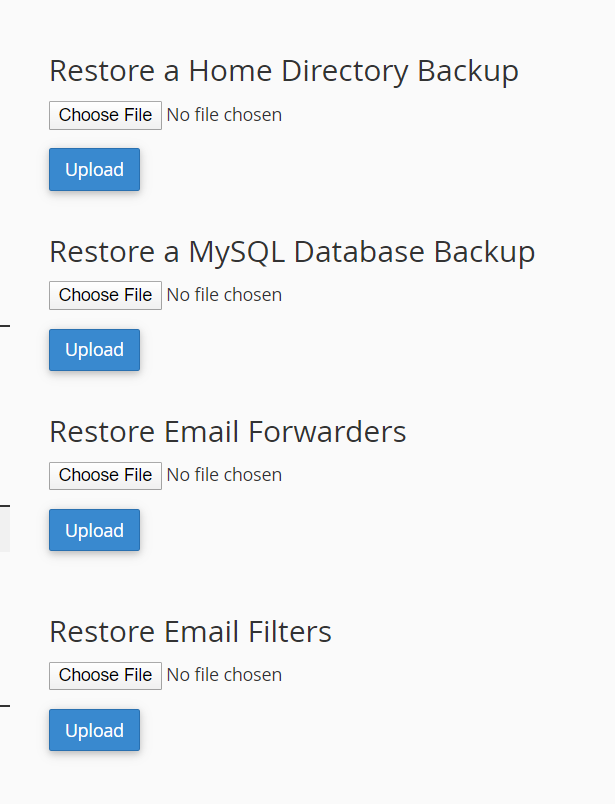
There are also different options to restore the backup:
Alternative cPanel method
There is also another way of backing up a Website site through cPanel.
- First, log in to your cPanel and create an FTP account.
- If you’re using an FTP client like FileZilla, you need to log in to your server and go to the public_html folder.
- Then download the file and folders using your FTP client to your computer.
- Go to the PHPAdmin section and export the website’s database.
Then, when you want to use this data to restore your website, you’ll have to upload the downloaded files and folders to the public_html directory and import the database.
Main Pros and Cons
- The main pro of this method is that it allows you to easily generate a backup of your WordPress site.
- The main drawback is that there’s no scheduling option available. This means that you have to manually backup your site every time.
To avoid having to do manual updates, we recommend you use a plugin to backup and restore your data.
2) Via WordPress Backup Plugins
Plugins are the best way to generate backups of your WordPress site. There are many options out there and they all have different features so choosing the right one can be a hard task for most beginners. That’s why here we are going to show you the best plugins to backup your website.
A) UpdraftPlus
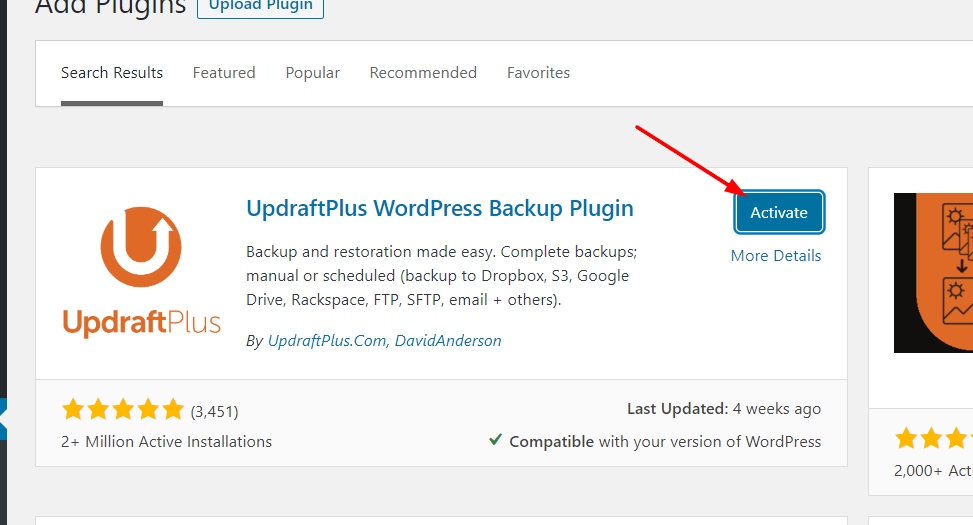
UpdraftPlus is a freemium add-on. The free version of the plugin can be downloaded from the WordPress plugins repository.
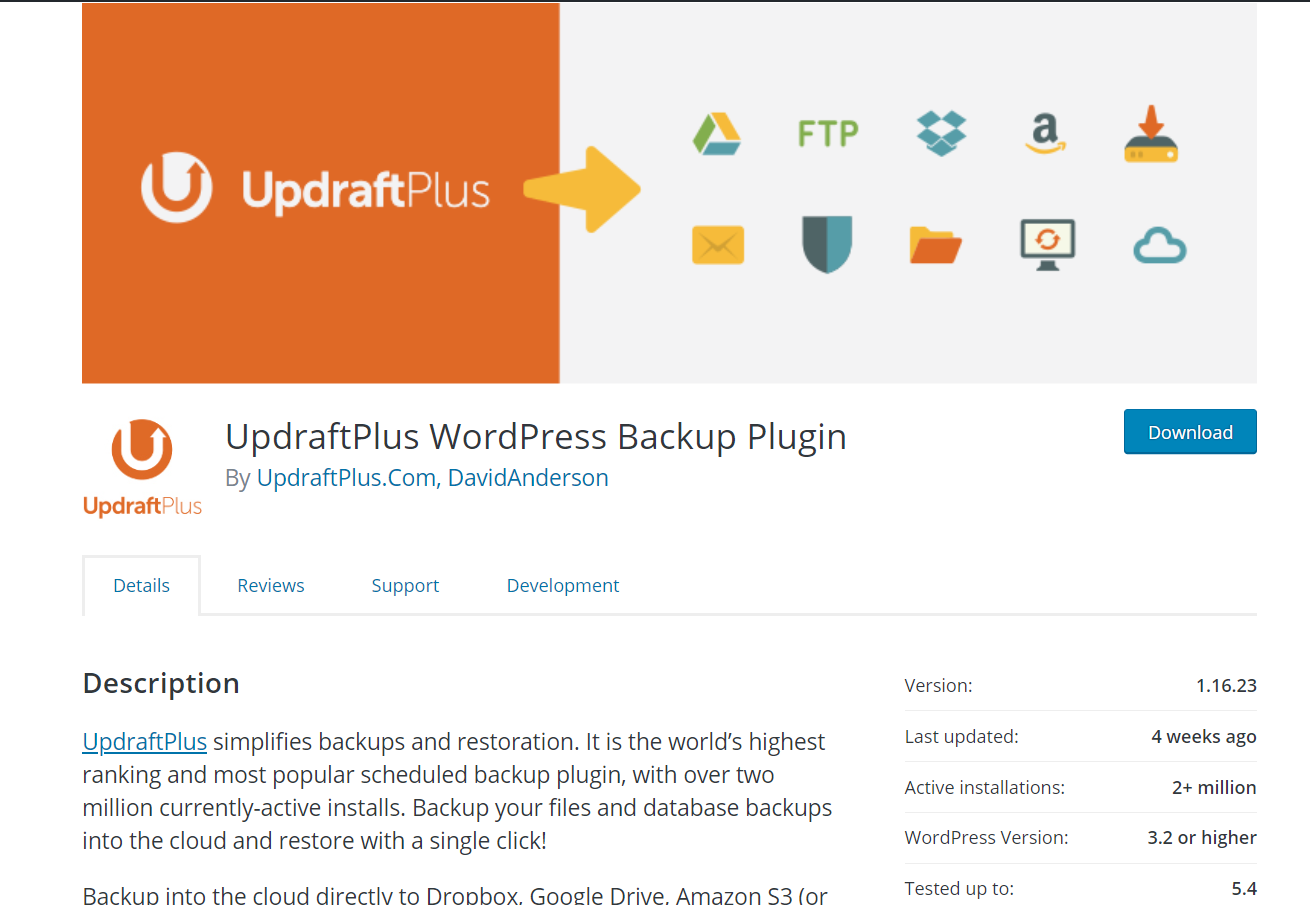
As you can see in the above image, this plugin has more than 2 million active installations making it one of the most popular backup and restoration tools in the market.
UpdraftPlus also has five premium plans that come with more features and unlocked limitations.
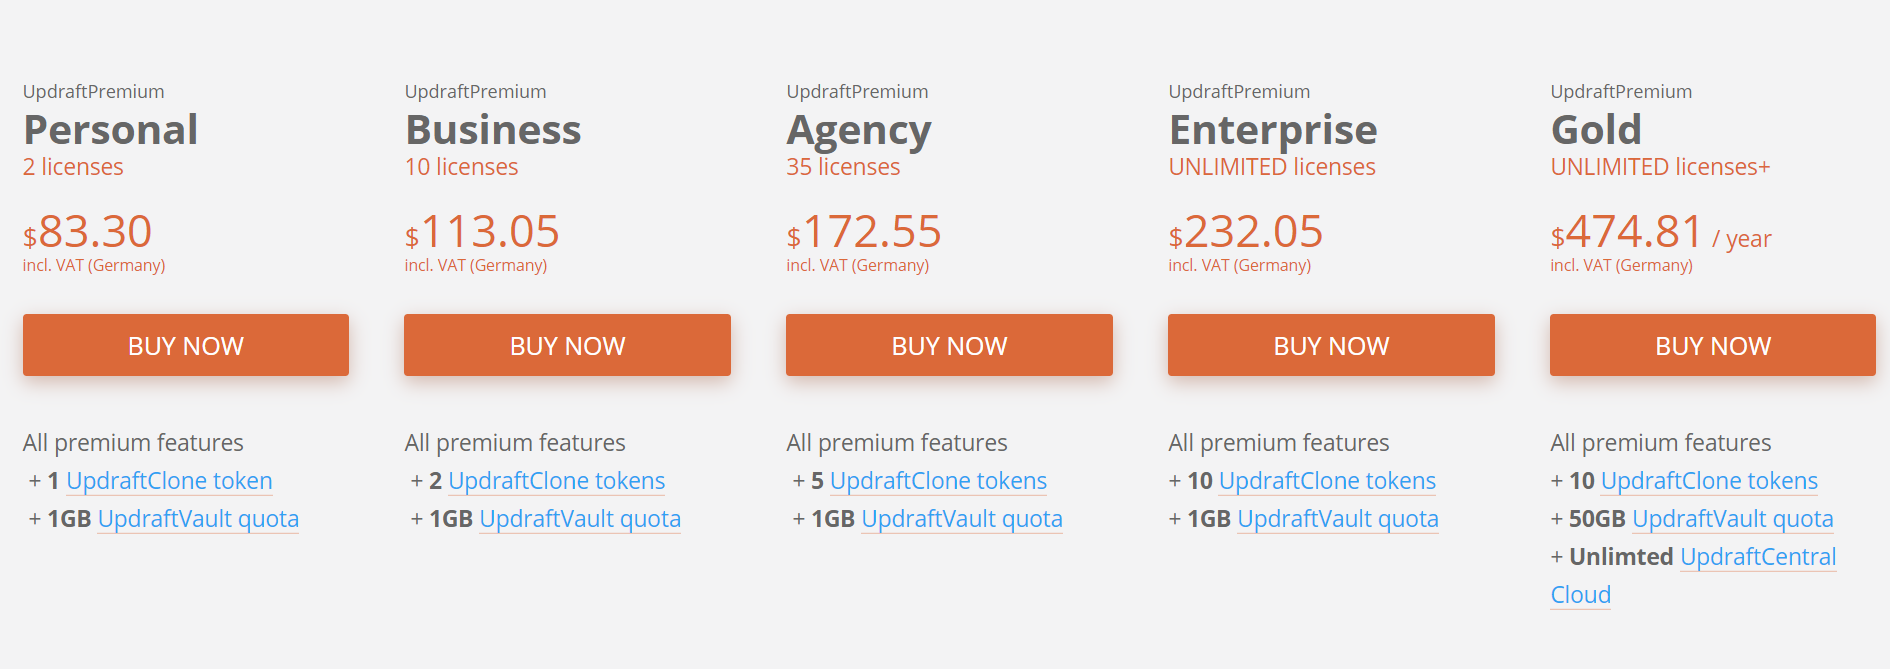
- Personal – 83.30 USD a year – 2 licenses
- Business – 113.05 USD a year – 10 licenses
- Agency – 172.55 USD a year – 35 licenses
- Enterprise – 232.05 USD a year – unlimited licenses
- Gold – 474.81 USD a year – unlimited licenses
These premium plans give you access to a lot of add-ons such as the migrator, automated backups, multisite, scheduling, importer, lock settings, and more.
If you’re a beginner and you want basic features, the free version is good enough. If you want more advanced functionalities, however, Personal or Business plans are your best choice.
How to use UpdraftPlus to backup your site?
In this section, we are going to show you how to backup your WordPress site using UpdraftPlus.
- First, install UpdraftPlus on your blog.

2) Then activate it.
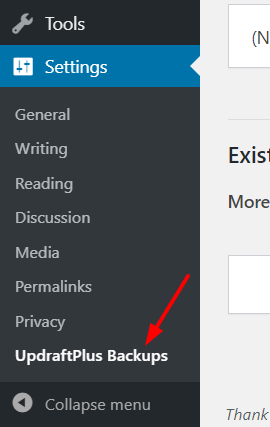
3) Now, you are ready to generate backups of your blog. Under the WordPress settings section, you’ll see the UpdraftPlus backups option. Click it.
4) Then, you’ll see a screen with all the options.
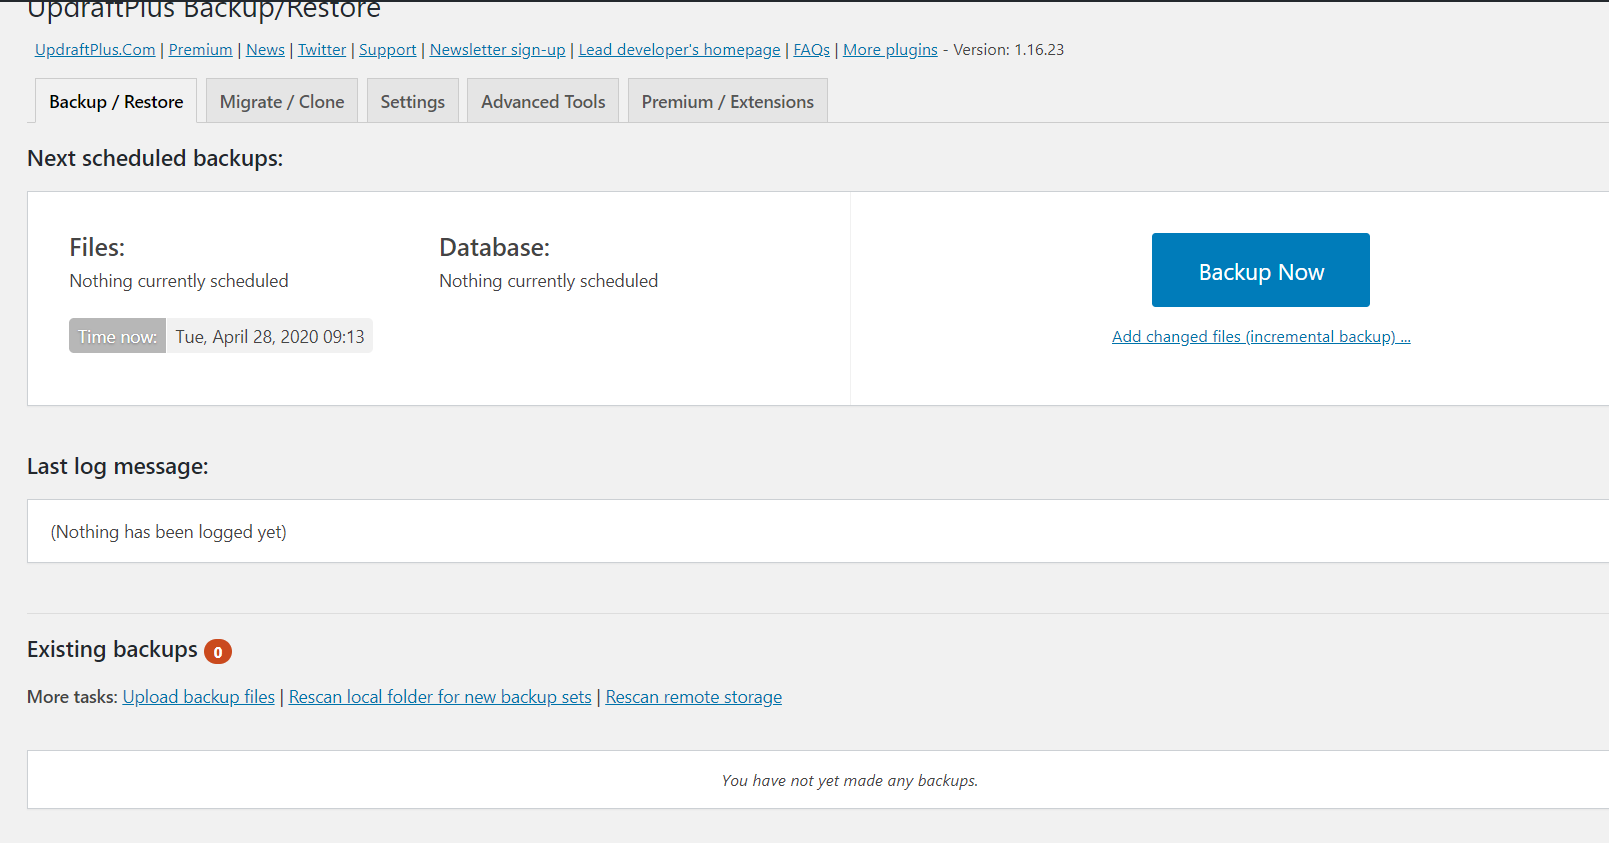
5) Before generating the backup, you can change the backup files. For that click the configuration option under the Backup Now button.

6) There, you’ll be able to add/remove files in the generating zip file. We recommend you add every file to your backup (Better be safe than sorry!).
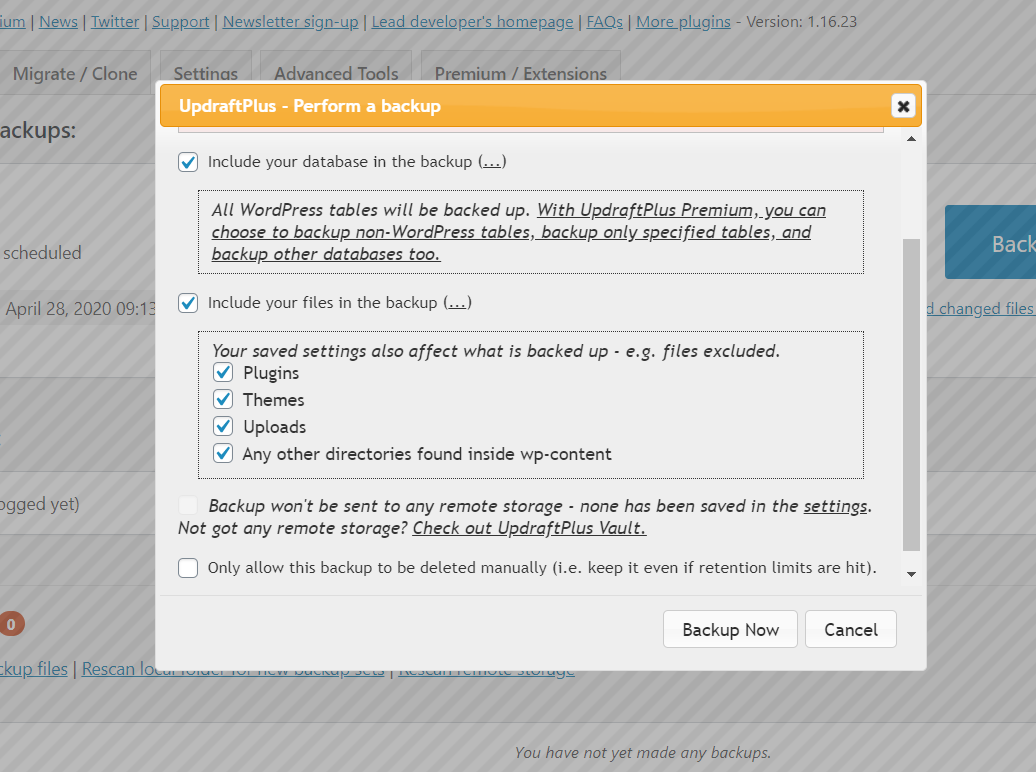
7) Once you’ve made all the changes you want to the configuration, save the settings and click the Backup Now button.
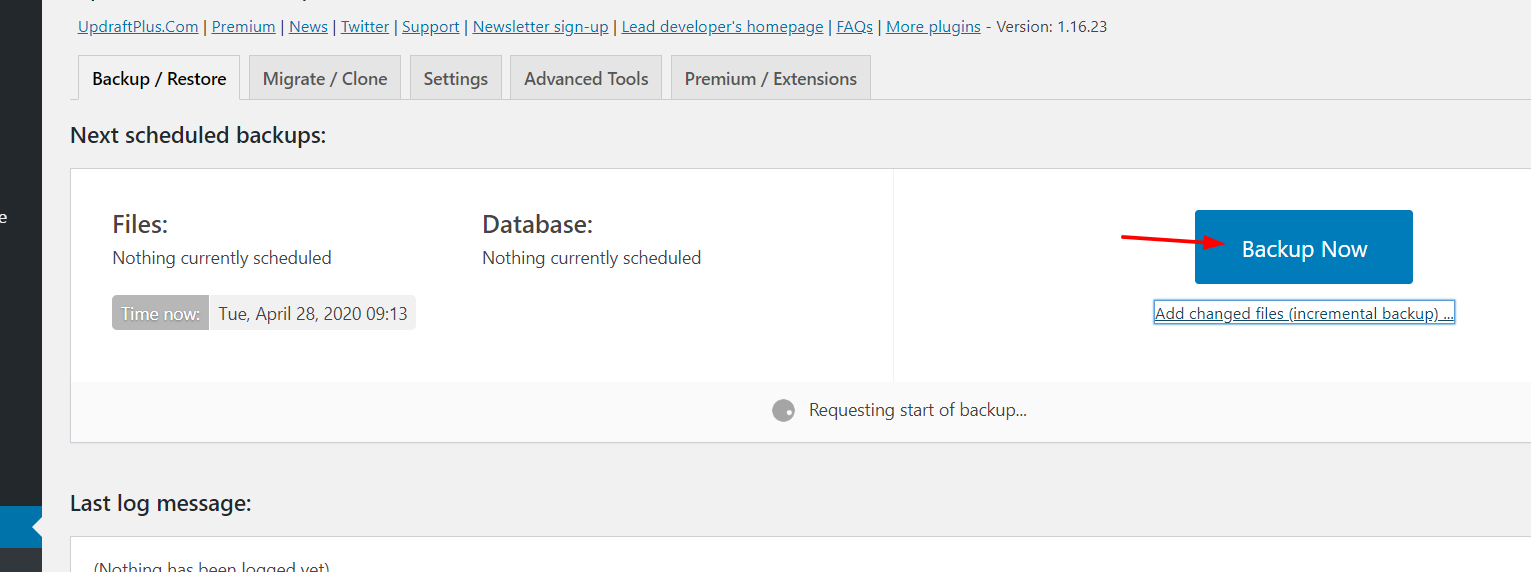
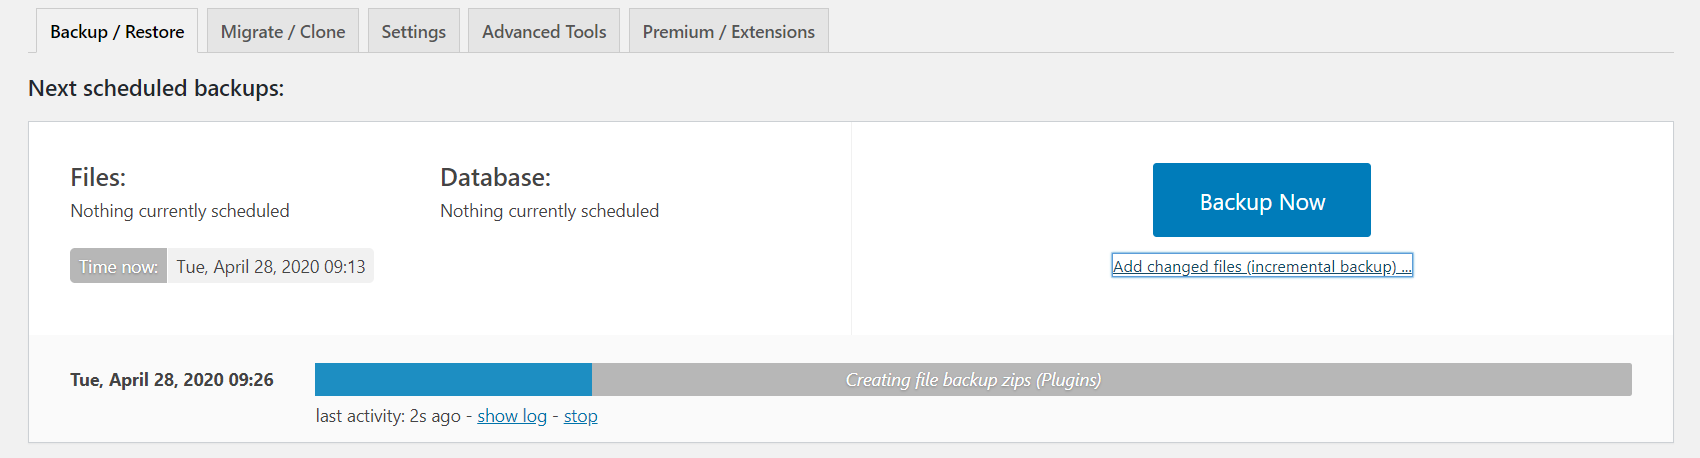
8) The process will start and you’ll see a bar with the progress.
9) After some minutes (depending on your site’s size), the backup will be completed and you’ll see the date and time when it was generated.
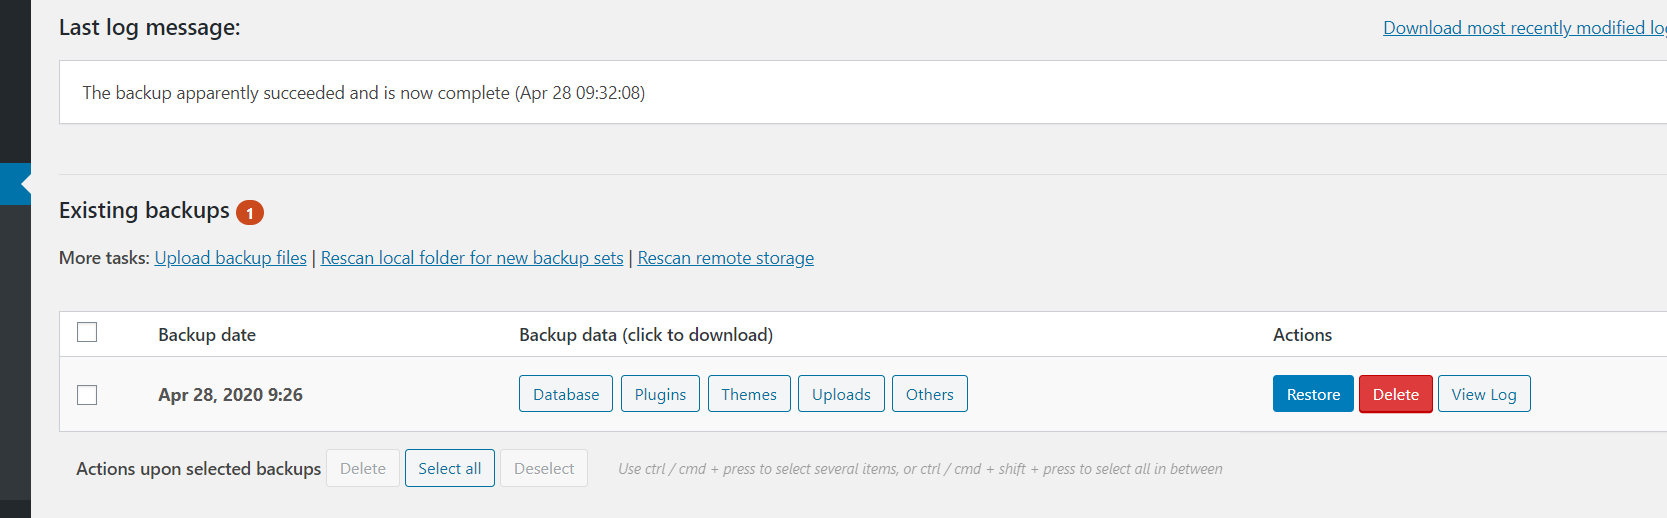
There, you will see five sections that you can download individually:
- Database
- Plugins
- Themes
- Uploads
- Others
10) Instead of keeping the backup in your server, we recommend you download it to your computer. To do that, simply click each section and then Download to your computer as shown below.

11) If your web hosting company limits your disk space usage, it’s a good idea to delete the backup files from your web server after you’ve downloaded them. This way, you can keep your data storage optimized.
So this is how to back up a WordPress site using UpdraftPlus.
How to restore a backup with UpdraftPlus?
When you need to restore the backup, simply login to your site, go to the plugin settings, and select the Upload backup files option.
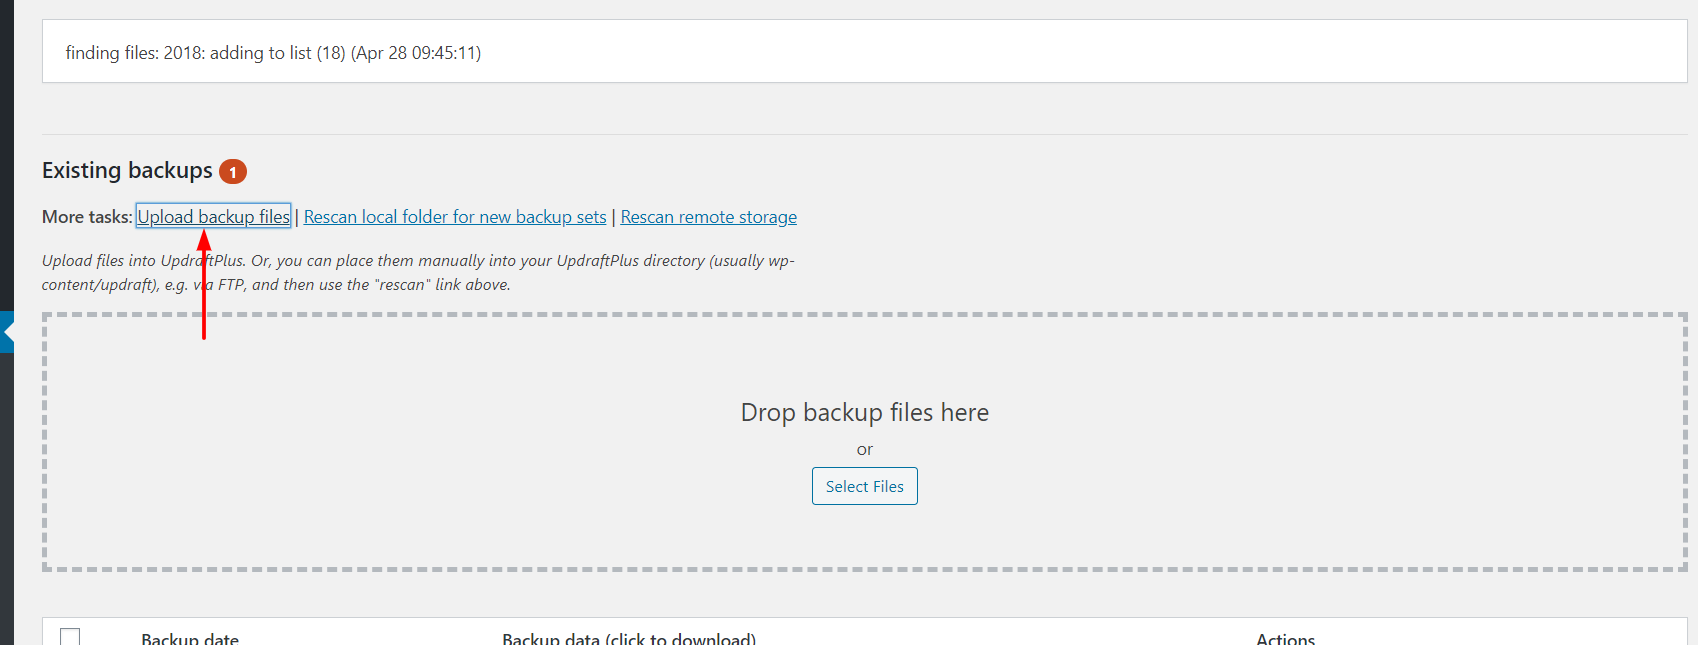
There, upload the ZIP files you want to upload, and click Restore.

Pro-Tip
Scheduling backups is a great option to make sure that you generate backups regularly and you avoid having to create them manually. So we recommend you schedule a database and file backup at least once a week. You can also add remote destinations.
B) BackupBuddy
BackupBuddy is another top backup plugin for WordPress developed by iThemes. Here, we’ll show you how to backup your site using this great tool.
This is a premium plugin that comes in three different plans:
- Blogger: 56 USD per year (1 site)
- Freelancer: 89 USD per year (10 sites)
- Gold: 140 USD per year (unlimited sites)
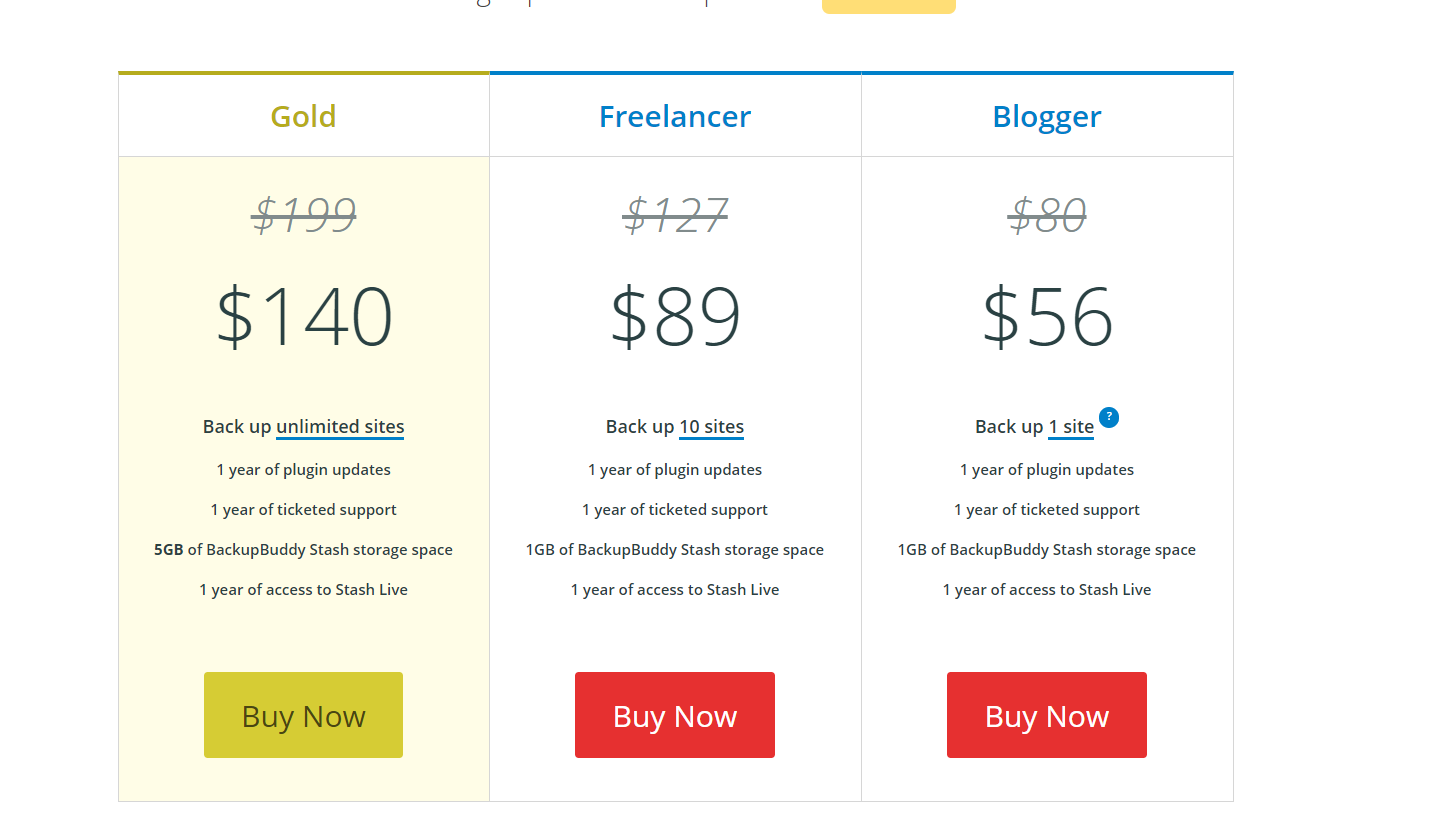
If you’re a beginner, the Blogger plan has everything you need.
Once you’ve purchased it, you will be able to log in to your iThemes account and download the plugin files.
How to use BackupBuddy to backup your site?
Now, we are going to show you how to generate a WordPress site backup using BackupBuddy.
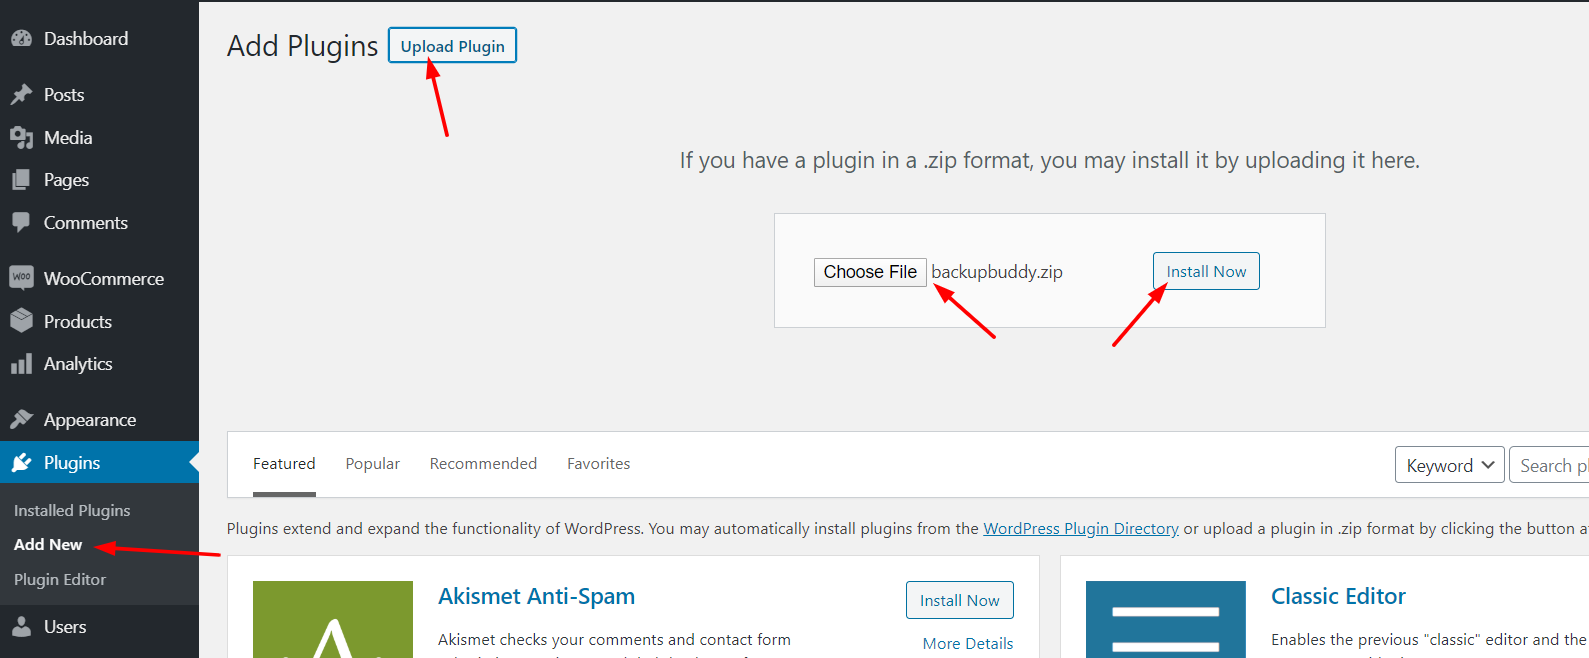
1) First, upload the plugin files to your blog and install it.
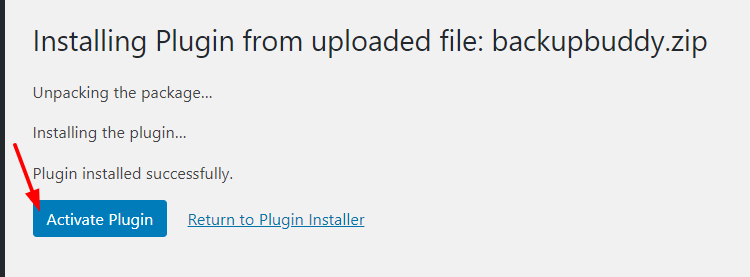
2) After installing the plugin, activate it.
3) Then, you’ll see the plugins’ settings in your dashboard.

4) Click it and you’ll see the option to create a backup.
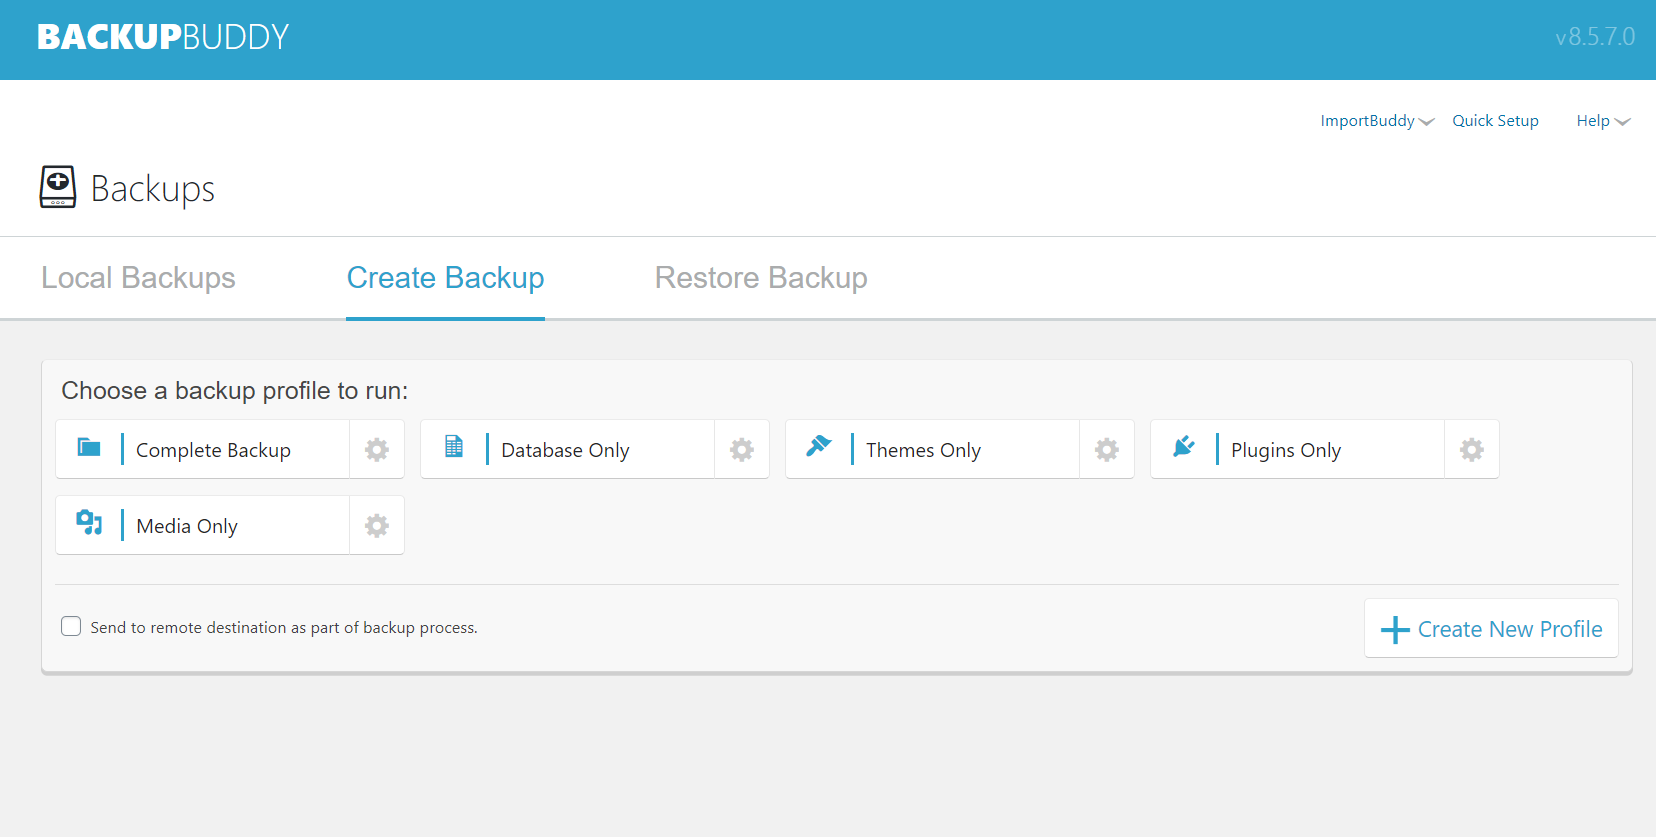
BackupBuddy lets you create:
- Complete website backup
- Database backup
- Themes backup
- Plugins backup
- Media backup
Unless you want to backup a specific thing, to be safe, we recommend creating a complete website backup. This way, if anything goes wrong, you will have all your site’s files in one place and you’ll be able to restore them.
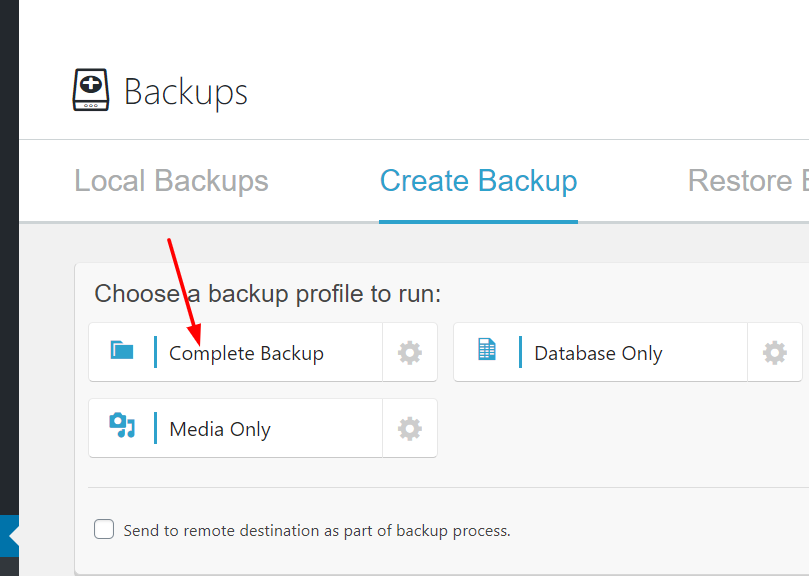
5) Click Complete backup to create one.
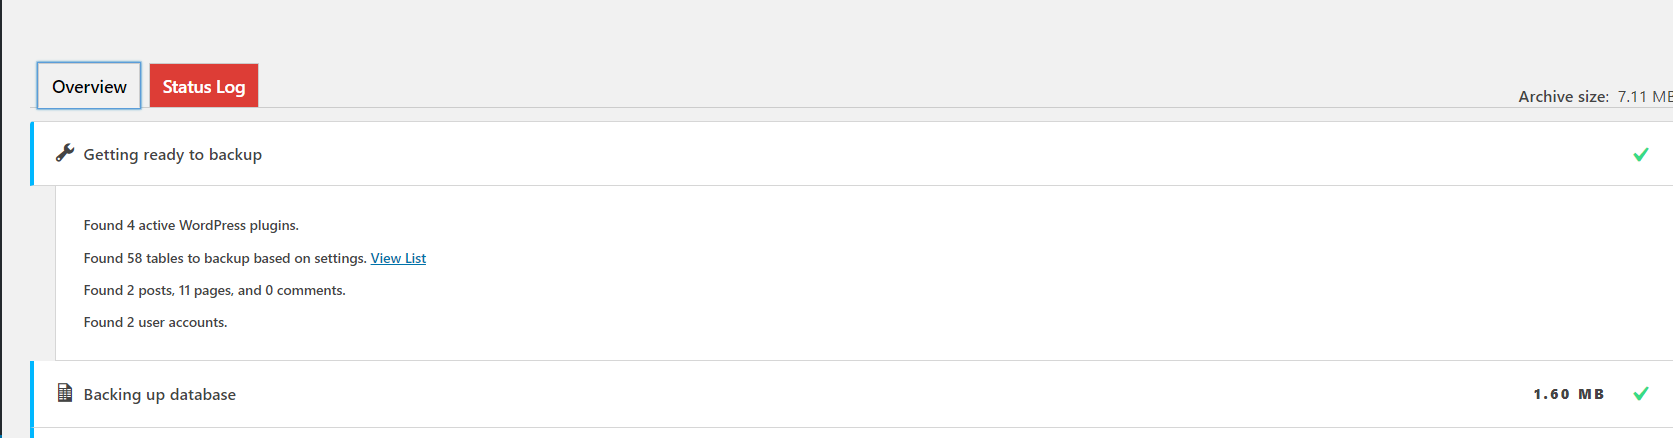
6) The plugin will start creating the backup and will show you the details of what it’s going to generate.
7) Within a few minutes, a complete website backup will be generated.
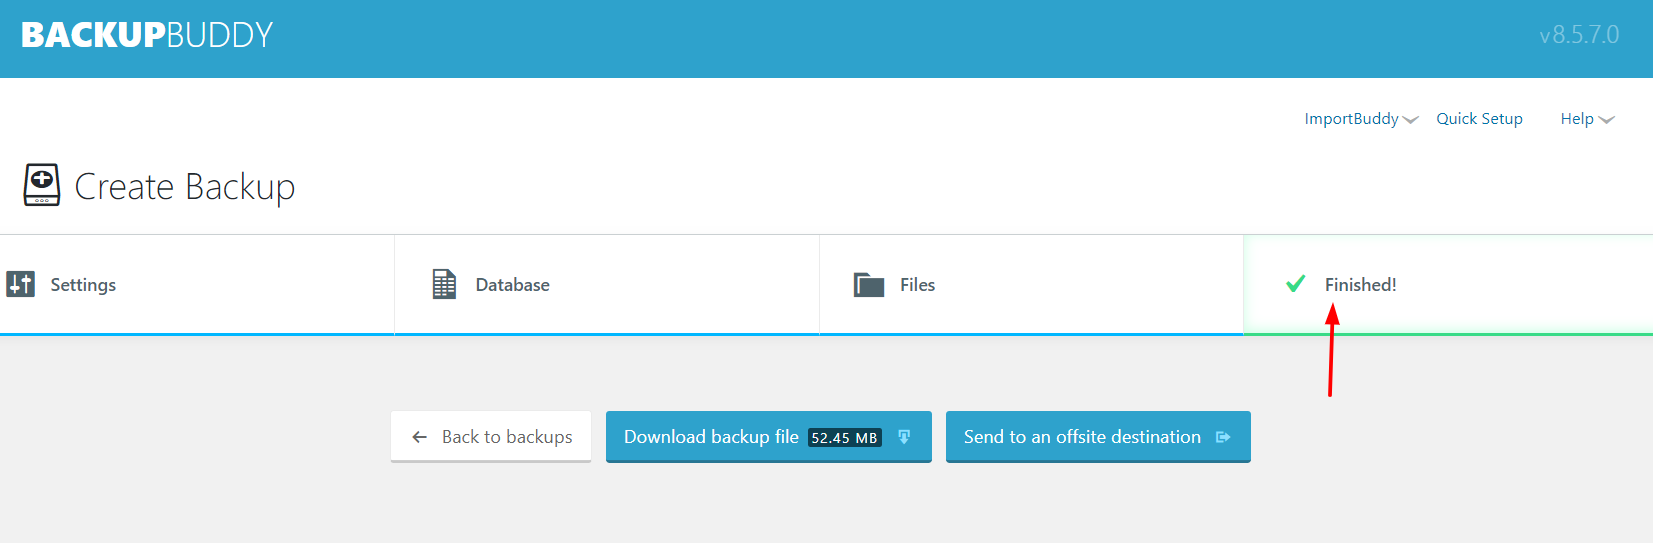
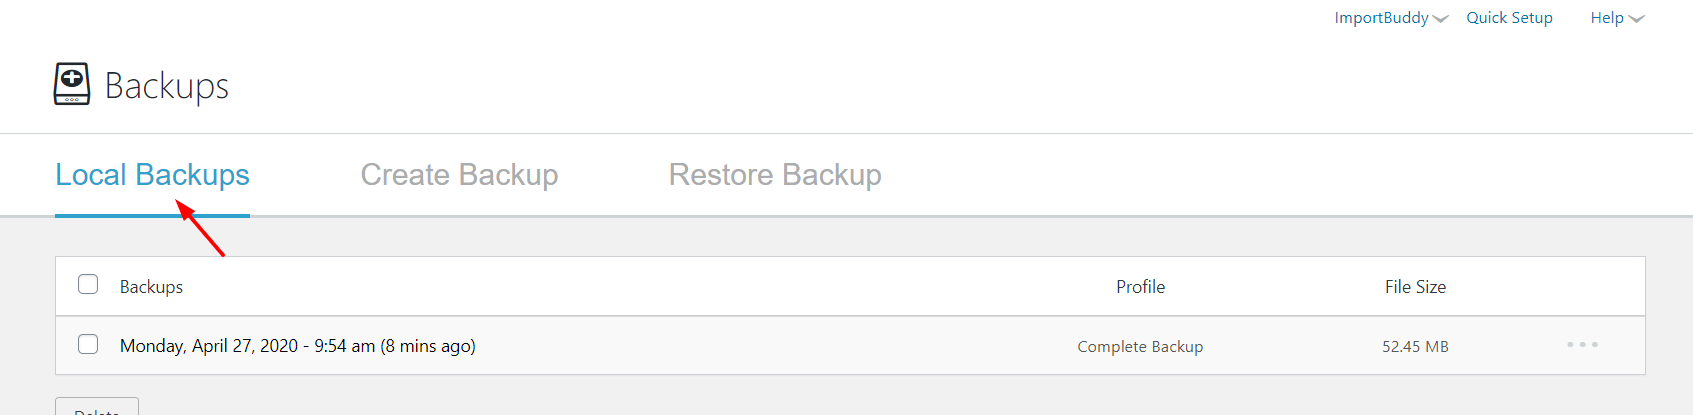
8) Once it finishes, we recommend you download the zip file to your local computer.
If you have multiple backups on your server, you would see all of them in the local backups section in your blog.
Additionally, you will be able to connect a third-party destination and send the backup file there. Currently, BackupBuddy allows you to link destinations such as:
- Amazon S3
- Dropbox
- Google Drive
- FTP
How to restore a backup with BackupBuddy?
To restore your website data from the backup, go to the plugins’ settings, and set a password for the ImportBuddy file.

Then, download the file to your computer. And when you need to restore the website, upload the ImportBuddy file to the server. You can do it using an FTP client or via the cPanel.
Then, enter the password and upload the backup ZIP files. Once it finishes, your website will be restored.
Pro-Tip
One other thing we love about BackupBuddy is the backup automation functionality. This allows you to schedule the backup process once a day or once a week.
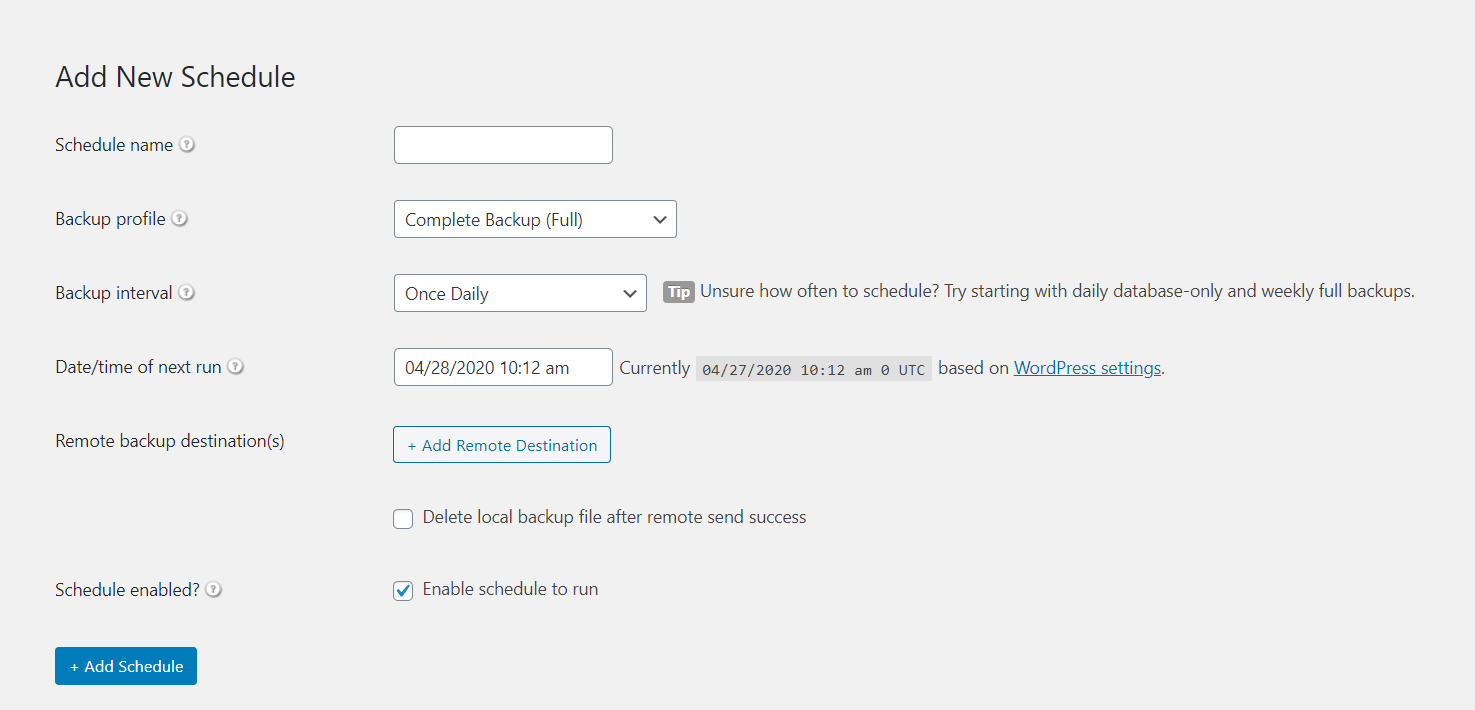
This is a great feature to make sure that you generate regular backups of your WordPress site. The backup will run automatically and it will generate a file that will be stored on your server. Additionally, you can add a remote destination to send your files.
Bonus: VaultPress
If you want to take your backup process to the next level, we recommend VaultPress.
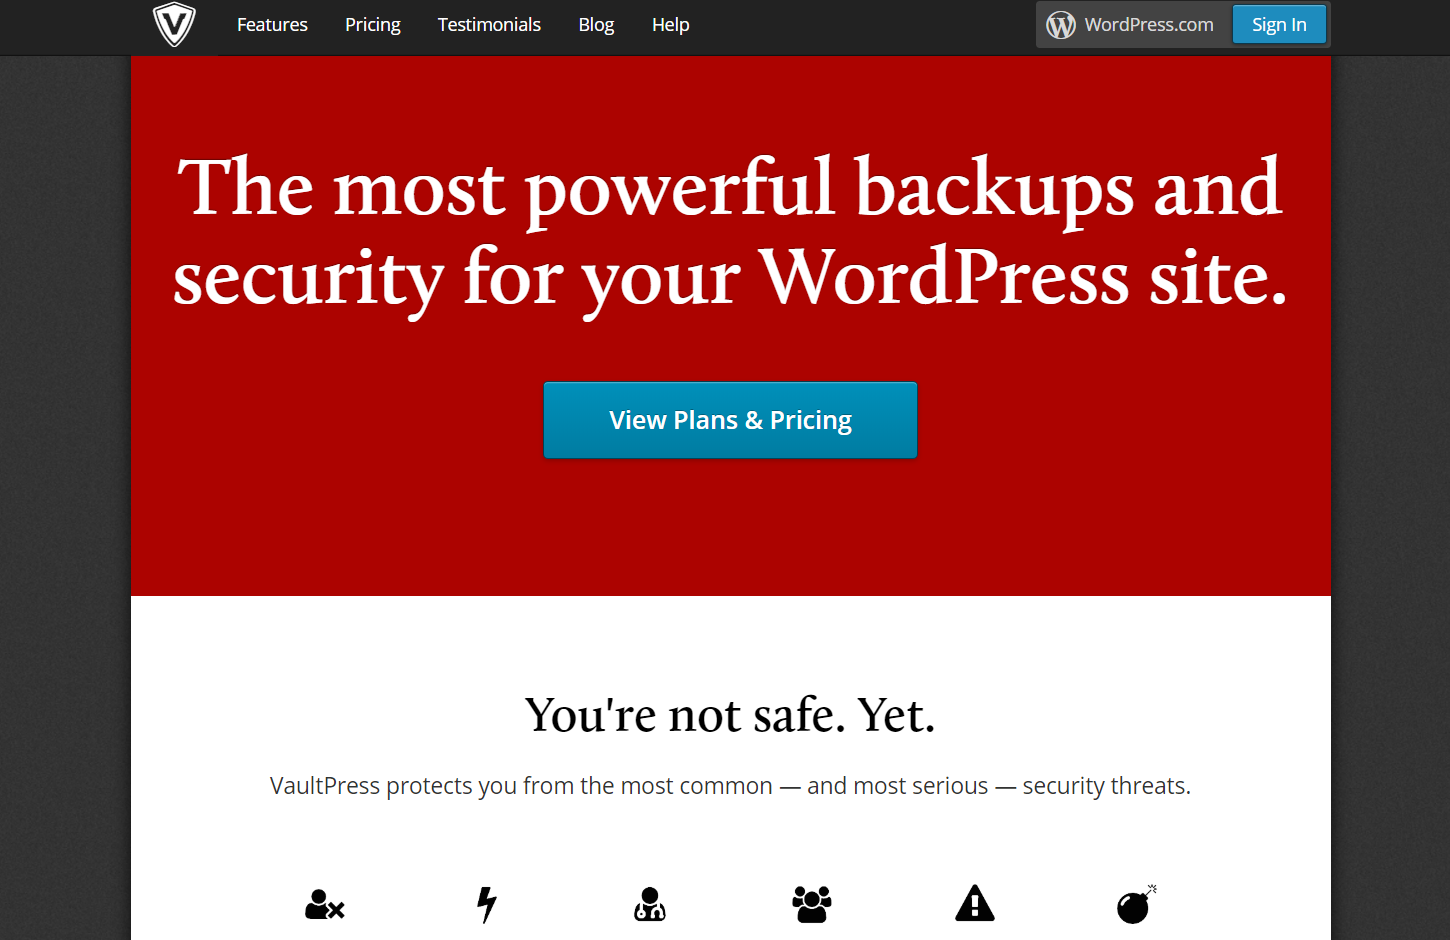
VaultPress is a premium service offered by the Automattic team that allows you to backup your WordPress site easily. Apart from helping you with backups, it will protect your site from:
- Hackers
- Viruses
- Exploits
- Malware
- User errors
What makes VaultPress stand out from other tools is that it generates the backup offsite. This means that your backup won’t increase the disk space usage of your server and you’ll be able to access it anytime and anywhere. On top of that, it lets you restore any backup with a single click.
So what’s the main difference with other tools? If anything terrible happens to your website, you can log in to your VaultPress account and restore the previous version in no time. No need to download the files to your local computer and upload them to your server.
Additionally, VaultPress offers other security options such as file scanning, spam blocking, virus detection, malware detection, and more. If you are running an online shop or a large blog, this plugin is an excellent option for you.
Price
VaultPress has two different pricing options depending on how often you want to generate the backups:
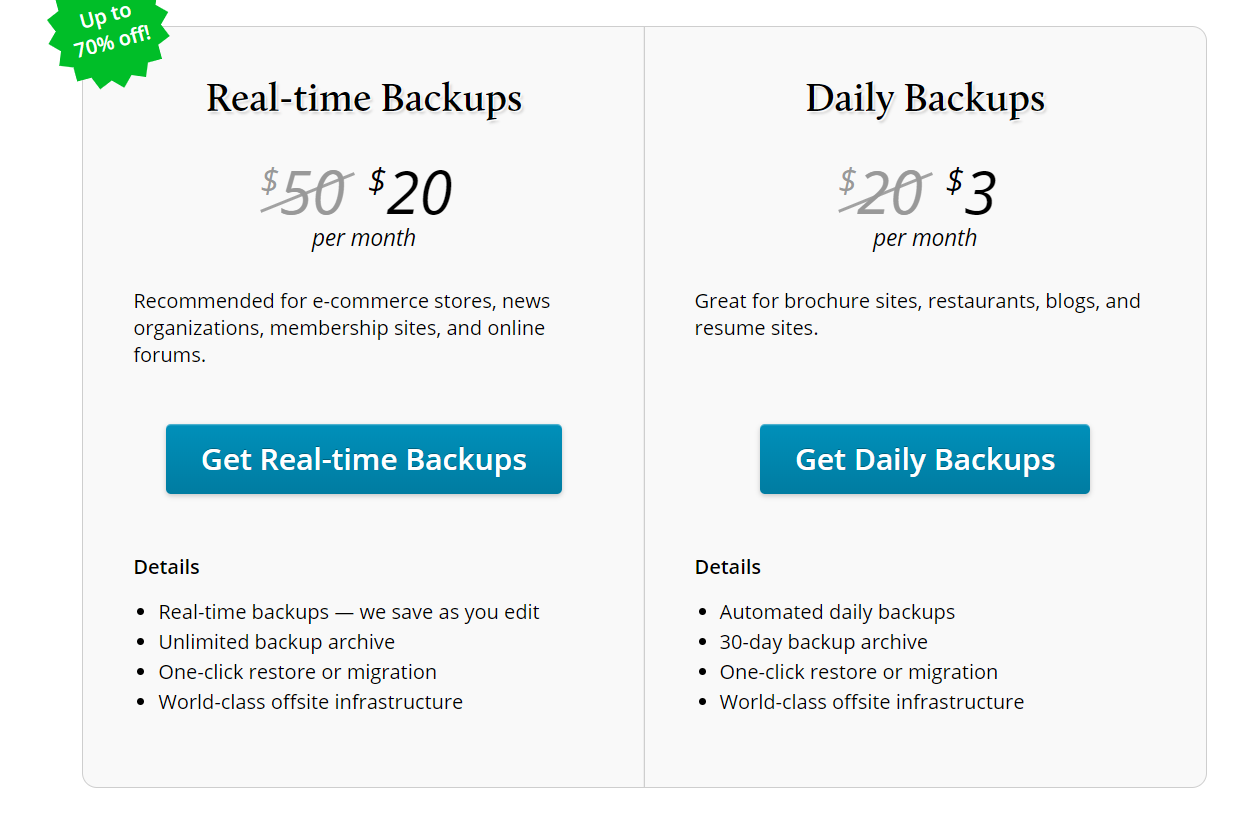
- Daily backups – 3 USD a month
- Real-time backups – 20 USD a month
Additionally, there are Jetpack plans that offer security essentials (including backups):
- Personal – 39 USD a year
- Business – 99 USD or 299 USD a year
Conclusion
All in all, if you want complete peace of mind, generating backups of your WordPress site regularly is a must. You can do that using different methods: manually via cPanel or with a plugin. We recommend that you use a plugin.
You can choose BackupBuddy as a premium option and UpdraftPlus as a free option. For beginners, UpdraftPlus is an excellent choice. It has great features and it’s very easy to use. If you want more advanced functionalities, you can purchase the premium version or try BackupBuddy.
On the other hand, if you don’t want to put additional load on your server, you should check out VaultPress. It generates the backups offsite and comes with premium features and one-click restore.
Which backup method do you use? Do you know any other backup plugins? Leave us a comment below.

Hi
Thank you for the tips regarding backup. Having had my own WordPress blog for almost 10 years, I know how important it is to have a good backup of both files and database. I use a free plugin named BackWPup. It run scheduled backup and uploads the files to Dropbox. It also deletes backup that is more than x days old making sure I don’t run out of Backup Storage on Dropbox.
Good one Thomas! I’ve heard great things about BackWPup but never tried it. We’ll give it a go. Thanks for your comment.