
How to integrate WordPress with Instagram: 4 Beginner Friendly Methods!
Are you running a popular Instagram page and want to connect your Instagram followers with your website? How about creating a dedicated Instagram page for your brand and integrate it with your website for better marketing? You’ve come to the right place! In this guide, we’ll show you how to integrate WordPress with Instagram so you can increase user engagement and make the most out of your social media efforts.
Why connect WordPress with Instagram?
Instagram is one of the most popular websites/applications out there. The social media platform has over a billion active users. Almost everyone these days seems so used to the platform and owns one or more accounts on it. Additionally, social media marketing and influencer culture are massively empowered by Instagram. So, if you’re running an online business, you should invest in your social media pages for better traffic and lead generation.
Consider the number of ways you can take advantage of an Instagram feed on your website. For one, you could ensure that your users enjoy your Instagram content, and you’re set to get more followers that way. On top of that, in this interconnected era, providing your visitors with another means to reach out to you and interact with your content can help your business grow.
Additionally, setting up effective means of embedding more media on your website without actually affecting your website storage or your website loading speed is also a great benefit. Embedding your Instagram feed creates more ways of targeting a larger number of audiences while still allowing flexible means to post and publish content that doesn’t necessarily have to do your website or blog.
And the best part is that integrating WordPress with Instagram is very easy. With the flexibility that these platforms offer, there are multiple ways of connecting your Instagram pages with your website content. This is why today, we’ll show you four different methods of integrating WordPress with your Instagram pages.
How to integrate WordPress with Instagram: 4 Methods
There are several options to connect WordPress with Instagram:
- With a plugin (Social Feed Gallery)
- Using widgets
- With Instagram Embeds
- With IFTTT
All these methods offer great solutions and are very easy to implement. Let’s have a look at each of them.
1) Embed Instagram in WordPress using a dedicated Instagram Feed plugin
The easiest way to integrate WordPress with Instagram is to use a dedicated Instagram Feed Gallery plugin. These plugins are extremely easy to set up and they allow you to show your entire feed on your site with a wide range of customization options. This way, you can keep your website synced up with your Instagram. On top of that, some of these plugins come with excellent features such as image caching, mobile optimization, customizable lightbox for image pop-ups, and more.
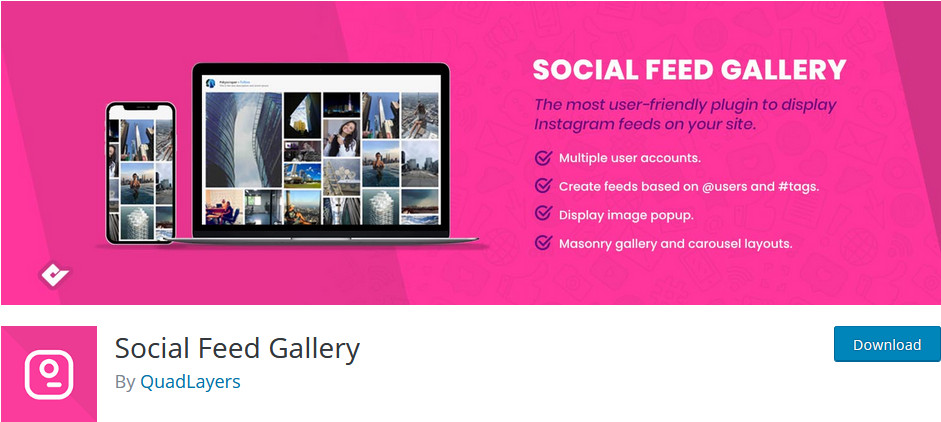
There are multiple Instagram Feed plugins that you can use to connect WordPress with Instagram. If you’re not sure which one to choose, you can check out our list of the best Instagram feed plugins for WordPress. For this guide, we’ll be using the Social Feed Gallery plugin by QuadLayers. If you choose another tool, do not fret! The installation and usage of the plugins should be similar.
Anyway, let’s go ahead with the demo process of integrating WordPress with Instagram using the Social Feed Gallery plugin.
Social Feed Gallery Plugin
The first thing you need to do is install the Social Feed Gallery plugin. So, open your WordPress Admin Dashboard and click Plugins > Add New. Then, use the search bar on the top right to search for Social Media Feed QuadLayers. After that, press the Install button next to the Social Media Feed plugin box. Once the plugin is installed, click Activate, and the plugin should be all set to go.
To access it, simply click the Social Feed Gallery on your WordPress Admin Dashboard and you will see the plugin’s main dashboard. To use the plugin, you have to log in to your accounts.
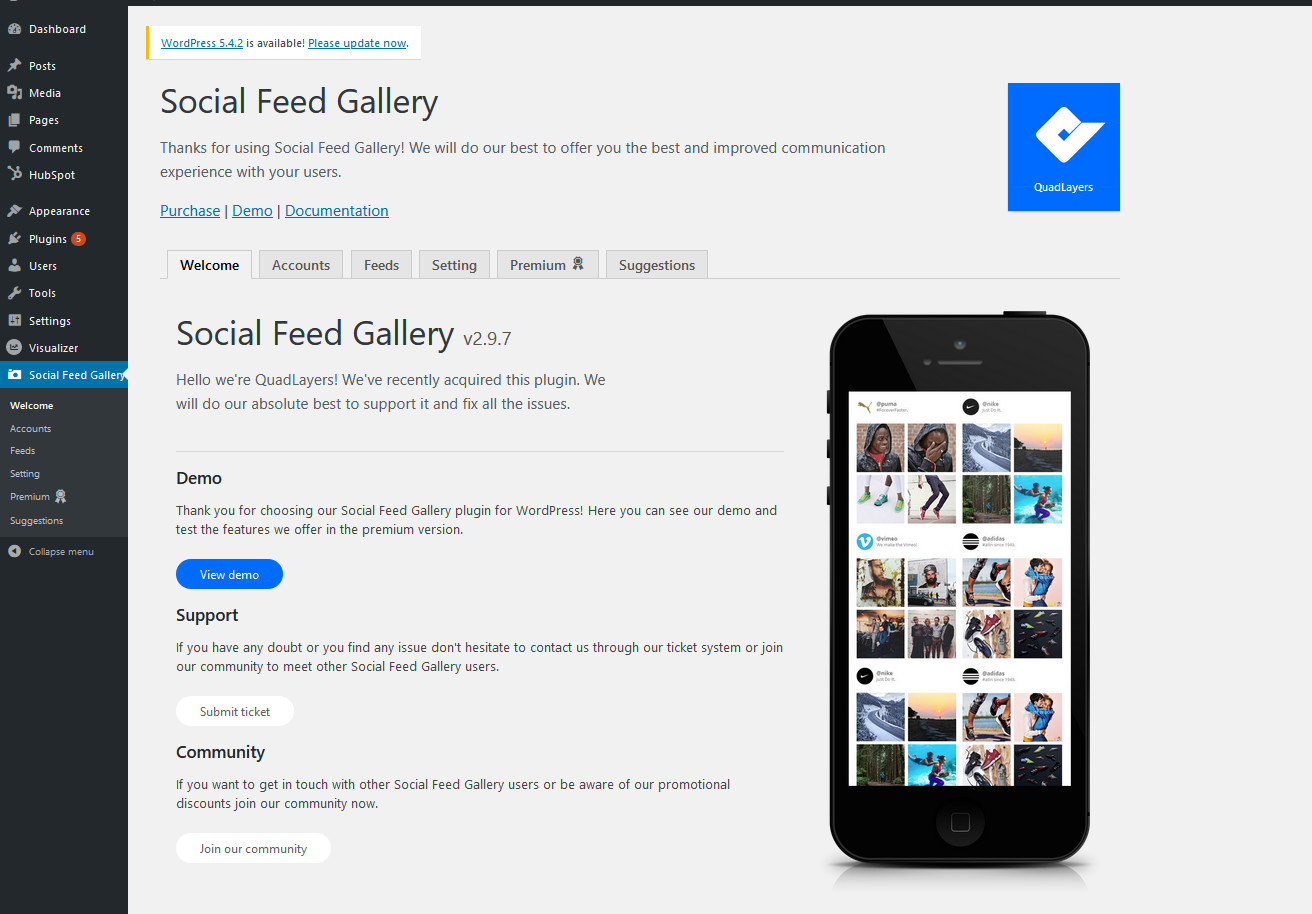
Click Social Feed Gallery > Accounts, and you can either log in to your Instagram personal or business account. Additionally, if you haven’t registered a business account, the plugin also links you to clear documentation to help you make your own Instagram business account. Keep in mind that if you want to show a tag’s feed on your website, you will need a business account. You can learn more about this here.
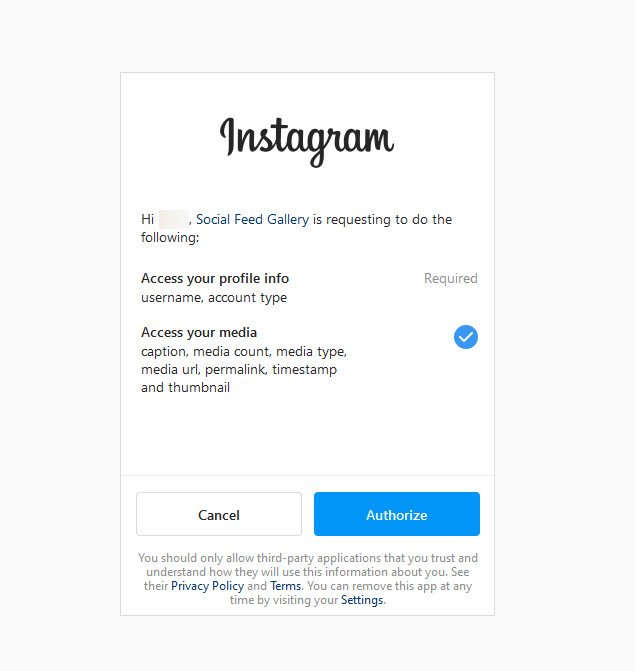
For now, we’ll do the tutorial with a Personal account, but the process for the business account is almost identical. Click on the Add Personal Account button, and the plugin will open the Instagram login page. Log in, and click Authorize to give the app the necessary permissions. Once you’ve done that the plugin will be connected to your account.
Creating your customized Instagram feed
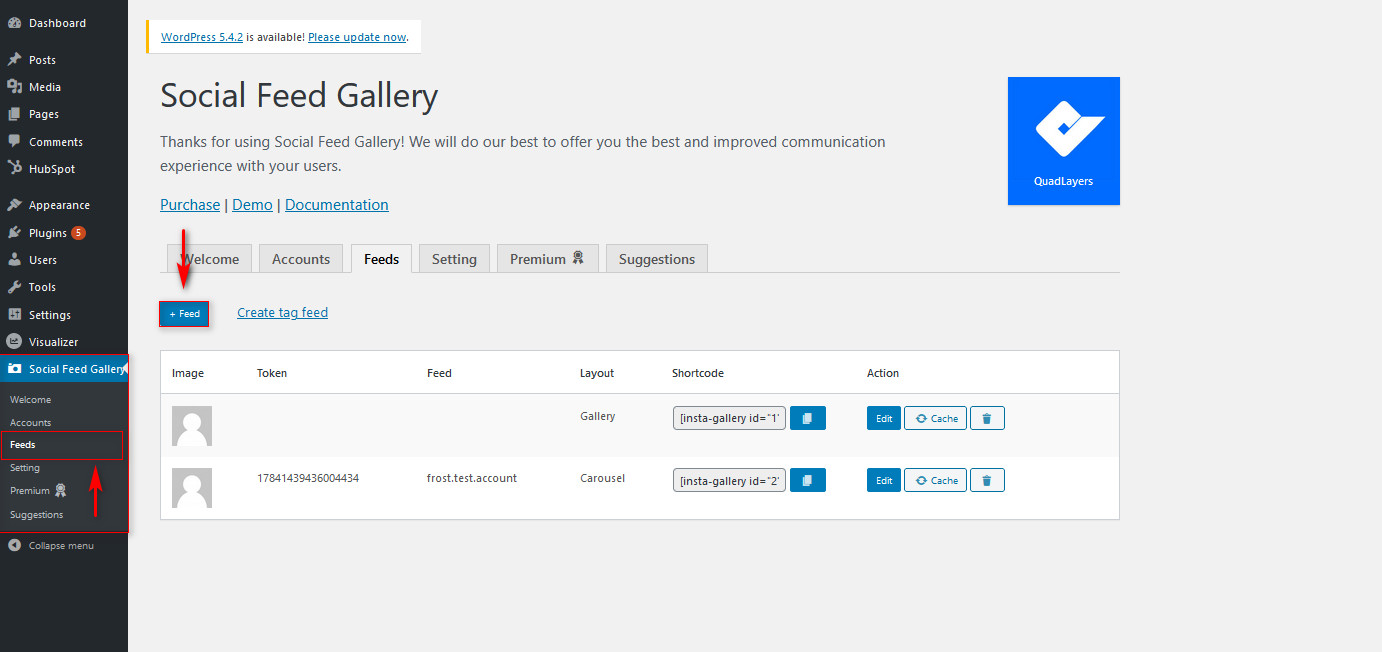
Now that your Instagram account is integrated with your WordPress site, you can display your feeds. However, before you do that, you need to create your customized feed. So go ahead and click Social Media Gallery > Feeds. Here, you can see the list of feeds and a default feed that’s added to your account once you log in. Let’s go ahead and create a new feed by clicking on the +Feed button.
After clicking the +Feed button, you can change a wide assortment of details for your list. First, choose what account you want to use, and select between showing a tag feed or a username feed. As mentioned earlier, you need a business account to show a Tag feed, so keep that in mind. Next, choose the Feed display style, and you’re set to go.
By using the options list on the side, you can customize your feed. You can choose a huge number of feed options like changing profile name and description, feed box customizations, image resolutions, button, and much more. You can explore the full range of features and options that the plugin provides here.
Once you’re done customizing and managing your feed, you can start adding it to your site’s content.
Show your Instagram Feed using Social Feed Gallery
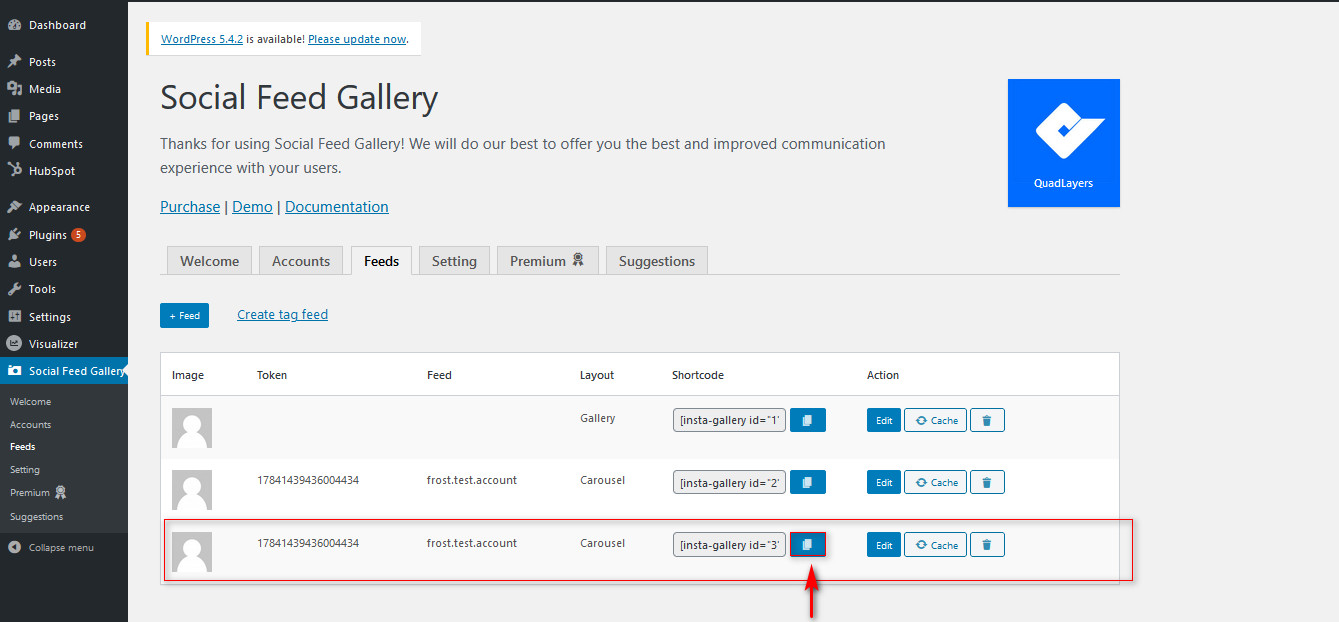
The main way to display your Social Feed Gallery on your website is to use the shortcode that the plugin provides you on the Feeds list. Click on the copy shortcode button next to your custom-created Instagram feed.
Now, open the posts/pages where you want to display the feed and use the Add New Block button to add a shortcode block. Then, paste the feed shortcode you have just copied on the shortcode block. After that, save/publish the post and the feed should show up on your site.
That’s it! You have just integrated your WordPress site with Instagram using the Social Feed Gallery plugin.
This tool has a lot of features to customize the feed and allows you to add unlimited user accounts. For more information about Social Feed Gallery, check out the product page.
2) Add your Instagram feed using Widgets
Alternatively, you can connect Instagram to your WordPress site with widgets. The Social Feed Gallery plugin also allows you to display your Instagram feed using a dedicated widget. Setting up the widget is extremely simple, and you can do it directly on all your widget locations. All you need to do is configure your feed, and then you can place it on your sidebars or any of your other widget locations.
Let’s see how to do this step-by-step. First, open your Widgets page by clicking on Appearance > Widgets on the WordPress dashboard. Then, use the list of available widgets and find the Social Feed Gallery widget. Click it, choose your widget location, and press Add Widget.
Then, once the widget appears on your Widget location, click it. Give your widget an appropriate title and choose your Instagram feed using the drop-down list. Then, press Save and your widget will appear on your website.
For those who want to display feeds on widget locations, integrating WordPress with Instagram via widgets is the best choice.
3) Integrate WordPress with Instagram using the Embed option
A much simpler way to integrate WordPress with Instagram is by using Instagram embeds. You can use every photo/video as an Embed for your website, and you can simply add it by using the embed block that WordPress provides. This method is super easy and allows you to easily add specific Instagram posts or pages to your website without the need for any additional plugins or tools.
To connect WordPress to Instagram, open any Instagram video or photo, and copy the URL of the address bar. You can also click on the dots on the top right and click Copy link to save the post link.
Another option is to press the three dots next to the username and click Embed. Then, you’ll see the embed code, and you can click Copy Embed code to save the code on your clipboard.
Now, open the post or page where you want to display the Instagram post and press the Add new block button. Search for the Instagram embed block and paste your copied Embed code on the Instagram embed block’s field. Then, click Embed, and now your Instagram post should be embedded on your site.

If you just want to connect WordPress with Instagram in a simple way and you don’t need any customization to the feed, this is a great option.
4) Integrate WordPress with Instagram using IFTTT
Finally, the last method to integrate WordPress with Instagram is by using IFTTT. You can set up your website so you can automate posting your Instagram photos on your site. IFTTT allows you to set up a chain of actions using Instagram or your website as triggers. This is configured as a “recipe” and can be customized in multiple ways. For example, you can use the applet, so it automatically posts your new Instagram posts as WordPress posts. Or you can set up IFTTT to automatically publish posts submitted under a specific hashtag on your site. There’s also the option to automatically change specific Instagram posts into photos on your site.
IFTTT has many other possibilities apart from Instagram applets. You can check out the entire list of WordPress IFTTT applets here, including popular social media functions for Twitter, Facebook, RSS feeds, and many others.
How to use IFTTT to connect WordPress with Instagram?
To start setting up IFTTT, first, open this website.
There, you can choose a wide variety of applets to enable on your WordPress site. IFTTT is a free service but, to start using it, you need to create an account or log in if you already have one.
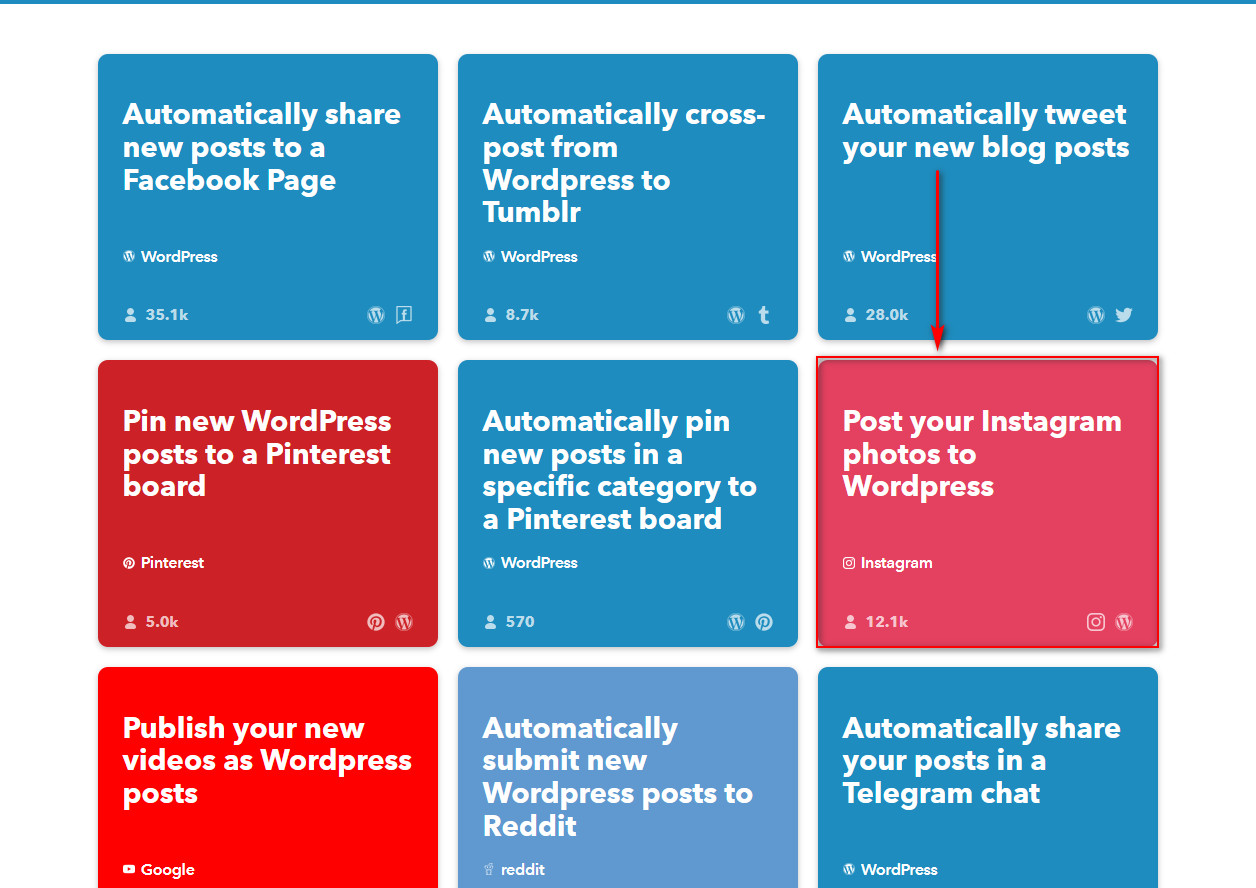
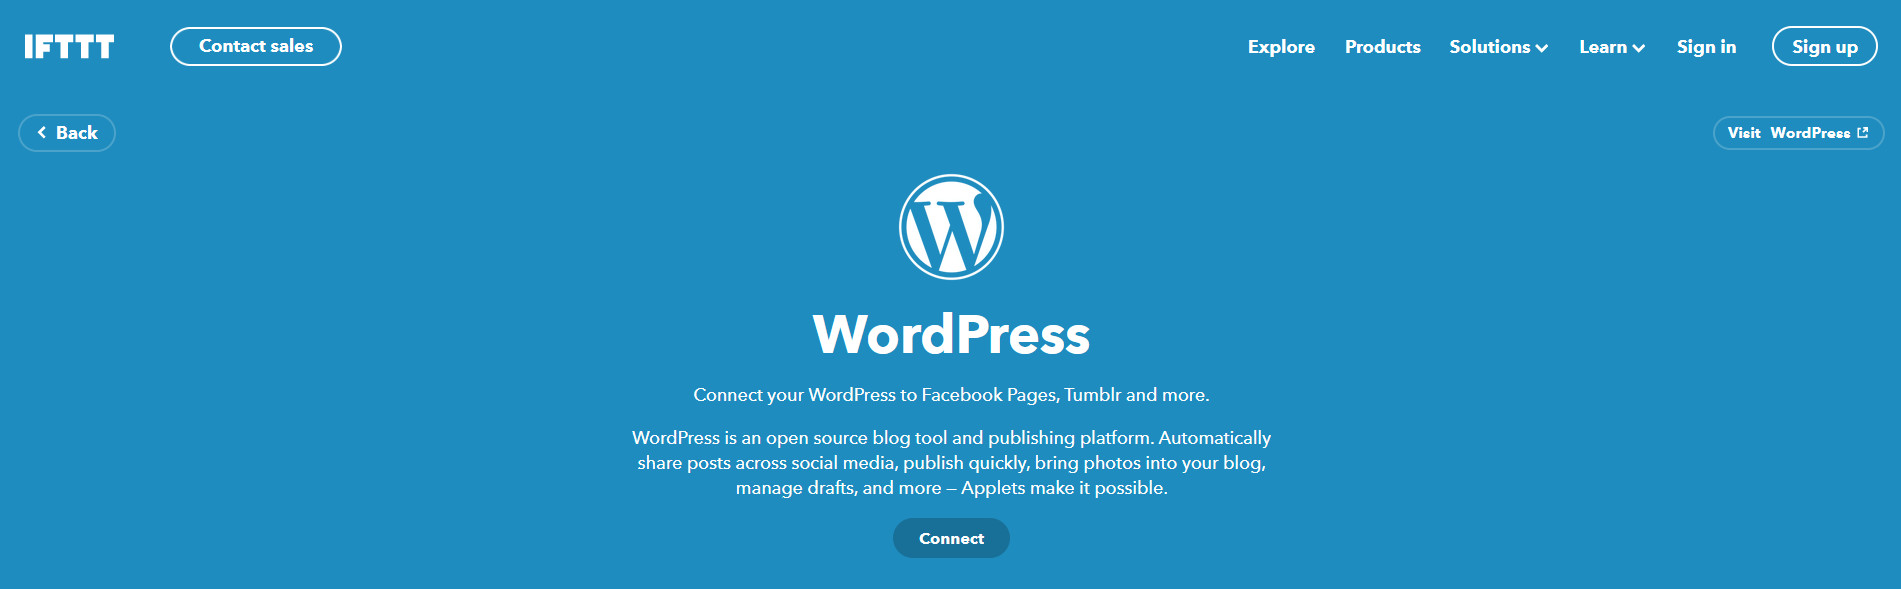
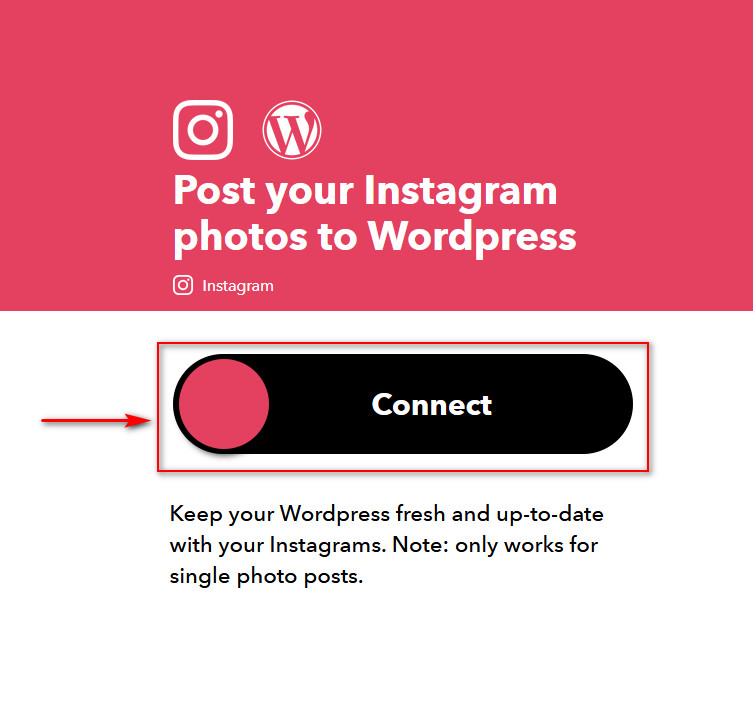
After that, choose one of the Instagram applets for your needs. For this guide, we’ll use the Post Your Instagram photos to WordPress applet.
Select it and then click the Connect button.
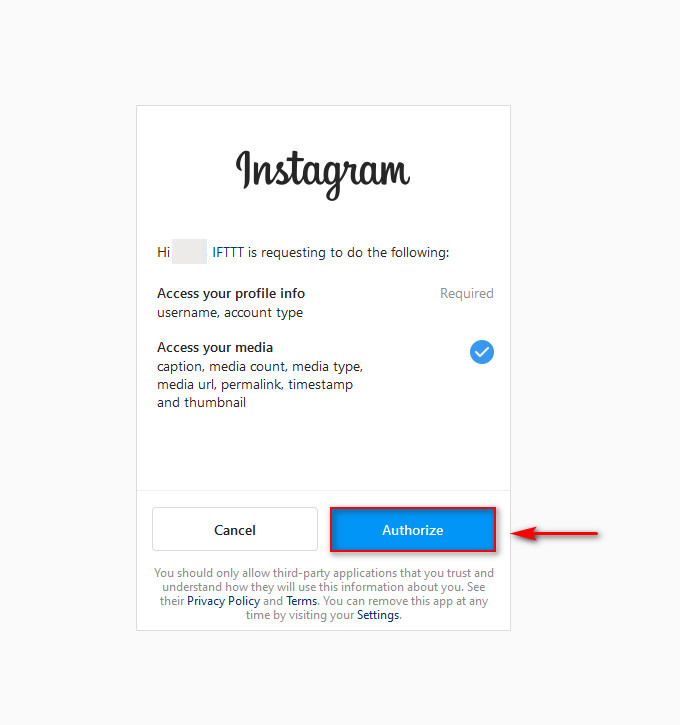
The website will ask you to log in to your Instagram account. Once you agree to give your permission to the app, you’ll go back to the main website.
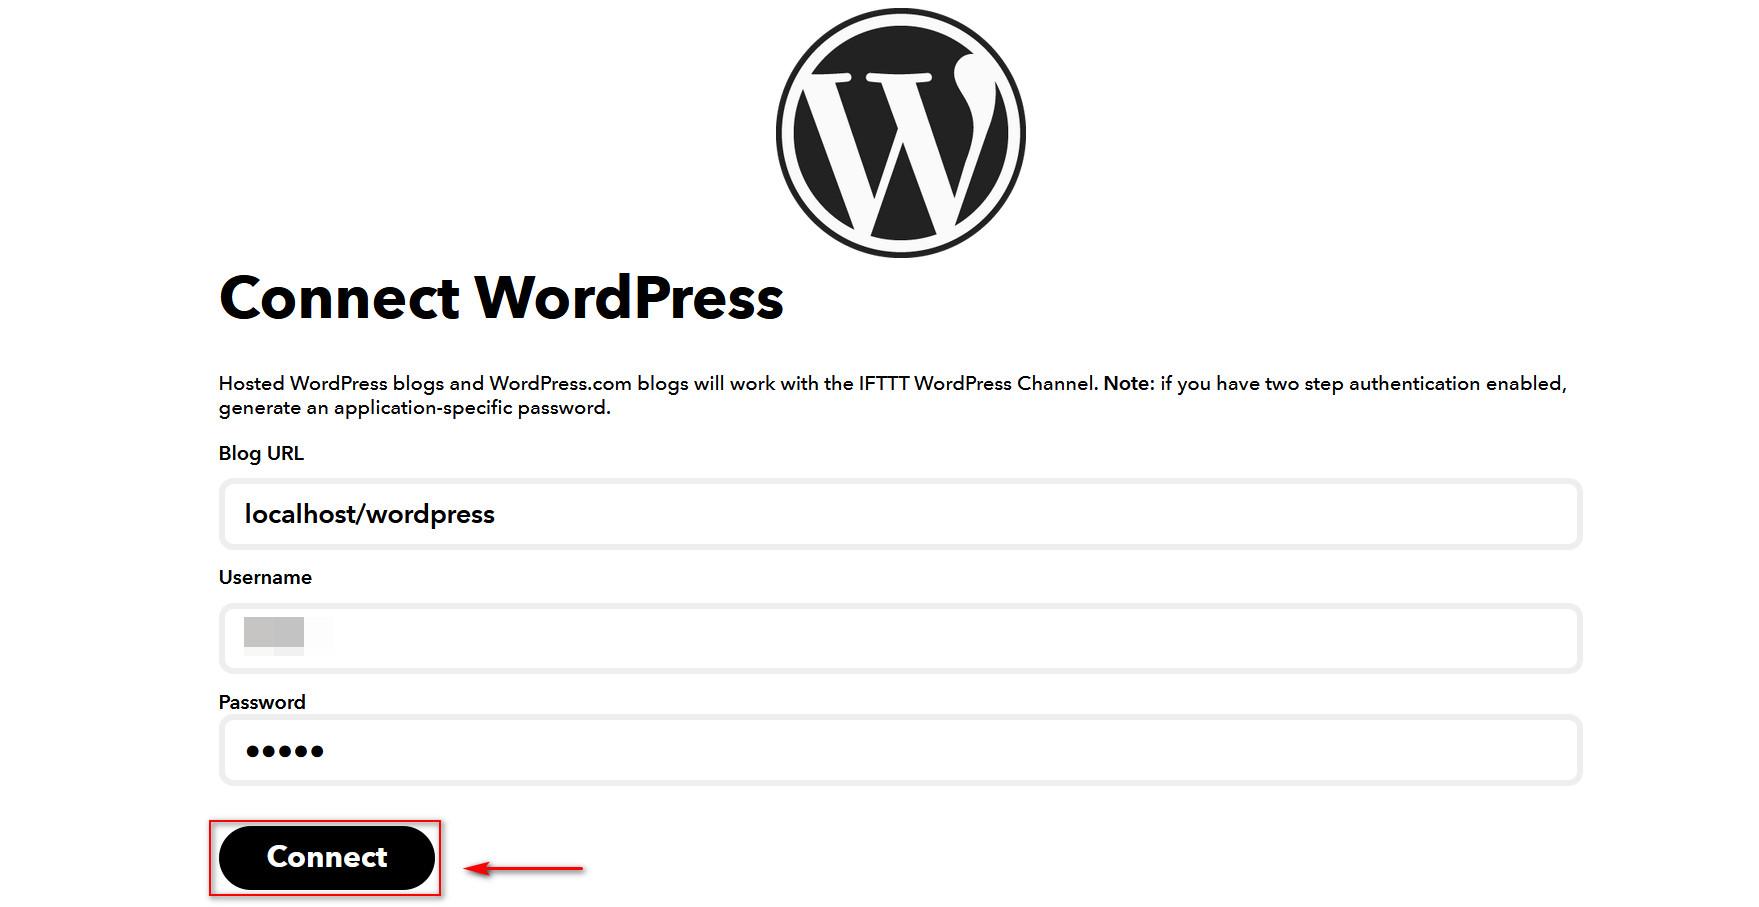
Click the Connect button once again, and this time, you’ll need to enter your Blog URL as well as your login credentials to the blog’s WP-Admin page. After you fill them in, click Connect to connect your WordPress site with IFTTT.
Additionally, you’ll see a page that gives you details about the applet’s actions. You can enable additional options here such as notifications regarding the connection, so you know when the applet is active. On top of that, you can choose to let the app either publish directly to your website, save it on drafts, or publish privately.
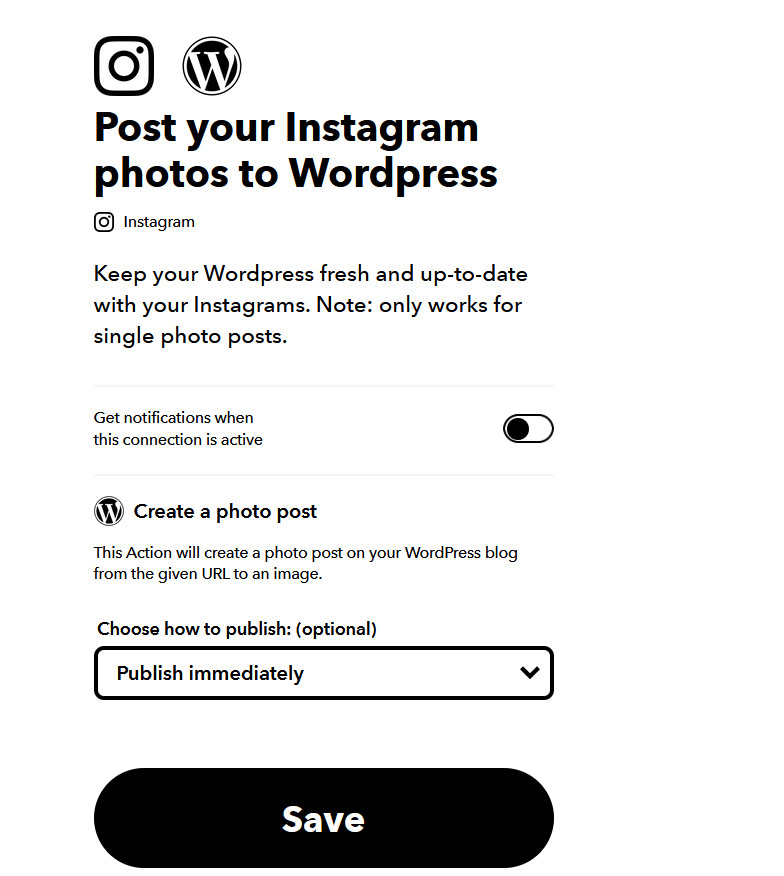
Once you’re done, click Save and your applet should be connected with your website. Now your Instagram posts will be posted on your site automatically!
This is just one of the applets you can use to connect WordPress with Instagram. Additionally, you can check out other Instagram applets that IFTTT offers:
- Automatically change Instagram posts to photo posts
- Instagram post with #hashtag to formated WordPress photo post
- Instagram photo post to WordPress with the correct hashtag to tag translation
Conclusion
All in all, connecting Instagram to your site can help you generate more leads and increase user engagement. And the best part is that there are several options to display feeds and posts with ease.
In this guide, we’ve seen four different methods to integrate WordPress with Instagram:
- Using the Social Feed Gallery plugin
- Adding Instagram feeds using widgets
- Using the embed Instagram option
- Automating publications with IFTTT
All of them provide excellent solutions so you can choose any of them according to your needs. If you want to display a feed on your site and have many customization options, the Social Feed Gallery plugin is your best choice. This tool has a free version that you can download from here and three paid plans. On the other hand, if you want to embed feeds, photos, or videos without much customization, the embed Instagram option is the way to go. Finally, if you want to automatically post content from certain hashtags on your WordPress site, IFTTT is the best tool for the job.
Alternatively, you can combine some of these methods. For example, you can use Social Feed Gallery to display an Instagram feed on a specific page and use IFTTT to automatically post photos from a specific hashtag in another section of your site.
If you face any issues or you have difficulties managing your Instagram feed, let us know in the comments section below! We’ll be glad to help you out.
Finally, Instagram isn’t the only social media site that you can embed on your website. For maximum results, you should integrate the social media pages that your customers use. We recommend you also check out our post on the best plugins to add social media feeds to WordPress.
