How to Create Retina Ready Images in WordPress
Do you want to make retina-ready images on your site? You’ve come to the right place. This article will cover all you need to know about retina images and teach you how to create retina-ready images in WordPress.
What Are Retina Ready Images?
Retina-ready images are images that are optimized for higher pixel-density displays. A standard display or monitor consists of hundreds of thousands of tiny squares called pixels. When you have a retina display, the number of pixels doubles or triples. More pixels means better image quality.
So when you display standard images in retina-ready displays, the images will be slightly blurred. To prevent this issue, you can upload images optimized for retina displays, also known as retina-ready images. Apart from having a higher quality, these images improve the user experience since they’re sharper images and have more details.
For example, when a regular image is 200 pixels in width and 200 pixels in height, the retina version of the same image would be 400*400 pixels.
Keep in mind that retina images are heavier in file size compared to standard images, so keep this in mind before converting all your existing photos to retina-ready.
Comparison Between Retina Images and Standard Images
Here are a few things you need to know regarding standard and retina-ready images.
- Resolution: In terms of resolution, retina images win the battle. The resolution of a retina-ready image is 2 or 3 times better than standard images.
- Quality: Retina-ready images have a higher quality.
- Compatibility: Even though you can use regular images on retina displays, they would be a bit blurry. On the other hand, retina-ready pictures work on retina displays seamlessly, providing the best user experience.
- File size: Retina images tend to be larger than regular images due to their higher quality and resolution.
Now, that you know the main differences between these two types of images, let’s better understand why using retina-ready images in WordPress is a good idea.
Why Use Retina-Ready Images in WordPress?
If you have a website that relies on visuals and images, retina-ready images are a must. Not only do they look much sharper, but also create a better and more memorable user experience on your site.
Here are a few advantages of retina-ready images:
- Since the technology is evolving, retina-ready images are future proof
- More professional look
- Improve user experience
- Visually appealing
- Better for SEO and higher rankings
Using retina-ready images in WordPress also comes with some disadvantages. Some of the notable are:
- Larger file sizes
- Require more storage space
- Can affect the page loading time
Now that you know the pros and cons of retina-ready images, let’s see how to create them on your site.
How to Make Retina-Ready Images in WordPress
The easiest way to make retina-ready images in WordPress is by using a plugin. For this demonstration, we’ll use the free version of Perfect Images.
Installation and Activation
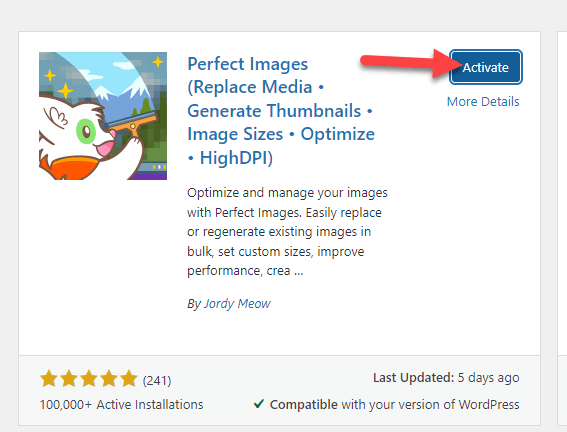
First, log in to the WordPress back end and go to Plugins > Add New. Search for the Perfect Images plugin and install it on your WordPress website.

After installing the plugin, activate it.
Retina Ready Images Generation
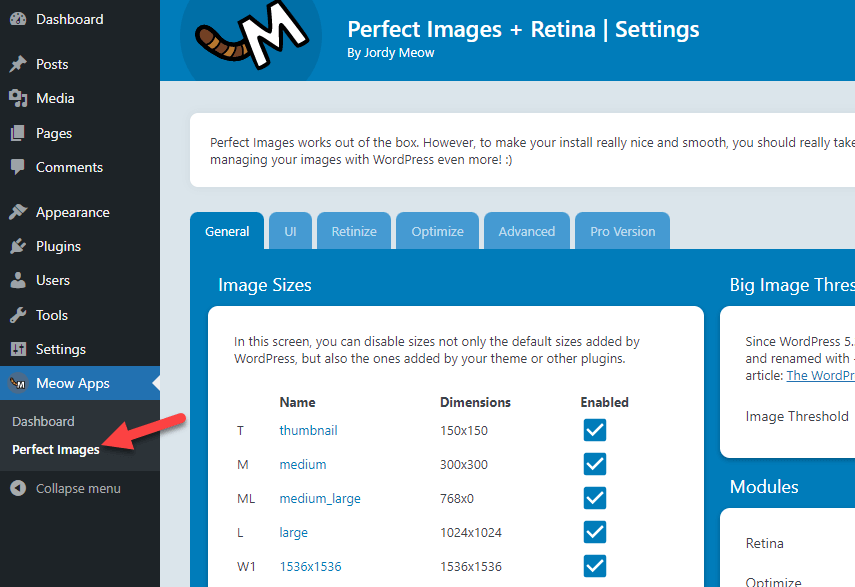
Under the Media settings, you will see a new option called Perfect Images.
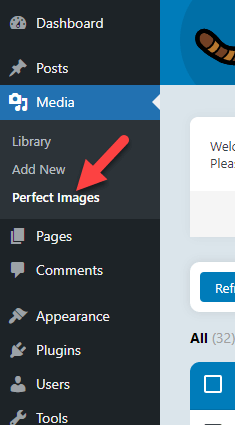
There, you will see every image uploaded to your media library.
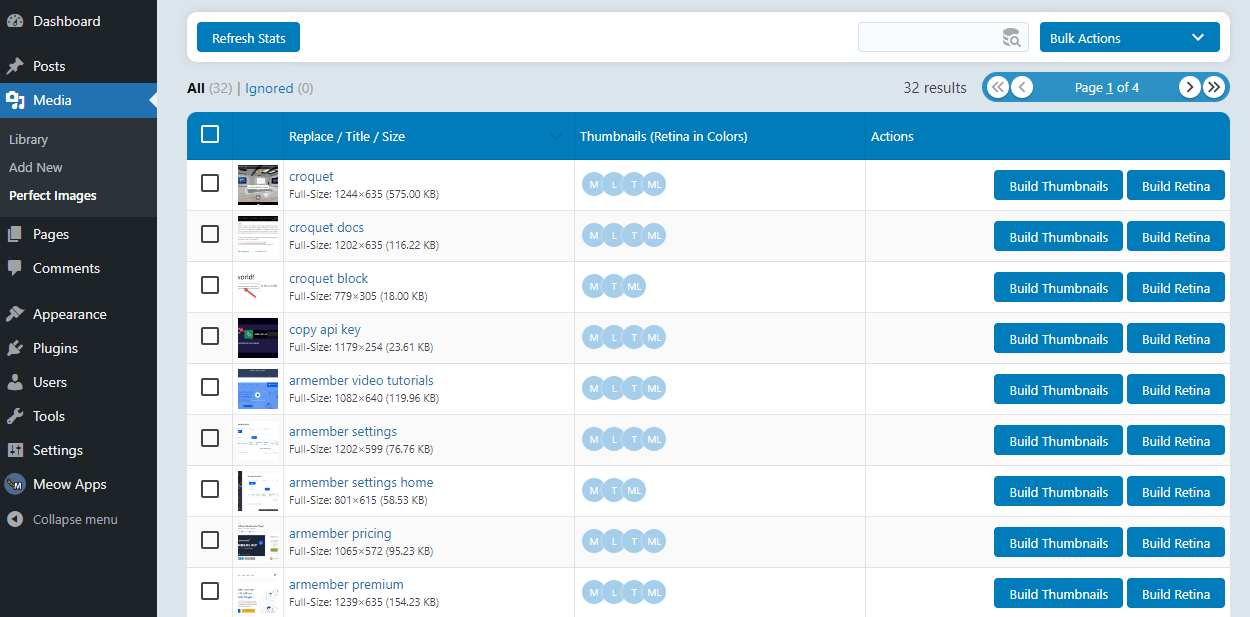
On the right-hand side, you’ll see two options:
- Build Thumbnails
- Build Retina
In this post, we’ll focus on the second option (Build Retina) is the one we need to use. If you want to know more about thumbnails, check out this post.
This plugin allows you to build retina versions of your images individually or in bulk. To create a retina image individually, click the Build Retina button and in a few seconds the plugin will generate the retina version of the image.

Alternatively, if you prefer to make all your images retina-ready, select all the photos and press Build Retina for X Entries.
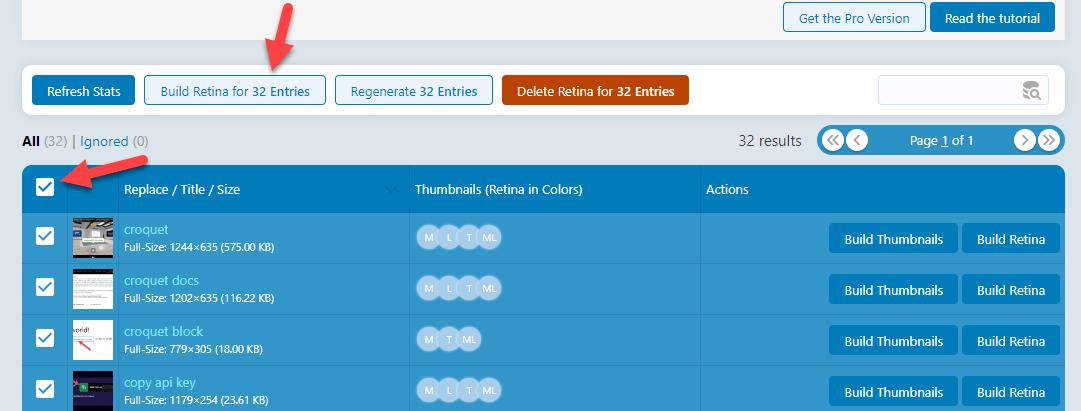
Within a few seconds, the tool will create retina-ready images for your selected media files. This is one of the easiest ways to make retina-ready photos in WordPress.
Plugin’s Configuration
You will see the plugin’s settings on the left-hand side of your WordPress dashboard.
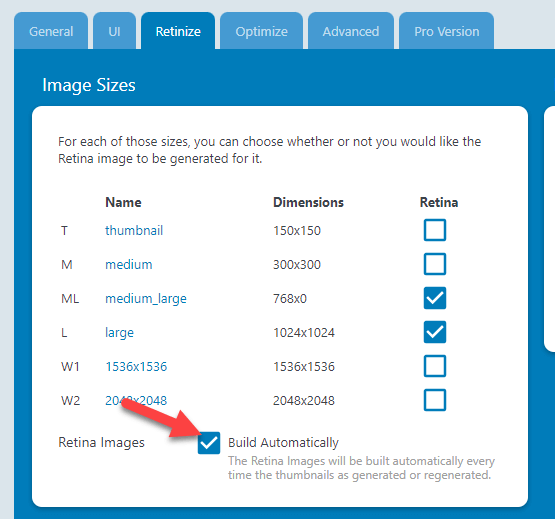
Go to the Retinize tab.
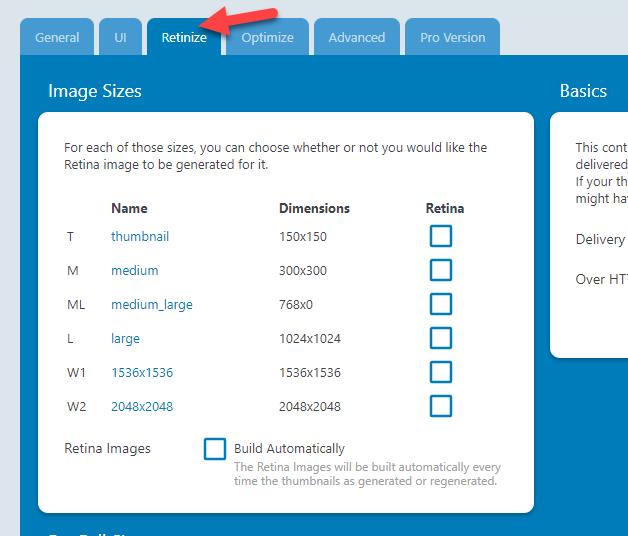
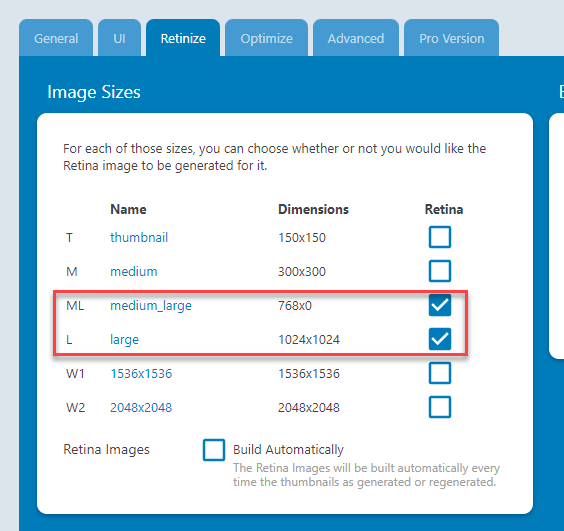
There, you will see all the image sizes. You must select the option to build a retina version for those sizes. In this example, we will create retina images for large and medium-large image sizes.
Enable the Build Automatically option to keep the retina image generation process automated.
That’s it! This is how you can convert your existing image files to retina-ready.
Bonus: How to Clean Your Media Library
When you use Perfect Images to create retina-ready images, the plugin will automatically add multiple versions of your image file to the media library. This is handy if you plan on using these images. However, if you won’t use them, it’s better to remove them so they don’t take up unnecessary storage space.
The good news is that you can clean your media library to keep everything optimized. In this section, we will cover how you can clean your media library to maximize your storage space. For this, we’ll use a plugin called Media Cleaner.
NOTE: We recommend generating a complete website backup before performing this task. If anything terrible happens, you can always restore your website from the previous backup.
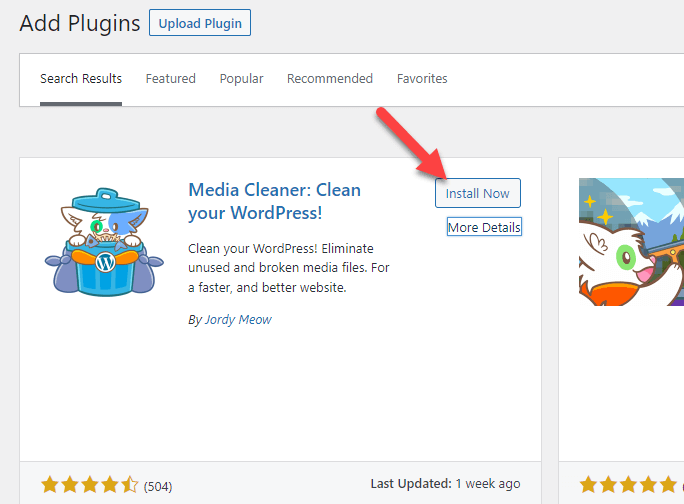
The first thing you need to do is install and activate Media Cleaner on your WordPress website.
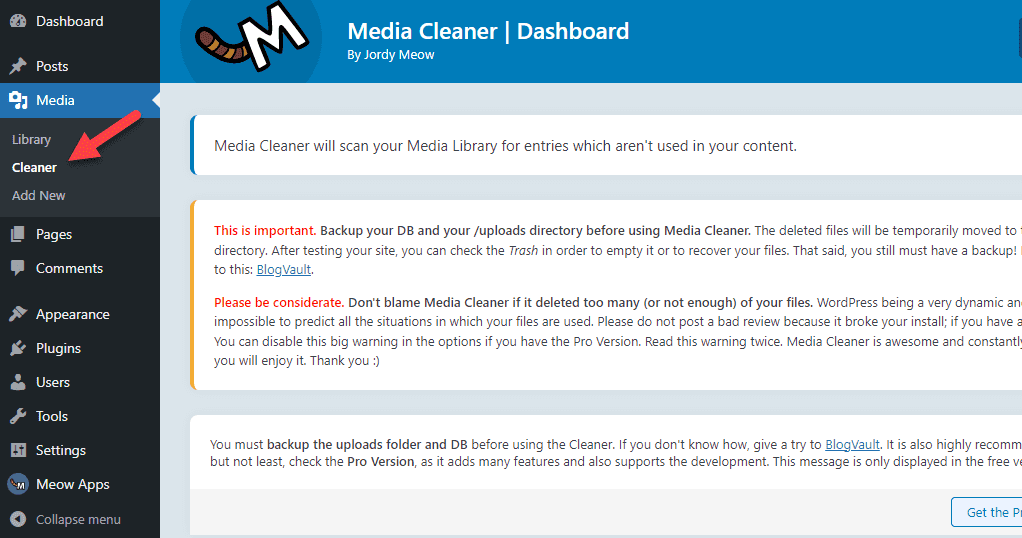
After activation, check the Media section and you will see the plugin’s settings.
If you scroll to the bottom, you will see a Scan button. Click it to start the scanning process.
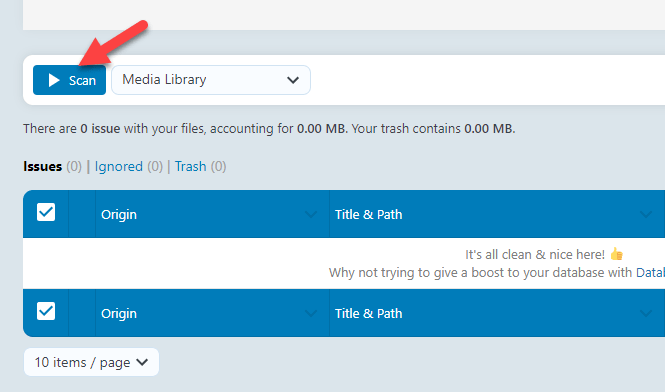
This may take a few minutes depending on your media library size. Once the scanning process is complete, it will show you all the images that you aren’t using.
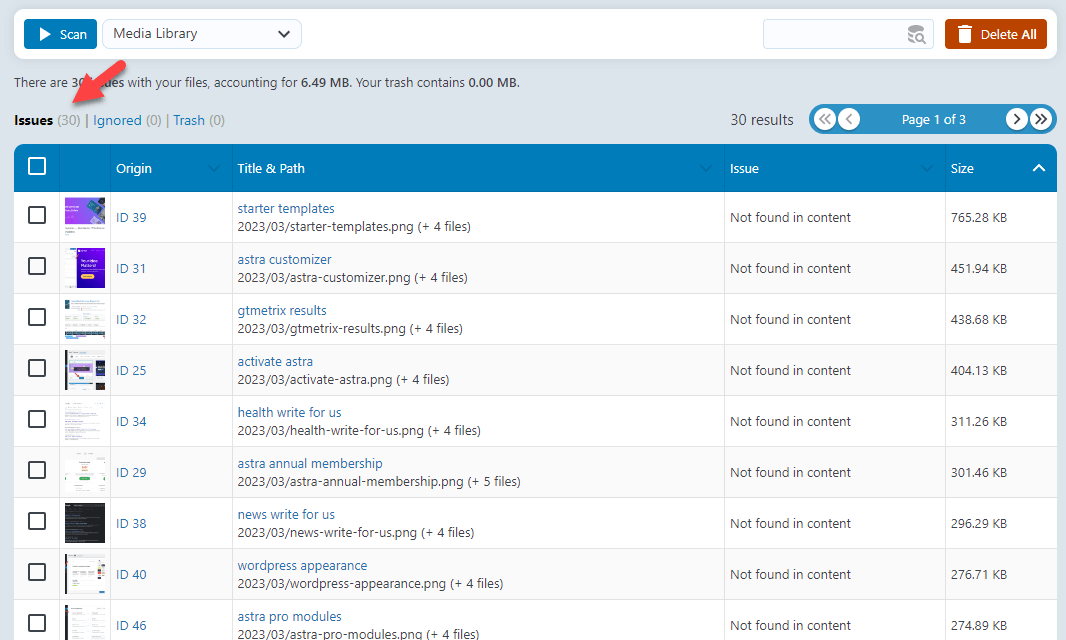
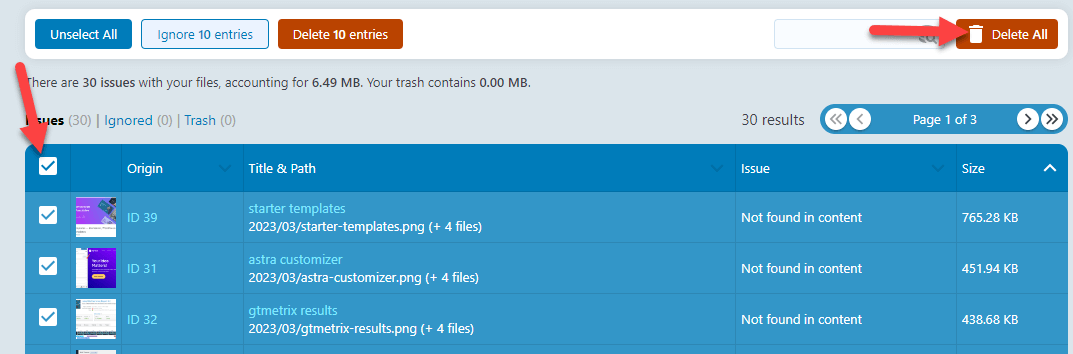
You can delete individual images from there by manually selecting them, or you can delete all the unused photos with a single click by selecting them and then pressing Delete All.
This will help you have a cleaner media library and save up precious storage space. We recommend you do this regularly to optimize your media library and keep it clean.
Conclusion
Making your images retina-ready is a good idea, especially if you have a visually appealing site with images.
As you can see in this tutorial, you can make retina-ready images with a plugin like Perfect images in a couple of seconds. The plugin comes with an easy-to-use dashboard and has minimal configuration options.
On top of that, you can also choose the image sizes from the list to generate retina-ready images, especially for them. You can also enable the Build Automatically option to keep the process automated. This will ensure all the uploaded images generate a retina-ready version without manual work.
But remember that generating more retina-ready images will cost some more storage space, so plan accordingly.
You can also check our blog archive for more WordPress tutorials and reviews.
Similar articles you might like:
