
How to Watermark Images in WordPress
Online piracy is more and more common, and if you don’t take the necessary precautions to safeguard your images, someone may come along and steal them. This is especially concerning for photographers and artists who rely on the quality of their portfolios to make a living. Watermark is a tool to guard your content from such thieves. So, if you want to watermark images in WordPress, you are at the right place.
This article will discuss why and how to watermark images in WordPress. Let’s get started!
What is a Watermark?
Watermark is a text or logo on top of a document or an image file. So, if someone else steals the image, people will know who the real owner is. This is important for protecting the author’s rights and selling digital works.
Generally, internet users can potentially steal and misuse anything file or image you upload online. But if you use a watermark on your images, everyone who sees it would know where it is from.
Let’s see in detail why we need to watermark images in general.
Why Do We Need to Watermark Images?
A document or image may need a watermark for a few important reasons.
First, watermarking ensures that your work cannot be reused or altered without your consent and helps preserve the copyright of your creation. This implies that you can allow customers to read a sample of your work before buying it without worrying about them stealing it.
Secondly, you can use watermarking as a straightforward branding strategy as well. Digital watermarking is a way to advertise your name and increase brand recognition. Like a painter who signs his work so you can recognize it at once.
There are three main reasons why photographers use watermarks on their images.
- They want their customers to refrain from printing their photos, even though they may include prints in their packages.
- They don’t want others to steal credit for their hard work.
- A watermark will make it easy for people to find their photos and recognize their brand as they are shared around the web.
That was all about watermarks and why we need them. Now, let’s move and see some of the top WordPress plugins to watermark images.
Best WordPress Watermark Plugins
You can watermark images in WordPress using different plugins. Let’s talk about some of the best watermark plugins for WordPress.
1) Easy Watermark
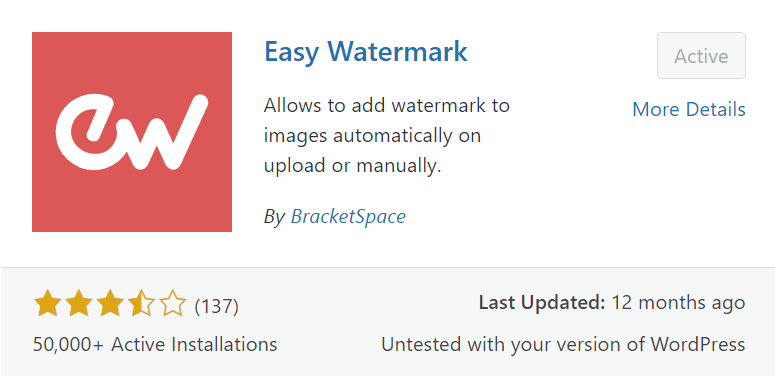
Easy Watermark is one of the best plugins to watermark images in WordPress. This plugin can automatically add a watermark on pictures uploaded in the WordPress media library. You can add images and plain text as watermarks with this plugin.
Following are some important features of Easy Watermark.
Features
- Can watermark GIF, JPG, or PNG.
- You can set size, text color, and rotation.
- Create a backup and restore option.
- Text watermark created with True Type Fonts.
- Watermark opacity settings from 0-100% in GIF and JPG
Pricing
Easy Watermark is a free plugin.
2) Image Watermark

Image Watermark is another free plugin to watermark images in WordPress. This plugin watermarks images with text, an image, or both. This plugin automatically watermarks the photos added to the WordPress media library. If you want to restore images, Image Watermark can also remove the watermark from the images.
The following are the important features of Image Watermark.
Features
- Image backup
- Adjustable positioning
- Bulk application of watermark
- Supports ImageMagic and GD Library
- Customizable watermark offset
- Selective options to post images
Pricing
Image Watermark is free to download.
If you want to see further watermark plugins for WordPress, check out our dedicated guide on the best WordPress watermark plugins.
How to Watermark Images in WordPress
We will start the process from scratch to let you know how to watermark images in WordPress. Without further ado, let’s begin.
1. Install the Plugin
I will use the Easy Watermark plugin to show the process of watermarking images in WordPress, as this plugin makes this process quick and simple. Using Easy Watermark in WordPress, you can add a watermark to any picture. It can go in different places, and you can change the color to make it stand out on any image.
- First, log in to the WordPress dashboard.
- Go to Plugins and select Add New.
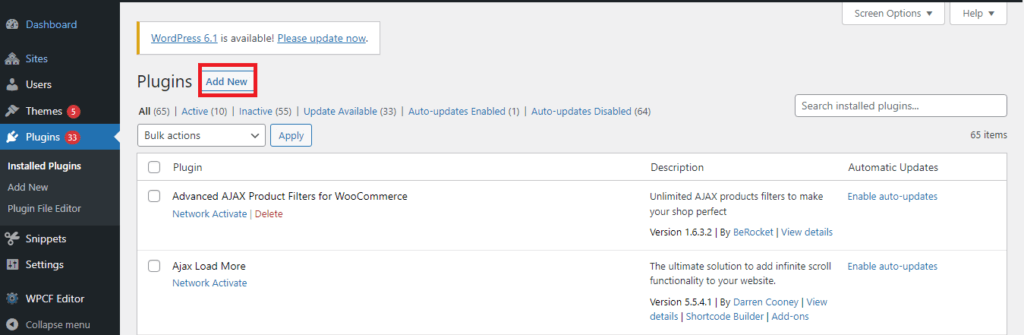
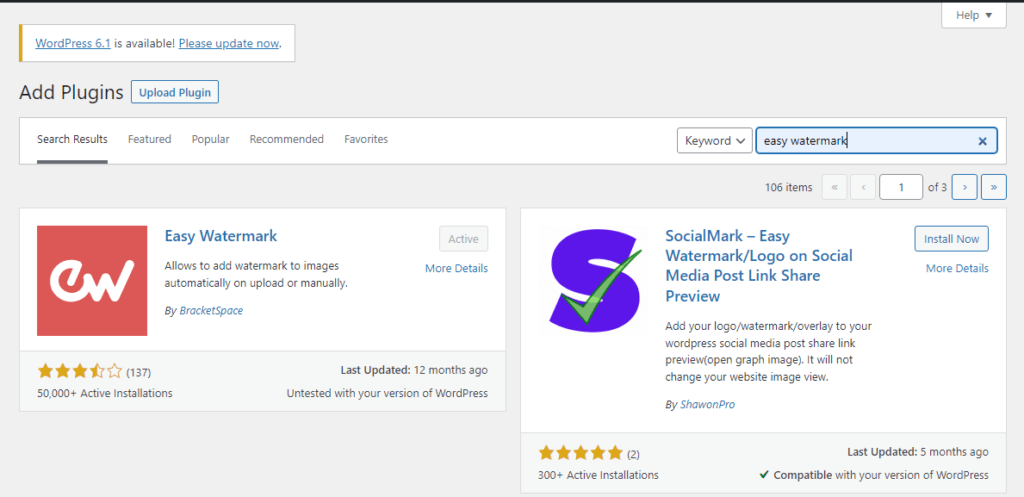
- Type Easy Watermark in the search box and click enter.
- Click on Install Now. Once the plugin is installed, click on the Activate button to activate the plugin on your site.
2. Configure Easy Watermark Plugin
First, you have to add a watermark to the image bank. This is the watermark you will put on your photos, and you can choose between one that uses text or an image.
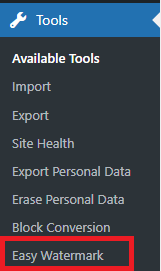
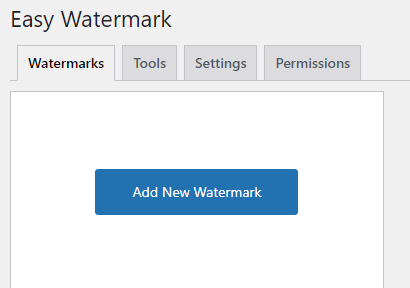
- Click on the Tools option and click on Easy Watermark.
- Click on the Add New Watermark button.
3. Add New Watermark
You can add a title at the top to identify the watermark you use. You have to choose between text and an image under the title. Both are easy to use but have different settings and features. I will put my attention on adding a text one.
Write the Watermark text in the Watermark text box.
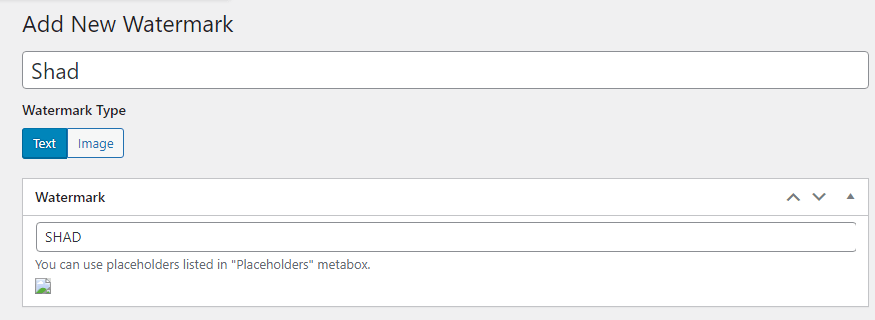
You will see the customization options below this, including text size, text color, opacity percentage, alignment, and font type.
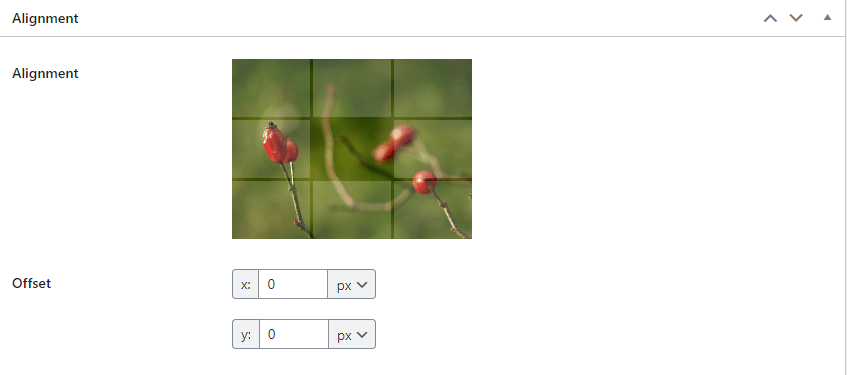
In the alignment setting, you choose the position where the watermarks are supposed to appear. Most websites choose one of the four corners because it changes the image the least. The plugin gives you a sample image, and you can select which quadrant it will appear in.
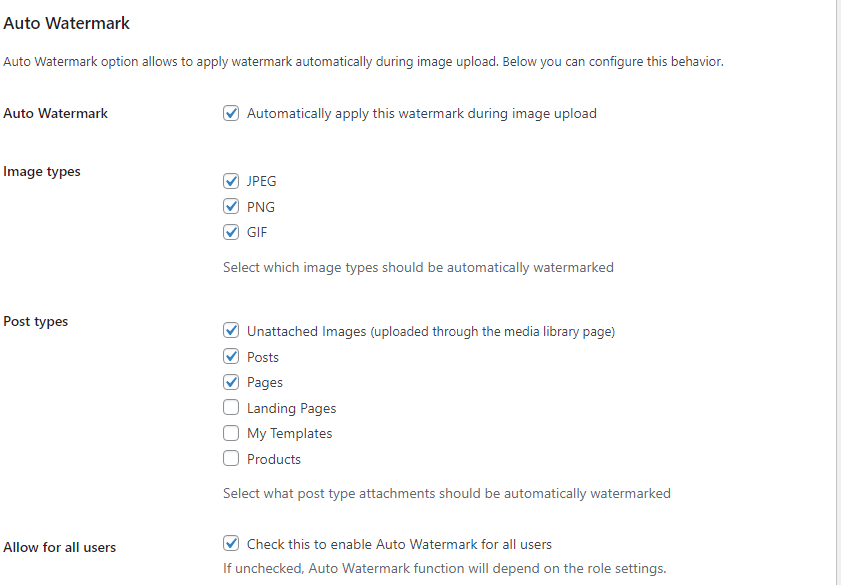
4. Configure Applying Rules
Lastly, there are a series of applying rules. These rules decide when to add a watermark to an image. You may, for instance, choose to have the watermark appear on the images within the post instead of on your thumbnails.
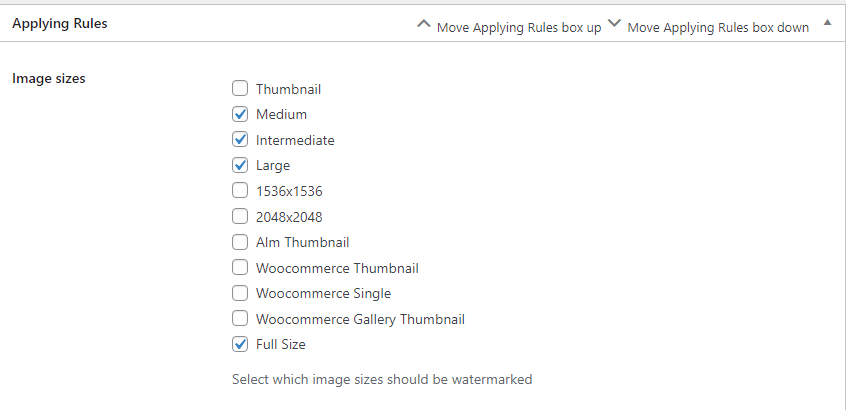
Additionally, several automation settings will guarantee the watermark is added to every image on your website. You have the option of leaving the settings as-is or customizing them.
Once done, click the Save button at the top right corner.
Bulk Watermark Existing Images in WordPress
The question is, what to do if you have hundreds of old images and want to add watermarks on all those images? Not a problem. Easy Watermark can also do this for you effortlessly.
Here are the steps to watermark already existing images in your WordPress library.
- Navigate to Tools and click on Easy Watermark.
In Easy Watermark, go to Tools > Bulk Watermark. Click the drop-down menu, select the desired watermark name, and click the Start button.
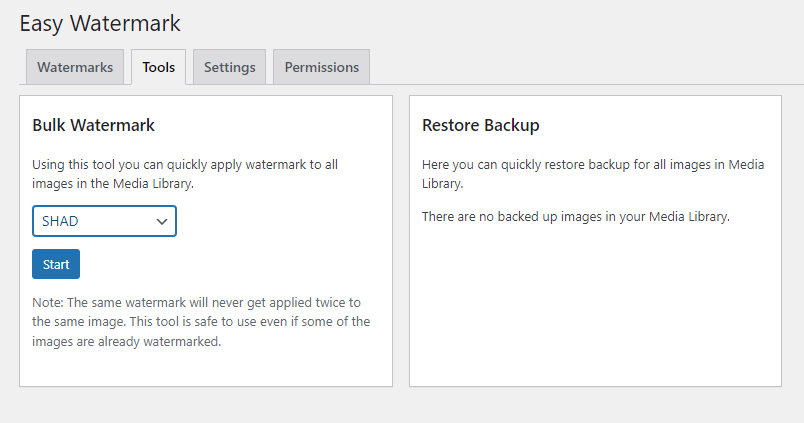
The plugin will now start adding the watermark to your old photos. The process could take a few minutes if you have several images on your website.
Once done, you can check your live posts to see the watermark on your pictures. However, images in the media library or the editor will not have the watermark. You can only observe these changes on a live page or in the preview.
Adding Watermark to Images Manually
Suppose you don’t want to watermark images in WordPress automatically to all library images. Don’t worry. You can do it manually for individual images with Easy Watermark.
Follow the steps to watermark images in WordPress manually.
- Go to Tools > Easy Watermark.
- Uncheck “Automatically apply this watermark during image upload”.
- Go to Media > Library.
- Open an image.
- At the bottom, you will find the option to Apply a watermark to that image.

Tips to Protect your images
Image theft is a problem many photographers have to deal with. It happens all the time, especially on the internet. There are a few ways to prevent people from taking pictures from your website.
Before going further in the article, let’s learn about copyright and image theft. Copyright laws are the same everywhere and apply to everyone. When someone takes a photo, the person who took it is automatically the copyright owner.
Likewise, even if the website owner doesn’t say so, you should know that the content you are looking at is protected by copyright. Copyright protects not only the photos you see on the web but also the texts, videos, and any other type of content.
Stealing other people’s work is not only against the law but also ethically wrong. Even though one can easily find royalty-free photos on the internet from many different places, yet, people can still steal your pictures. So, here are a few things in WordPress to stop that from happening.
1. Disable Right Click
Someone can right-click on your picture and choose Save As to save it. This is one of the simplest ways to steal photos from any website. But you can turn off the right-click feature on your website and make it harder for an average user to steal your image.
You can turn off the right-click feature on your website using the WP Content Copy Protection WordPress plugin. But, this plugin has a drawback. It is impossible to right-click anywhere on the page. The Envira Gallery plugin is another way to turn off right-click. If you have turned off the right-click option, visitors will know it’s protected by copyright and can’t save the image from your website.
2. Watermark Images
Adding a watermark on your photographs is one of the most efficient techniques to prevent image piracy. However, your pictures might not look their best if you use this trick. So, you should add the watermark in a way that doesn’t ruin the look of your photos while keeping them safe from thieves.
Watermarking an image in WordPress is a quick and easy way to prevent image theft. You can do this with either Envira Gallery or Easy Watermark plugin. We have already discussed watermarking images with the Easy Watermark plugin in detail in this article.
3. Copyright Notice
Another method to keep thieves away from your photos is by adding a copyright notice to your website. You will need the copyright sign, the owner’s name, and the year the work was created to create a copyright notice.
You can also use code to add a copyright notice. Just add the following code into the theme’s footer file in HTML or plain text like this:
© 2020-2026 QuadLayers.com
4. Disable Hotlinking of Images
Hotlinking is when someone puts your image on their website by linking to it instead of copying it. Your image would load from your server and be shown on other websites without your consent. As a result, your server load and bandwidth usage will increase.
To prevent this type of image theft, you need to disable the hotlinking of images from your website. You can add the following code to the .htaccess file on your WordPress site’s root directory.
#disable hotlinking of images with forbidden or custom image option
RewriteEngine on
RewriteCond %{HTTP_REFERER} !^$
RewriteCond %{HTTP_REFERER} !^http(s)?://(www\.)?yourdomainname.com [NC]
RewriteCond %{HTTP_REFERER} !^http(s)?://(www\.)?google.com [NC]
RewriteRule \.(jpg|jpeg|png|gif)$ – [NC,F,L]
The code will stop hotlinking and let images appear only on your website and in Google search results. You can also use the All In One WP Security & Firewall plugin to disable hotlinking on your website if you do not want to mess with the code.
Conclusion
All in all, the internet is the best platform to share your content. But sadly, there is a high probability that your content can be stolen. In this article, we have discussed what watermarks are and how to use a plugin to watermark images in WordPress.
We started off with why you need to add watermarks to images in general. Then we saw the best WordPress plugins to watermark images. Afterwards, we learnt how to watermark images in WordPress using the Easy Watermark plugin. Lastly, we rounded off with some tips to protect your images.
We hope this article helped you to watermark images in WordPress. Have you used any of the plugins mentioned to watermark images? Which plugin did you use? Tell us in the comment section below.
Meanwhile, here are a few more posts you might be interested in:
