
Are you looking for ways to add ALT tags to your images and improve SEO? You’ve come to the right place. In this guide, we’ll show you different ways to automatically add ALT tags to images on your site.
Regardless of the industry your business is in, chances are you have many competitors. Most of them have websites and you compete with them to attract users to your site. With so much competition, you must make the most of every single means you have to stand out.
You have heard about SEO and you’re probably using plugins like Yoast SEO or Rank Math to optimize your content for better readability and on-page SEO. But to have an edge over your competitors you should take it a step further. That’s why in this post, we’ll have a look at ways to add ALT tags to your images and get more visitors to your site.
Why Add ALT Tags to Images?
Alt tags (alternative tags), also known as alt text and alt attributes, are text that is used within an HTML code to describe the content of an image. If a user goes to a site and the page fails to load, the alt tag will appear instead of the image. This text is useful for the reader and also helps search engines to crawl and rank your site.
Adding ALT tags to the images you use will help you to boost your SEO and reach more potential visitors. For example, let’s say that you have issues and the Divi contact form isn’t working. If you Google something like “Divi contact form not working, you will see some results on the search page.
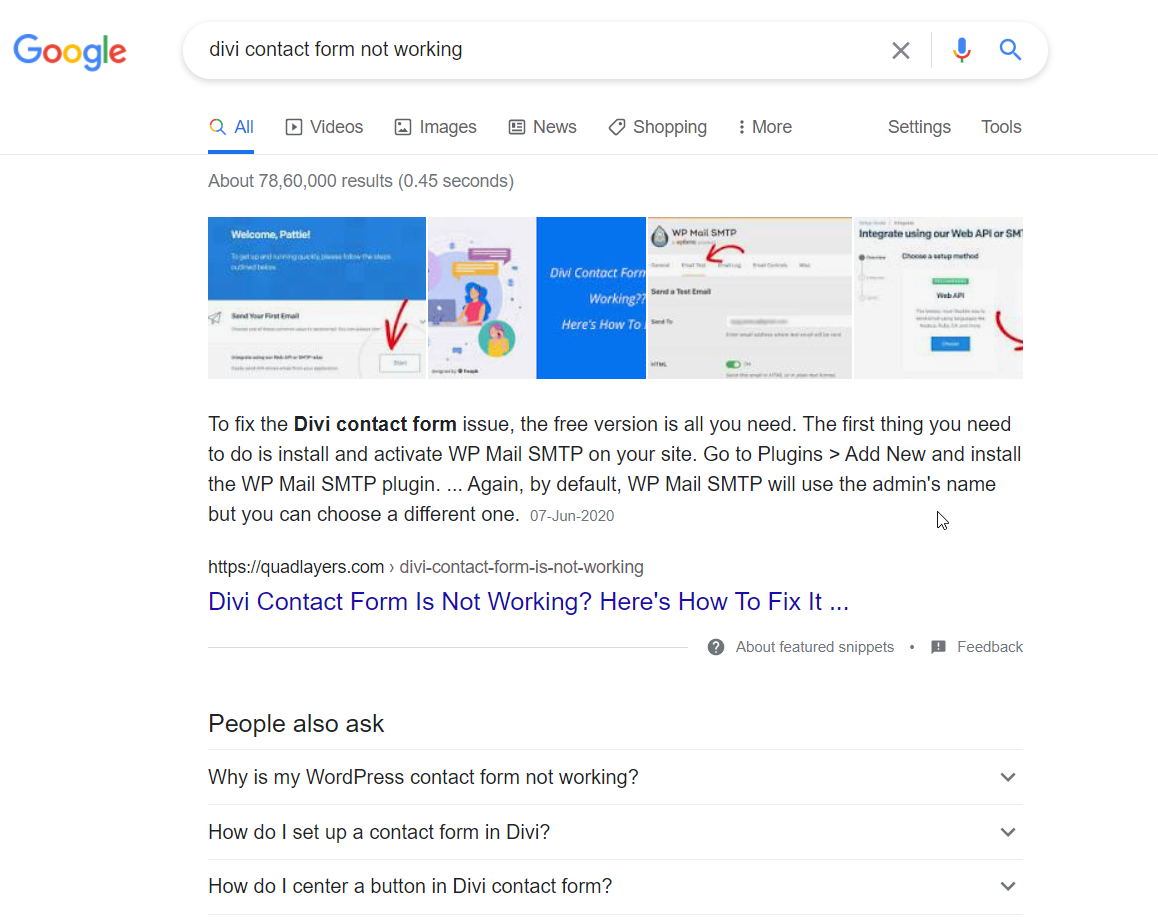
And If you check the image search, you will see different images. Those images are ranking because of their ALT tags.
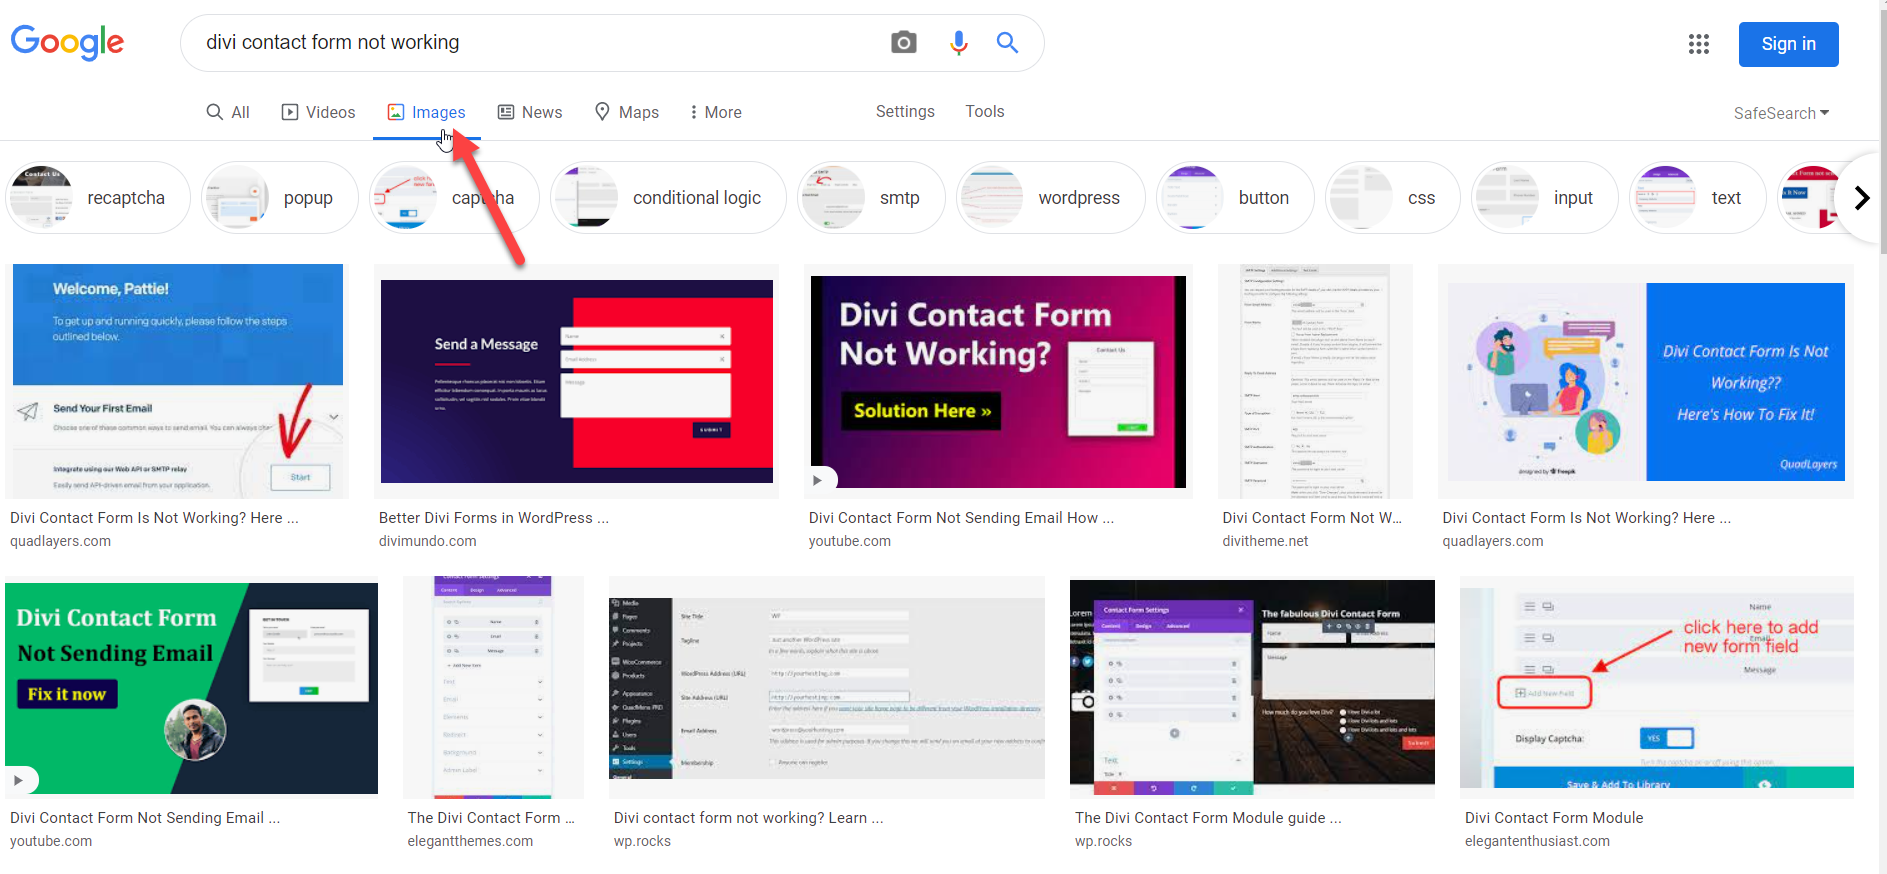
So if you want to rank your pictures higher in the search result and have an edge over your competitors, you should add ALT tags to your images and use keywords that your users will search and describe the image.
How to Manually and Automatically Add ALT Tags to Images in WordPress
There are different ways to add ALT tags to your images:
- From the WordPress dashboard
- Media Library
- Post Editor
- With a plugin
Both have advantages and disadvantages. Let’s have a closer look at each method so you can decide which one is better for you.
1) From the WordPress Dashboard
WordPress allows you to add ALT tags to your images without using any plugins or custom codes. You can do this when you upload new photos to your website or through the media library.
1.1) From the WordPress Media Library
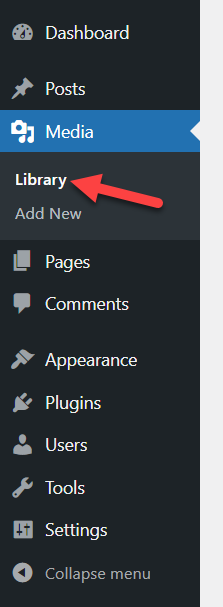
First, log in to your WordPress site and go to Media > Library.
There, you will see all the available media, from images to PDF or ZIP files to videos. In our case, we have several pictures in our library.
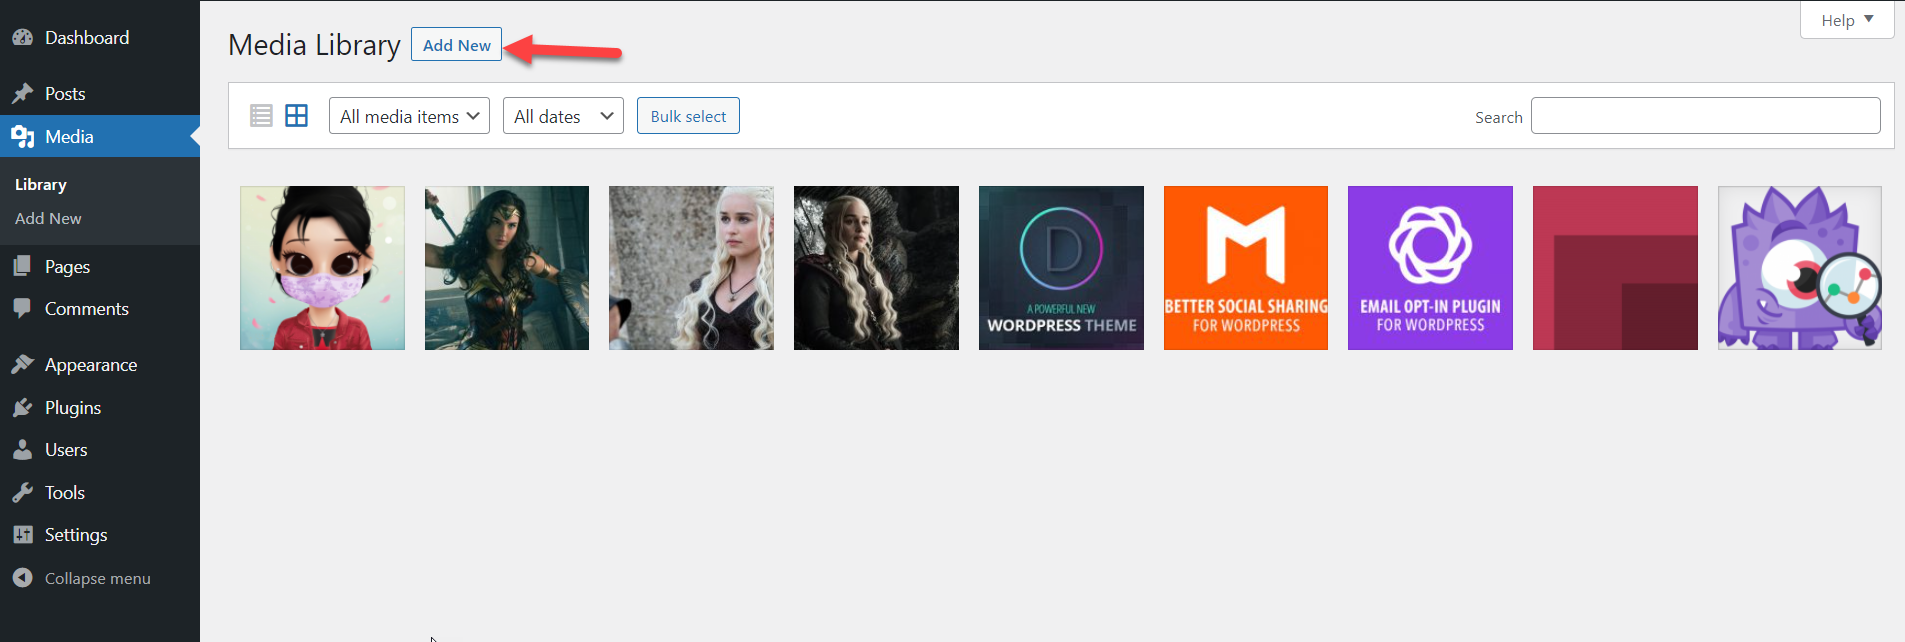
To add ALT tags to the images, select an individual photo and open it.
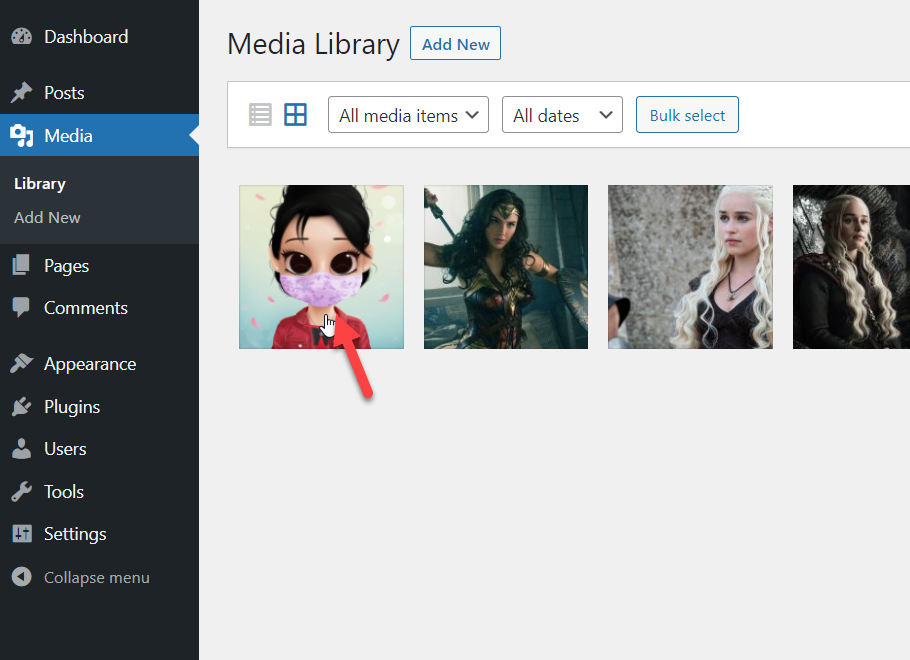
On the right-hand side, you will see several options to modify the image.

All you need to do is select the Alternative Text option and add your custom ALT tag. For example, we will add the text Author Image as our custom ALT tag.
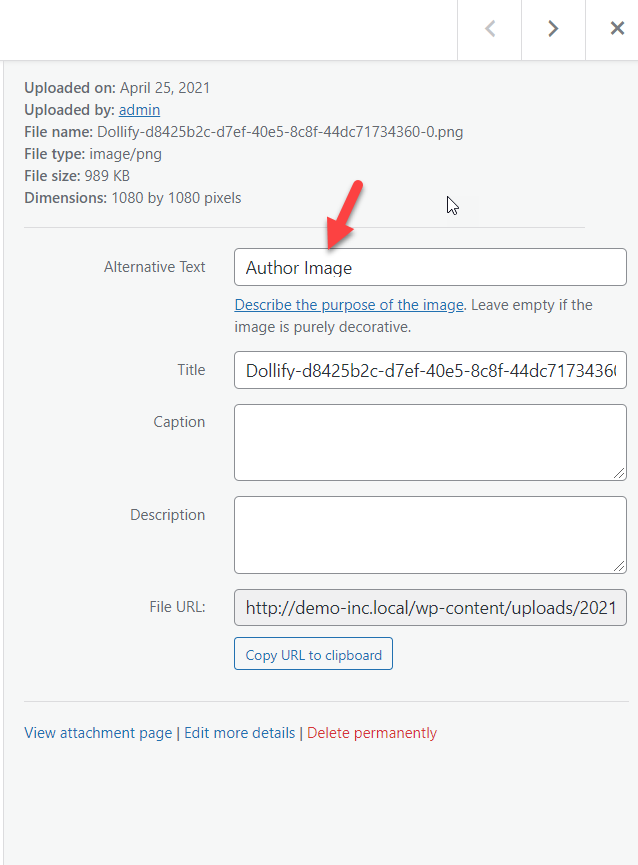
You don’t need to save it manually. WordPress will automatically update the ALT tag and attach it with your image. Then repeat the process for all the other images.
That’s it! This is how you can manually add the ALT tag through the media library.
1.2) From the WordPress Post Editor
Another method to add ALT tags to your images is via the WordPress post editor.
WordPress is the most popular CMS in the world. If you’ve had your site for some time, you have probably generated a fair bit of content and images to attract visitors. Apart from creating quality content, you need to make the most of the image ALT tags.
Most users upload images to their posts through the content editor, and the good thing about it is that you can add ALT tags from there the moment you upload the pictures.
First, create a new blog post or edit one of your existing articles.
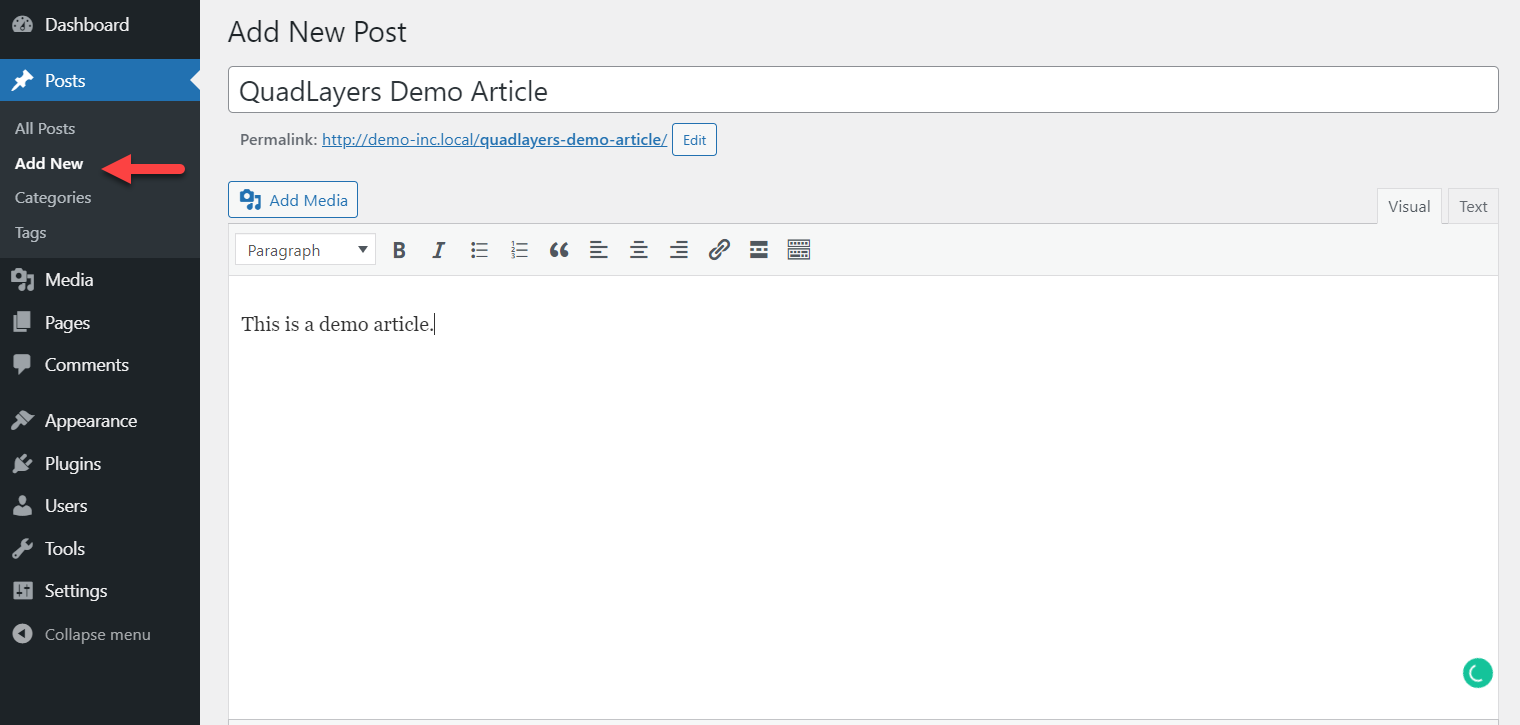
Using the Add Media button, add a new image to your post.
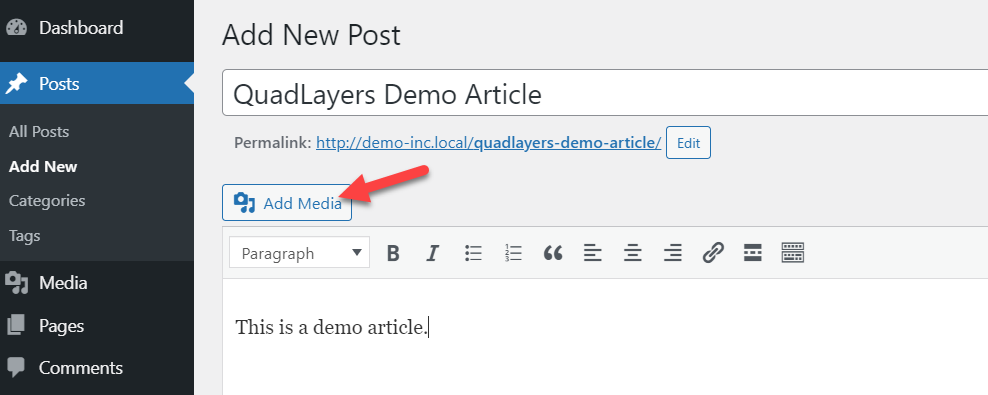
Choose one of your existing images or upload a new one to the site. Once you have selected the file you want to add, you will see several options on the right-hand side.
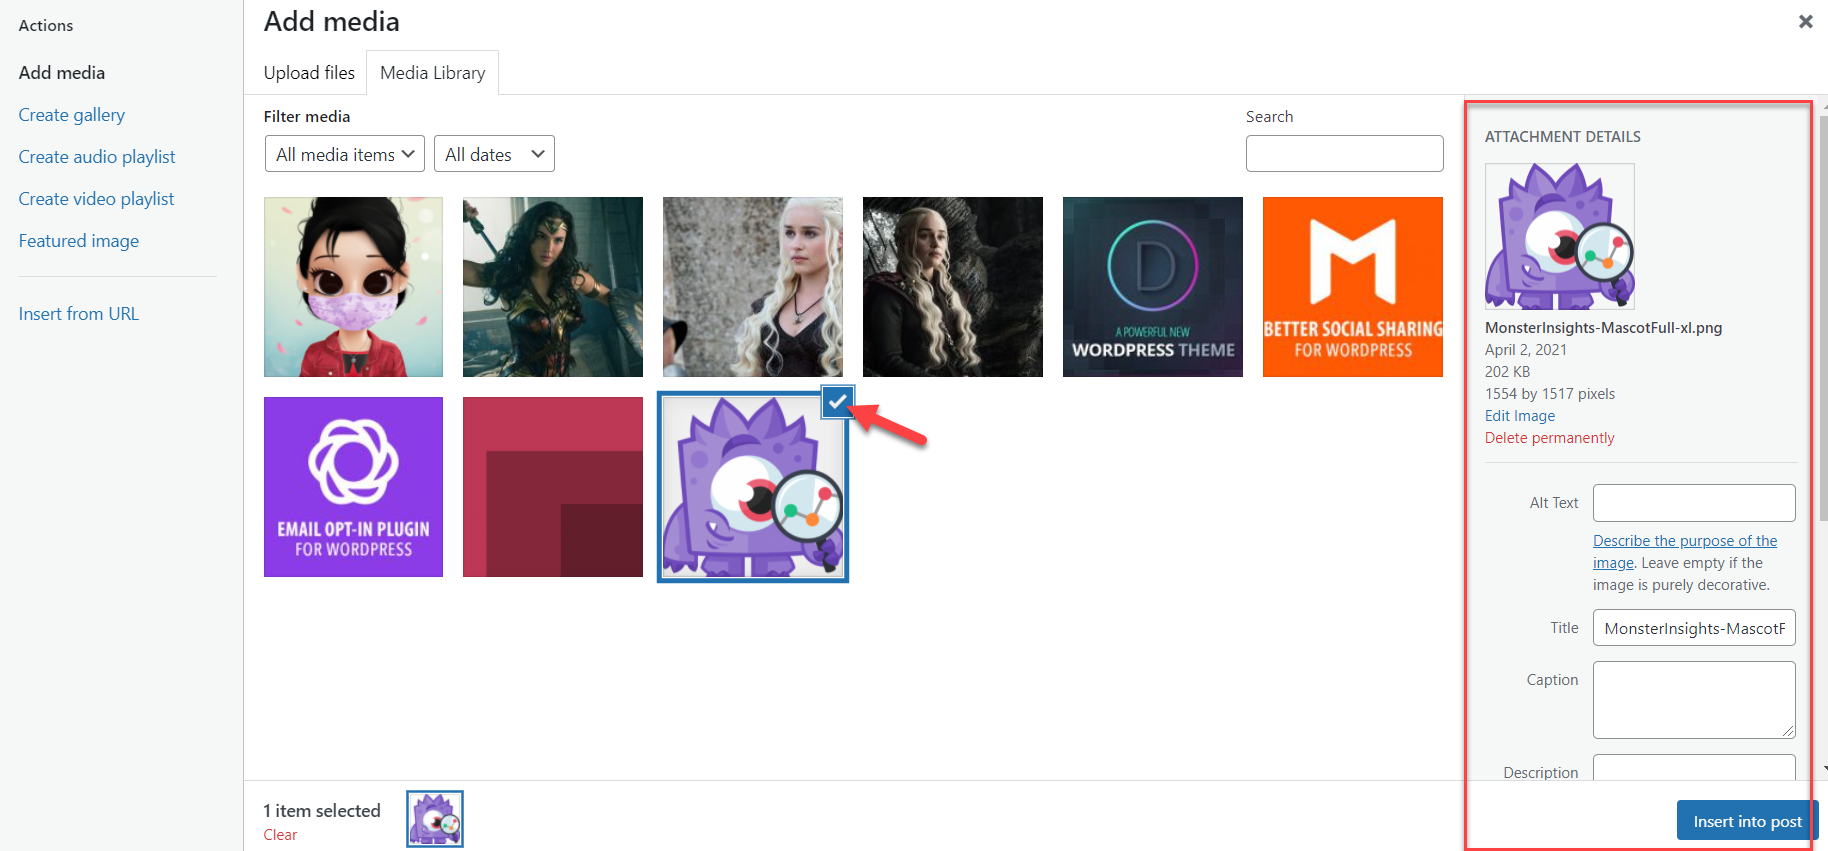
The media options you will see are:
- ALT text
- Title
- Caption
- Description
- Media URL
- Alignment
- Media linking option
- Image size
Enter the ALT text in the right field and insert the image into your post.

That’s it! This is how you can add an ALT tag to your images using the WordPress post editor.
Adding ALT tags from the WordPress dashboard is easy but it can be time-consuming if you have many images because you have to do it one by one. That’s why
2) Using a Dedicated Plugin
The best way to automatically add ALT tags to your images is to use a dedicated plugin. Here, we will show you step-by-step how you can automate the process and save time. For this demonstration, we will use a free WordPress plugin called Auto Image Attributes From Filename With Bulk Updater.
First, install and activate the plugin on your site. In your WordPress dashboard, go to Plugins > Add New, look for the tool and install it.
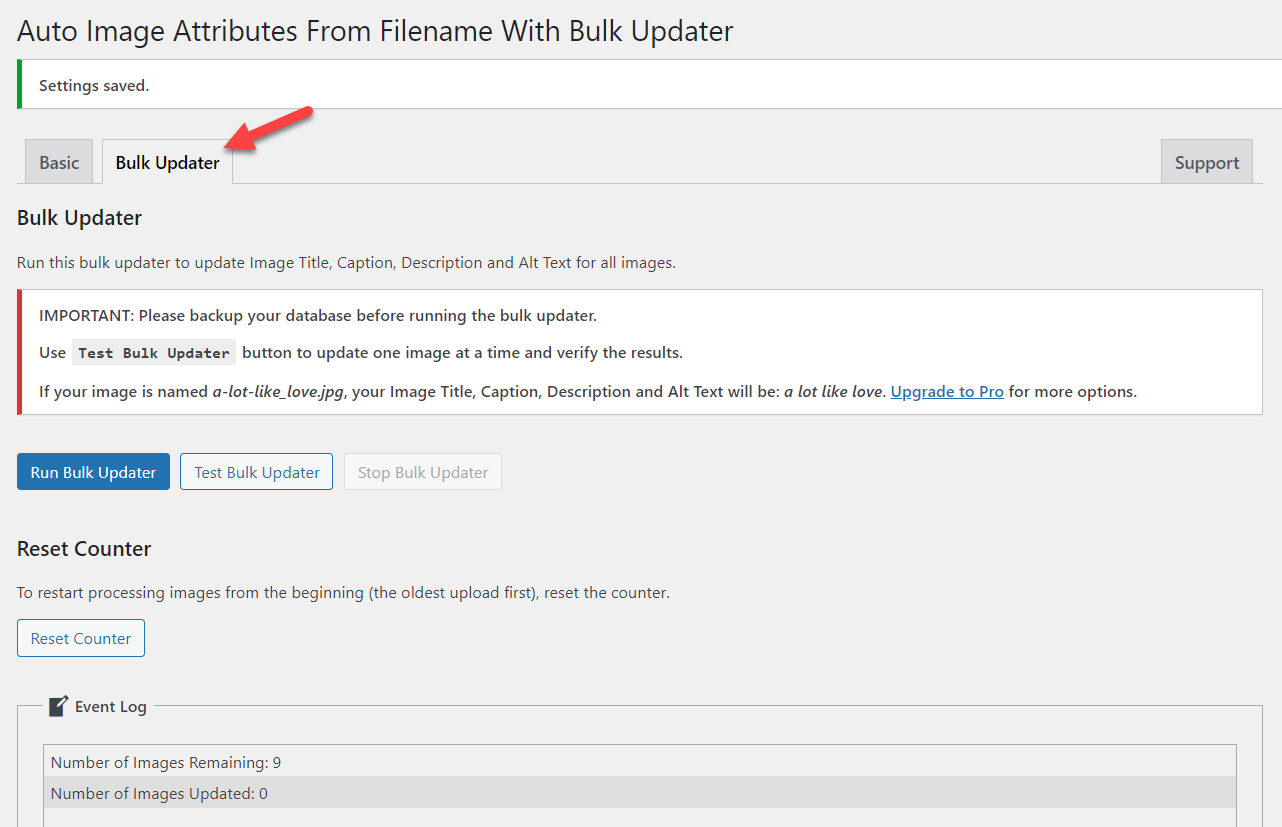
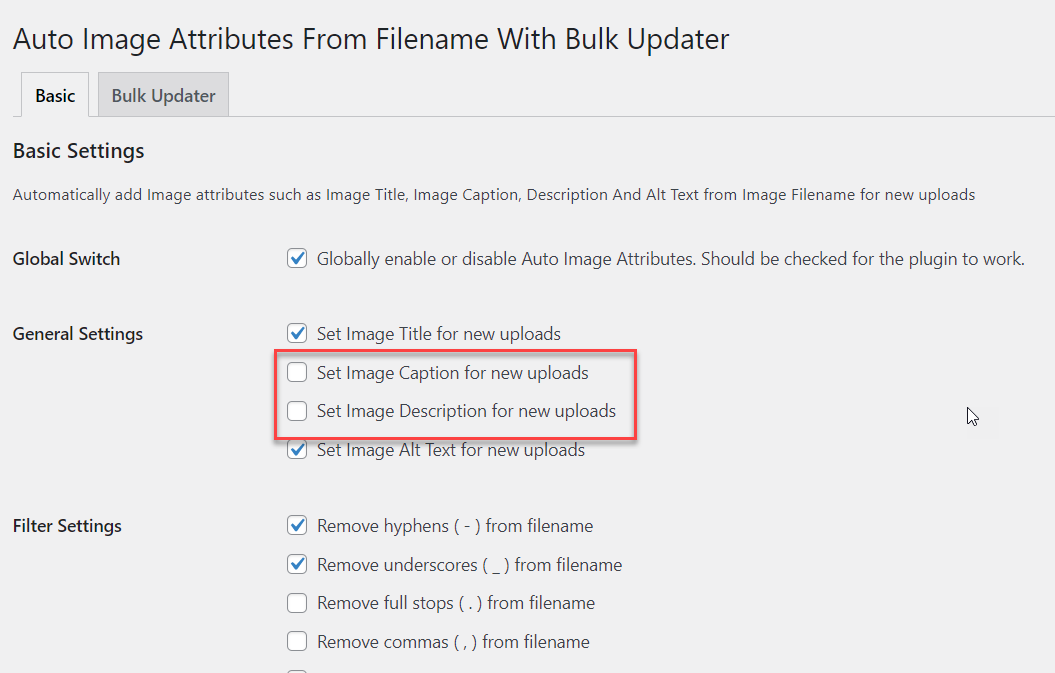
Once you have installed the plugin on your site, you will see the configuration under the Settings section.

The plugin comes with some preconfigured settings to automatically add ALT tags to the images you upload. You can set alt tags, titles, descriptions, and captions for all the new uploads as well as customize the names, Check the options and select the ones that you like best. On top of that, you can also use the Bulk Updater feature to include ALT tags in your existing photos.
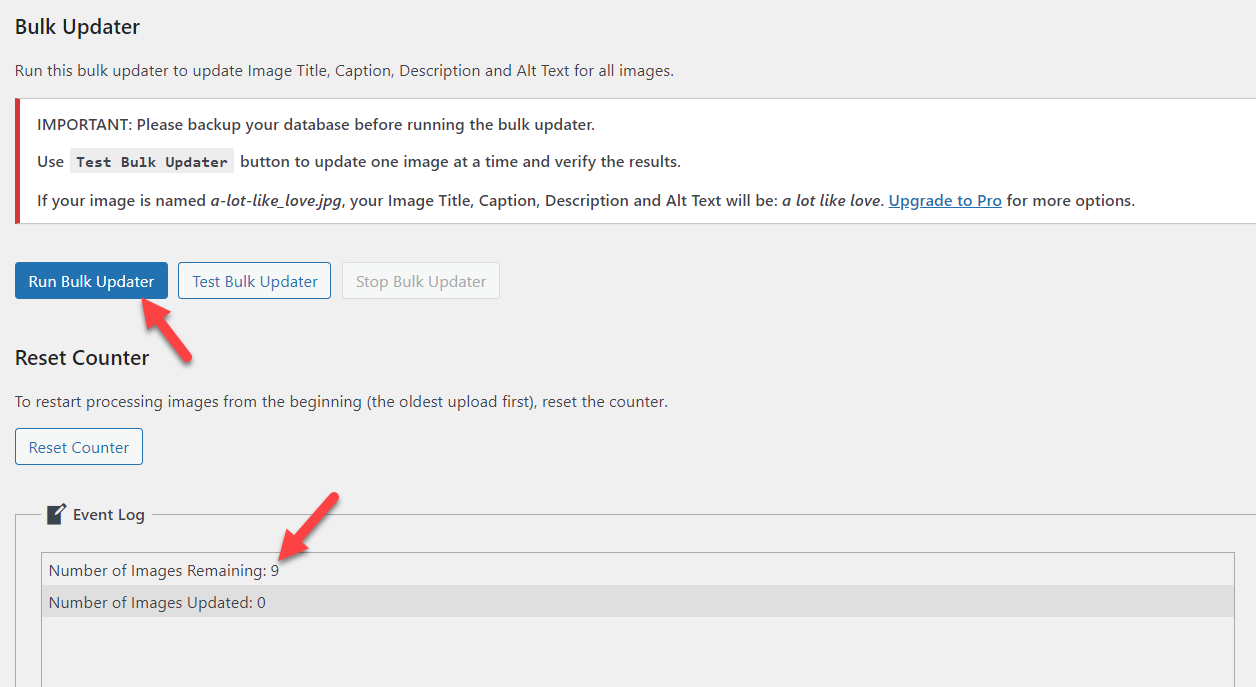
By clicking the Run Bulk Updater button, you can start the process and automatically add ALT tags to your images in seconds. As you can see, we have 9 images without any ALT tags.
After running the bulk updater, the plugin will automatically add ALT tags to all the images.
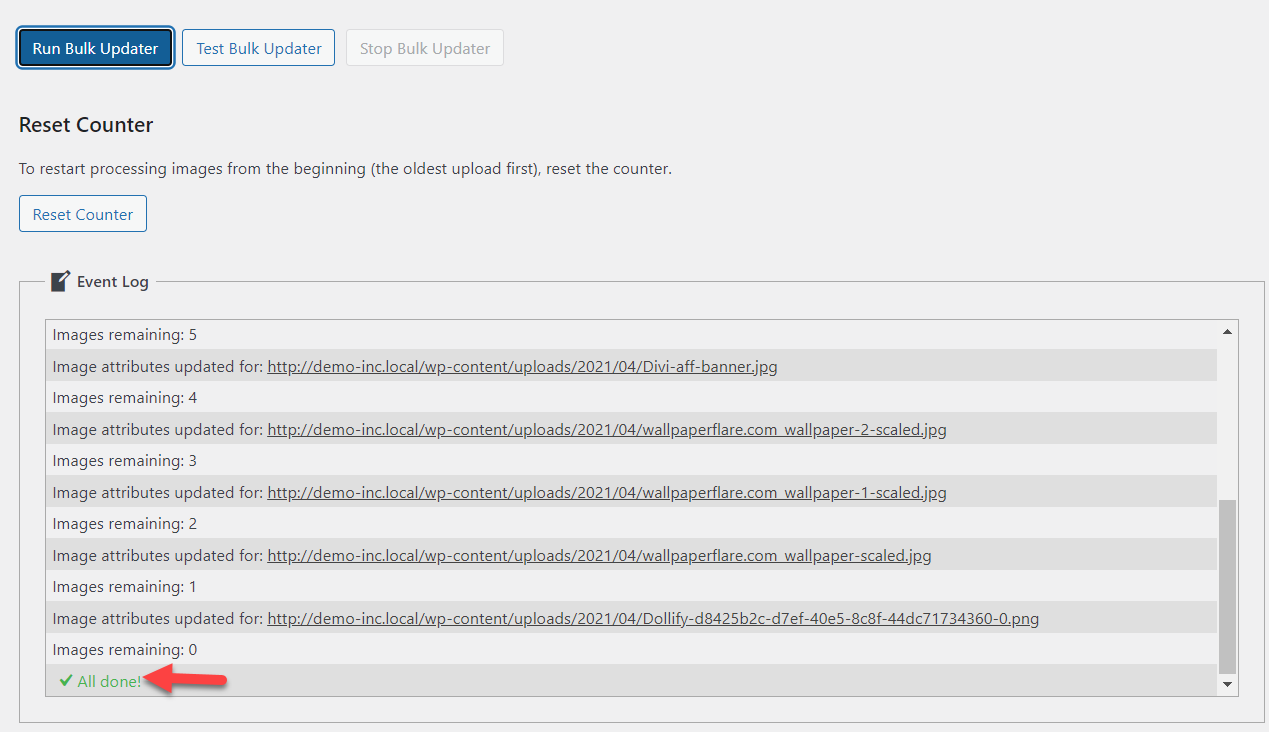
Once the process finishes, you can verify the result from the media library.

By default, the plugin will omit the underscores (_) from image titles, and fill in every single field in the images. If you prefer, you can customize that. If you don’t want the plugin to add caption and description, for example, simply turn them off from the plugin’s settings.
That’s it! That is how you can easily add ALT tags to images automatically with a plugin.
Best Practices to Add ALT Tags to Images
Now that you know how to add ALT tags to your images, let’s learn some of the best practices when doing so.
Describe your image
As your images will rank in the search results based on the keywords you use, you should be as descriptive as possible when writing the ALT tags. For example, if you are writing ALT tags for an article about the best push notification plugins, you can use something like The best push notifications for WordPress for the main image of the post.
This way, search engines will understand the image better and rank them when someone searches for that specific keyword or phrase.
Keep the length under 125 characters
When you add ALT tags to images, make sure that you use under 125 characters. That gives you enough characters to describe the picture and works better for SEO rankings. Additionally, keep the length of tags under 60 characters for titles and 160 characters for meta descriptions.
Avoid keyword stuffing
Keyword stuffing is the practice of adding your target keywords many times to increase the keyword density in an attempt to rank the content higher. Google penalizes keyword stuffing because it’s a negative experience for users so you should avoid it at all costs.
When writing ALT tags for your images, don’t use the same keyword over and over again. Use variations and synonyms to make sure that your website isn’t penalized.
Conclusion
In summary, ALT tags are essential when it comes to Google image ranking and providing users with a better experience when images don’t load.
In this post, we’ve seen two different methods to add ALT tags to your images:
- Manually from the WordPress dashboard
- Automatically using dedicated plugins
If you have a small website and don’t want to install any third-party tools, you can include ALT texts from the WordPress dashboard. If you have a large number of pictures, on the other hand, you should use a plugin. These tools allow you to automatically add ALT tags to your images in a few clicks and improve your SEO rankings.
When adding alt texts, remember to be as descriptive as possible while keeping it under 125 characters and avoiding keyword stuffing.
Finally, for more information on how to make the most of the images on your site, have a look at the following posts:
Do you know of any other methods to add ALT tags to images? Which method did you use? Let us know in the comments section below.
