
Do you want to include customized image sizes on your site? You’ve come to the right place. In this tutorial, we are going to show you how to add custom image sizes in WordPress and make changes to the existing ones.
What Are Default WordPress Images Sizes?
By default, every WordPress installation comes with three custom image sizes.
- Thumbnail – 150*150
- Medium – 300*300
- Large – 1024*1024
This means that when you upload an image to your site, the core will automatically create copies in those sizes. However, sometimes those dimensions aren’t the ones you need for your site.
Why Change the Default Image Sizes?
The default image dimensions that WordPress provides are standard but sometimes you may need different image sizes. In this case, you’ll need to create custom ones. To do this, most beginners upload the image to their sites and use the WordPress native resizing function to adjust the size of the image on the front end.
However, this isn’t efficient if you have to do it for all your images. That’s why adding custom image sizes will help you save a lot of time. In this guide, we’ll show you how to include new image sizes in WordPress so that every time you upload an image to your site, WordPress automatically converts it to all the different sizes you need without any additional work from you.
On the other hand, you can also remove default image sizes that you don’t need to save server space. If you know know how to do that, check out this guide.
NOTE: Some WordPress themes already come with custom image sizes, so make sure that the new dimensions you are planning to register aren’t already available.
How to Change the Default WordPress Image Sizes
If you don’t use all the default image sizes that WordPress includes, you can change those dimensions instead of adding new ones. And the good news is that you can do this without using any additional plugins or custom code.
In your WordPress admin dashboard, go to Settings > Media. There, you’ll be able to change the dimensions of the 3 default image sizes. 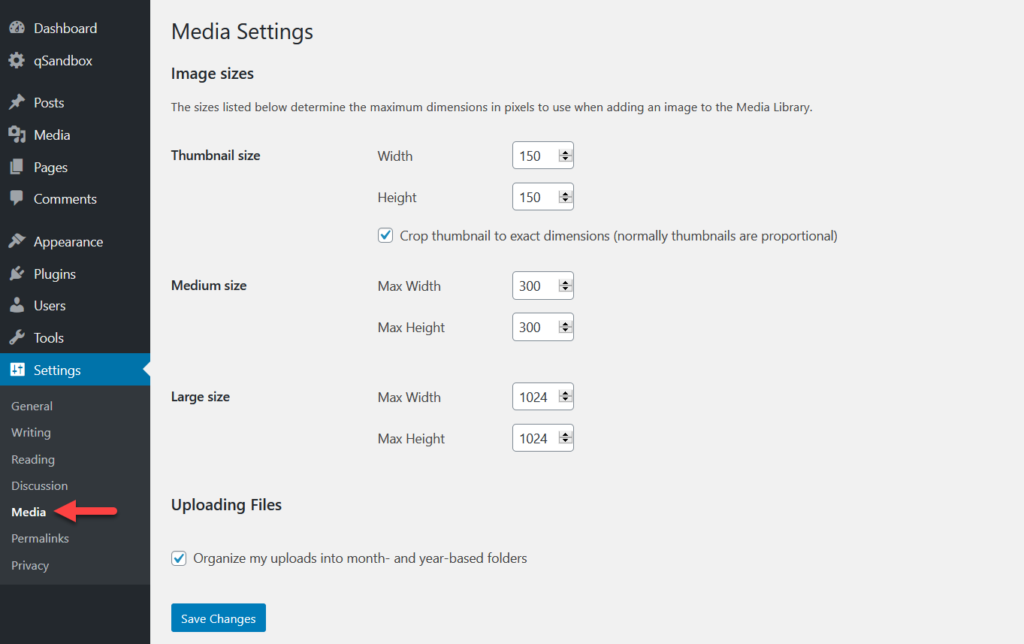
Simply enter the width and height you want in the image size you want to modify. For example, let’s say you want to change the medium size images to 500*500 px. Add the new values in the corresponding field and then click on the Save changes button. 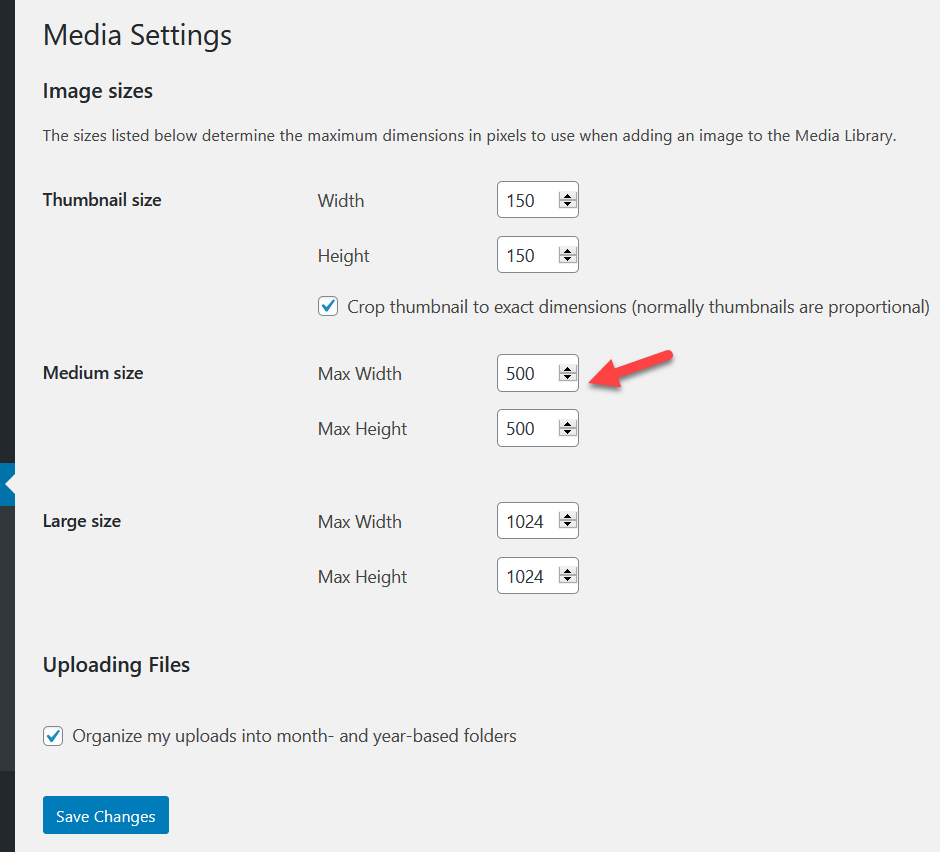
You can change all the default sizes or specific ones according to your needs. Make sure you save the changes and consider regenerating the thumbnails after adding a custom image size to your WooCommerce shop or WordPress site.
How to Add Custom Image Sizes in WordPress
If instead of changing the default sizes you want to add custom image sizes in WordPress, you have two options.
- Manually
- With a plugin
In this section, we will explain both methods so you can choose the one that best suits your needs and skills.
1) Add custom image sizes manually
With a few lines of PHP, you will be able to add custom image sizes to your WordPress site. As we will edit some core files, before you start we recommend you create a child theme and generate a full backup of your site. For this demo, we are going to use the Child Themify WordPress plugin.
Install and Activate Child Themify
In your WordPress dashboard, go to the Plugins section and install and activate the Child Themify plugin on your site.
Adding Custom Image Sizes
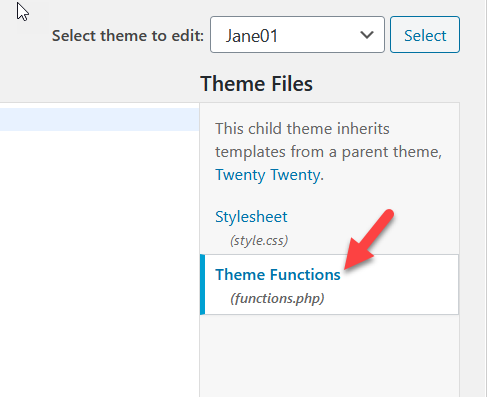
Then, go to Appearance > Theme Editor. 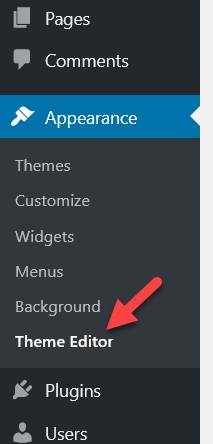
By default, the theme editor will load the style.css file but to add custom image sizes you’ll need to select the functions.php of your child theme.
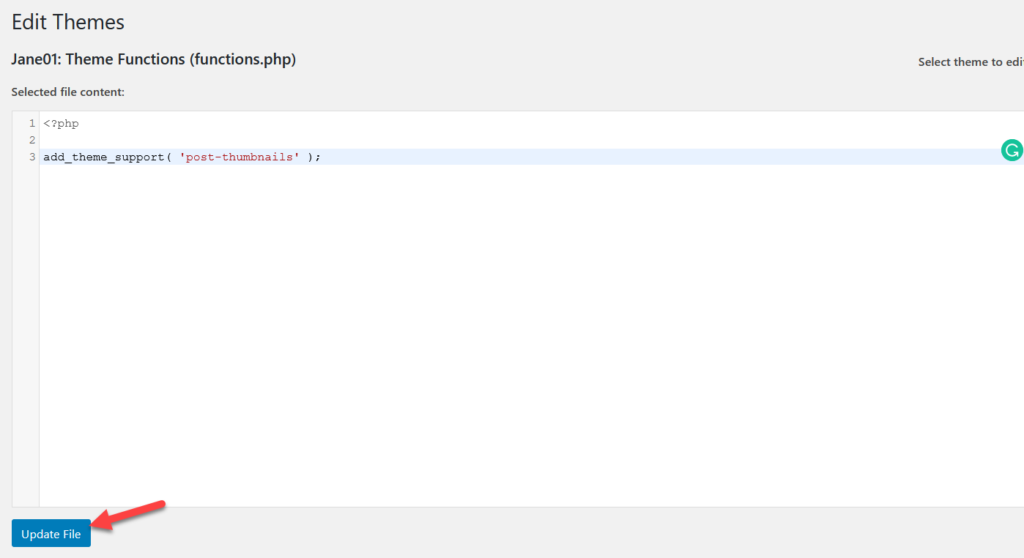
After you open the fuctions.php file, paste the following code.
add_theme_support('post-thumbnails');
This simple script will enable the add_image_size function on your installation. Without this, you won’t be able to create any additional image sizes. After pasting the code, press the Update File button.
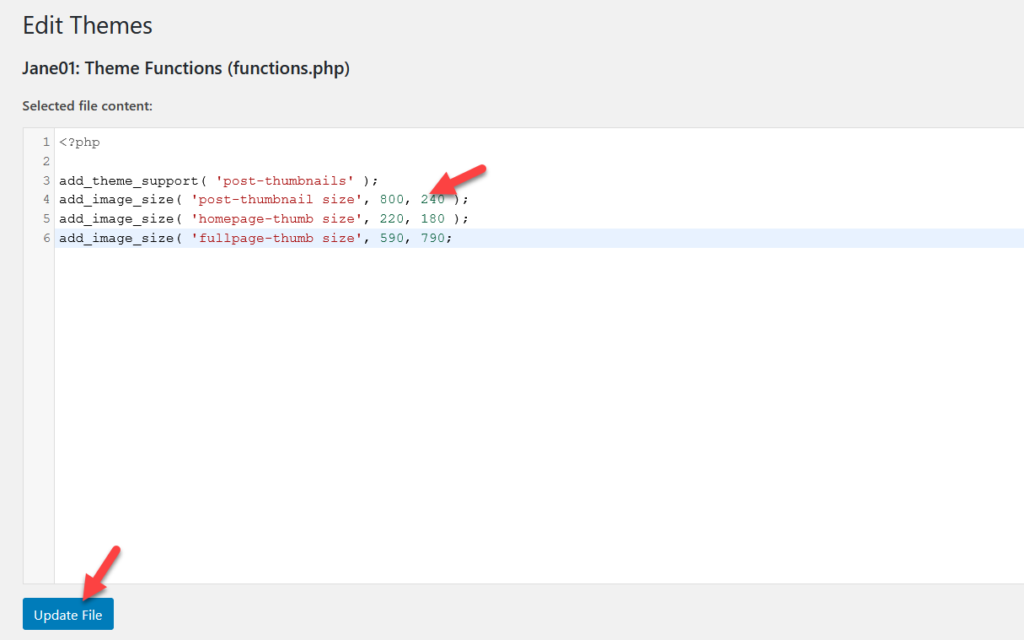
We have successfully enabled the function on your website. Now, you need to add your preferred custom dimensions. For that, we’ll use the following code:
add_image_size('post-thumbnail size', 800, 240 );add_image_size('homepage-thumb size', 220, 180 );add_image_size('fullpage-thumb size', 590, 790 );
If you take a closer look at the image below, you’ll see that we have added the name and dimension of each custom size we want to include. Simply change the name and size depending on your needs. Once you have customized the code, paste it into the functions.php file, and update the file.
That’s it! You have successfully added custom image sizes to your WordPress site.
Now, every time you upload an image and check the size option, you will see that WordPress creates copies of the image in the new custom sizes. Additionally, you can use the Regenerate thumbnails plugin to create thumbnails of your images.
2) Create custom image sizes with plugins
If you don’t want to edit your theme’s core files, you can add custom image sizes using plugins. Instead of editing the functions.php file, we will add custom code using two different tools:
- Code Snippets
- Image Regenerate & Select Crop.
Method 1: Code Snippets
Installing and Activating Code Snippets
First, in your WordPress dashboard go to Plugins > Add new. Search for Code Snippets, install it and activate it. 
Then, go to the snippet settings.
Adding Custom Snippet
To add new custom image sizes, you will need to create a new snippet. 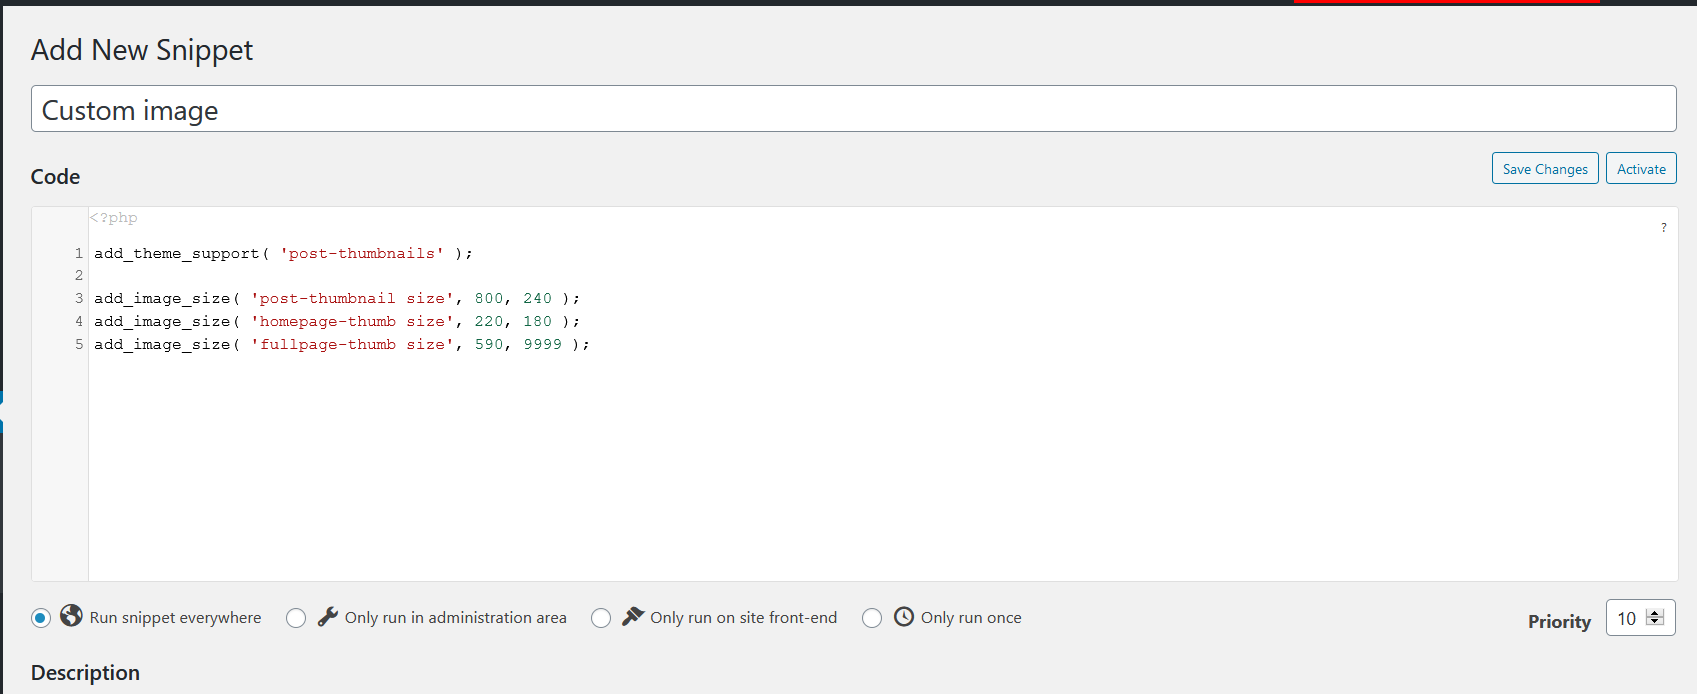
For that, you can use the following code and adjust the names and sizes according to your needs.
add_theme_support( 'post-thumbnails' );

add_image_size( 'post-thumbnail size', 800, 240 );
add_image_size( 'homepage-thumb size', 220, 180 );
add_image_size( 'fullpage-thumb size', 590, 9999 );
After you add the code in the snippet section, save it.
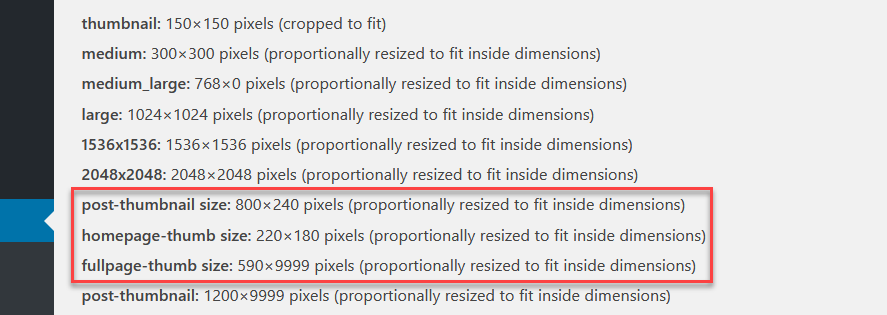
Verifying The Code
To make sure that everything works correctly, check the active image sizes.
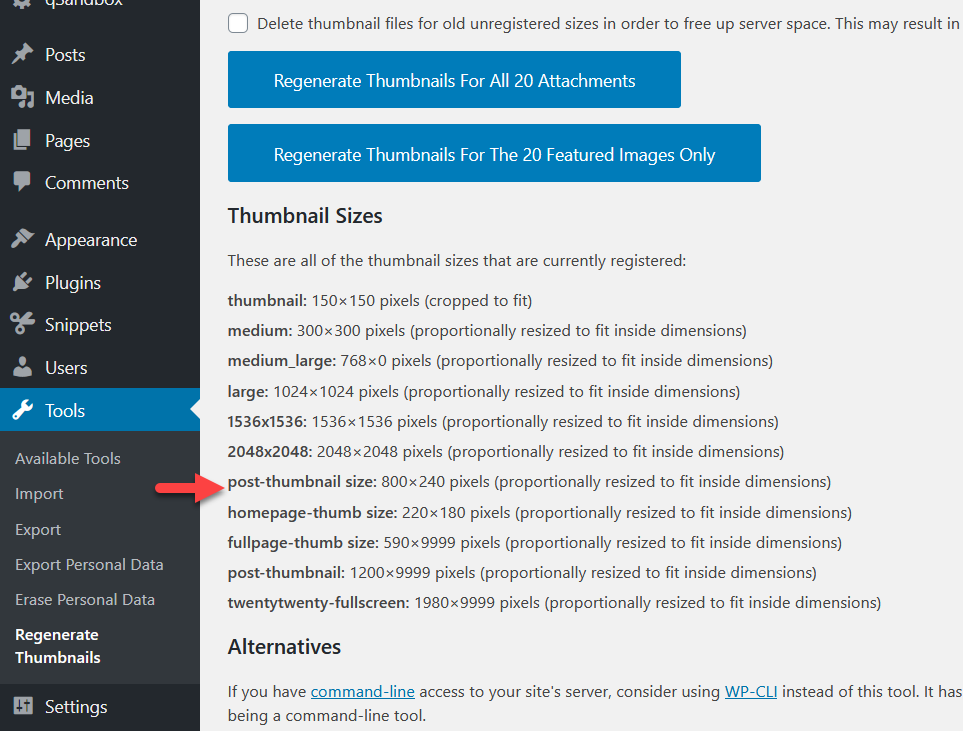
As you see in the screenshot above, WordPress already recognized the custom images we’ve just added. This method involves a bit of coding but it doesn’t require editing your theme files. Additionally, Code Snippets is an excellent choice to insert code on your site without creating any child themes or modifying existing files.
Method 2: Image Regenerate & Select Crop
Image Regenerate & Select Crop is another excellent plugin that will help you regenerate and crop images.
Installing Image Regenerate & Selected Crop
First, install and activate Image Regenerate & Selected Crop on your site. 
Adding Custom Image Sizes
Once you have activated the plugin, go to Settings > Media. At the footer, you will see a new option to add custom image sizes. 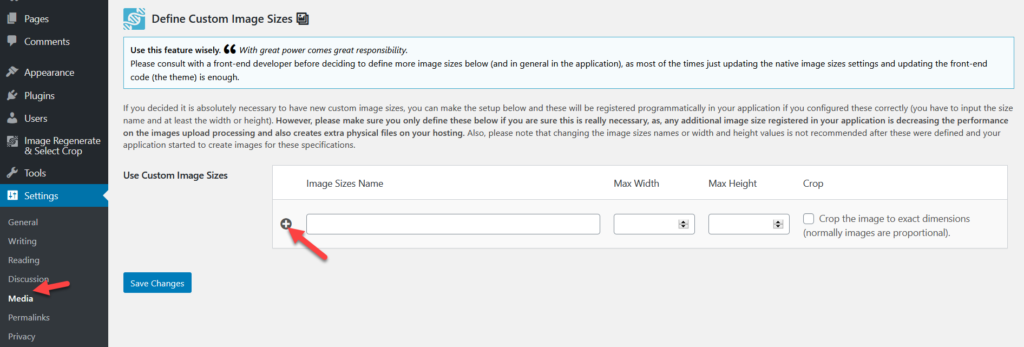 Simply name your new custom size, enter the width, height, and select the crop option. For this demo, we are going to call the new size test image.
 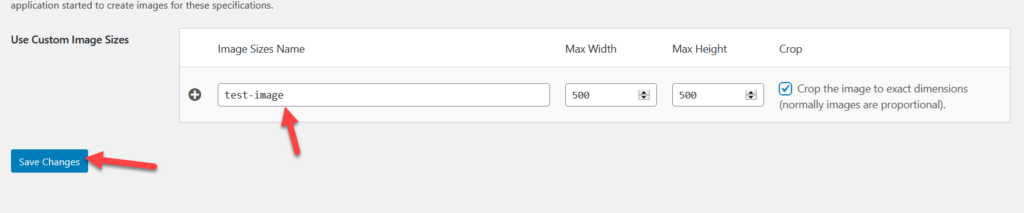 Repeat the process to add as many image sizes as you want.
 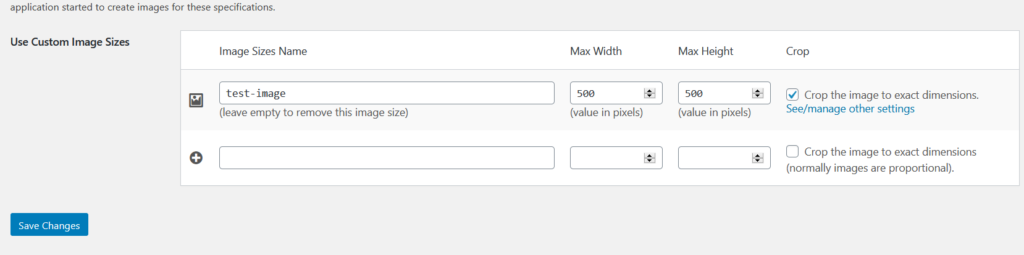 If, on the other hand, you need to remove the image sizes that you’ve added, just clear the name and save the changes.
Final Verification
After adding the image sizes you want, you should verify that they’ve been correctly added to WordPress from the Regenerate Thumbnails settings. 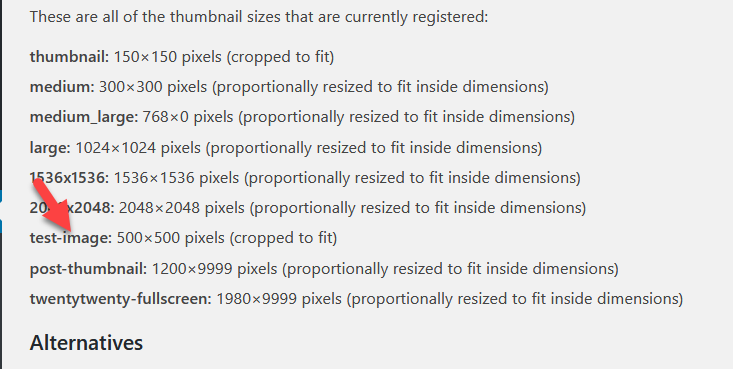 As you can see above, the test image appears in the settings which means that we have added it successfully to our site.
Regenerating Images
Additionally, you can regenerate old images with the new custom dimensions. To do that, simply go to Image Regenerate & Select Crop > General Settings. 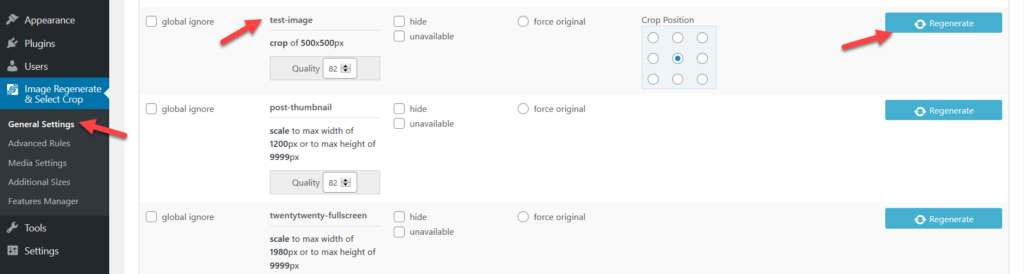
One great thing about this plugin is that you don’t need to rely on any additional image regeneration plugins. Image Regenerate & Select Crop takes care of both the new image size creation and image regeneration.
Bonus: Image Sizes Manager
If instead of free tools you prefer a premium solution, check out Image Sizes Manager. For 13 USD, this affordable plugin offers a lifetime license and 6 months of premium support.
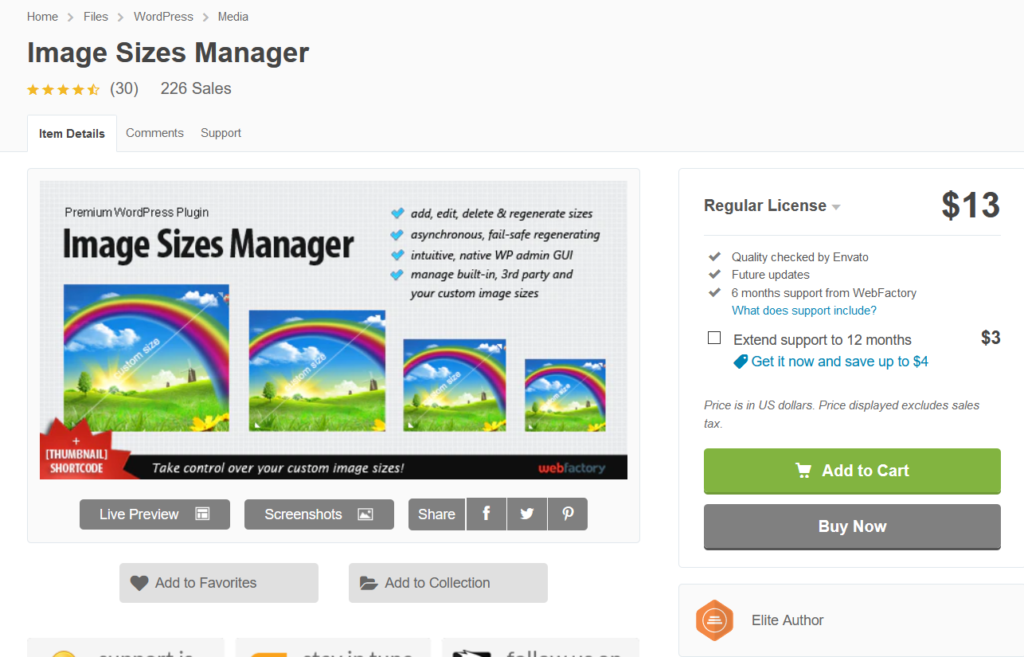
Just like the other plugins, it allows you to create custom image sizes without having to edit your theme files or adding code. Additionally, you can display a cropped image using a shortcode. The good thing about this plugin is that as you aren’t adding any additional image sizes to your site, WordPress won’t generate any additional images, so you will save disk space on your server.
Regenerating Thumbnails
Once you have created custom image sizes on your WordPress site, the server will convert all the new images accordingly. However, it won’t crop your existing images. For that, you have to use a tool called Regenerate Thumbnails.
Installing and Activating Regenerate Thumbnails
First, install and activate the plugin on your site.
Under the Tools section, you will see the plugins’ settings and you will be able to regenerate all your media files or just the featured images.
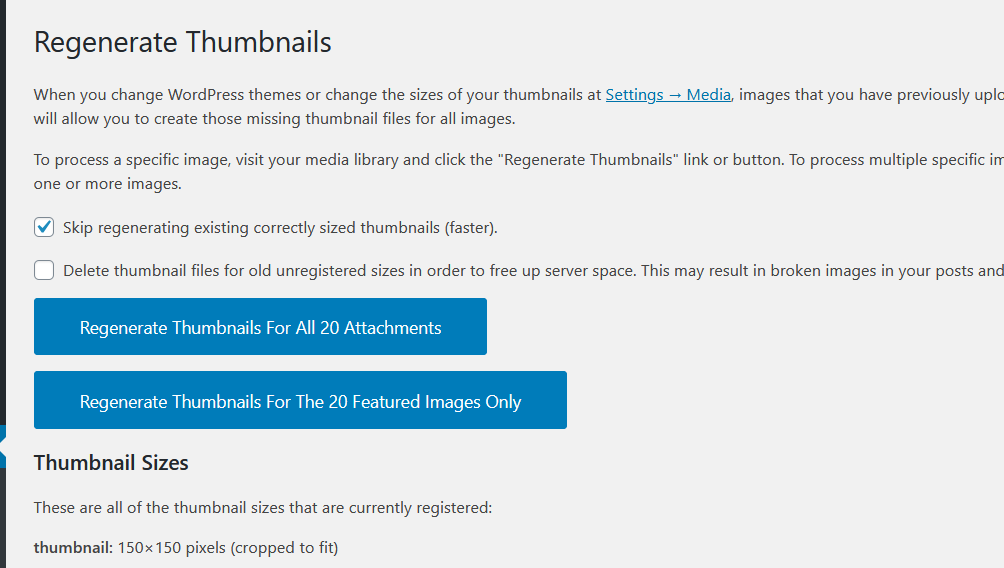
If you have recently changed your WordPress theme, we recommend you regenerate thumbnails for all the featured images. On the other hand, if you need to apply your new custom image size to your existing media files, choose the Regenerate Thumbnails For All XX Attachments option. The plugin will start the regeneration and after a few minutes, you’ll be good to go.
NOTE: If you can’t see the newly registered custom image sizes, that is because of your server caching. If that’s your case, we recommend you Clear the WordPress cache.
Remove default image sizes
When you upload an image to WordPress, by default, your server automatically generates copies of it in 3 different sizes:
- Thumbnail
- Medium
- Large
As this takes up space in your server, you can remove some of these default image sizes to avoid creating so many copies of your images. You can do that, manually via the WordPress admin dashboard or programmatically. For more information on both methods, you can have a look at this guide.
Recommendations
Before concluding this post, we have a few recommendations for you.
Create a Child Theme
As mentioned before, if you are going to use the coding method to create custom image sizes on your WordPress site, we recommend you use a child theme. Otherwise, if you change the parent theme’s functions.php file, you will lose all your customizations the next time you update the theme.
Consider Using an Image Compression Plugin
Having many custom sizes means that your server will create many copies of the images you upload and this can affect your server storage. Usually, hosting companies limit disk space usage according to the user’s plan, so it’s a good idea to use an image compression plugin to help you save some space. In our experience, ShortPixel is an excellent tool for compressing images. This plugin is easy to set up and use and will help you save precious server space.
Additionally, you can use an image optimization plugin. Jetpack is a great option and also offers an image CDN (content delivery network) for its users.
Conclusion
In summary, WordPress comes with three custom image sizes by default. However, you can add custom image sizes to your WordPress site and adjust them to your needs. In this guide, we’ve seen two methods to do it:
- Manually
- With plugins
If you don’t want to install any plugins on your site, the manual method is the best for you. With a few lines of code, you’ll be able to include custom image sizes on your website.
On the other hand, if you don’t feel comfortable editing core files, use one of the plugins. Code Snippets is a basic plugin to add custom code but you will need an image regeneration plugin to regenerate images. In contrast, Image Regenerate & Selected Crop helps you add custom image sizes and regenerate images.
Finally, Image Sizes Manager is a premium tool that instead of generating additional image sizes, will allow you to resize some of your images. Do you know any other methods to add custom image sizes on your site?
Which method do you use? Let us know in the comments section below. If you’ve just created new image sizes and need to delete old thumbnails, check out this guide that explains 3 different ways to do it.
If you’re looking for ways to include images in your products, have a look at our guide on how to add images to WooCommerce products.

Actually i want to set the post thumbnail size for the banner image.Which i was uploading through featured image in the background please suggest me.