Facebook Ads are one of the most powerful ways to promote your products and services. They’re very easy to set up and they allow you to target very specific audiences based on their age, interests, and location. However, if you want to optimize your campaigns and unleash the full potential of Facebook Ads you need to use Facebook Pixel. In this guide, we’ll show you how to add Facebook Pixel to WordPress manually and using a plugin.
What’s Facebook Pixel?
Facebook Pixel is an analytics tool developed by Facebook to measure and improve conversions from Facebook Ads. Additionally, it allows you to create custom audiences and get insights about your site traffic. In other words, it’s the Google Analytics of the Facebook advertising campaigns.
If your business relies on Facebook Ads, Facebook Pixel is a must tool because it’ll help you take your advertising campaigns to the next level.
Why Add Facebook Pixel to WordPress?
Facebook Pixel helps you better understand your audience and increase conversions by allowing you to:
- Measure conversions from your Facebook ads.
- Create custom audiences based on gender, age group, interests, country, city, and other parameters.
- Retarget users who visited your website.
- Get insights about how visitors use your website.
- Optimize your ad campaigns showing them to the people who convert better.
If that’s not enough, let’s see how Facebook Pixel can help you with an example. Let’s say that you are running an online shop using WooCommerce. If your store has a conversion rate of 2%-3%, between 97% and 98% of your visitors won’t buy anything. Even though you can use contact forms and other tricks to prevent cart abandonment, complementing those with Facebook Pixel is an excellent move.
Considering that Facebook currently has around 1.73 billion daily active users, chances are that most people who visit your site also use Facebook. So, by tracking your visitors, showing sponsored ads in the news feed to the ones who are most likely to buy, you will be able to convert the abandoned carts to sales.
How To Add Facebook Pixel to WordPress?
Here, we will be showing two simple methods to integrate Facebook Pixel with your WordPress blog.
- Manually.
- With a plugin.
NOTE: Keep in mind that you only need to add Facebook Pixel to your site if you use Facebook Ads. If you don’t run Facebook ads, you do not need to do it because the tool won’t be able to display any info.
1) Manually
Create the Facebook Pixel
First, you need to log in to your Facebook account and go to the Facebook Ads Manager. Alternatively, you can land on the Ads Manager page directly following this link. You will see a page like this.
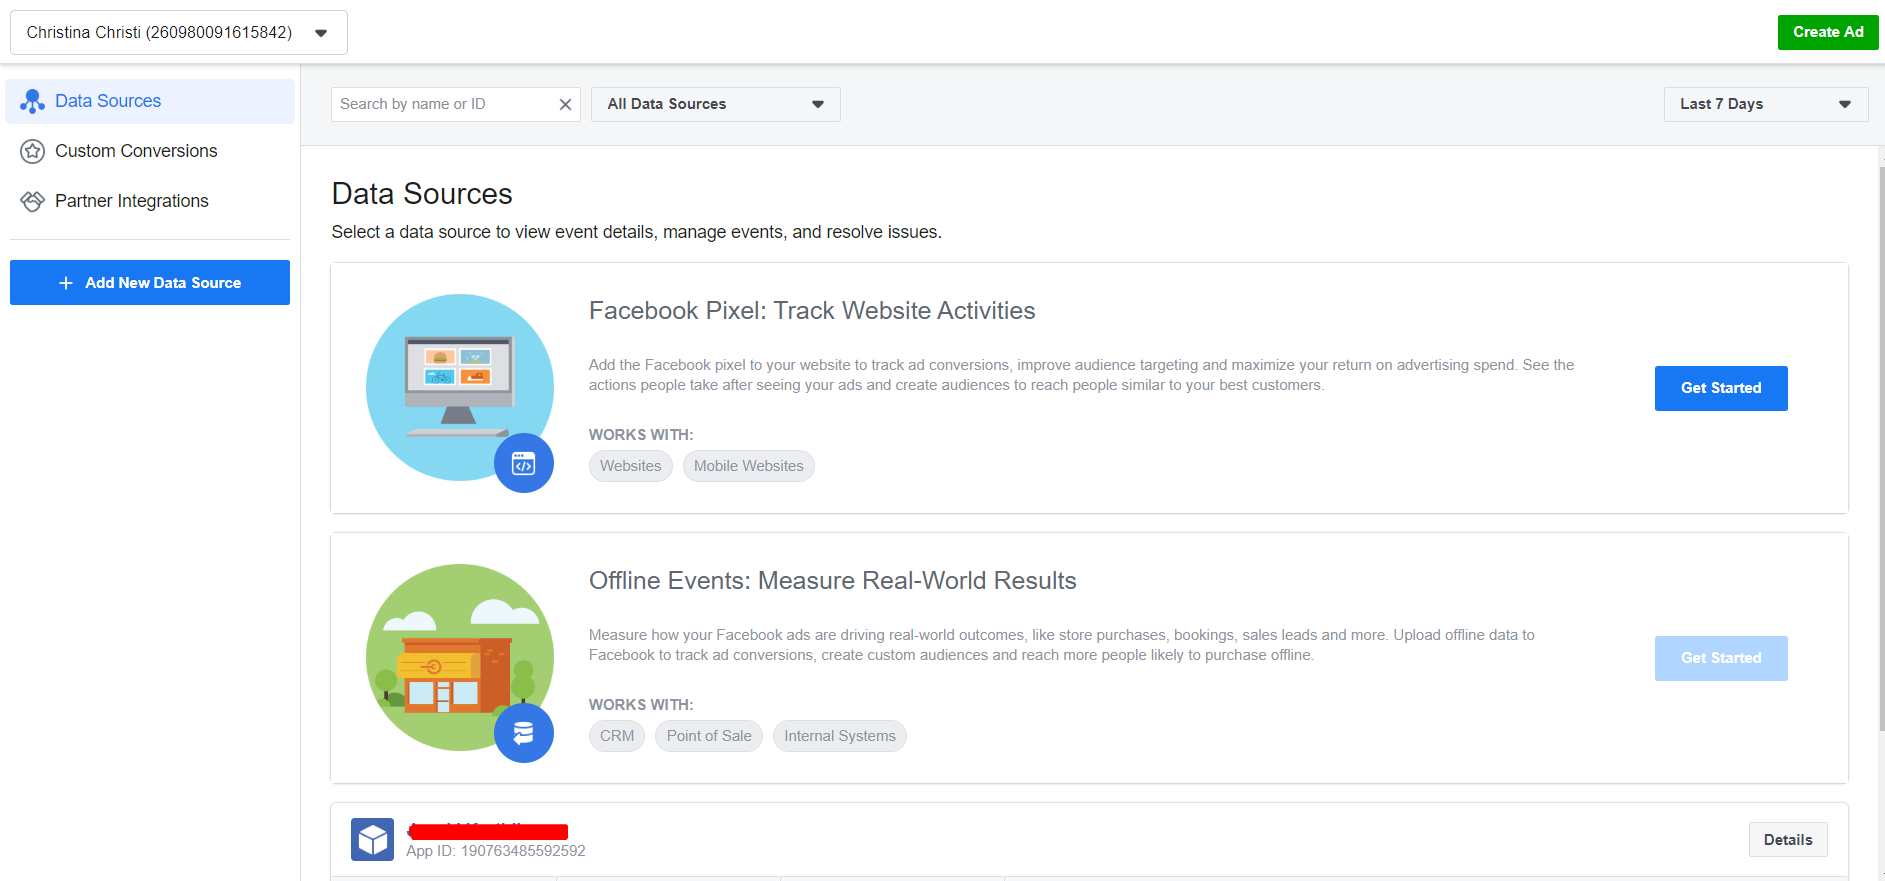
It’s worth noting that Facebook restricts creating pixels per account. And as of May 2020, a Facebook account can be used to create only one pixel.
Click the Get Started button to move forward.
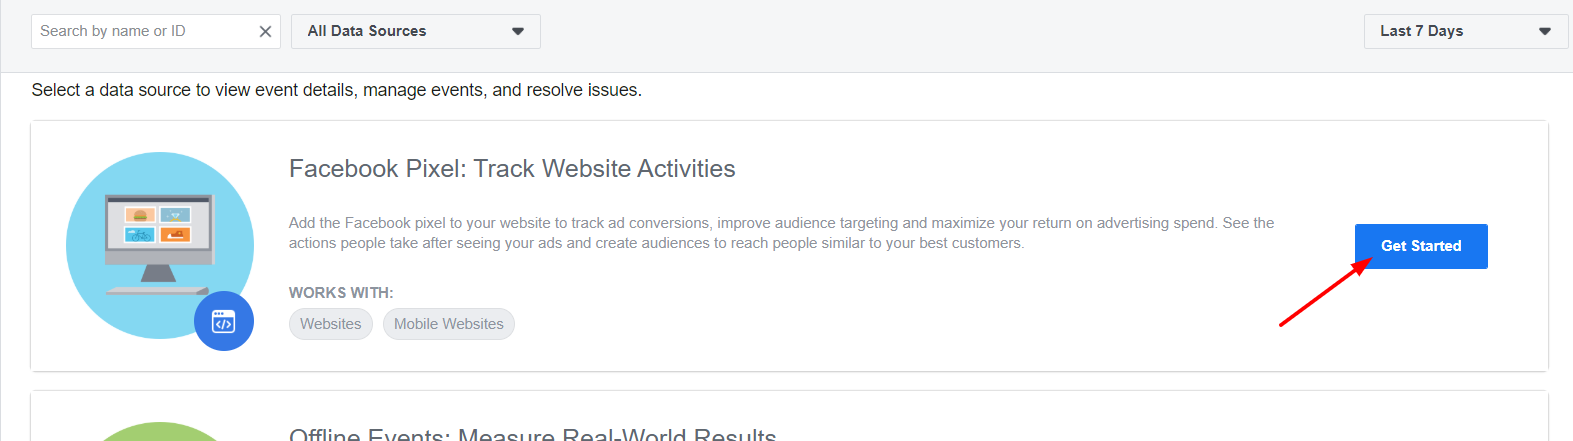
Then, a pop-up box will appear.
![]()
You need to give a name to your Pixel (mandatory) and you can also enter a URL (optional). Then, click Continue.
Congratulations. You have successfully created a Pixel in our Facebook account!
Integrate Facebook Pixel with your WordPress site
Once you’ve created the Pixel, you need to integrate it with your website. Facebook will show three options.
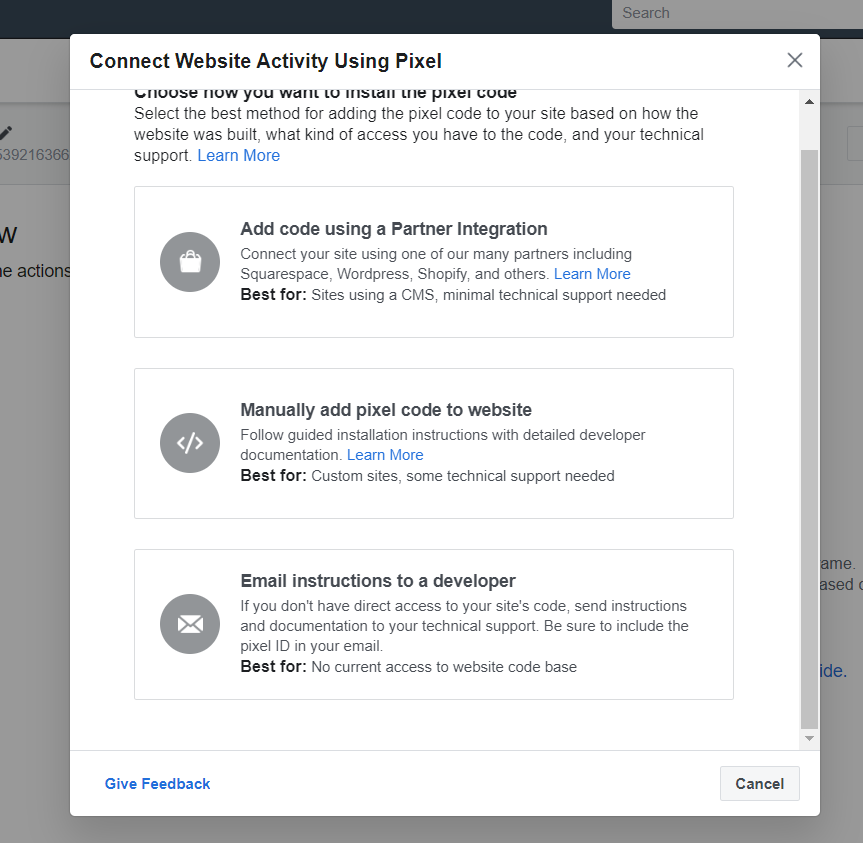
- Partner integration.
- Manual integration.
- Email to Developer.
In this guide, we’ll focus on the manual integration. Once you select the manual integration from the list, Facebook will show you a custom code to insert on your website. Copy the code to your clipboard.
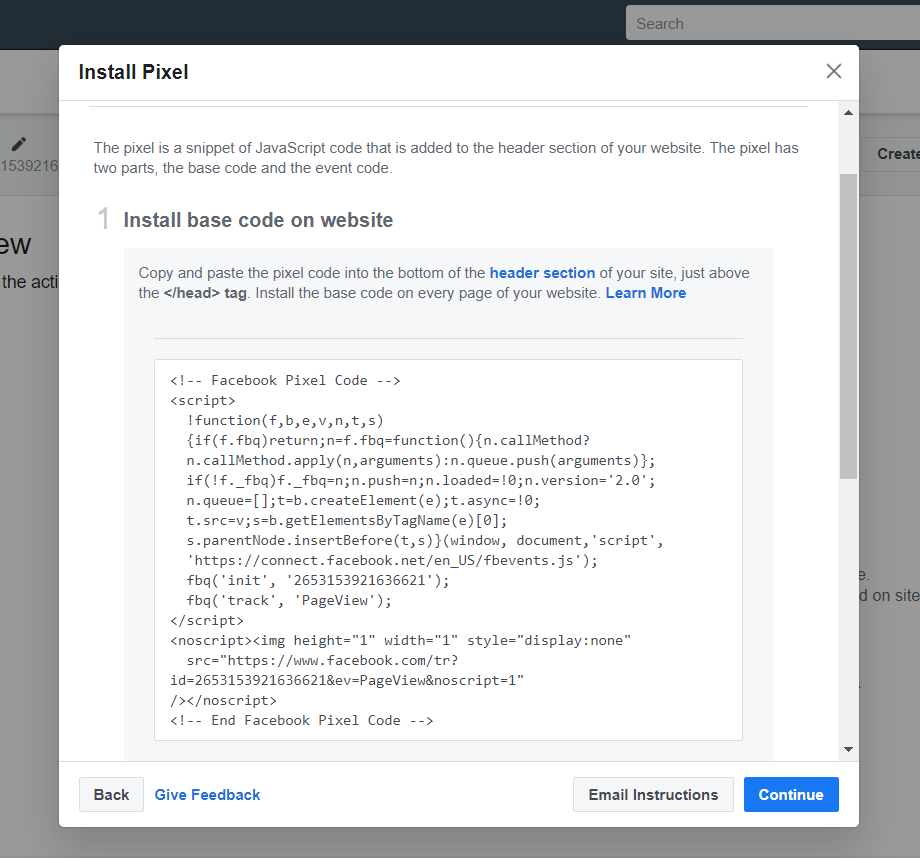
Now, let’s see how to add the Facebook Pixel code to WordPress. You’ll need to paste the code in the header section on your blog. If you are not sure how to do it, check out our guide on how to edit the header of your site.
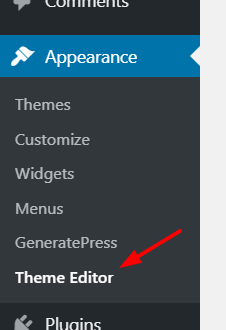
To do this, log in to your WordPress blog and go to the Theme Editor under the Appearance section.
From the right side, select the header.php file and paste the Facebook Pixel code just before the </head> tag as shown below.
![]()
Then, click Update File to save the changes.
On the other hand, if you don’t want to edit your theme’s core files directly, you can use Insert Headers and Footers. Simply install the plugin and go to the Plugins’ settings. You will see three options.
- Header.
- Body.
- Footer.
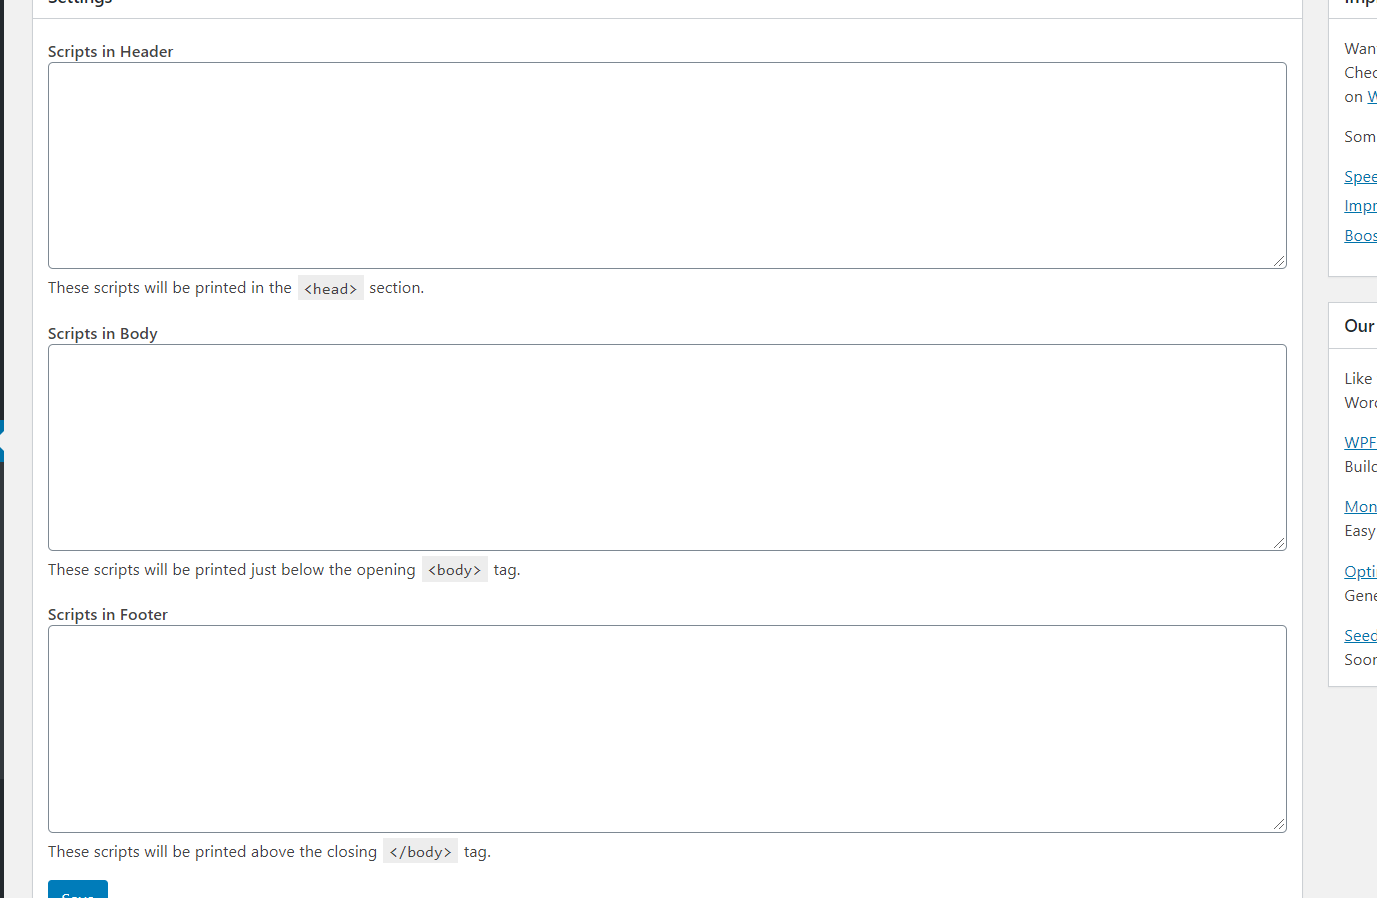
All you need to do is, paste your Facebook Pixel code in the header section and click Save.
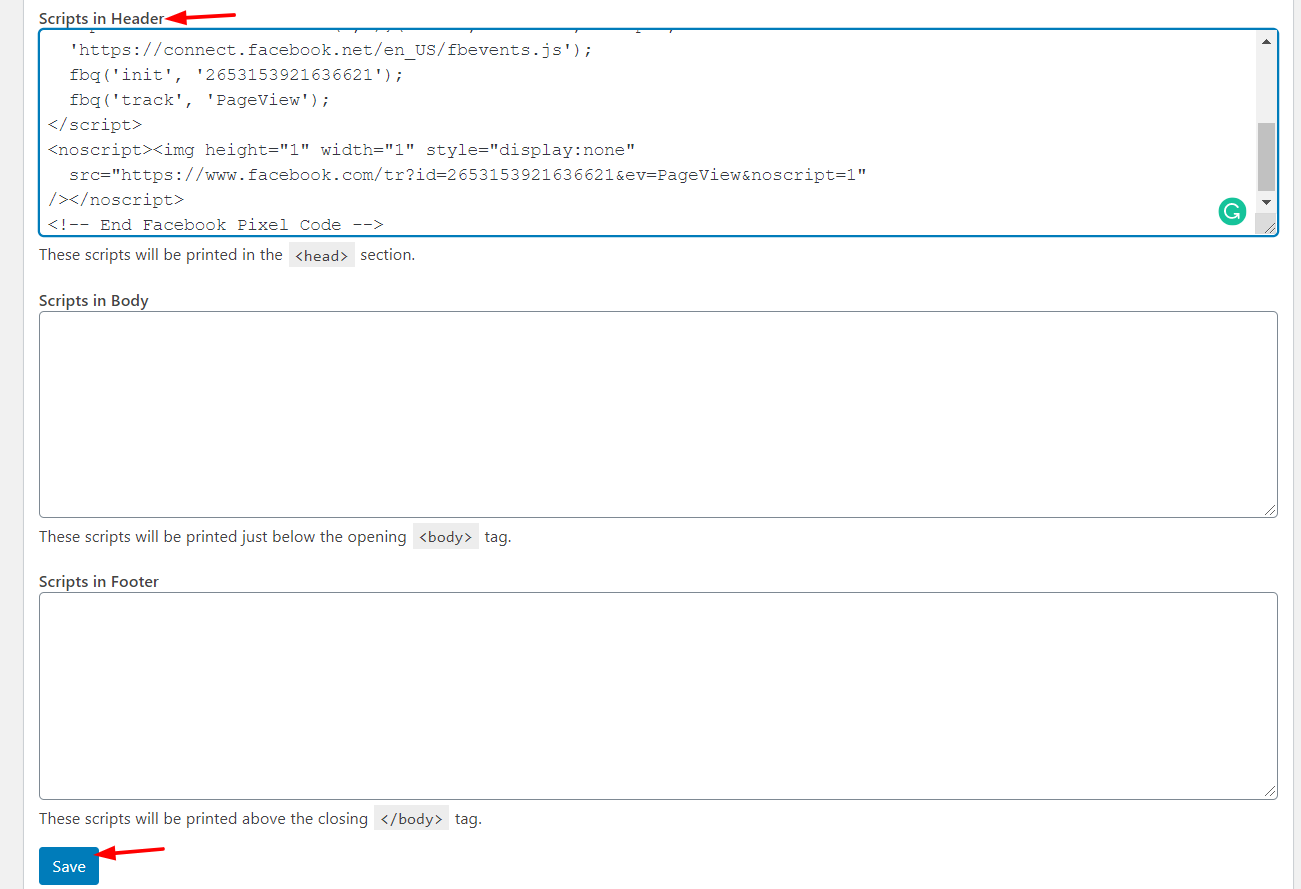
That’s it! You’ve manually inserted Facebook Pixel to your WordPress site!
2) With a Plugin
You can also integrate Facebook Pixel with WordPress using a plugin. For this demo, we’ll use Pixel Caffeine.
![]()
It is one of the most popular tools to manage the Facebook Pixel and Facebook Product Catalog right from your WordPress dashboard and it’s free.
So first, install and activate Pixel Caffeine on your website. Then, you will see the plugins’ configuration in your WordPress admin area.
![]()
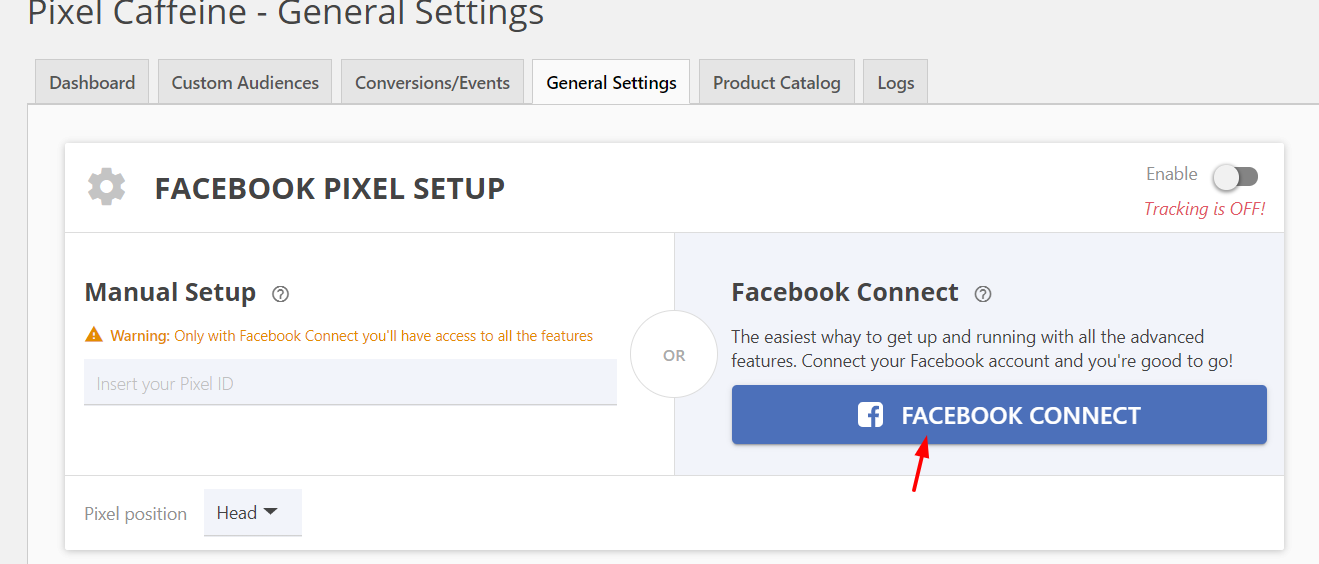
Go to the General Settings tab and you’ll see something like this.
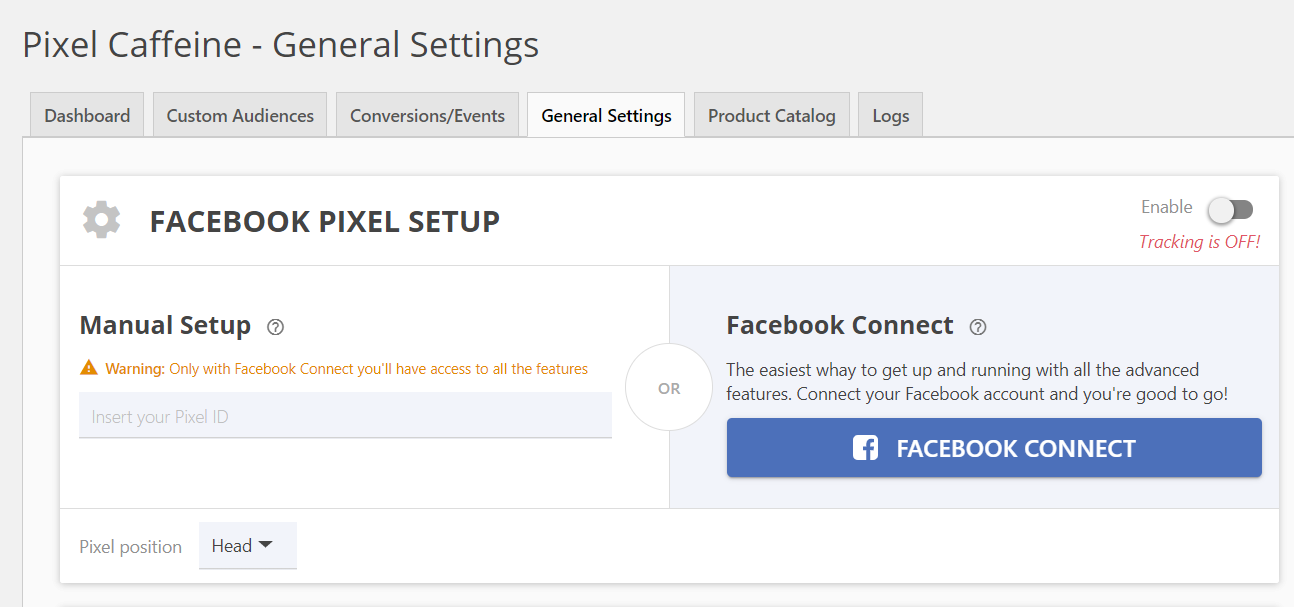
Here, you can integrate Facebook Pixel with your ID or by connecting the plugin with your Facebook account. Even though pasting the Pixel ID may seem more convenient, the truth is that to have access to all the features you need to press Facebook Connect.
So we recommend you connect the plugin with your Facebook account by clicking the Facebook Connect button on the right.
If you have already logged into the Facebook account on the browser, you’ll see the following pop-up.
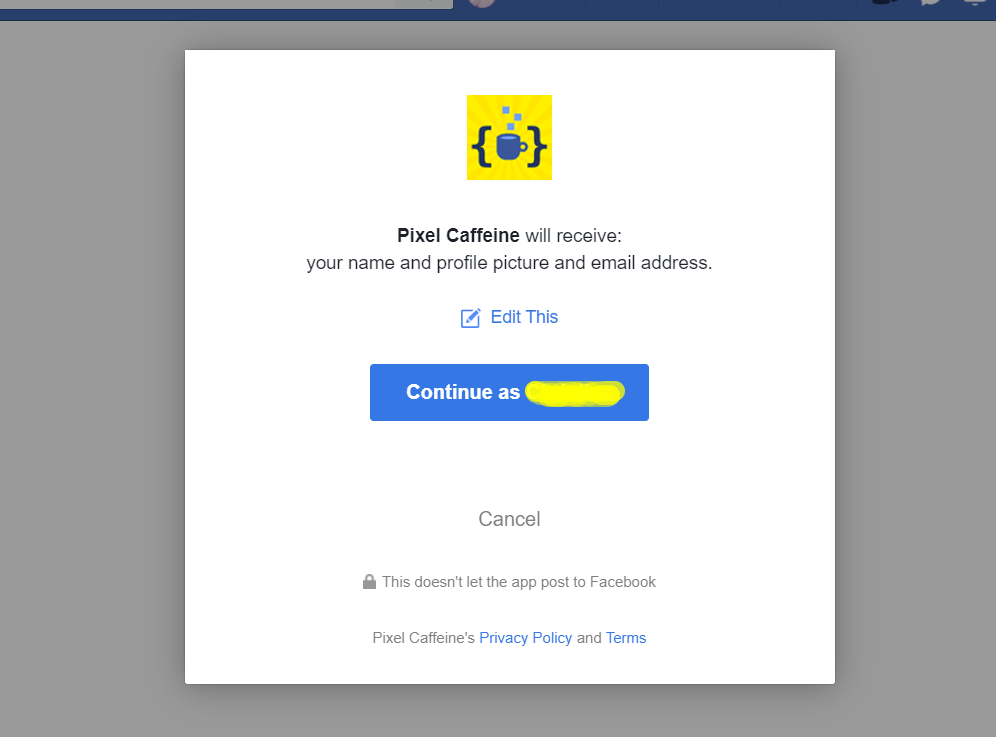
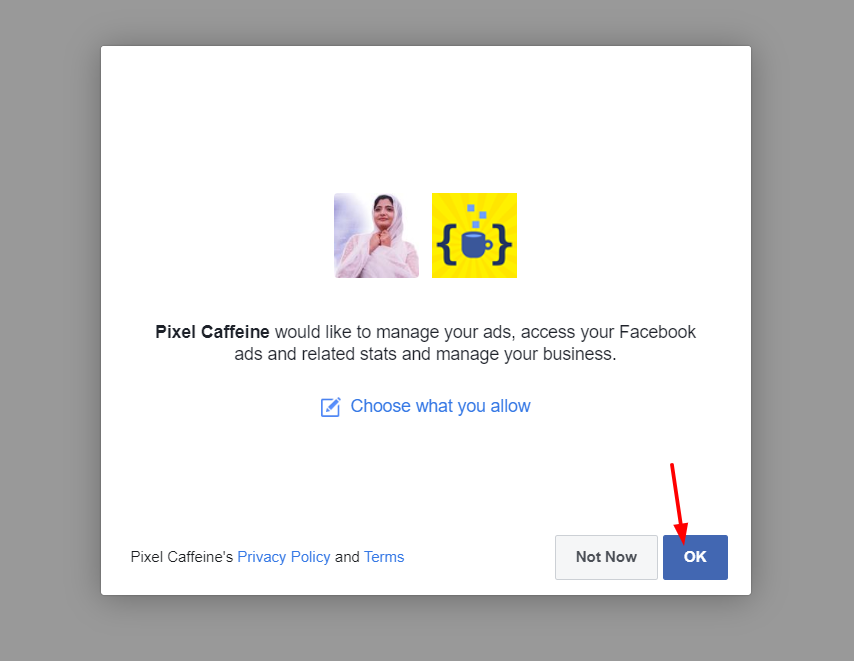
Click Continue and then allow Pixel Caffeine to manage your ads, access your ads, and so on.
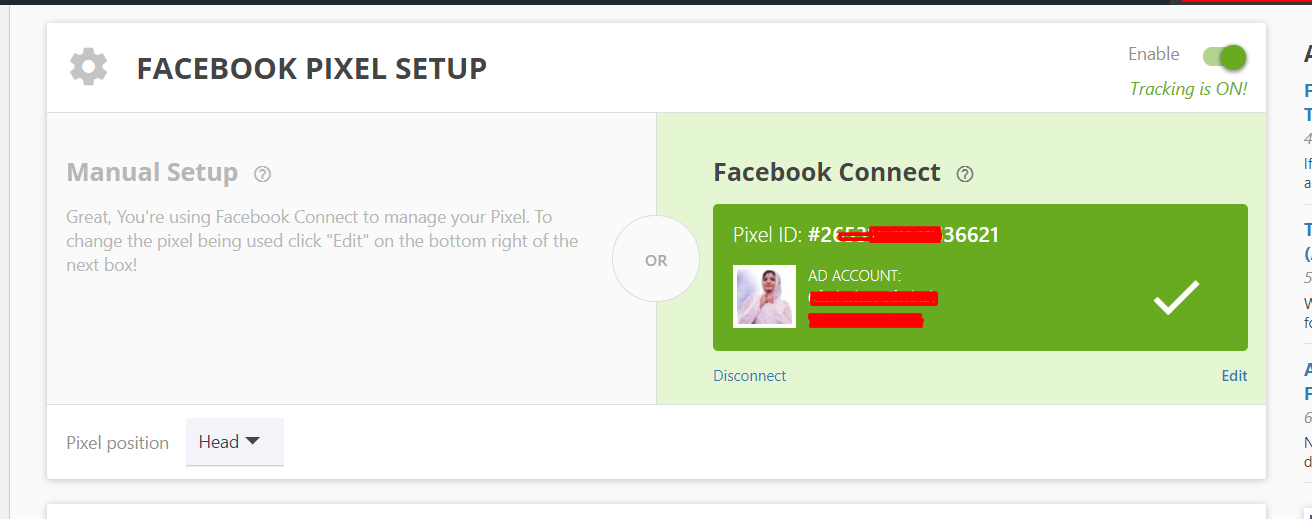
Once you have granted permission, you will be redirected to your WordPress blog, and you will see the Facebook Pixel plugin configuration page. From the dropdown, choose the Ad account and Pixel ID. Then, click Apply.
![]()
After a few seconds, the configuration will be saved. If the integration is working correctly, you will see the same in your WordPress dashboard.
Save the plugins’ settings, and you are good to go.
To make the most of Pixel Caffeine, we recommend you have a look at the Custom Audiences section in the WordPress dashboard. There, you’ll be able to enable advanced tracking, UTM tracking, taxonomy tracking, and advanced matching. Additionally, you can track conversions.
![]()
How to Test if Facebook Pixel is Working?
Once you’ve integrated the Facebook Pixel with your WordPress site, you have to make sure that the integration is working correctly. Here, we’ll show you how to test it easily.
In the Google Chrome store, search for an extension called Facebook Pixel Helper.
![]()
Then, click Add to Chrome.

Within a few seconds, the extension will be added to your browser.
![]()
With this extension, you can check the Facebook Pixel integration and make sure that it is working correctly.
So how do you test? Simply go to the website you have just integrated with Facebook Pixel and click on the extension. If the integration is working without any problems, you will see it in a dialogue box.
![]()
Conclusion
All in all, if you want to promote your business, Facebook Ads are an excellent option to complement your marketing strategies. The possibility to create targeted audiences based on age, interests, and location, makes them a very effective tool to increase conversions.
However, if you want to fully optimize your campaigns and make the most of Facebook Ads, adding Facebook Pixel to WordPress is a must. This way, you’ll be able to measure conversions from your Facebook ads, retarget users, and get insights about your visitors to optimize your campaigns.
To insert Facebook Pixel to your site, we recommend the manual method because it’s simple and fast. And even if you need some help, you can use Insert Headers and Footers. On the other hand, if you don’t want to do anything manually, you can use the Pixel Caffeine plugin. This tool lets you add Facebook Pixel to your site in no time and comes with advanced features.
Finally, to make the most of Facebook to increase your sales, we recommend you check out our guide on how to integrate Facebook Shop with WooCommerce.
Have you added Facebook Pixel to your website? Which method did you use? Please let us know in the comment section below and feel free to share this post on social media!
