How to Edit WordPress Dashboard Menu
Do you want to edit the WordPress dashboard menu of your website? With the help of the extended flexibility of WordPress, you can easily edit the dashboard menu for different users and user roles.
But before we go through the process of customizing the dashboard menu, let’s have a look at why you might need to edit these menus first.
Why Edit Dashboard Menu in WordPress?
WordPress provides a very useful dashboard to manage and customize your website. However, the default dashboard might not be applicable to you all the time. This is a very common case if you have to edit the WordPress dashboard menu for different users or user roles who access the backend of your website.
When you have multiple user roles on your website with dashboard access, you might need to disable some of the menu items to some of the user roles at times. On top of that, it’s not wise or necessary to provide them full access to all the menu items as well for security reasons.
The menu items that are used by the administration are not always used by other user roles like an editor. Similarly, if you have payment options enabled on your website, you should provide its access for only the users who work with payments.
However, you may need to edit the WordPress dashboard menu even if you alone work on the admin dashboard too. The default menu order on the dashboard menu may need some changes for your convenience. So in cases like these too, knowing how to customize the WordPress dashboard menu can be helpful for you.
How to Edit WordPress Dashboard Menu?
WordPress doesn’t allow you to edit the dashboard menu by default. But if you want to edit the menu by yourself, you can use one of the plugins to do so. Plugins help in increasing the overall functionality of your website and it’s the same with customizing the WordPress dashboard menu too.
For this demonstration, we will be using the plugin Admin Menu Editor. It is a free plugin with a lot of customization options for you to edit your WordPress dashboard menu.
But to start using it, you’ll have to install and activate the plugin first.
1. Install and Activate the Plugin
To install the plugin, go to Plugins > Add New from your WordPress dashboard and search for the keywords of the plugin. Next, click on Install Now. This will start the installation which will be completed in a while.
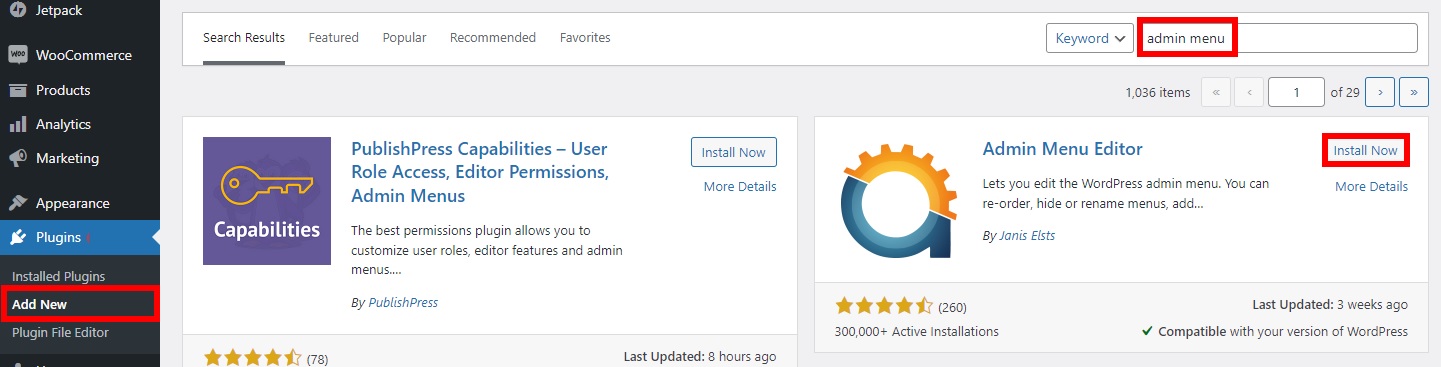
After that, Activate the plugin.
If you want to use the premium version of the plugin, you’ll have to upload the plugin and install it manually. Please have a look at our guide on how to install a WordPress plugin manually for more information on it.
2. Edit WordPress Dashboard Menu
To start customizing the dashboard menu, go to Settings > Menu Editor in your dashboard. You’ll be redirected to the plugin interface from where you can start to edit the WordPress dashboard menu.
There are 4 different sections from which you can customize your WordPress dashboard. They include the admin menu, redirects, plugins, and settings
2.1. Admin Menu
Under the Admin Menu, you can reorder, show, or hide all the available admin menu items on your website. You can move the menu items simply through drag and drop to reorder them on your dashboard.
More importantly, if you want to hide a menu item for certain user roles, you can click on the particular menu for additional options too. As soon as you click on the menu item, you can select a role on the extra capability option.
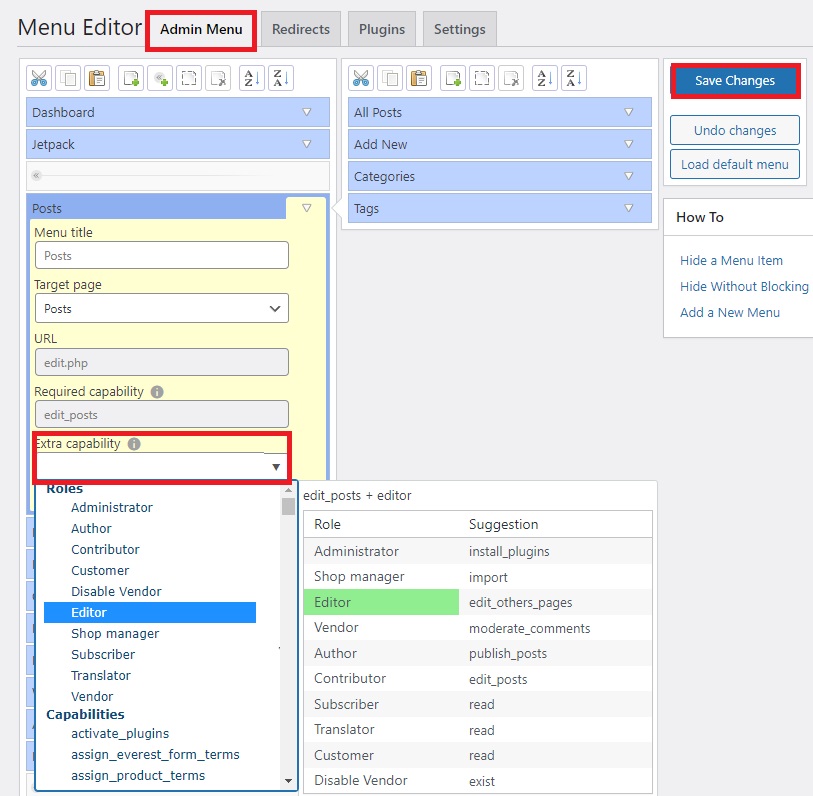
Just add the role that can access the menu item here. The rest of the user roles won’t be able to view the particular menu time. For example, if you set the extra capability to just the Editor for a menu item, even the website administrator won’t be able to see the menu when they log in to their dashboard.
But you have to make sure that all the extra capability of the sub-menu items are also set to the same user role. The sub-menu items can be customized from the column on the right of the main admin menu editor. You can see that we’ve also done the same if you look at the screenshot below.
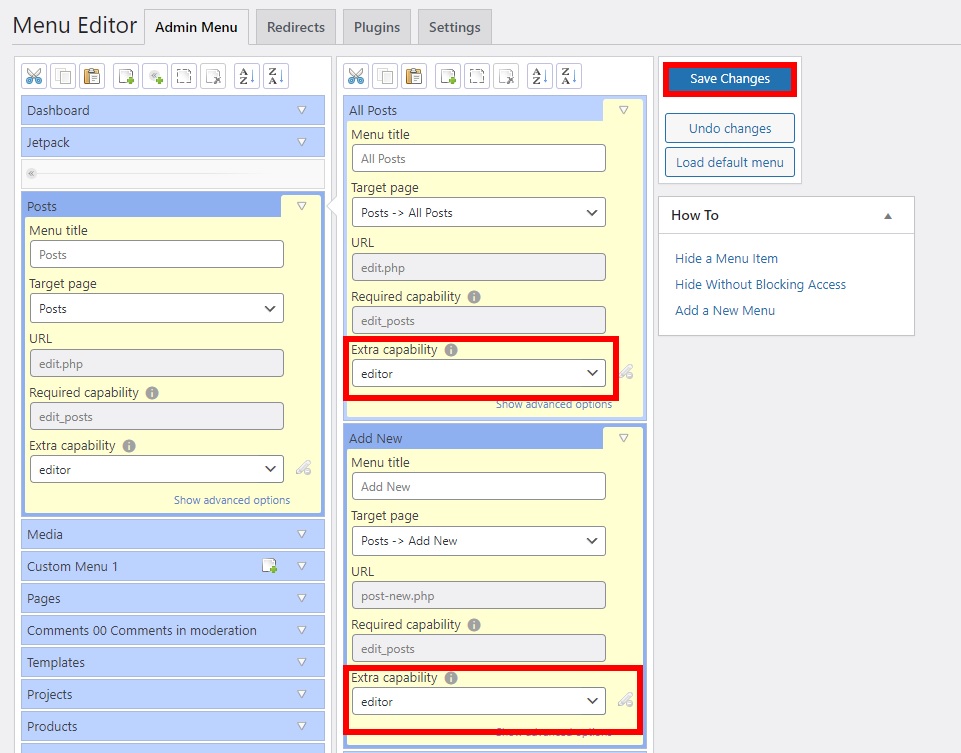
Additionally, you can also edit the title, URL, target pages, and other advanced options for each menu item.
Just don’t forget to save the changes.
2.2. Redirects
If you click on the Redirects tab, you can edit all the redirections for the login, logout, registration, and first login for the users.
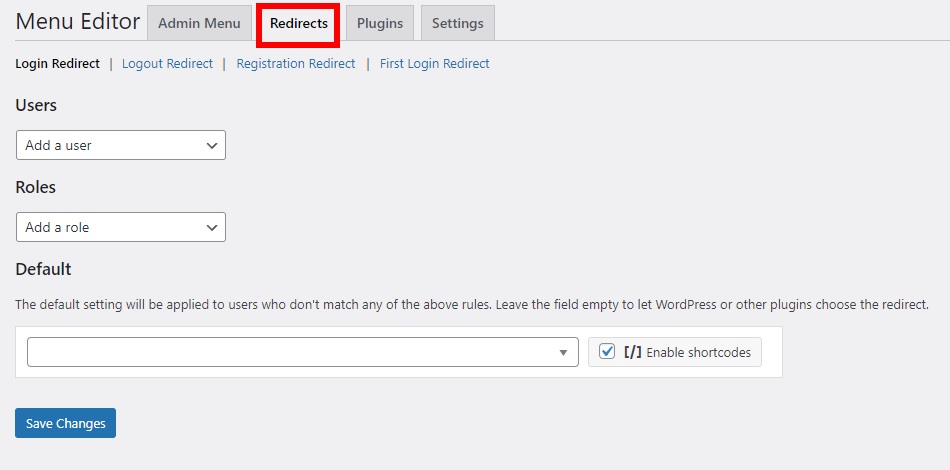
All you have to do is enter the roles or users of your website to which you want to enable the redirects for the login, logouts, and registrations.
Finally, save the changes
2.3. Plugins
Admin Menu Editor also lets you hide the plugins to certain users if required. You just need to uncheck the plugins in the Plugins tab that you would like to hide from the users.
For this tutorial, we have shown the plugins Checkout Fields Manager for WooCommerce and Direct Checkout for WooCommerce. Whereas, the plugins Akismet and Code Snippets are kept hidden.
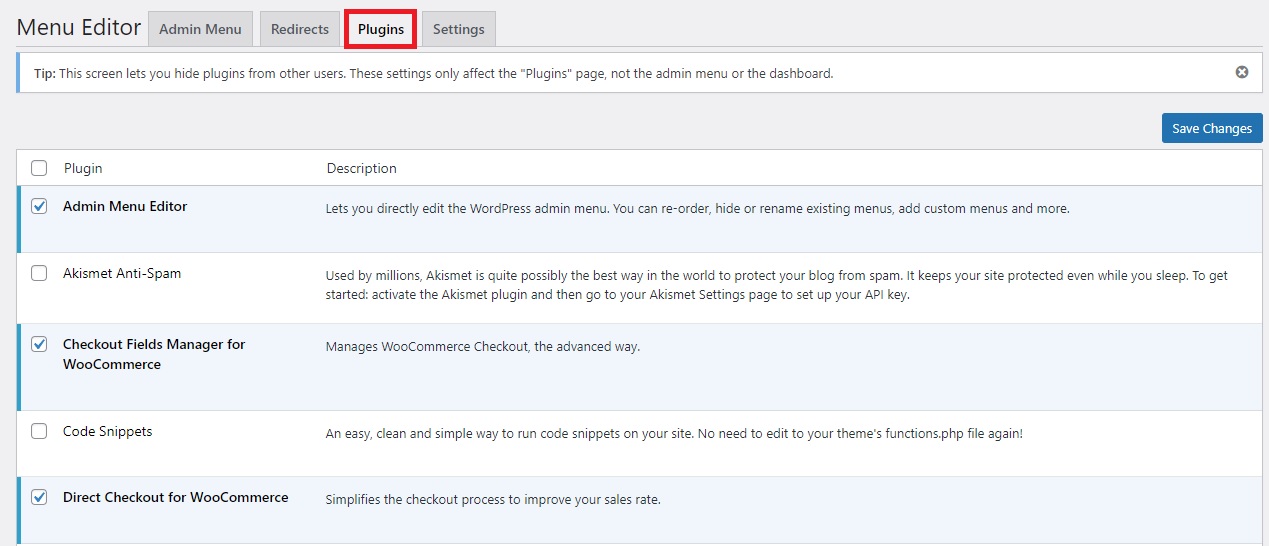
However, do keep in mind that these changes will only affect the Plugins menu on your dashboard. The rest of the admin menu or dashboard won’t be changed from this.
2.4. Settings
Finally, you also have some more settings to edit the WordPress dashboard menu of your website. The options under the Settings tab are mostly focused on the plugin interface and accessibility. Therefore, it includes the option to select who can access the plugin along with multisite settings.
You also get additional settings for modules, color schemes, new menu positions, debugging, WPML Support, and more.
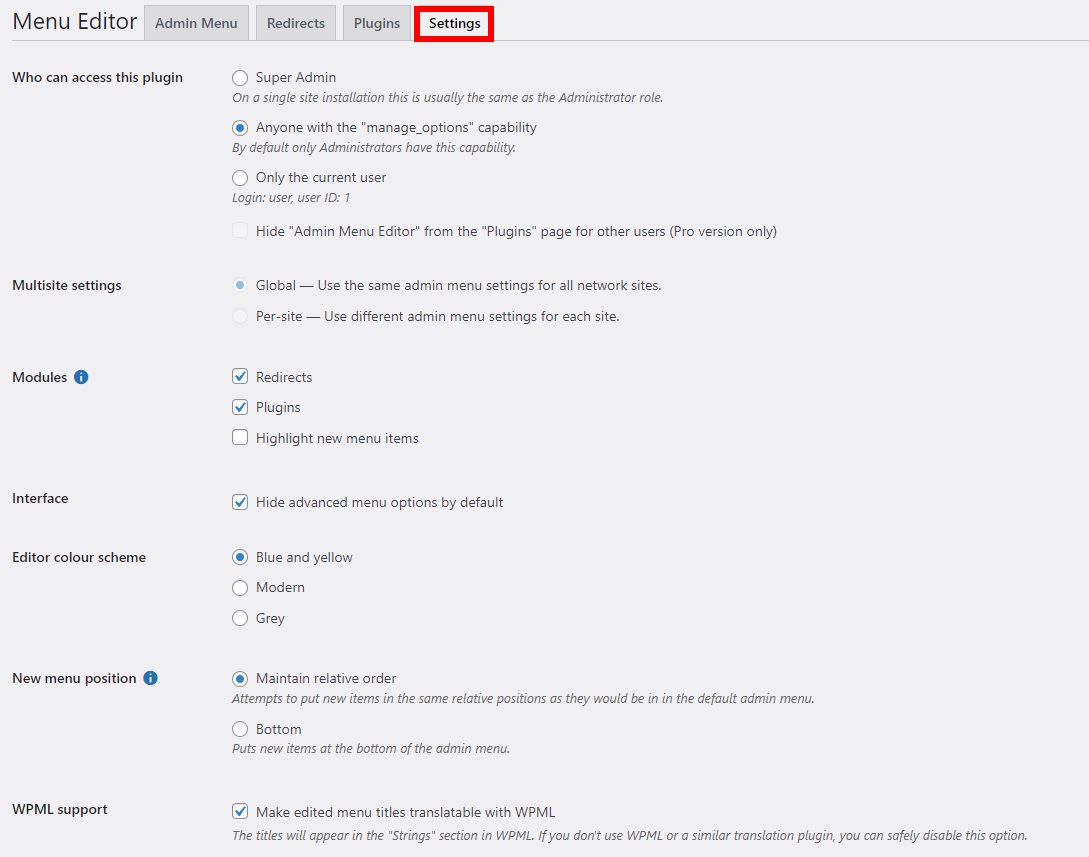
Adjust the settings according to your needs and save them once you have made all the necessary changes.
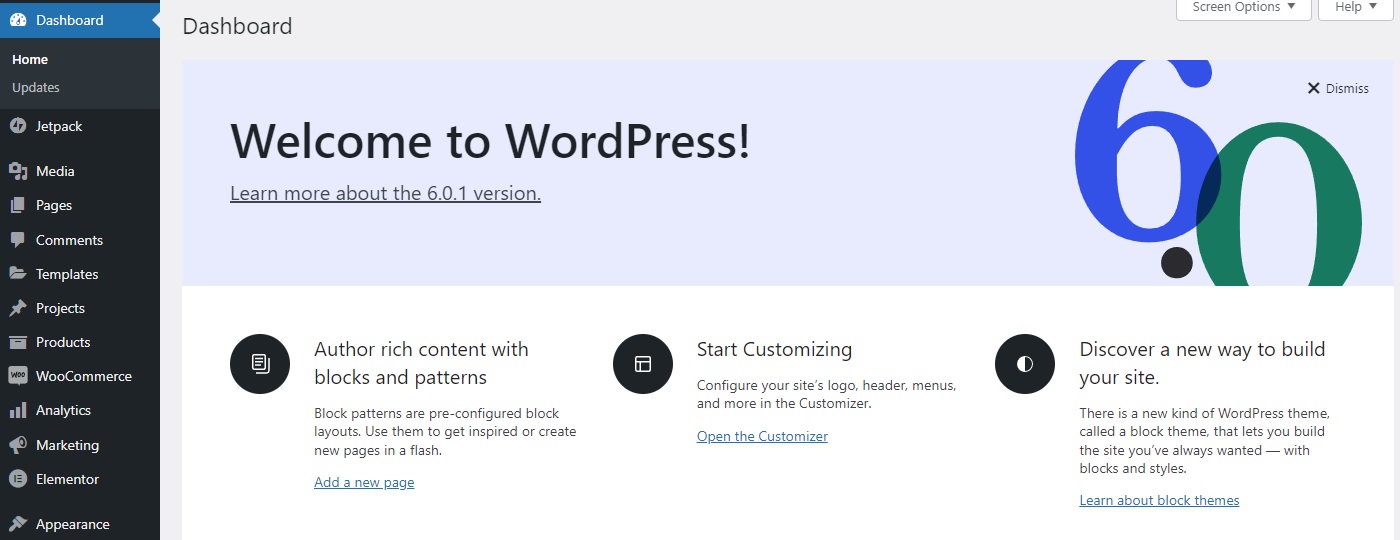
Now if you try logging in from different user roles, you will see that some of the menus won’t be shown for some of the user roles. In the following preview, some of the “Posts” menu items can’t be seen for the Administrator role.
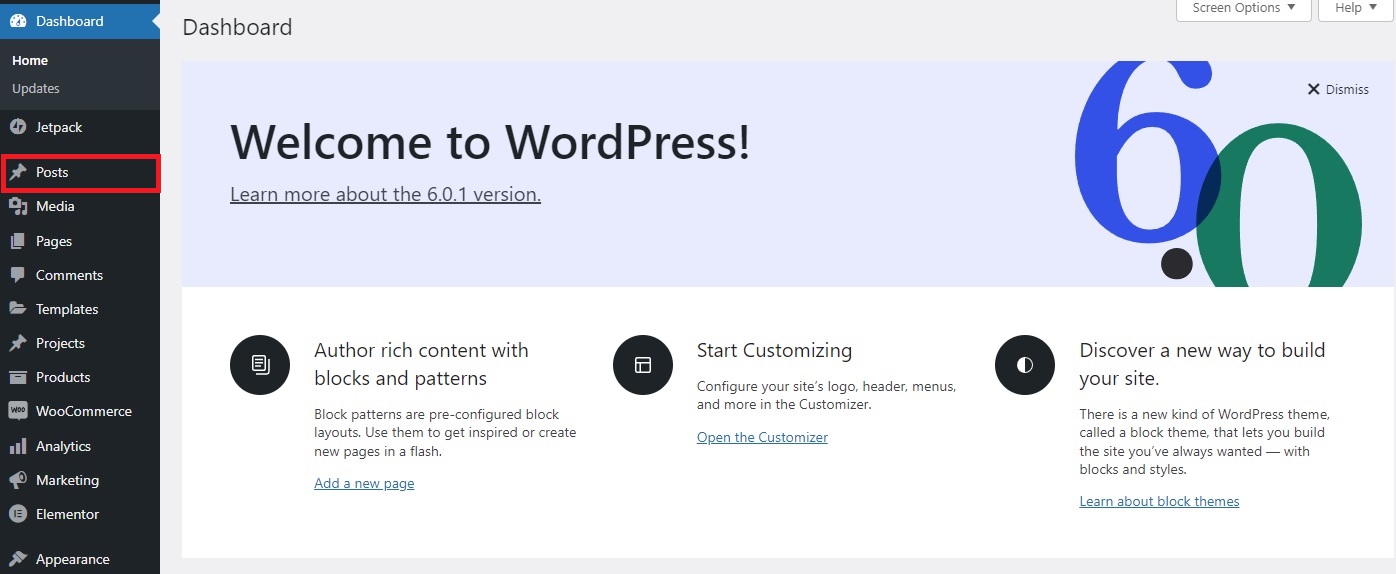
But after you customize the dashboard menu and switch to the Editor role, you can see that that the “Posts” menu is available.
Bonus: How to Customize WordPress Login Page
We have just shown you how to edit the dashboard menu in WordPress. Similarly, there is also a lot you can customize with your WordPress login page. And as a bonus, we will show you exactly how to do so in this section.
The default login page of WordPress may look very simple for your liking. Since you have made some changes to the dashboard menu, it may also interest you to customize the other parts of your website. And the next best step to edit on your website is your login page.
Just like the WordPress dashboard menu, the easiest way to edit your login page is by using a plugin. For this demonstration, we will be using the plugin Theme My Login since it has quick options to make some basic changes to your login page. So let’s start by installing the plugin.
1. Install the Plugin
Just like the above-mentioned step, go to Plugins > Add New from your WordPress dashboard and search for the plugin by entering the keywords. Once you find the plugin, click on Install Now to install the plugin.
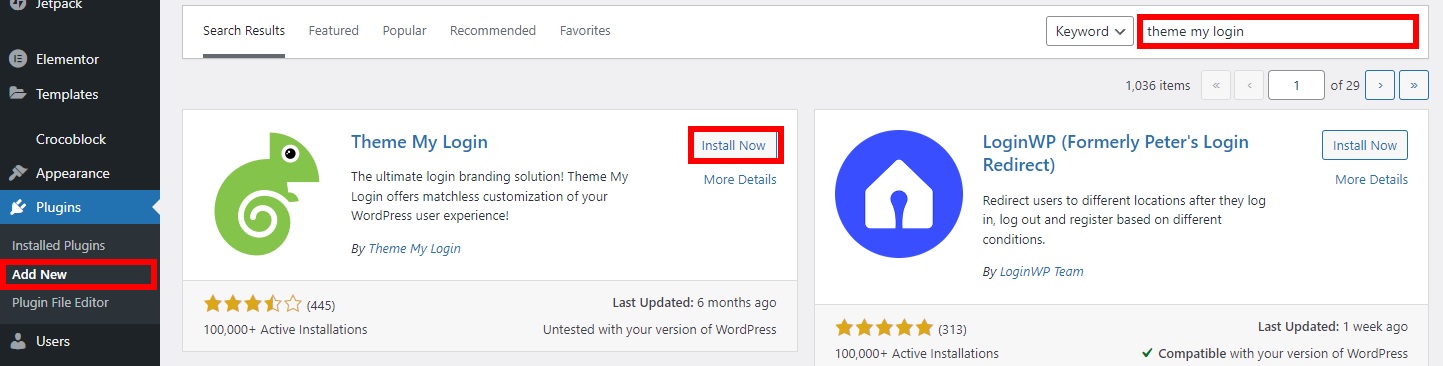
As soon as the installation is complete, Activate the plugin.
2. Customize the Login Page from Plugin Settings
After the plugin is activated, you will be able to see the plugin menu on your WordPress dashboard. To access it go to Theme My Login > General from your admin menu. You will be able to see all the available options of the plugin here. They are categorized into general, login, registration, and slugs.
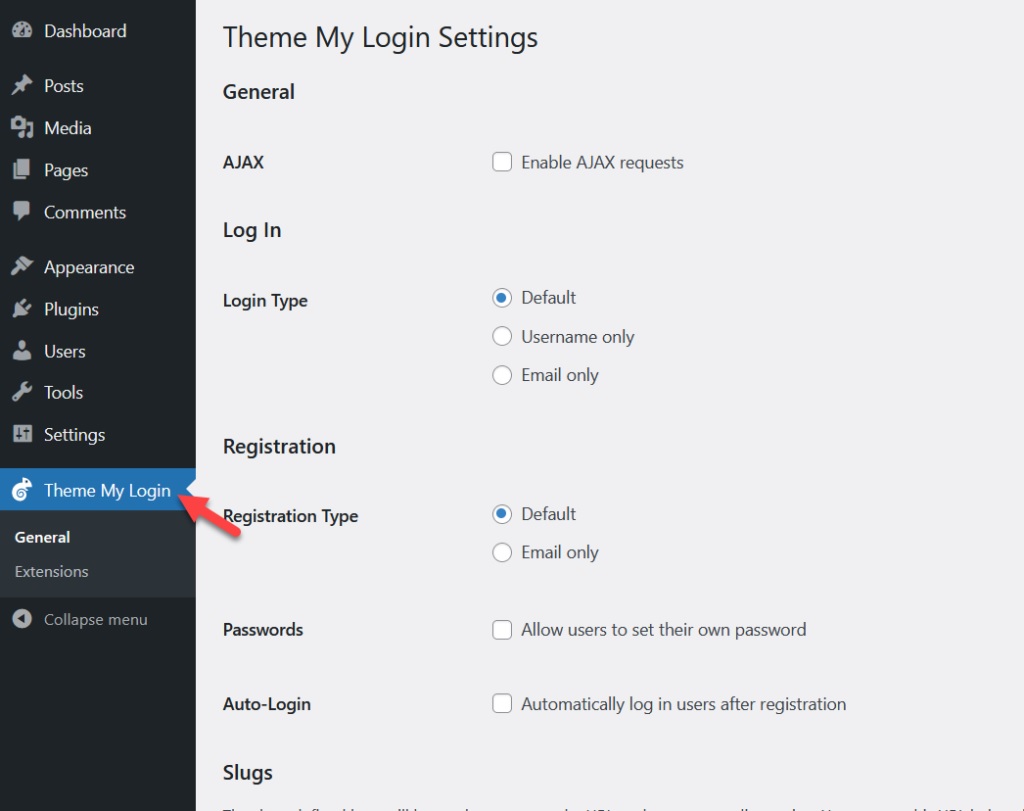
Under the general option, you are allowed to either enable or disable the AJAX request. The login options provide you with three login types which include the options default, username only, and email only.
Similarly, you can also select the registration type from default and email only under the registration options. But you can also allow your users to set their own password and automatically log them in after new registration.
Finally, you will also find the slugs option when you scroll further down. Here, you can change the permalinks of certain URLs associated with the login page of your website. As you can see, these URLs include the dashboard, login, logout, register, lost password, and reset password.
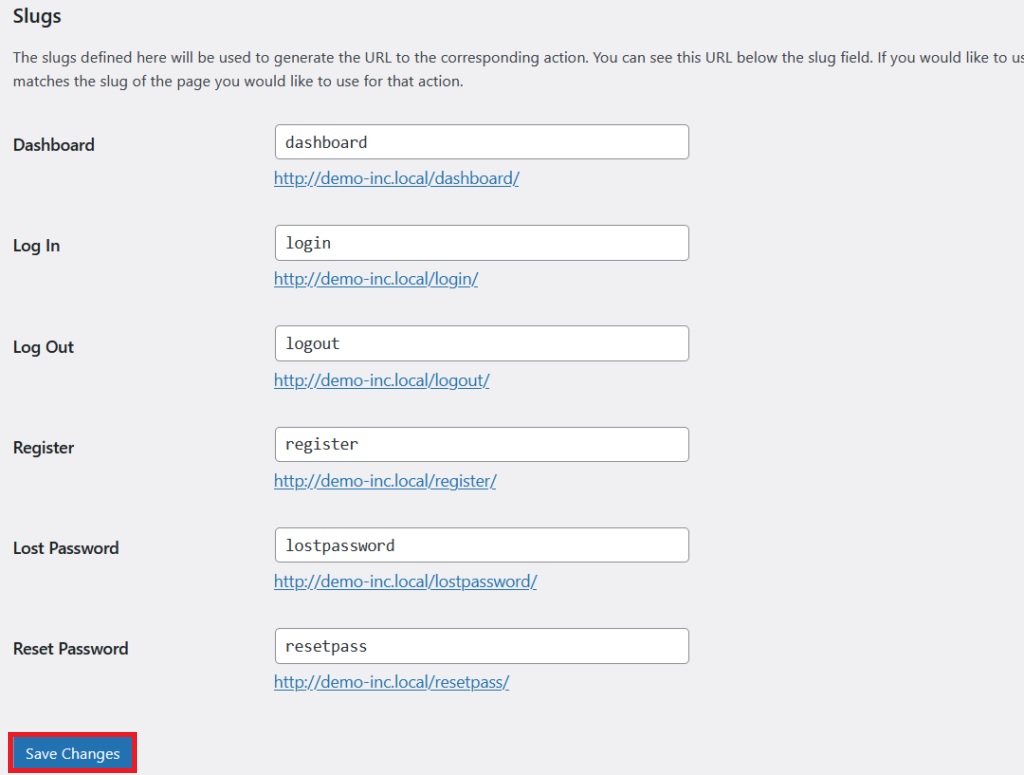
Once you make all the necessary changes to your login page, click on Save Changes.
Then, go to your front end and open the login page. Now try to log in based on the changes that you made.
That’s it! This is how you edit the login page if you want to match the functionality of your WordPress menu dashboard. You can customize the login page some more depending on the needs of your website. Have a look at our guide on how to customize a WordPress login page for more information on it.
Conclusion
This brings us to the end of our guide on how to edit the WordPress dashboard menu. They can be very useful if you have various user roles on your website or just want to customize the dashboard menus for better convenience.
As discussed in the article the easiest way to edit the dashboard menu is by using a WordPress plugin. You can find a dedicated plugin to customize it how you want. The dashboard menu items can be kept hidden or even reordered using them depending on your requirements.
Similarly, we have also added a bonus section with this article to customize the login page of your WordPress website. This can be a great help to you if you are looking to customize the login page of your website after you edit the dashboard menu. It can help you with both the functionality as well as the visual appearance of your website.
If you want to learn more about WordPress menus, we have a detailed guide on how to add a page to the WordPress menu too. Additionally, you can even add a WordPress mega menu to your website by using a plugin like QuadMenu as well.
So can you edit the WordPress dashboard menu of your website now? Please do let us know in the comments.
In the meantime, here are some more articles that might be helpful for you:
