
If you’re looking for a way to make your blog or website more user-friendly, adding a glossary is one of the best ways to do it. For WordPress users, several plugins allow you to create an interactive glossary in a matter of minutes. In this blog post, we’ll look at how to use one of those plugins to add a glossary to your WordPress website.
So, let’s start if you’re ready to give your readers an enhanced experience with easy-to-find definitions. But before we start, let’s see what exactly a glossary is and why it is essential to include it in a WordPress website.
What is a Glossary?
A glossary is a list of terms along with their definition that is related to any specific subject, such as an article, a book, or a blog post. It is typically used as a reference tool within a particular subject area, allowing readers to quickly find and understand the meaning of a term they may not be familiar with. Besides books and websites, glossaries can be found in other information sources to help readers better understand the subject matter.
It is handy when you’re writing about a specific niche or industry, where you’re likely to use many technical terms. Because it helps your readers navigate your website by giving them a quick list of definitions, making it easier for them to understand your content and take action.
In the case of websites, glossaries can be helpful for both writers and readers. For writers, a glossary can be a great way to organize your thoughts and ensure you’re using the right terminologies. On the other hand, for readers, a glossary can provide useful definitions and context for understanding an article or blog post.
So, that was a brief idea about a glossary and how it helps readers understand the content better. Let’s now dive a bit deeper and see some of the advantages of adding a glossary to your website, specifically WordPress.
Why Add a Glossary in WordPress?
As we saw in the definition, a glossary is a great way to provide definitions for terms that your website visitors may be unfamiliar with. By including a glossary on your website, you can help to ensure that your visitors understand the content on your site and can find the information they need quickly and easily.
Besides that, here are some reasons why you should include a glossary in your WordPress website.
Increased search engine visibility: Glossaries can help to improve the search engine visibility of your site by providing definitions for terms that people may be searching for.
Improve understanding of your content: A glossary can help to ensure that your visitors understand the content on your site by providing definitions for key terms.
Increase user engagement: By providing definitions for terms used on your site, you can encourage users to engage with your content and explore more of what your website has to offer.
All in all, adding a glossary to your WordPress site is an easy way to make your content more accessible and user-friendly.
Best WordPress Glossary Plugins
One of the easiest ways to create a glossary in WordPress is by using a plugin. There are many plugins available in the WordPress marketplace that will allow you to add a glossary to WordPress. Here, let’s take a look at a couple of widely used and user-friendly plugins first.
1. Heroic Glossary
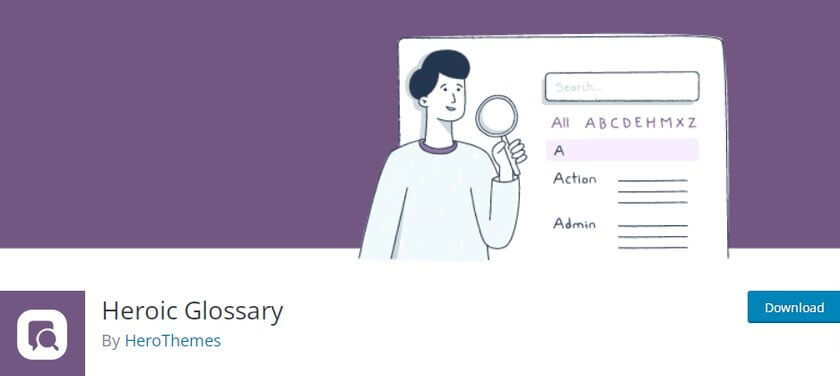
Heroic Glossary is a simple tool to create, modify, and manage a comprehensive glossary of terms. Users are able to quickly add words with explanations using rich text formatting while also categorizing their entries for better clarity. The user interface provides handy sorting options so you can keep the list up-to-date and organized by relevance or any other criteria.
Because Heroic Glossary is a Gutenberg block, you can easily create and customize your own glossary of terms right in the WordPress editor. Using the block, you can create entries in an alphabetized list, provide detailed descriptions of each term and add multiple definitions for terms if desired.
With this plugin, you have control over how the information is displayed. You can display information as a simple definition or give users more details with drop-down expansion capabilities. By using this advanced feature of Gutenberg editor, you can add a glossary to WordPress where all information about each term is readily accessible from one single source.
Key Features
- Add unlimited numbers of terms
- Automatically sorts the terms alphabetically
- Customize the glossary using predefined styles
- Works with any WordPress theme
- Provides complete translation support
Pricing
Heroic Glossary is a free plugin, and you can download it from the WordPress plugin repository.
2. Glossary by WPPedia
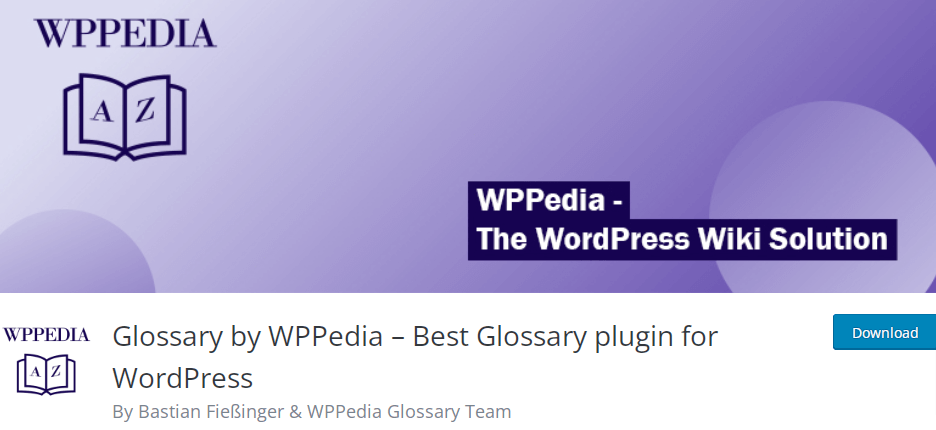
Glossary by WPPedia makes it simple to create a glossary, encyclopedia, or lexicon in WordPress. One can find all the tools required to create the ideal web glossary solution in Glossary by WPPedia.
This plugin comes with a robust cross-linking as well as an auto-linking engine. Because of this, any terms that appear on your page that are associated with another glossary item are automatically identified by the WPPedia glossary. Not only that, every word is linked to the relevant post, and a tooltip is included, making the page more user-friendly.
The best part about this plugin is that, even in the free version of this plugin, you can add three separate alternative terms for each individual glossary term. Furthermore, a template system or structure can be adjusted via your theme or child theme resulting in easy customization such as adding fields, changing colors and fonts, and even modifying the HTML/CSS underlying code designs.
Key Features
- Index glossary in alphabetical order
- Gutenberg Block Editor is fully supported
- Auto-suggest search for the terms in your glossary
- Creates an archive page
- Comes with 4 different tooltip designs
Pricing
WPPedia is a freemium plugin. You can download the free version from the WordPress repository right now. However, the pro version is currently in the testing phase and not available for users.
So, these were a couple of excellent plugins for WordPress. Next up, we will see how we can use one of the plugins to create a glossary in WordPress.
How to Add a Glossary in WordPress
For this demonstration, we’ll be using a free glossary plugin, “Heroic Glossary“. By using this plugin, you can easily create, manage and display lists of terms easily and effectively directly from within your WordPress dashboard.
Step 1: Install and Activate the Heroic Glossary Plugin
First thing first, we’ll start by installing the plugin. In your WP Admin Dashboard, navigate to Plugins > Add New. Search for the ‘Heroic Glossary‘ in the search bar on the top right side.

Once you find the Heroic Glossary plugin, click on ‘Install Now‘. After the plugin is installed, the button will change to an activate button. Click on the Activate button to activate the plugin.
Alternatively, if you have the plugin files, you can manually install and activate the plugin on your site as well.
Step 2: Add a Glossary to WordPress
After the installation and activation, you can either create a new page for the glossary or add the glossary section to any of your existing posts or pages. Here for the demonstration, we’ll create a new page for the glossary. For that, go to your WordPress dashboard and click on Pages > Add New.
Since the Heroic Glossary plugin offers a separate block, you need to click on the block inserter icon from the left top bar.
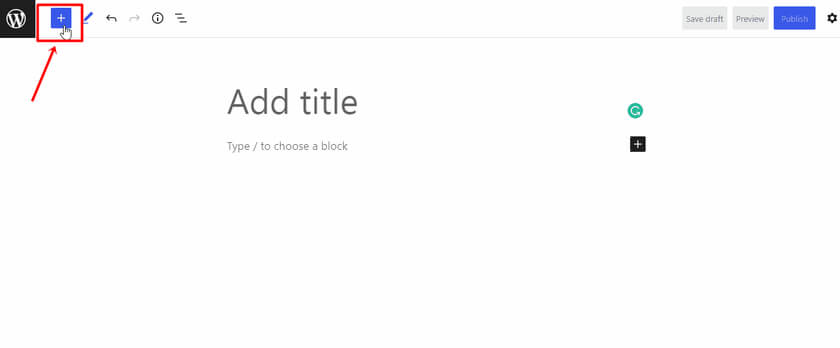
Then all you need to do is either search or type the block name “Heroic Glossary”. Once you find the click on the block. Right after that, you can see a glossary page has been added.
Now, input any name on the ‘Add title‘ field to give a name to your glossary page. Below the title field, you can see a link where you can click it, and it’ll lead you to a new field where you can add your glossary.
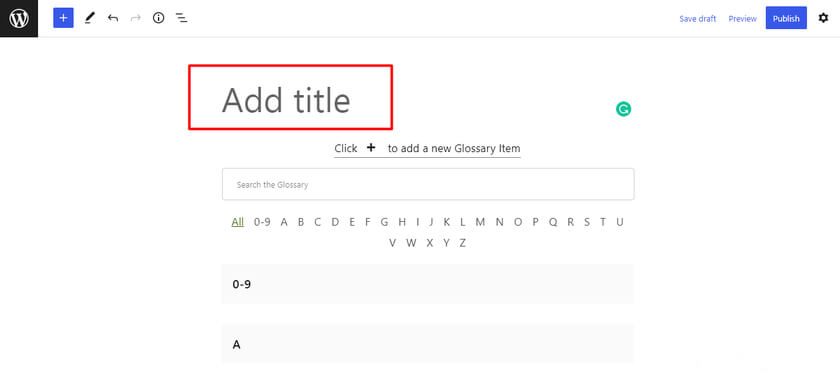
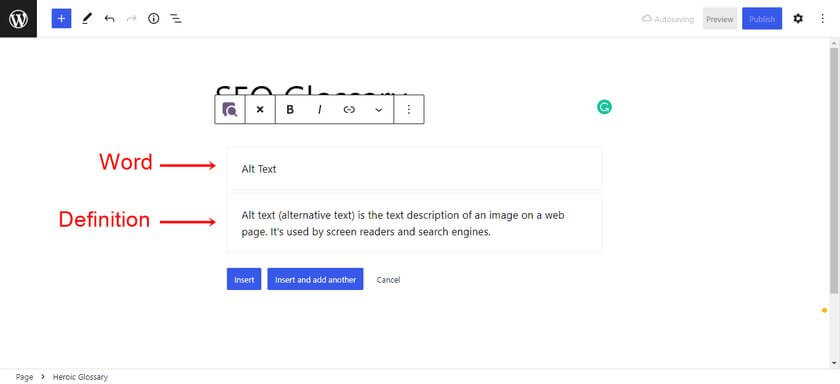
You can add as many words along with their definition. Also, the plugin will automatically reorder the words alphabetically. Once you’ve added the words to this section, you can save the draft, preview it, or either publish it.
This is what your glossary page may look like. Note that how the page will look depends largely on the active theme.
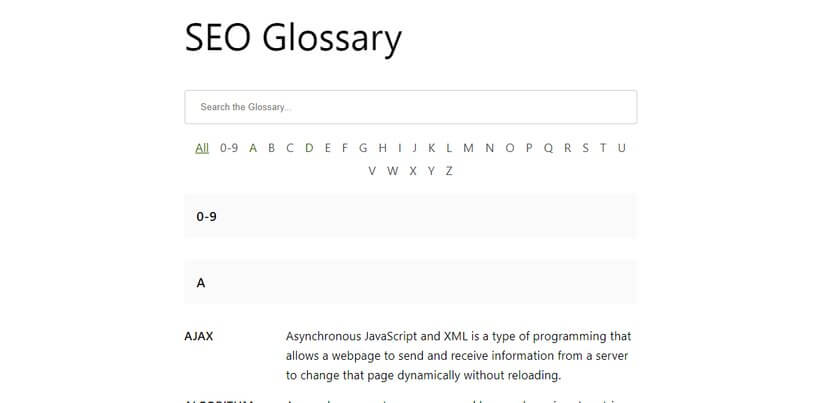
As you can see, it is very simple and easy to add a glossary to WordPress with the Heroic Glossary plugin.
Conclusion
Adding a glossary to your WordPress website is an easy way to help visitors quickly find definitions of terms they may not be familiar with. With the help of a dedicated plugin, you can easily add a searchable and navigable glossary to any page on your WordPress site.
A well-crafted glossary also adds credibility and professionalism to any website, making it easier for potential customers or clients to trust the content they are reading.
In this article, we discussed how we can create a glossary in WordPress. We also learned why it is important to have a glossary on a WordPress website. Additionally, we also had a look at the top two glossary plugins, so you can choose the one that best suits your needs. Finally, we learned how to create a glossary in WordPress using the Heroic Glossary plugin.
Now that you know how to create and manage your glossary, you’re well on your way towards adding this helpful feature to your site and improving the user experience for everyone who visits it!
We hope that you found this content to be insightful and helpful. So, do you prefer having a glossary display on your site or providing info to users in tooltips? Feel free to share your opinion in the comments below.
Meanwhile, if you found this post to be helpful, be sure to check out these posts related to WordPress and WooCommerce, which you might also find interesting.
