
Do you want to integrate Twitter with your site? If you are looking for simple ways to do this, we have got you covered. In this guide, we’ll show you several ways to easily connect Twitter with WordPress.
Nowadays, most people use at least one social media platform. For example, Facebook, Twitter, Instagram, and Pinterest together have more than 4 billion active users worldwide! By using social media profiles smartly, you can increase your social media presence and reach millions of customers online. We’ve already seen how to integrate Instagram with your site and today we’ll show you different methods to connect Twitter with your WordPress site.
Why Integrate Twitter with WordPress?
Twitter has more than 300 million monthly active users and nearly 150 million daily users, so it’s a great platform to reach new customers. Many websites also use Twitter to keep their followers informed about the content they publish and to interact with them.
Many plugins let you automatically share your content on Twitter. However, in this post, we’ll go a step further and show you several ways to integrate Twitter with your WordPress site. That way, you will be able to automate tasks, reach new audiences, and grow your business.
How to Connect Twitter with WordPress?
There are several methods to connect Twitter with WordPress.
- Embed tweets
- Pull content from a single tweet/ tweetstorm
- Twitter feed
- Display specific tweets
- Timeline widget
- Sharing button
- Follow button
- Tweets on the sidebar
- Content Sharing
- Inline Tweet Icons
- Twitter cards
In this guide, we will explain all of them so you can choose the one that best suits your needs and apply it to your site.
1) Embed Tweets
The first method to integrate Twitter with WordPress is to embed tweets on your site. And the best part is that it only takes 1 minute.
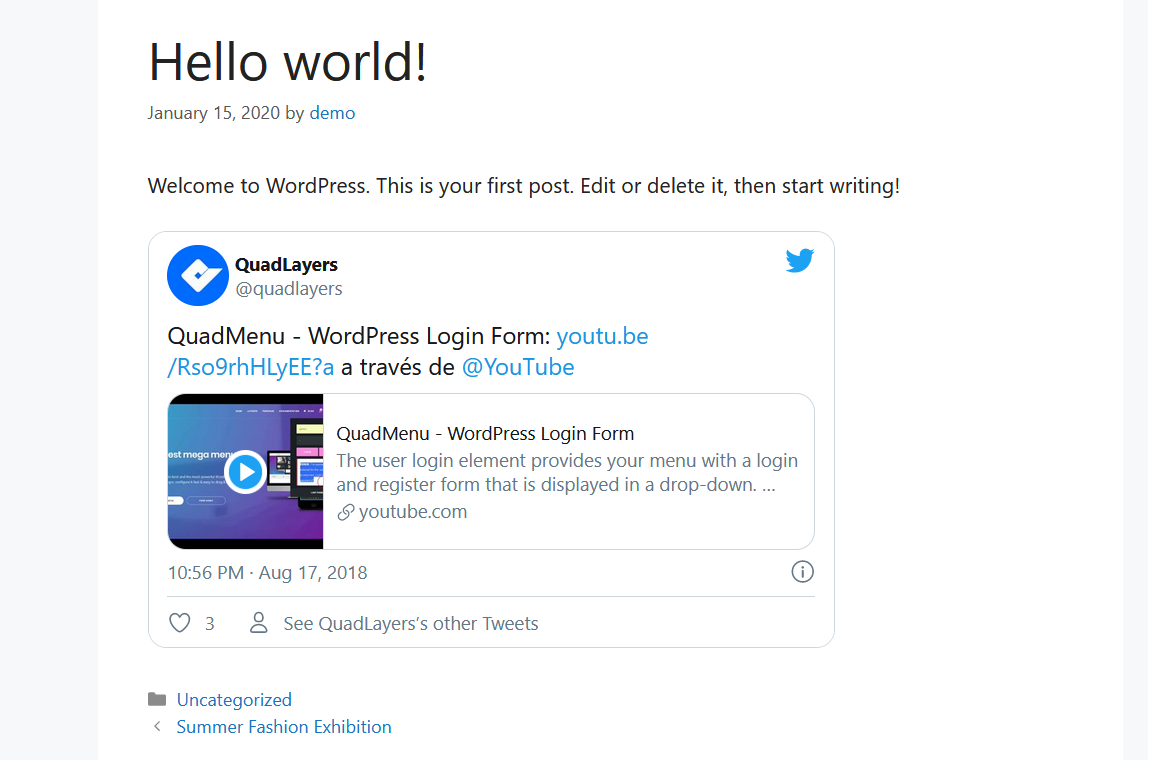
First, find the URL of the Tweet you want to embed on your site. In our case, we will display a tweet from our official Twitter account.
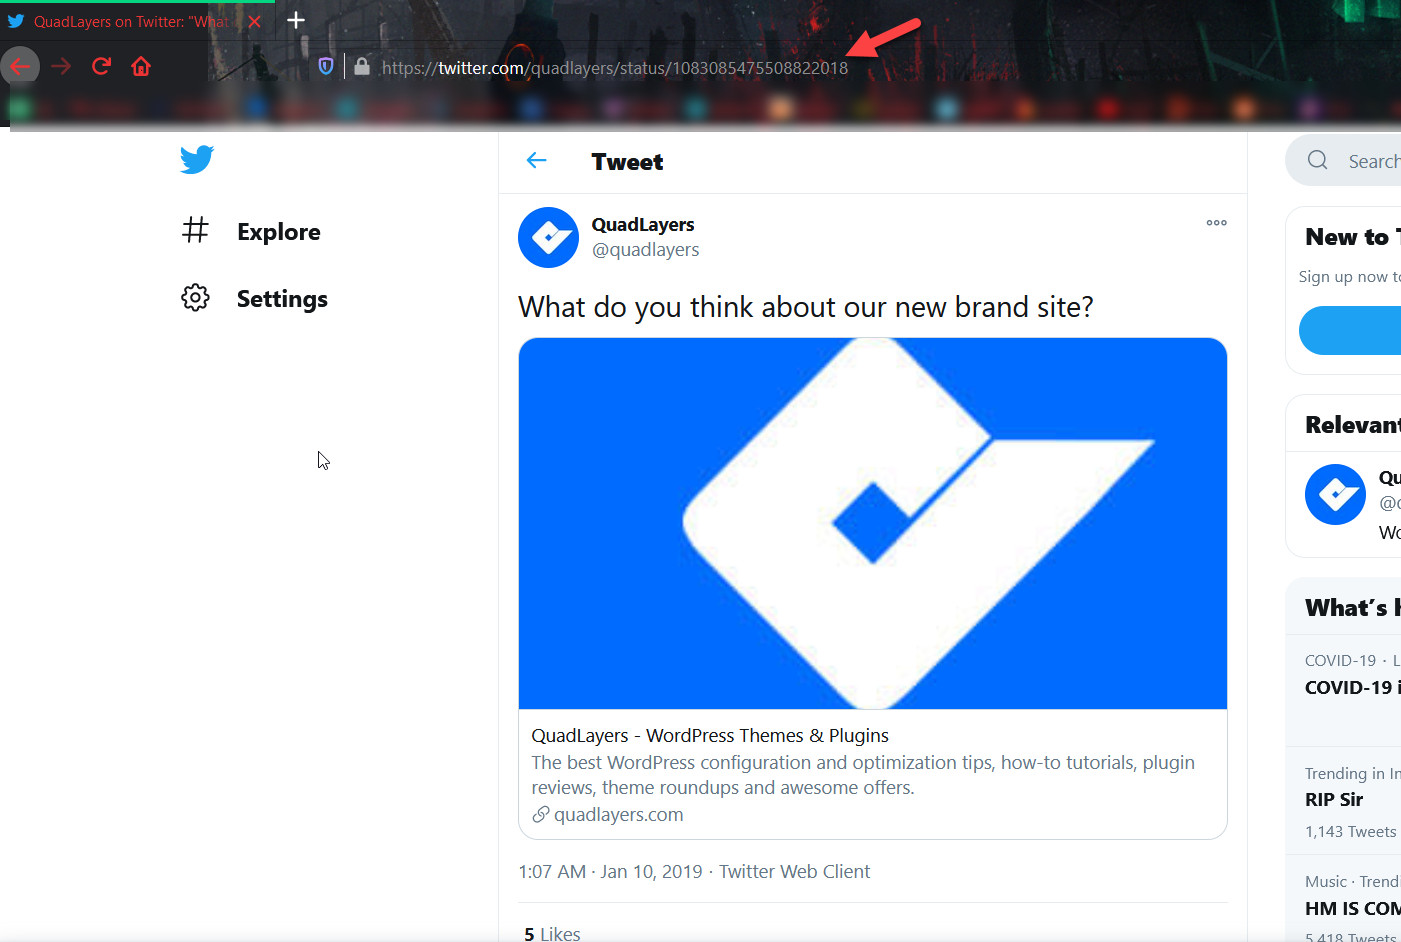
Copy the tweet URL and go to your WordPress Admin. Here, you’ll have two options depending on whether you use the Classic Editor or Gutenberg.
Classic Editor
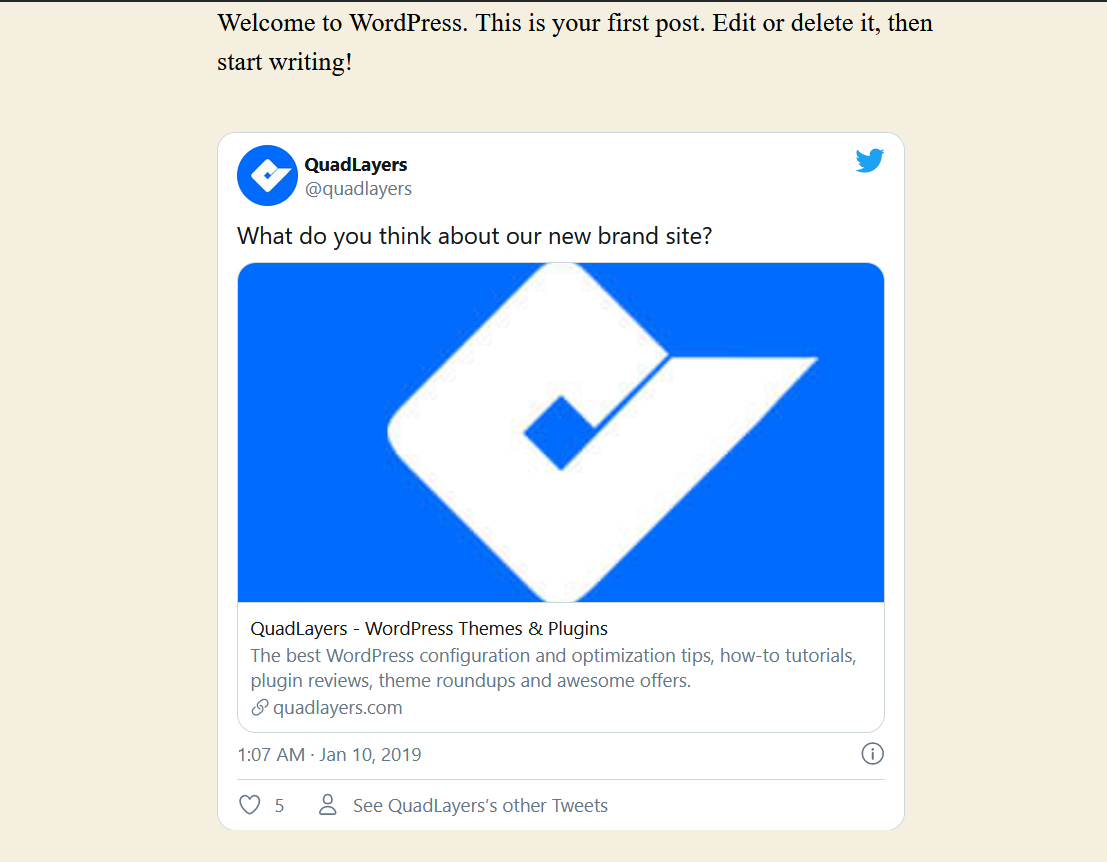
If you use the Classic Editor, go to the page or post where you want to insert the tweet, paste the URL, and save/update the post.
After that, you will see the tweet in the post.

Gutenberg
On the other hand, if you are using the Gutenberg editor, after copying the tweet URL, search for the Twitter block, paste the Tweet URL, and publish the update.
You will see a live preview on your editor and the final version in the frontend.
Short and sweet, wasn’t it? In less than a minute, you can embed any tweet on your WordPress site and connect it with Twitter.
2) Pull Content from Single Tweets or Tweetstorms
If you use the latest Gutenberg editor as your content editor, you can pull content from Twitter and display it on your site by using the Twitter block. Let’s see how to do it.
First, go to your Gutenberg editor and add a Twitter block. Then, enter the URL of the tweet or tweetstorm you want to embed there. For this demo, we will embed one of our tweets.
In the live preview, you can see the tweet and then check the actual post on the frontend.
This way, you will be able to embed any tweet or tweetstorm on your site in less than a minute.
Please note that this method works only if you use the Gutenberg Editor.
3) Twitter Feed
This is a very interesting way to connect Twitter with WordPress, especially for those who are very active on the platform. In this section, we’ll show you how to add a mini-twitter page on your site using the Twitter Publish tool.
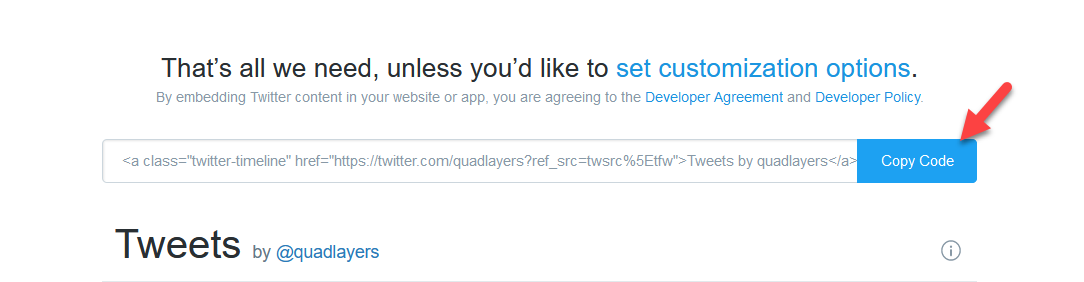
First, go to the Twitter Publish tool and select the Embedded timeline option. You will need to enter the Twitter profile URL there.
Then, you will see a unique HTML code with a preview of the widget.

So if you want to embed this page on your site, simply copy the HTML code and paste it into the page or post you want. There are two options here:
Classic Editor
If you use the Classic Editor, make sure that you are using the Text Editor when you add HTML to your content.
Then, simply update the post and the feed will appear on that post.
Gutenberg
If you use Gutenberg, you can use the HTML block to add HTML to your posts.
After adding the code, update the post and you will see the Twitter feed you’ve just created in the frontend.
We recommend you create a dedicated page for your Twitter feed. The code will pull all your available tweets into the page, so it’ll make posts very long. It’s worth noting that you can include your own Twitter feed and also the feed of others. You just need the Twitter profile URL and you are good to go.
4) Display Specific Tweets
Sometimes, instead of embedding the entire Twitter profile, you need to embed specific tweets on your site. To do that, go to the Tweet you want to add and click on the three-dotted button in the top right corner. There, you will see the embed option. After you press it, you’ll go to Twitter Publish to get an HTML code.

Copy the HTML code and then go to your WordPress admin. If you use the Gutenberg editor, add an HTML block, paste the code and save the post.

If, on the other hand, you use the Classic Editor, use the Text mode, and paste the HTML code there.
After that, you will see the Tweet you have just embedded in your post.

5) Add a Twitter Timeline Widget
Another interesting option to connect Twitter with WordPress is to add a timeline to any of your widget areas. This way, customers will be able to see your tweets on any page, post, or wherever you have enabled the widget position.
To add a Twitter timeline widget, go to the Twitter Publish website, choose the Embedded Timeline option, and paste the URL of your Twitter profile.
Then, copy the HTML code.
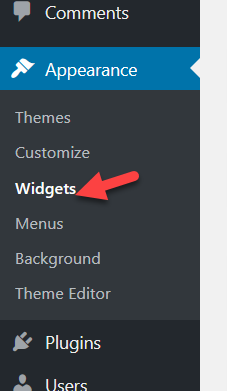
After that, log in to your WordPress site and go to Appearance > Widgets. There, you will need to add an HTML widget to your right sidebar and paste the HTML code you’ve just copied.
Then, save the changes and you are good to go. Finally, check your website’s sidebar and you will see a responsive Twitter timeline widget there.
It’s worth noting that you don’t need to do anything to make the widget responsive. The code will take care of it.
If you also want to add an Instagram Feed to your site, you can use this free tool whereas to include a Facebook widget to your site, check out this guide.
6) Include a Twitter Sharing Button
Adding a sharing button is a great way to connect Twitter with your WordPress site. Letting your visitors share your content on Twitter will help you reach wider audiences at no cost. To do this, you need a social sharing plugin. Here, we’ll show you how to add a sharing button using two different tools.
6.1) Jetpack/a>
Jetpack is one of the most popular plugins out there and comes with tons of features. To include a sharing button, first, you need to install and activate it on your website.
Then, click on the Set Up JetPack button to register your site. You will need a Google or WordPress.com account to complete the authentication.
JetPack is a freemium solution and you can add sharing buttons using the free version. To do so, go to the Jetpack settings and then to the Sharing tab. There, simply activate the Enable social sharing buttons.
Now, let’s configure the sharing buttons by pressing the corresponding link.

This will redirect you to the WordPress.com site. Under Marketing & Integrations, you will see the social sharing settings.
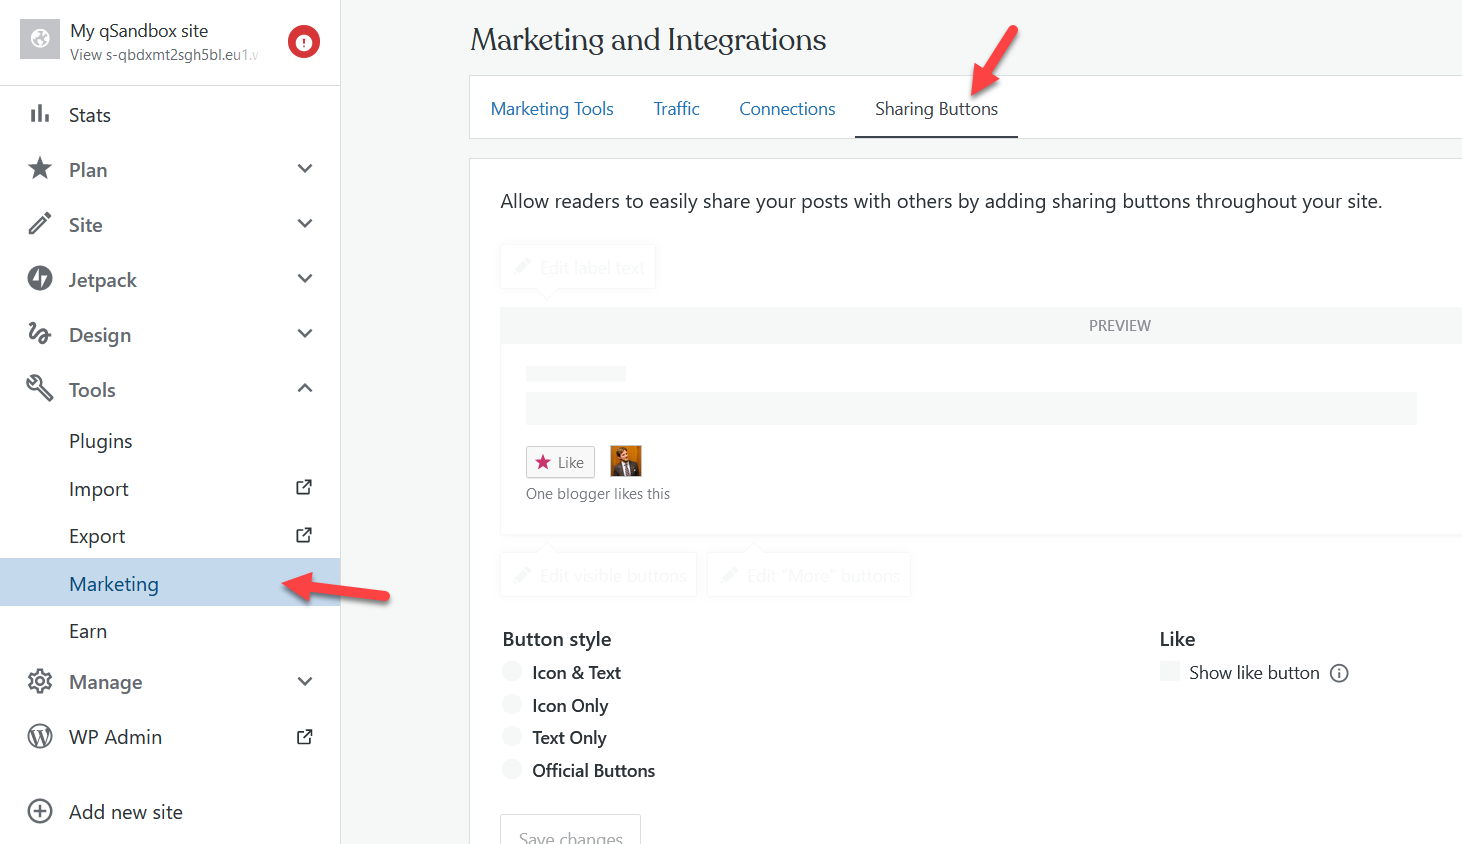
From there, you can configure your Social Sharing buttons. Once you’re happy with the changes, save them and you are good to go. Now, the social buttons will appear on your site posts.
For more information about Jetpack’s features and pricing, check out our complete JetPack guide.
6.2) Social Snap Lite
Social Snap is another excellent tool to add social buttons to your site. It has both a free version and premium plans. For this demo, we’ll use the free plan.
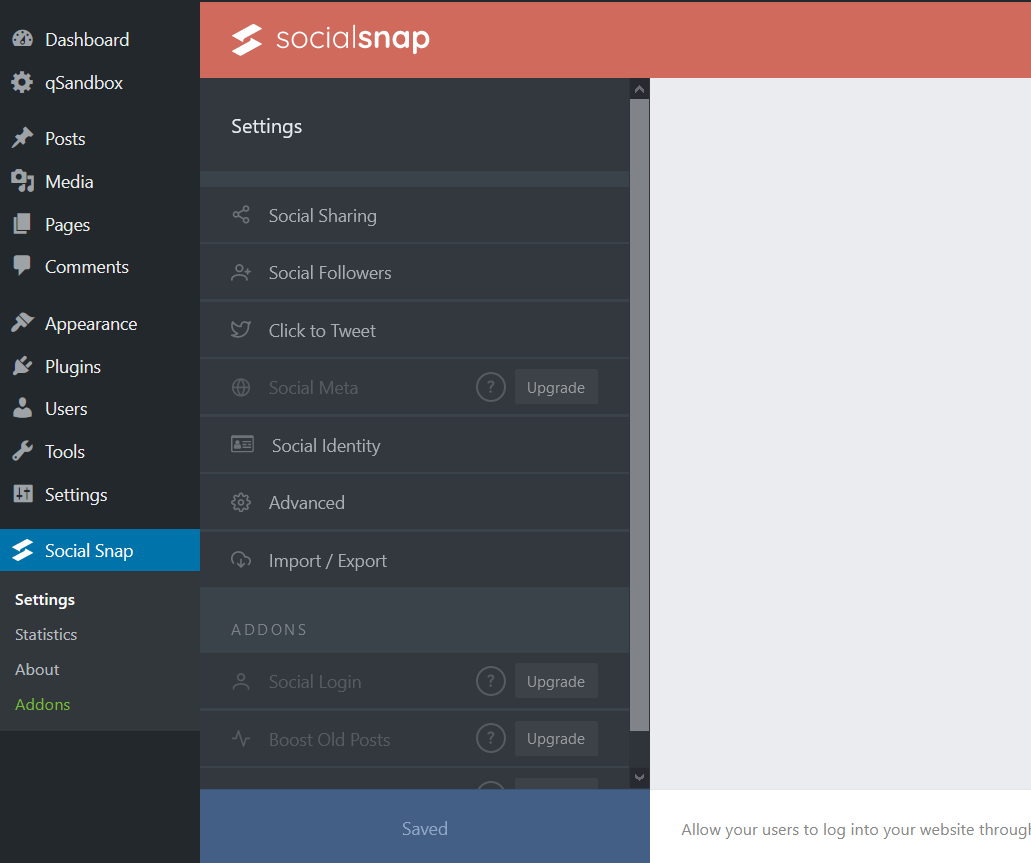
First, install and activate Social Snap on your website.

After that, you will see the plugin’s settings. Click on the Customize Social Snap button.

Then, you will see a customization page like this:
The plugin adds a Twitter share icon by default and you can add other social networks from the Network settings.
Additionally, you can include a floating sidebar on your site. And the good thing is that just like we’ve seen how to make the Divi header or any other element sticky, these social share buttons will be fixed.
Apart from choosing which social media buttons you want to display, you can add some customization. From the Inline settings, you can change the position, label, button shape and size, and so on.
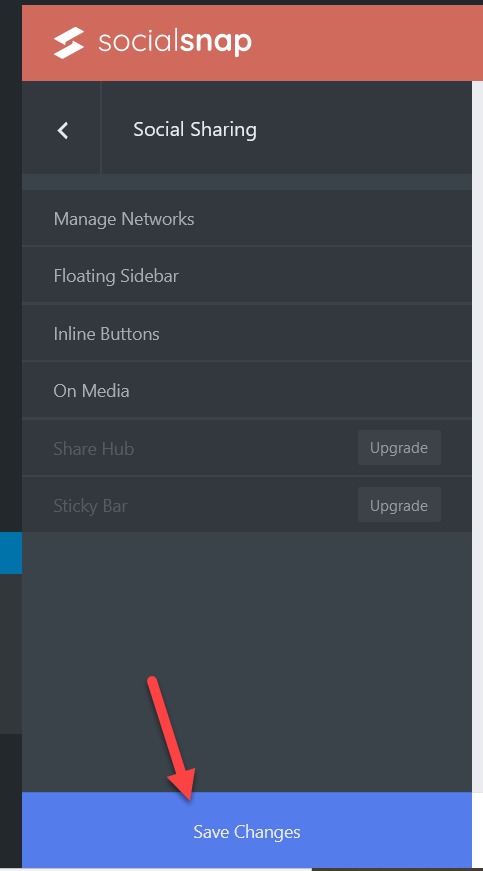
After you finish the customization, save the changes.
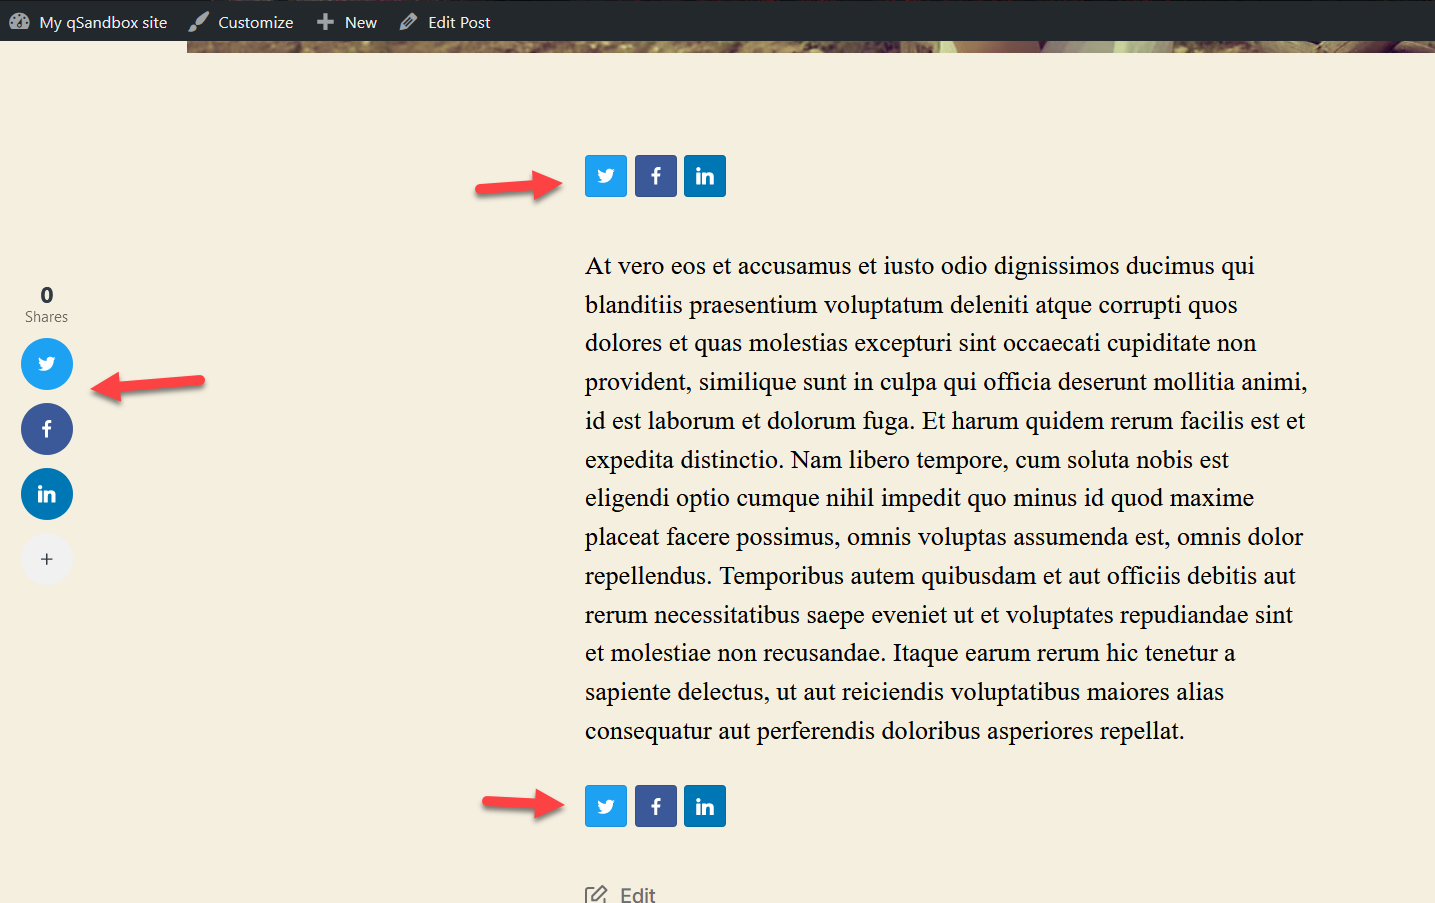
Finally, check your site from the frontend and you will see the social sharing buttons.
7) Add a Twitter Follow Button
Apart from adding sharing buttons, another excellent way to connect Twitter with your WordPress site is to include a follow button. This way, your visitors will be able to follow you directly from your website.
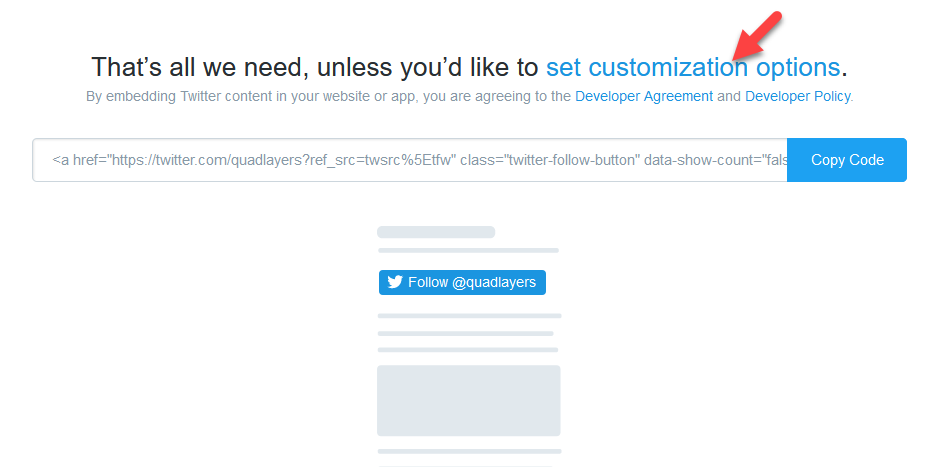
Adding a follow button is very easy and doesn’t require any plugins. First, go to Twitter Publish and under the Twitter Buttons, you will see an option to include a follow button.

You need to enter your Twitter URL and press Preview.
Then, you’ll be able to copy a unique HTML code. We’re going to leave the default styling but you can check out the customization options if you need to apply some changes to your button.
Now, let’s see how to add this button to your site using both the Classic Editor and the Gutenberg editor.
Classic Editor
If you are using the Classic Editor, go to the text mode of the post/page where you want to include the button and paste the HTML code in a new line.
After that, publish/update the post and you will see the change in the frontend.
Gutenberg Editor
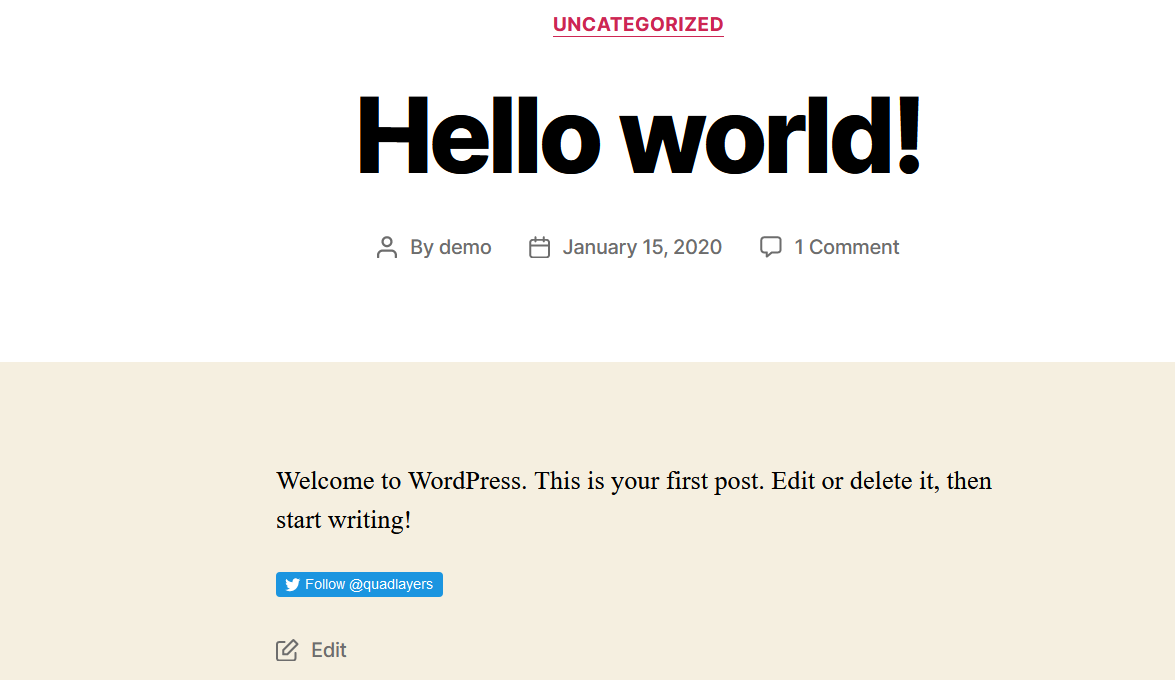
If you use the Gutenberg editor, simply add an HTML block, and paste the HTML code in the post/page you want to include the button.
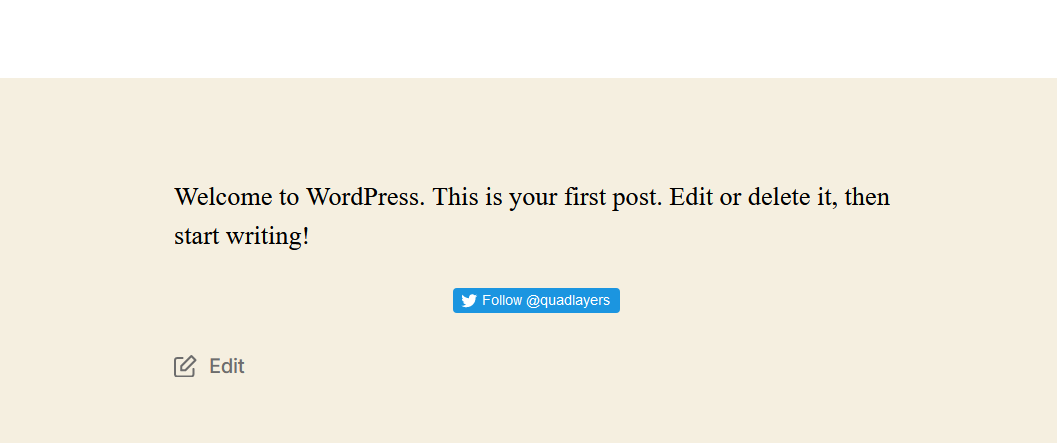
Then check the frontend and you will see the Follow button.
Additionally, you can also add this HTML code to your website’s sidebar or footer.
8) Display Tweets on the Sidebar
The sidebars are very helpful when you run content-rich or news websites. And the good thing is that most WordPress themes like GeneratePress, Divi, or Avada allow users to customize the sidebar.
Adding a Twitter widget to your sidebar is an excellent option to display information to your users. So, in this section, we will show you how to display tweets on the sidebar without installing any plugins.
First, go to your WordPress dashboard > Appearance > Widgets.
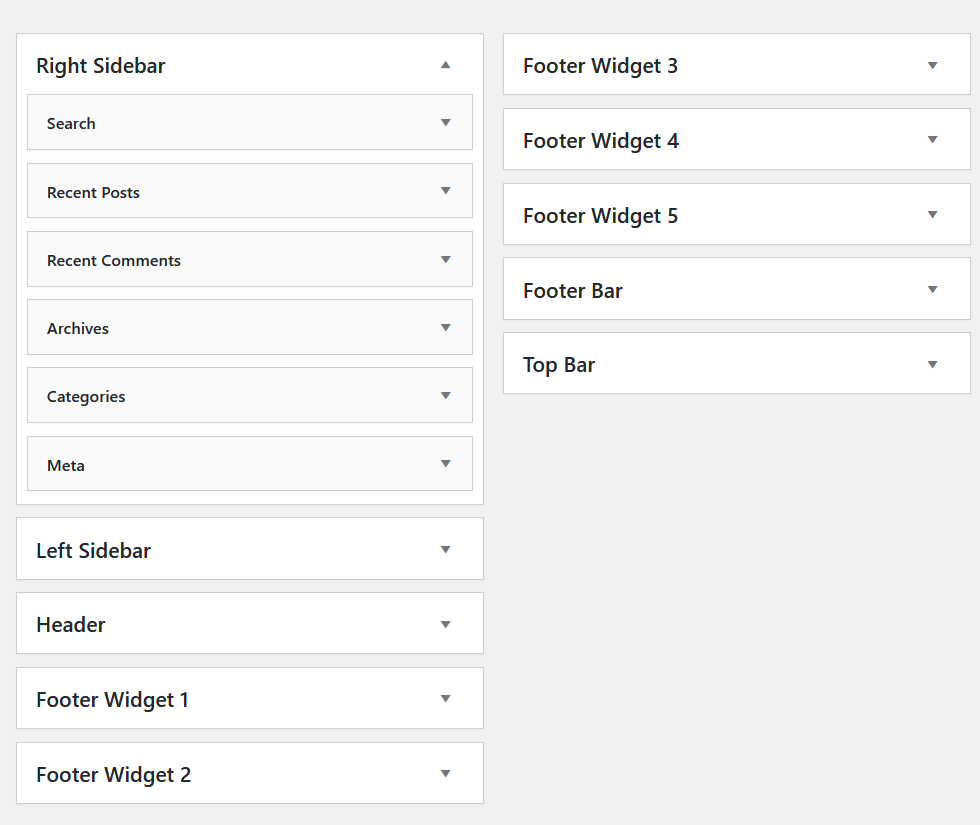
You will see all the available widgets and positions there. For example, on our site, we have several widget positions.
For this demonstration, we’ll add a new text widget to the right sidebar section.
Then, you have to name the widget and paste the Twitter profile’s URL in the content section. You can find the URL from your browser’s address bar. In our case, we are going to use our Twitter handle’s URL.

So, after modifying our new text widget, it will look like this:
As you can see, WordPress automatically converts the URL to a scrollable Twitter feed. Finally, save the widget and check your website’s frontend to see the result.

9) Share Your Content on Twitter
Sharing your WordPress content on Twitter is an excellent option to integrate both platforms and get extra social traffic to your site. Doing this manually takes time and it’s not a good option if you regularly publish content on your site. However, there’s a solution for that.
In this section, we will show you the Twitter standard sharing method and the new Tweetstorm feature. Keep in mind that you will need Jetpack installed and set up. If you’re not sure how to do that, check this out.
9.1) Standard Sharing Method
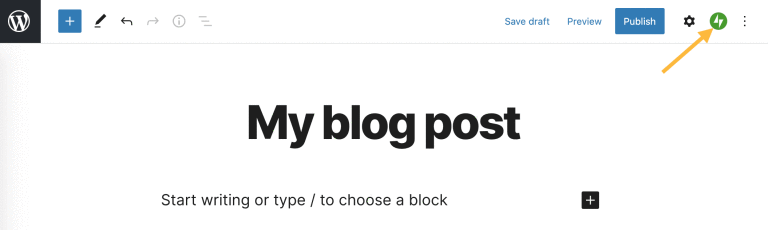
Once you finish the article you want to share, go to the Jetpack settings.
Then, connect your Twitter account.
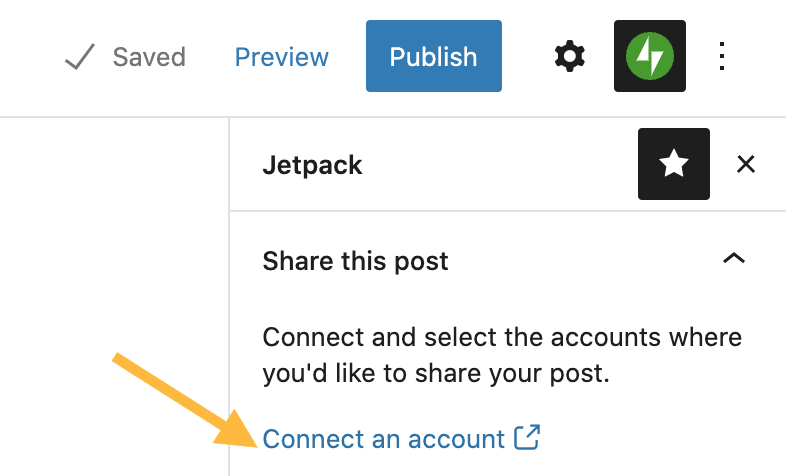
Here, you will also be able to connect other social media accounts such as Facebook, LinkedIn, and so on.

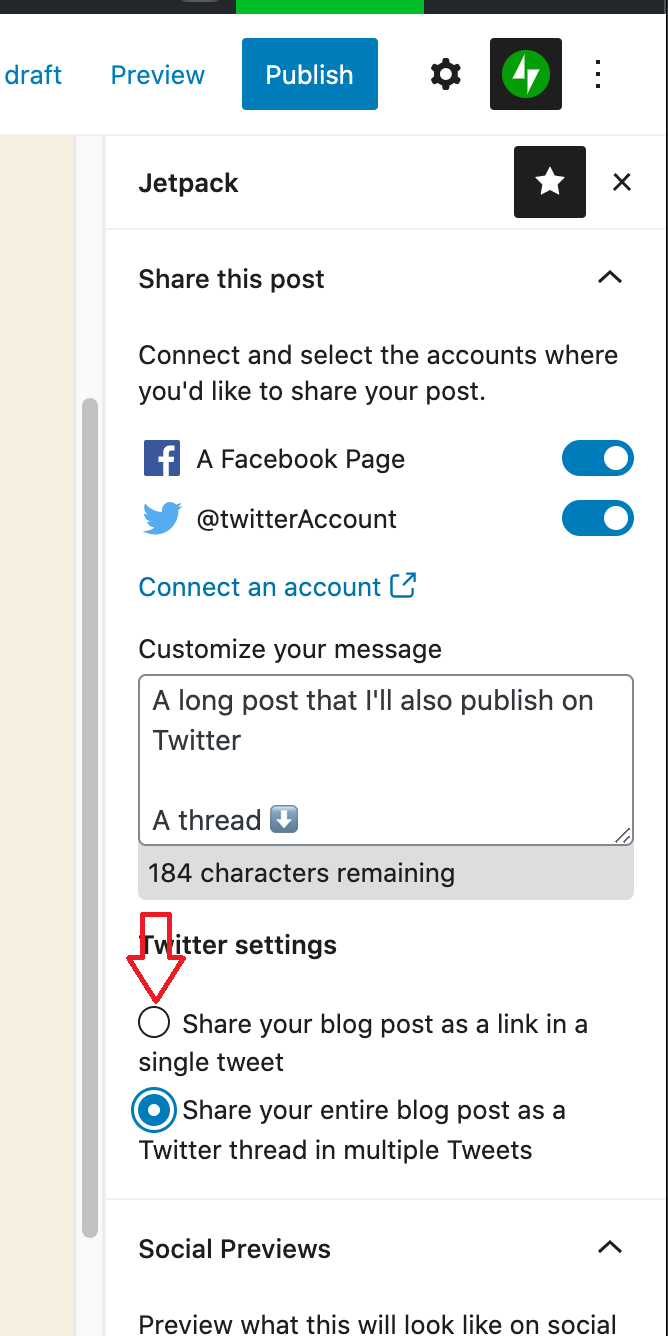
After connecting your Twitter account, you will see an option for sharing your post to the Twitter account as a link. That’s the standard sharing.
Now, let’s have a look at the tweetstorm method.
9.2) Tweetstorm Method
If instead of sharing your content as a link you want to publish the whole post as a Twitter thread, simply select the second option.
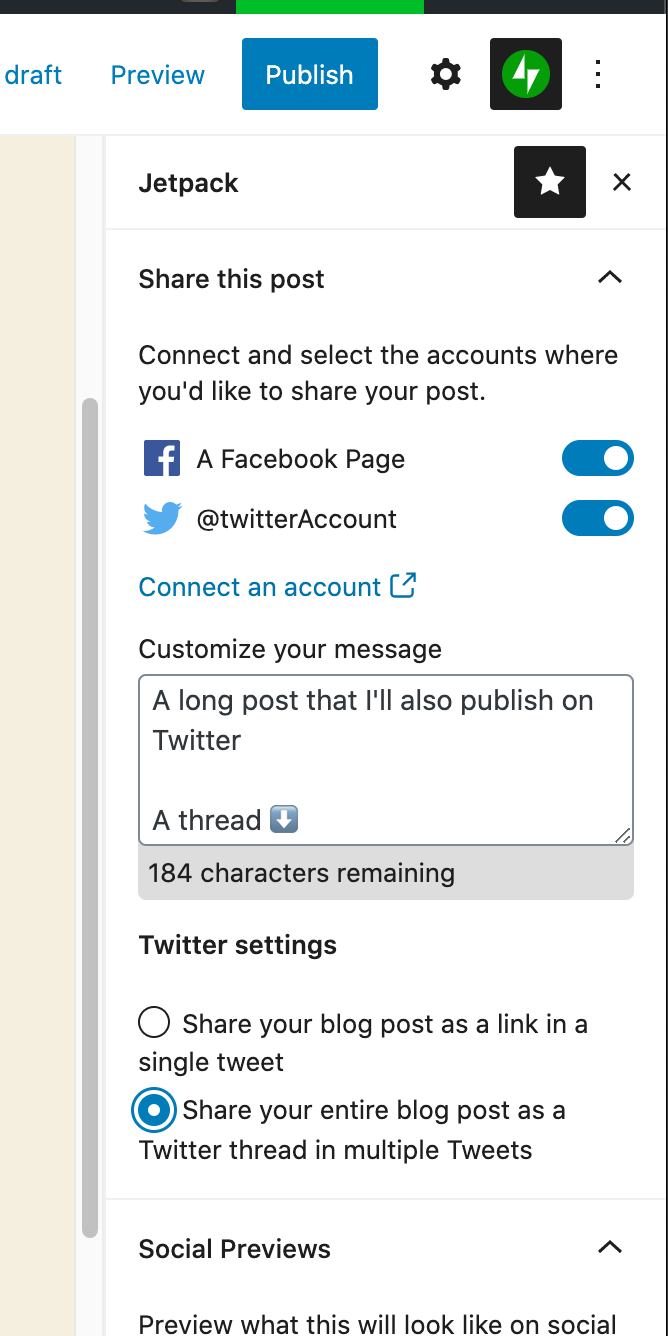
Setting this up on your WordPress site will help you save some time. You won’t need to log in to Twitter every time you want to share something. With this, when you publish a post, it will be automatically shared on all your linked social media profiles.
10) Add Inline Tweet Icons
When you share some important news, it’s a good idea to add inline tweet icons to your posts. By default, WordPress doesn’t include this feature but you can easily add a tweet button to your content with the Inline Tweet Sharer plugin. Let’s see how to do it.
First, install and activate Inline Tweet Sharer on your site.
Then, go to the plugin’s settings under the WordPress settings section.
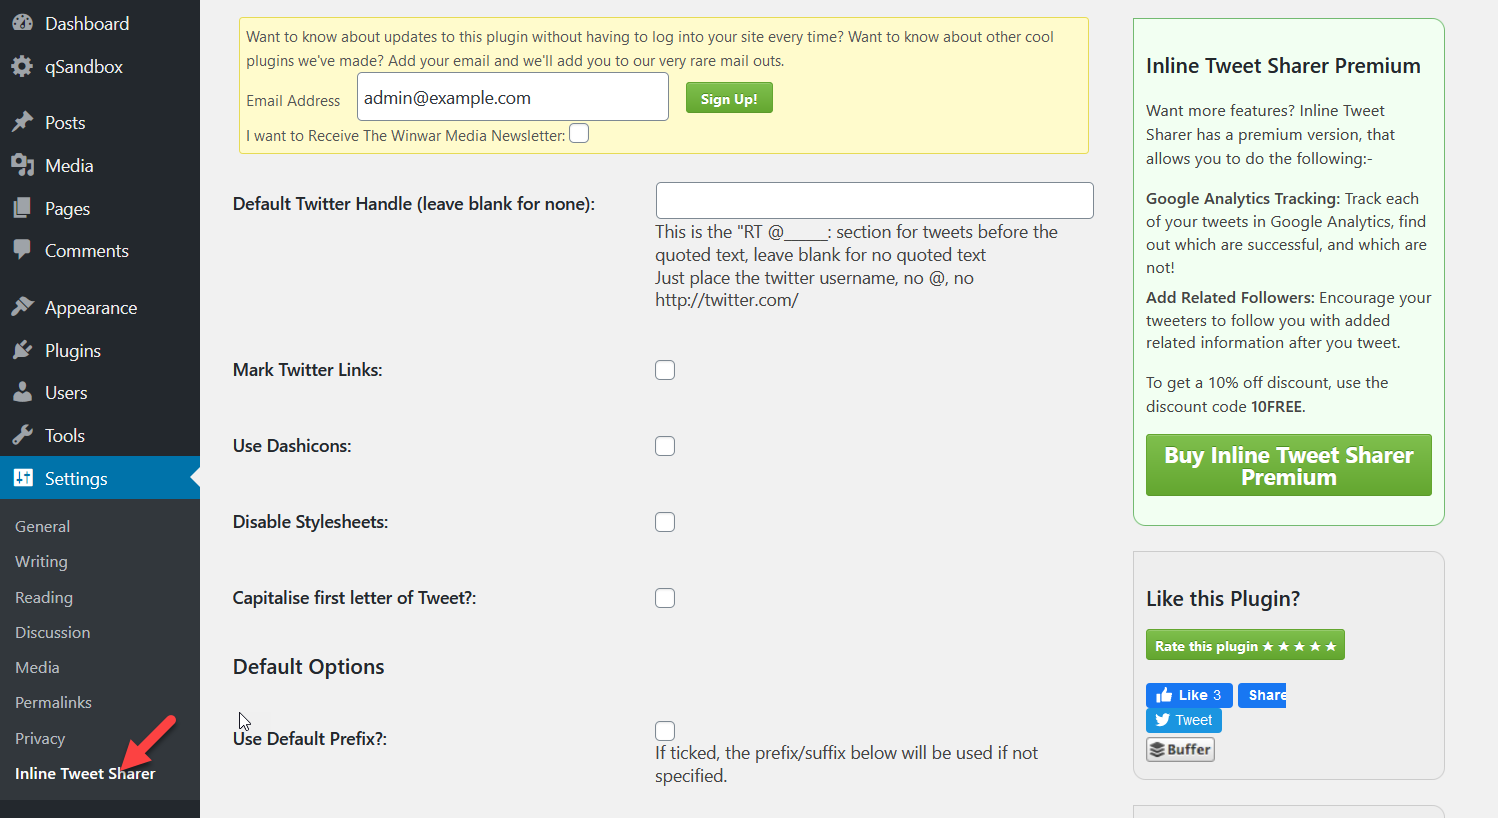
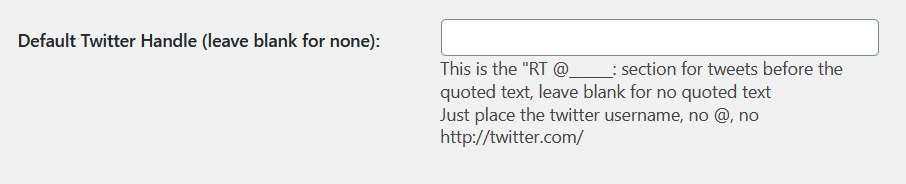
There, you can enter your Twitter username and select other options but it’s optional.
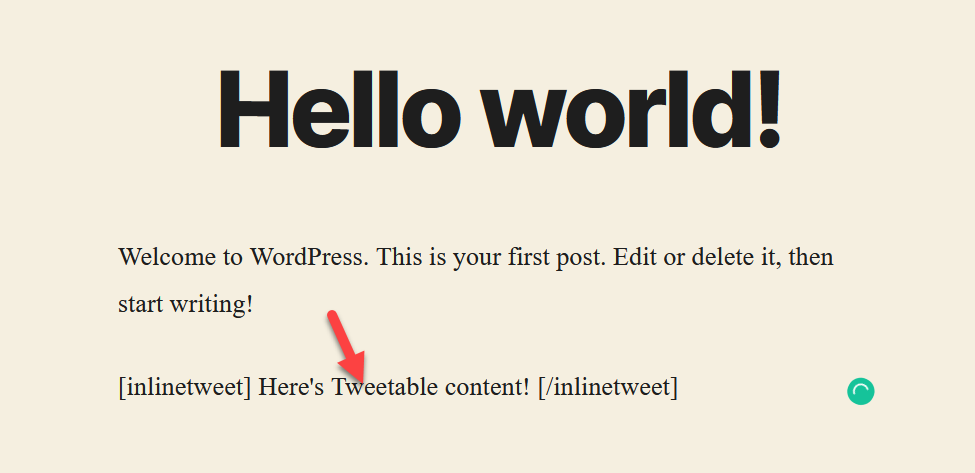
After that, you can add the Tweet icon using a shortcode in the WordPress editor. The shortcode we are going to use is [inlinetweet]. For example, check out the screenshot we have below.
If you check the post from the frontend, you will see the Tweetable text which will be a link.
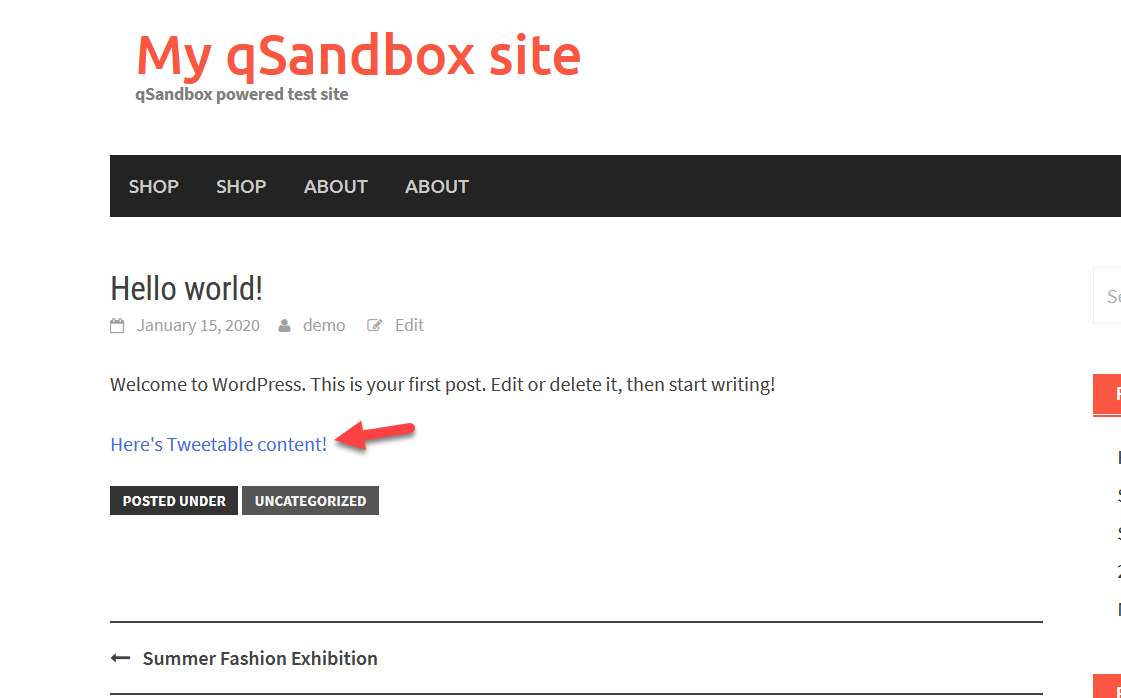
When you click on it, your browser will open the Twitter site and from there, you will be able to share it on Twitter.
11) Add Twitter Cards
Finally, the last method to connect Twitter with WordPress is via cards. In this section, we are going to show you how to create a Twitter card using two free plugins: Yoast SEO and JM Twitter Cards.
11.1) Add Twitter Cards with Yoast SEO
If you have already installed and configured Yoast SEO, feel free to skip the installation and basic configuration settings. If you are new to Yoast, install it, and activate it from the WordPress plugins repository.
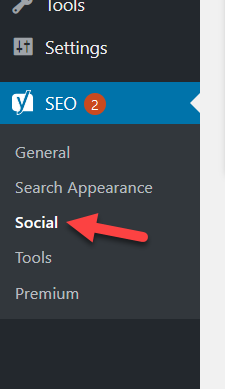
After that, go to Yoast SEO’s Social section.
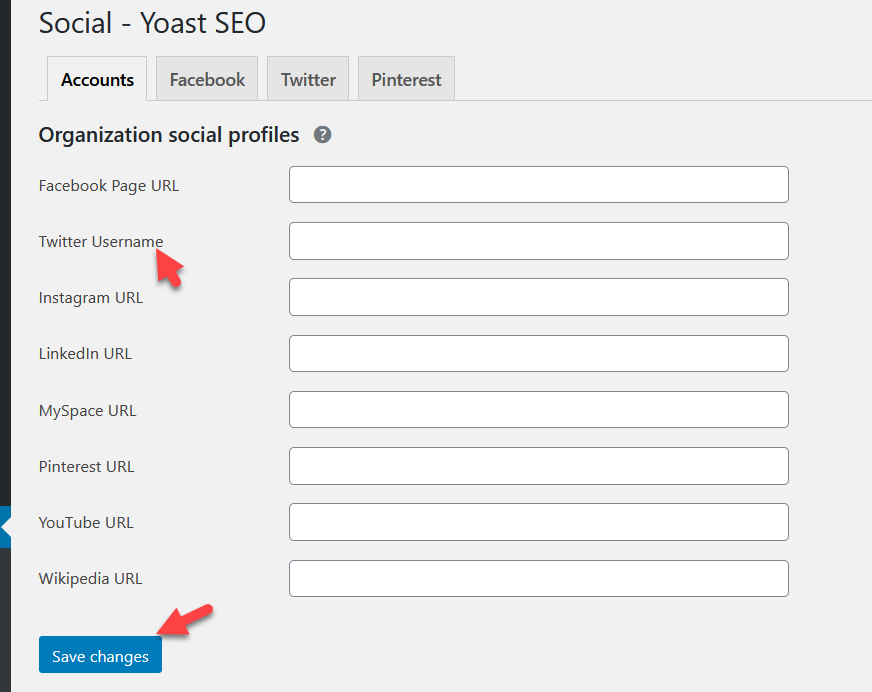
There, you will be able to enter your Twitter username.
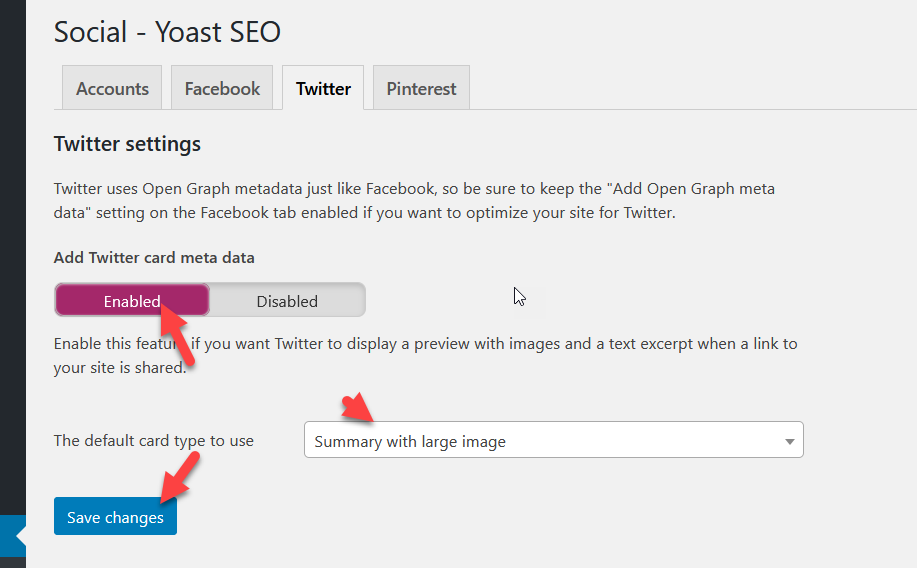
After saving the changes, under the Twitter section, you will see the Twitter Card configuration. Make sure that you enable it.
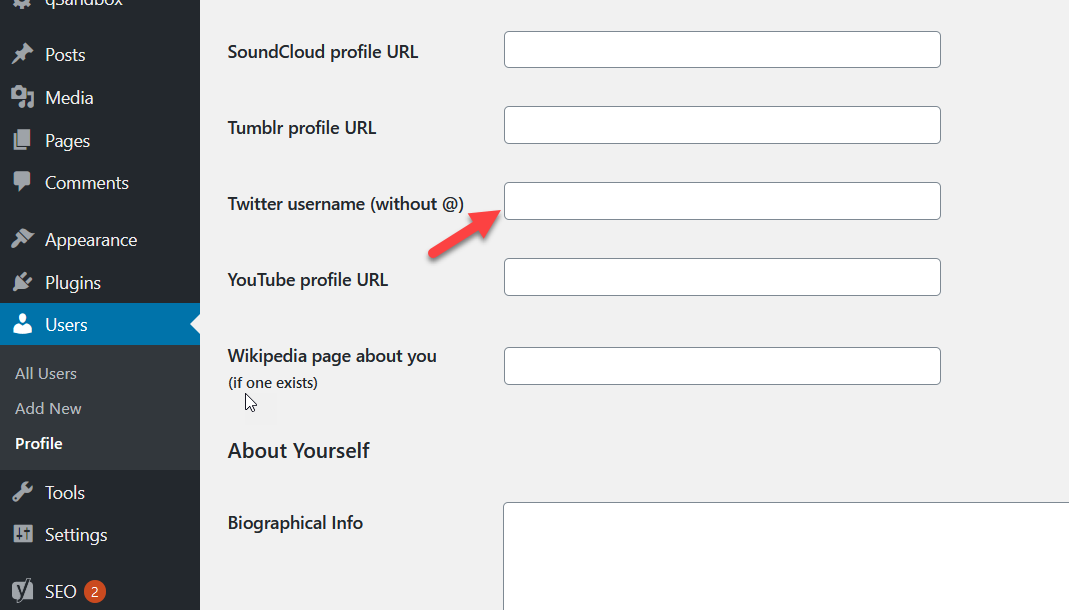
Then, go to the Users’ settings and add your Twitter username.
That’s it! Now, when someone tweets your posts on Twitter, they will see a card.
Yoast SEO is just one of the SEO plugins out there. If you’re using other tools such as Rank Math SEO or All In One SEO Pack, you’ll need an additional plugin to include Twitter cards on your website. Let’s see how to do it with JM Twitter Cards.
11.2) Add Twitter Cards with JM Twitter Cards
JM Twitter Cards is an excellent free plugin to add Twitter cards.
After installing the plugin on your WordPress site, go to the plugin’s settings. You will have to enter your Twitter username, your business’ username, and configure the card type you want to display.
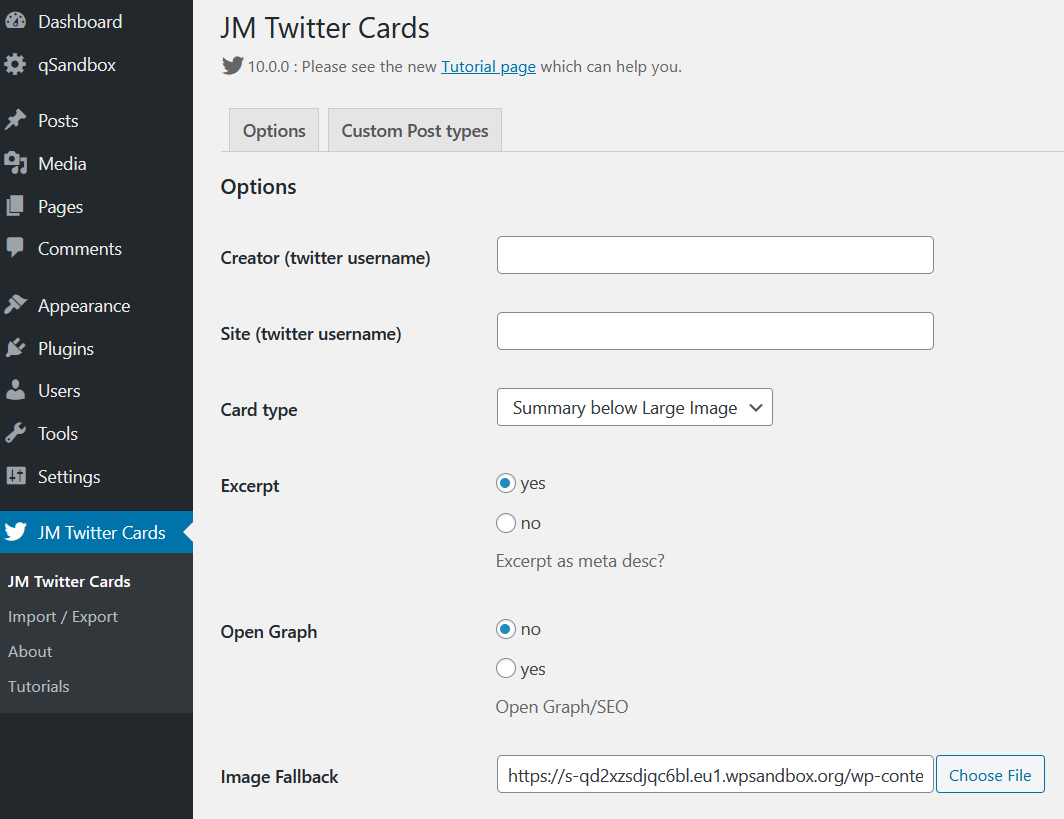
Then save the settings and you’re good to go. Now, when someone shares your post on Twitter, they will see the Twitter card.
Conclusion
All in all, integrating Twitter with your site is a great way to improve your social media presence and reach more customers. In this guide, we’ve seen several different methods to connect Twitter with WordPress:
-
- Embed tweets
- Pull content from a single tweet/ tweetstorm
- Twitter feed
- Display specific tweets
- Timeline widget
- Sharing button
- Follow button
- Tweets on the sidebar
- Content Sharing
- Inline Tweet Icons
- Twitter cards
All these methods are very easy to implement so choose the one that best suits your needs. If you run a content-rich WordPress site, you can add social sharing buttons to your posts using Jetpack or Social Snap in a few clicks.
On the other hand, if you are very active on Twitter, creating a mini-twitter page on your site is a fantastic option. This way, users could get all that content from your site so it will help you increase time-on-page. Additionally, adding a follow button and options to share your content on your site is a must.
Finally, if you want to integrate your social media accounts with your site, check out these guides:
- How to add the Facebook widget to WordPress?
- Instagram Feed Gallery: The best Instagram plugin for WordPress
Do you know any other methods to connect Twitter with WordPress? Which one is your favorite? Let us know in the comments section below! And if you found this article helpful, please share it on social media.
