B2BKing Guide: How to Use This Plugin to Create Wholesale Stores?
If you want to create a wholesale store with B2BKing, you’ve come to the right place. In this dedicated B2BKing guide, we’ll show you how to create wholesale stores or B2B businesses using this tool.
However, let’s first look at the plugin and understand why it is the best.
B2BKing: An Introduction
With a plugin like WooCommerce, starting an online store is simple. But if you need to turn into a B2B or wholesale store, you must rely on any dedicated plugin. That’s where B2BKing comes in. B2BKing is created by King’sPlugins, a famous development company focusing on creating solutions for WooCommerce stores.
B2BKing makes wholesale selling selling quicker and safer. The plugin has many cutting-edge features to help the user achieve new heights. Some of the most popular features of the tool are:
- Compatible with any WordPress theme
- Customer groups
- Negotiated prices for groups
- Dynamic caching
- Business Approval
- Import/export tool
- Shipping method control
- Payment method control
- Advanced email notifications
And so on. In our B2BKing review, we have already shared more about the tool.
Now you know what’s B2BKing. Next, let’s see why using B2BKing for B2B selling or wholesaling is an ideal choice.
Why Using B2BKing Is a Good Idea
There are several WooCommerce wholesale plugins available in the market. But B2BKing is far better than them. Here are some of the unique factors that make B2BKing better than others:
- Regular updates: The development team will release regular updates, fixing all the bugs and bringing new features. Regular updates will keep your plugin and website secure.
- Tax management: Since most businesses registered for GST, enabling tax management on the website would be a great idea. Thankfully, B2BKing comes with automated tax management. The merchants don’t want to calculate their taxes manually; the plugin will help them with the calculations.
- Seamless integration with WooCommerce: The integration option available with WooCommerce is simple. You do not need to write or edit codes to add the B2BKing plugin to your website and create a wholesale store.
- Flexible pricing options: Since you have the option to create user groups, you can offer tiered pricing to the customers. Based on their purchases or spending limit, you can provide a unique selling price, which will help you increase the conversion rate.
- Excellent customer support team: If you need help with the plugin, the support team is always ready to help you. All you need to do is raise a support ticket, and one of their experienced support staff will help you personally to solve the issue.
- Registration and approval process: The website admin controls the store. You can decide to accept/decline merchants in your store. This manual approval process will help you keep only legitimate merchants and prevent scams.
Now you know what B2BKing is and why it is the best tool to create B2B stores. In the next section, we will show you the complete B2BKing guide.
How to Configure B2BKing: The Complete B2BKing Guide
Configuring B2BKing is not a challenging task. The plugin comes with minimal configuration options. This section will show you how to configure B2BKing on your website.
Installation and Activation
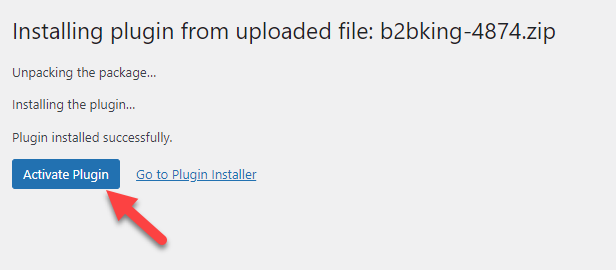
The first thing you need to do is install and activate the plugin on your website. Since the plugin is premium, you must download it from the author’s official website and manually upload it.
Go to the Add New Plugins section and upload the plugin file there.
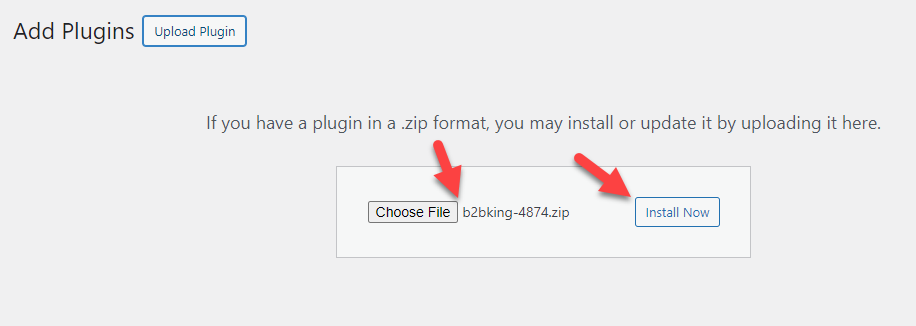
After completing the installation, activate the tool.
Once you have completed the plugin activation, you can see its settings on the left-hand side.
NOTE: For the B2BKing plugin to work correctly, you must install and activate the B2BKing Core plugin. So, if you are not using the B2BKing Core, you should install it first.
Configuration
The first thing you need to do is verify the license key. Under B2BKing settings » Licenses, you can handle this.
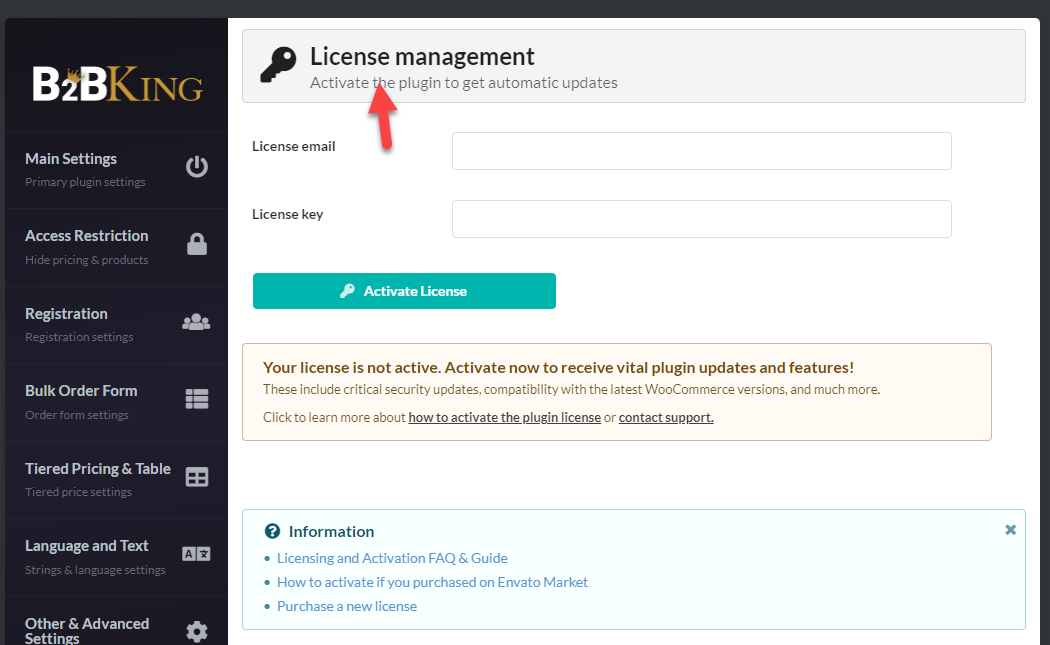
Activating the license key will give you access to priority support and updates. Once you have done that, you can start with the wholesale configuration. As you can see in the screenshot, the plugin has many customization features.
- Dashboard
- Settings
- Groups
- Group rules
- Customers
- Reports
- Conversations
- Offers
- Dynamic rules
- Registration roles
- Registration fields
- Tools
Let’s keep a close look at the B2BKing configuration options.
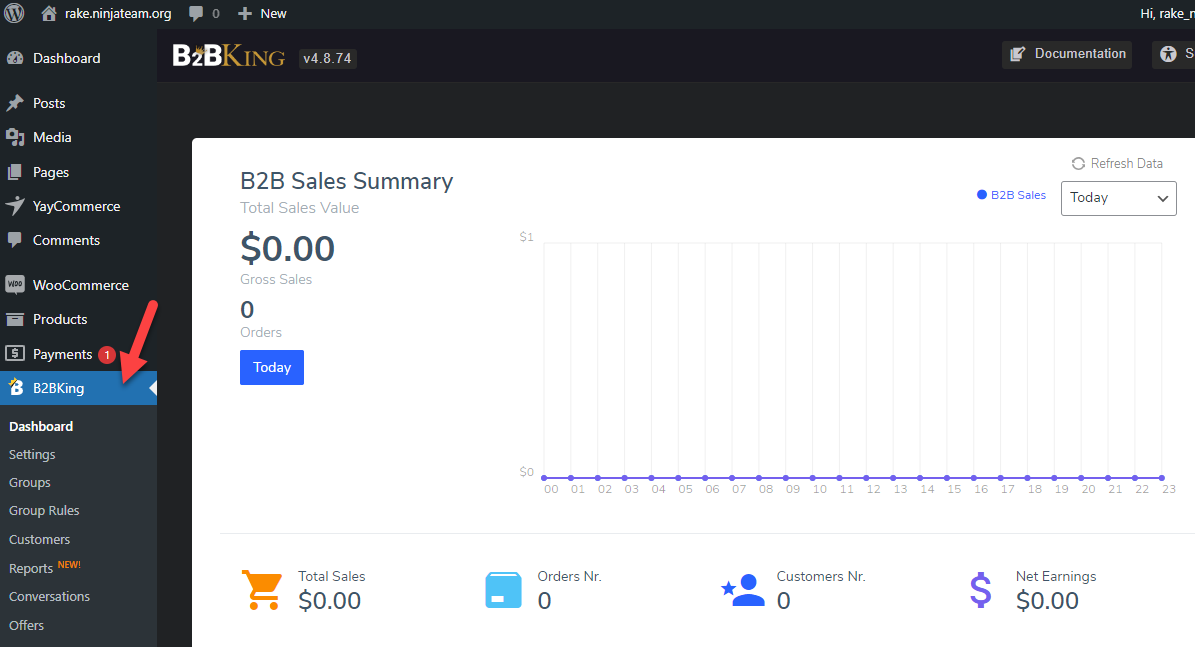
Dashboard
The dashboard will show you a glance.
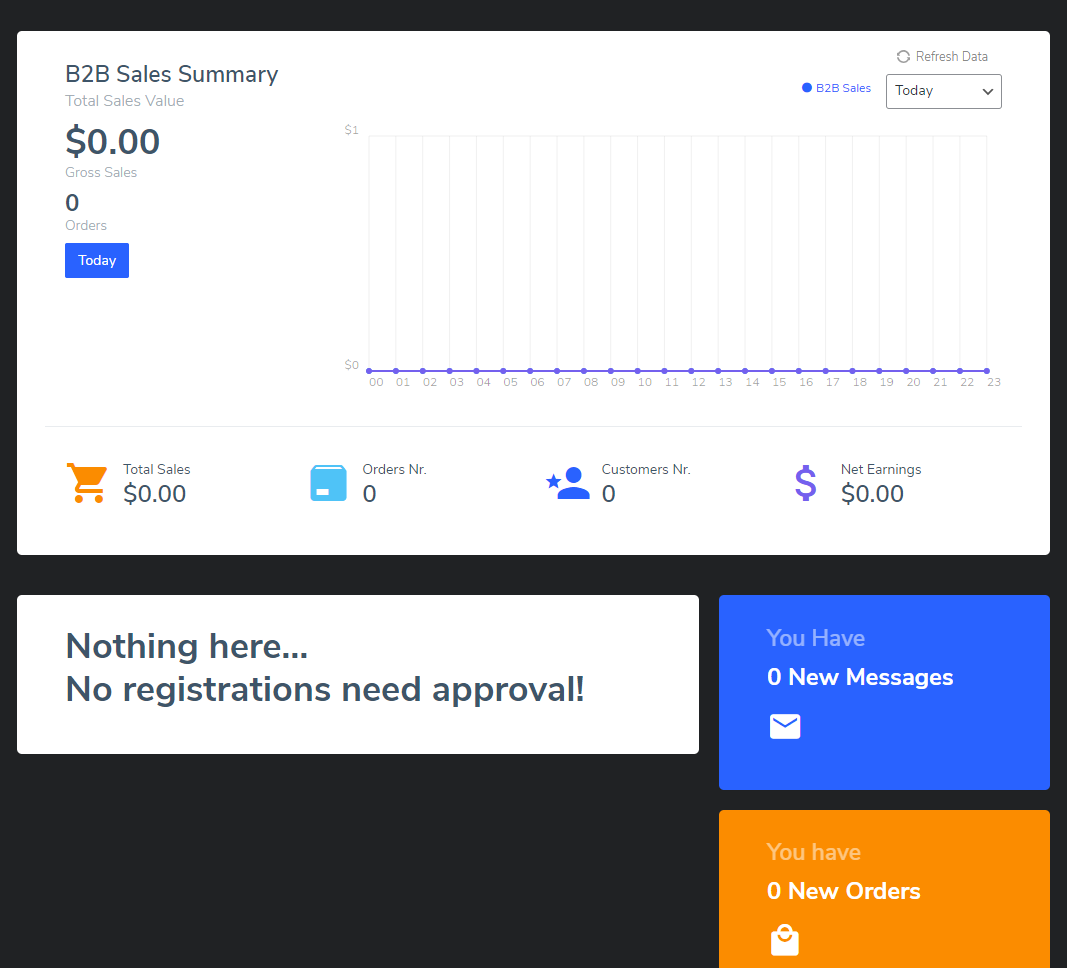
As you can see in this screenshot, the dashboard will show the revenue you have generated for a specific time. These registrations need your approval, conversations, and how many new orders you have.
By going to individual settings, you can fetch better data.
Settings
The settings section contains a dedicated panel with multiple configuration options.
The options available are:
- Main settings
- Access restriction
- Registration
- Bulk order form
- Tiered pricing & table
- Language and text
- Other and advanced settings
- Licenses
Let’s take a closer look at each option and what they have to offer.
Main settings
From the main settings, you can turn features on or off. The features are:
- Conversations and quote requests
- Offers
- Purchase lists
- Bulk order form
- Subaccounts
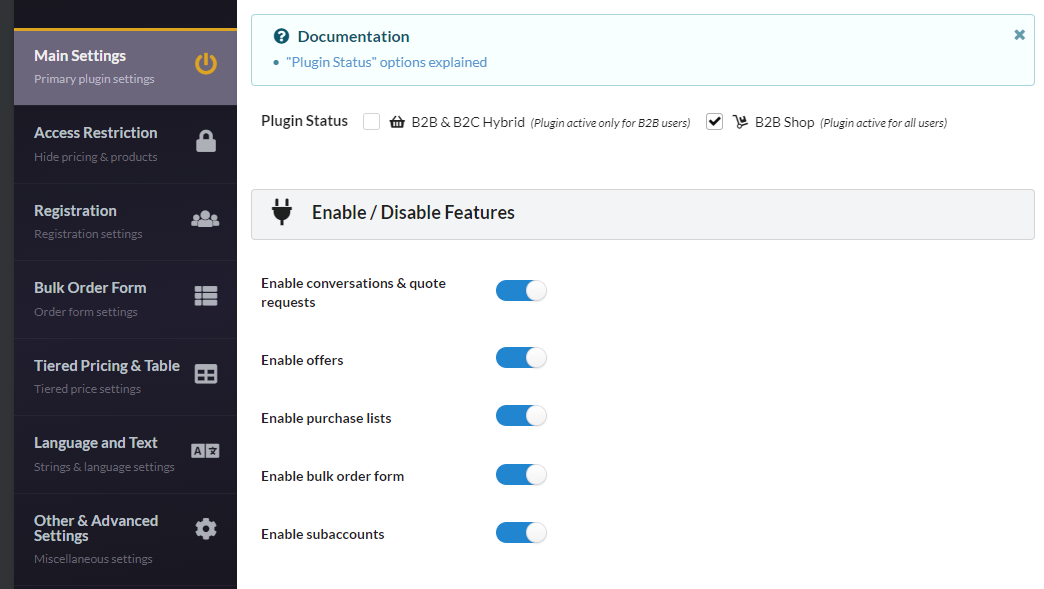
If you do not need specific features on your B2B store, you can disable it from the settings.
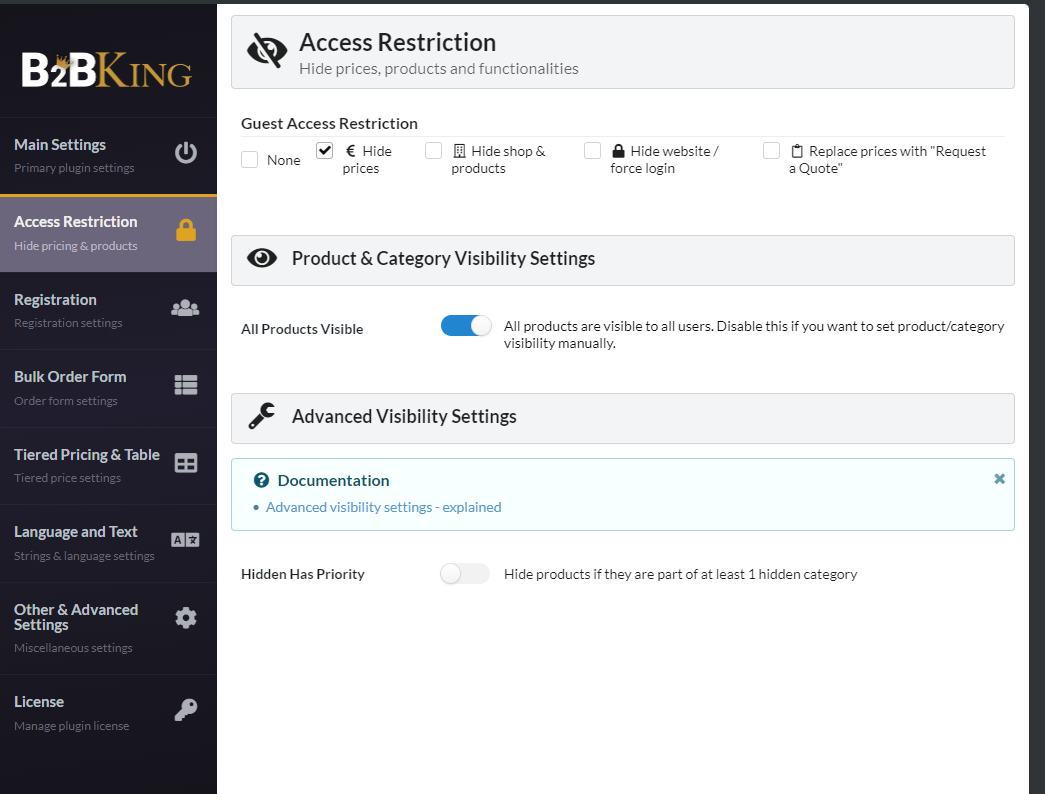
Access restriction
The access restriction feature will be handy if you need to restrict who can see your products.
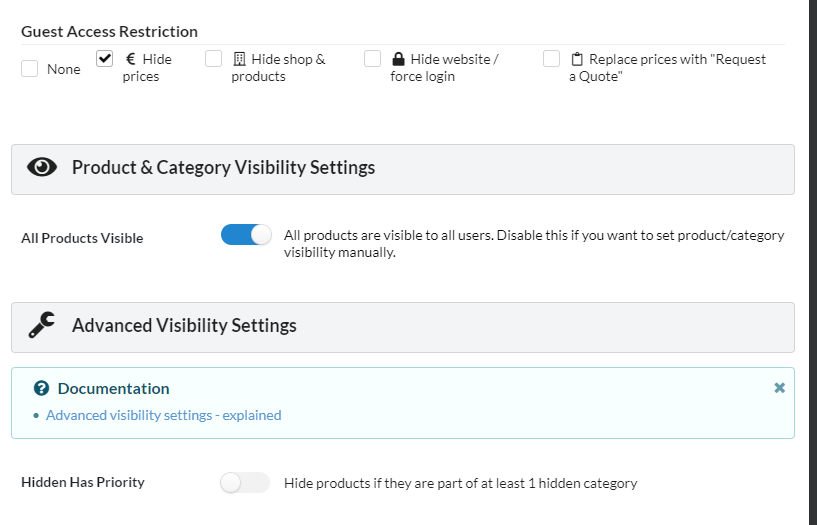
The main options available are:
- Guest access restriction
- Product category and visibility visibility
- Advanced visibility settings
Based on your preferences, you can configure this option. Restricting guests from viewing the price is an excellent way to increase user registrations.
Registration
To take control of the registration process, check out the registration settings.
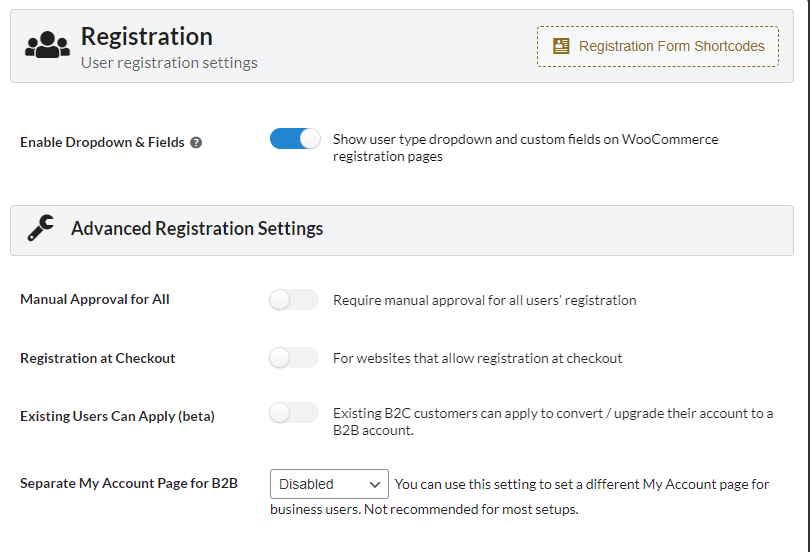
These are simple configurations. To reduce spam, you should consider enabling the manual approval process. Similarly, the customer can have dedicated account pages for B2B and B2C. So, if you need to add this feature to your WooCommerce store, configure the website accordingly.
Bulk order form
While running a wholesale store, bulk ordering would be a usual thing for you. Here, with B2BKing, you can tweak the bulk order form.
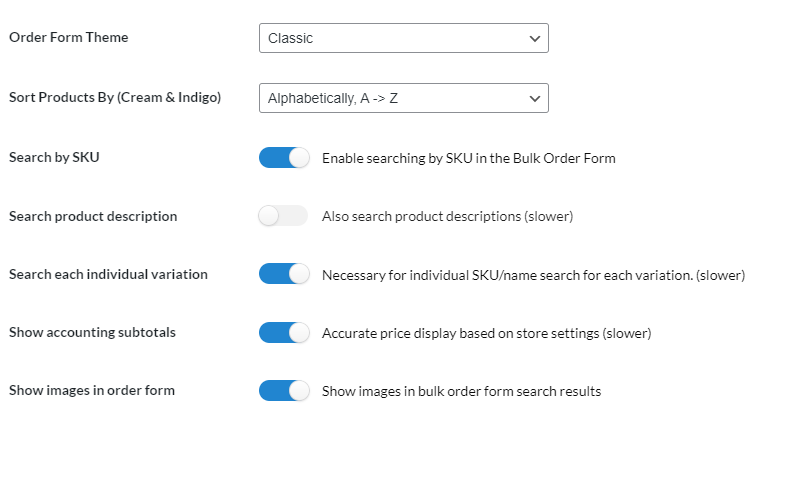
You do not need to edit codes to tweak the order form. From the settings, you can customize it.
Tiered pricing & table
The next configuration option we have is tiered pricing and table.
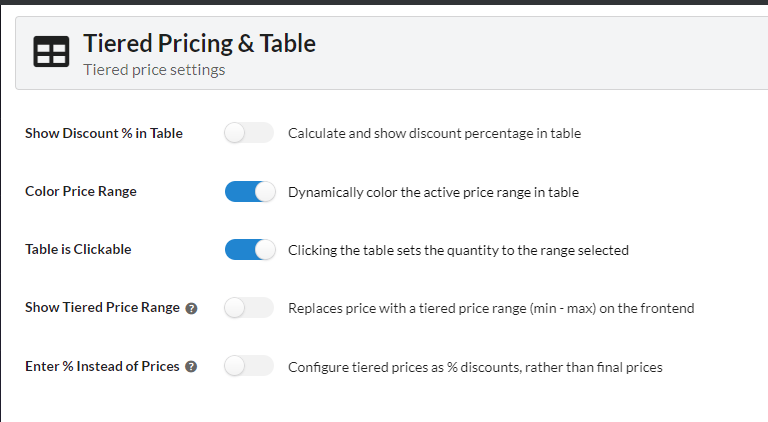
As the name suggests, from here, you can customize how the table needs to be displayed and how the tiered pricing needs to act.
Language and text
From the language and text settings, you can customize the labels.
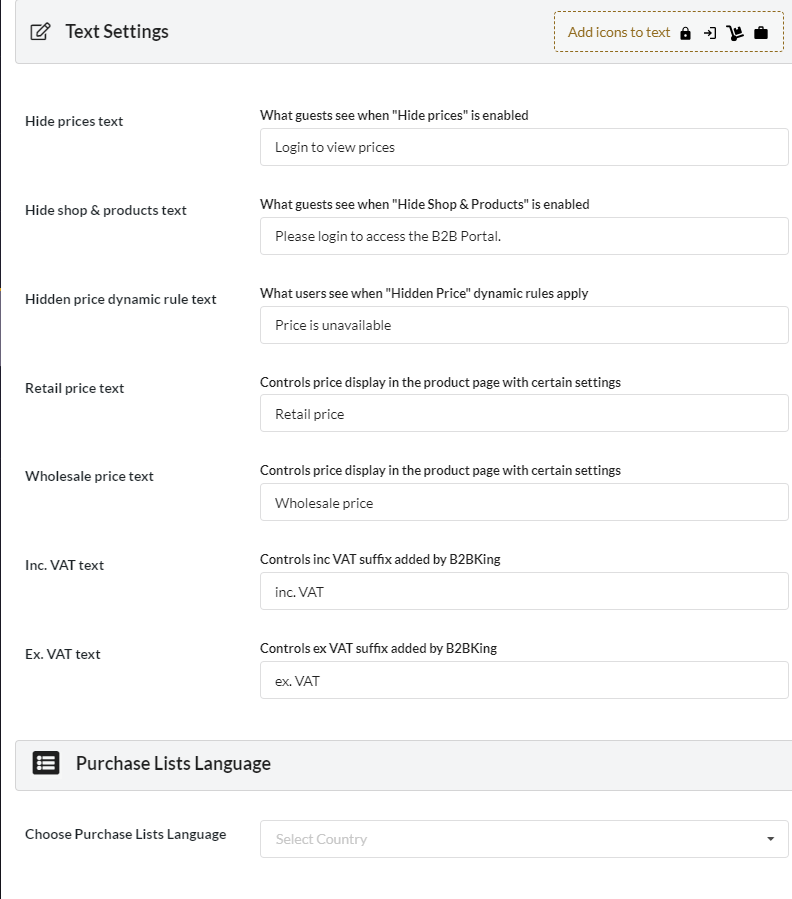
Apart from adding labels, you can also add icon fonts to it.
Other and advanced settings
Different advanced settings hold a lot of custom configuration options.
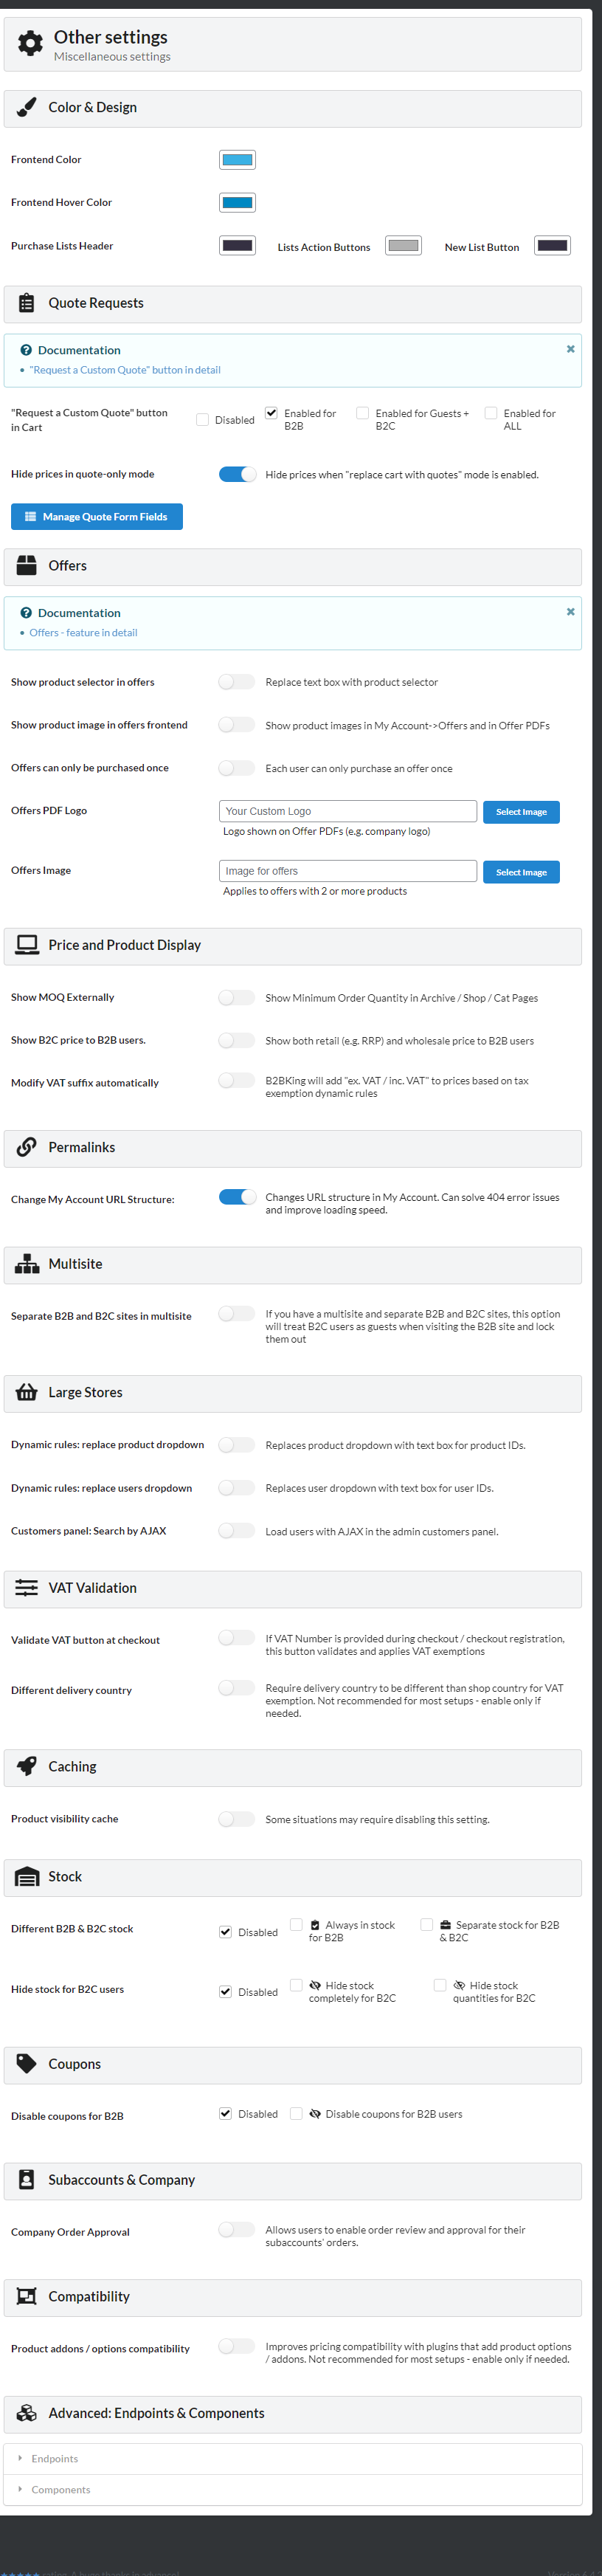
From tweaking the colors to customizing the endpoints, you can tweak all the options you need.
Licenses
As shown earlier, the licensing option will help verify your license key. There are no additional options. Once you enter the email and license key, the system will confirm your purchase and automatically update your plugin.
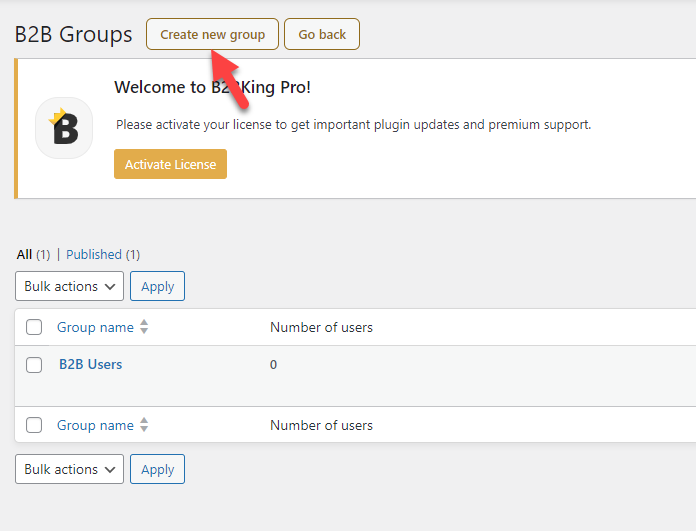
Groups
If you need to organize your customers, creating groups is a good way. The B2BKing plugin allows you to create dedicated groups for your customers.
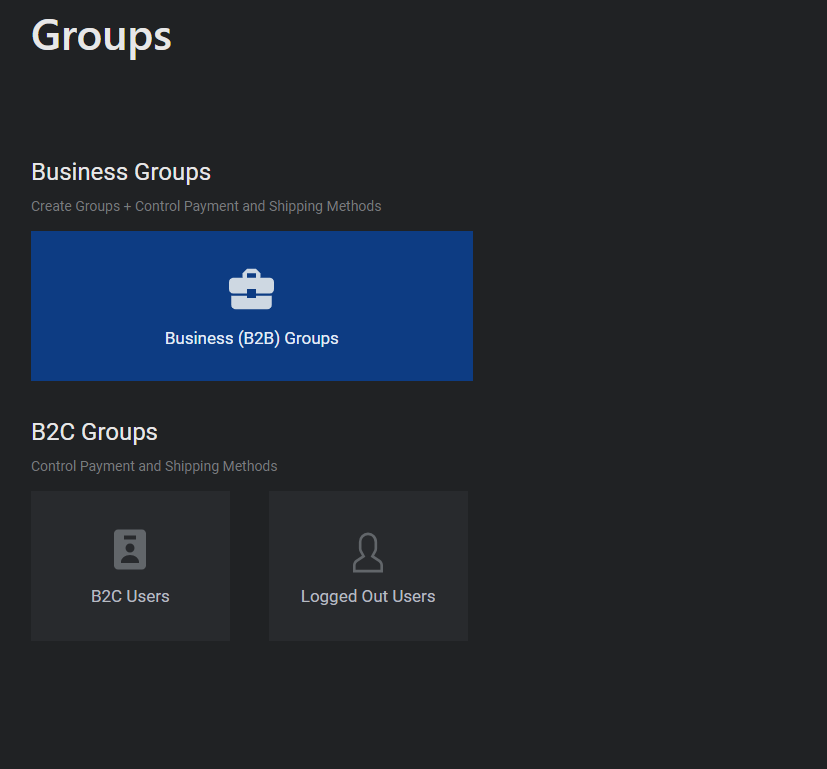
For this demo, we will create a B2B group. By default, there will be one group.
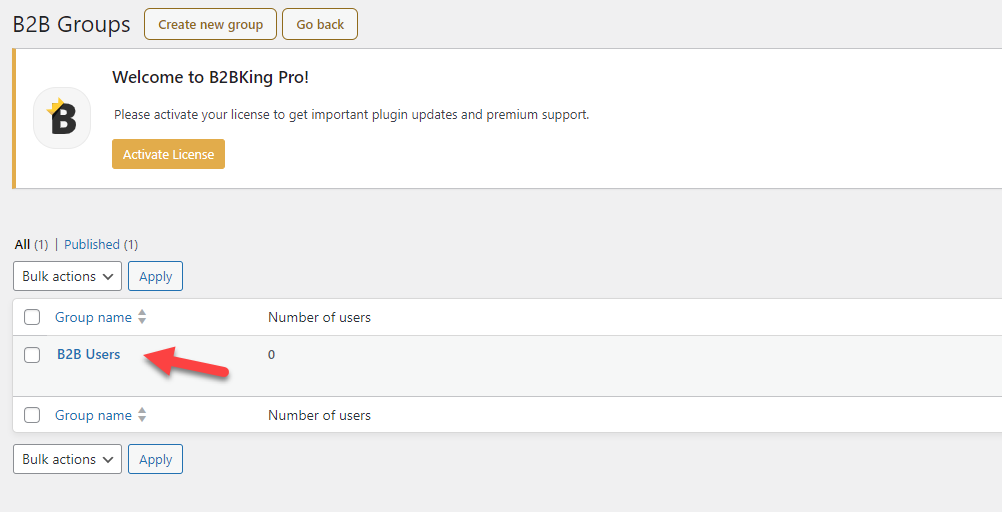
But you can always create more groups according to your preferences and requirements.
The main information you need to fill in are:
- Title
- Shipping methods
- Payment methods
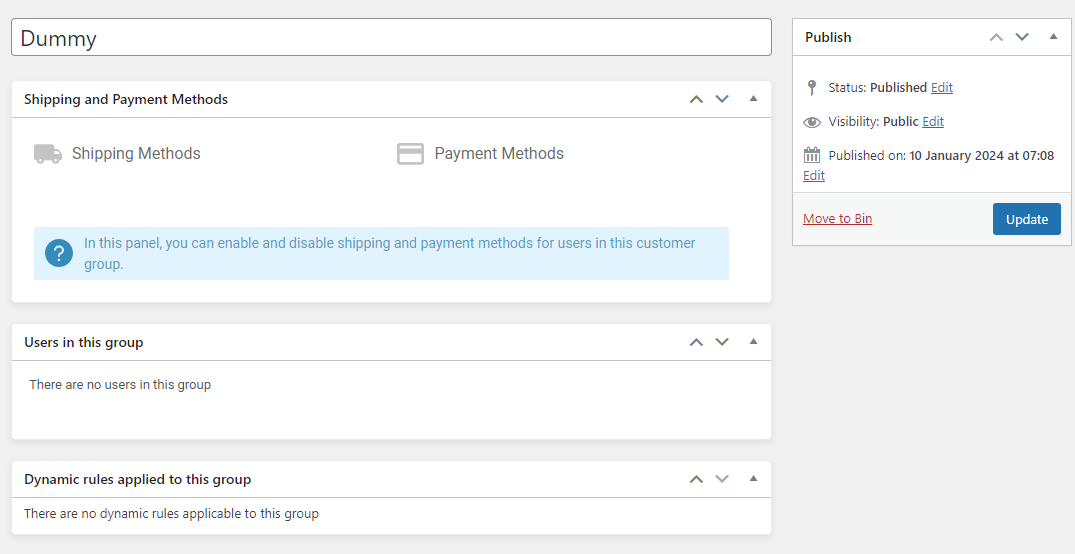
Once you have created a group, you can make it unique by adding custom group rules. The next section will show you how to add group rules via B2BKing plugin settings.
Group Rules
Once you have created all the groups you need, move to the group rules. By default, there won’t be any pre-made rules.
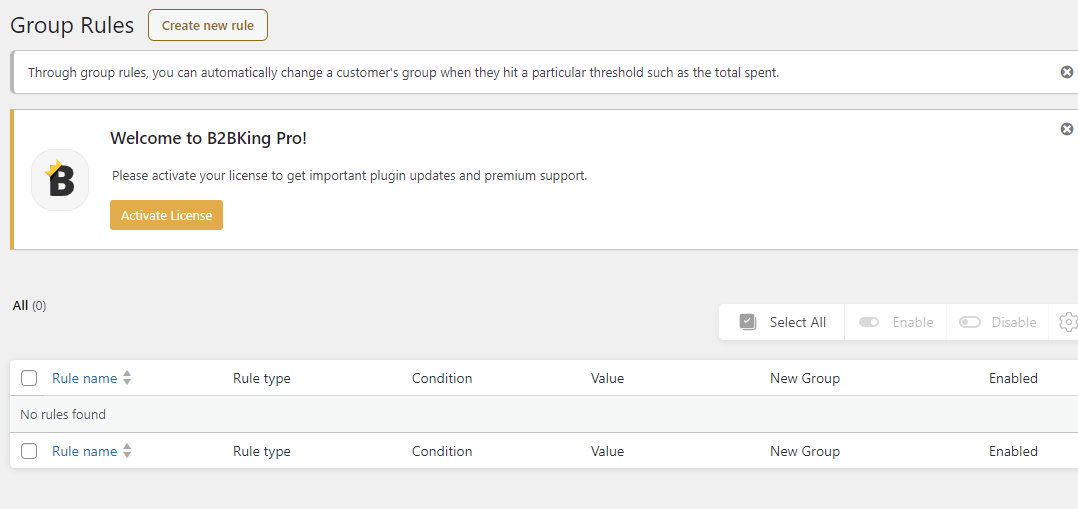
When you create a new rule, you can configure it with several options. The available configuration options are:
- Rule type
- Condition
- How much
- For who
- New group
And so on.
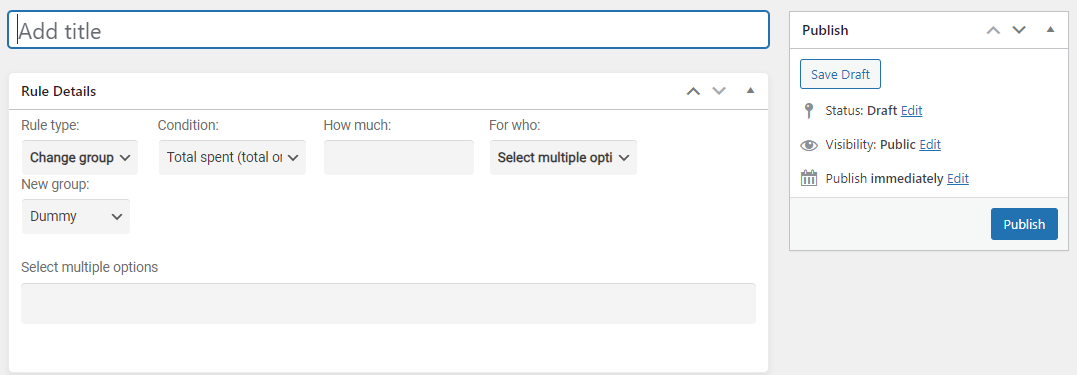
You can add rules based on the user’s yearly or monthly order value. Adding multiple rules to your website won’t be a problem since you can have unlimited group rules.
Customers
Check out the customer’s tab to know how many B2B customers you have. Here, you will see data like:
- Name
- Company name
- Customer group
- Account type
- Approval
- Total spent

You also have a search feature to find a specific customer. You can also show multiple entries at a time, which will help you find the users quickly.
Reports
B2BKing recently introduced the reports feature.
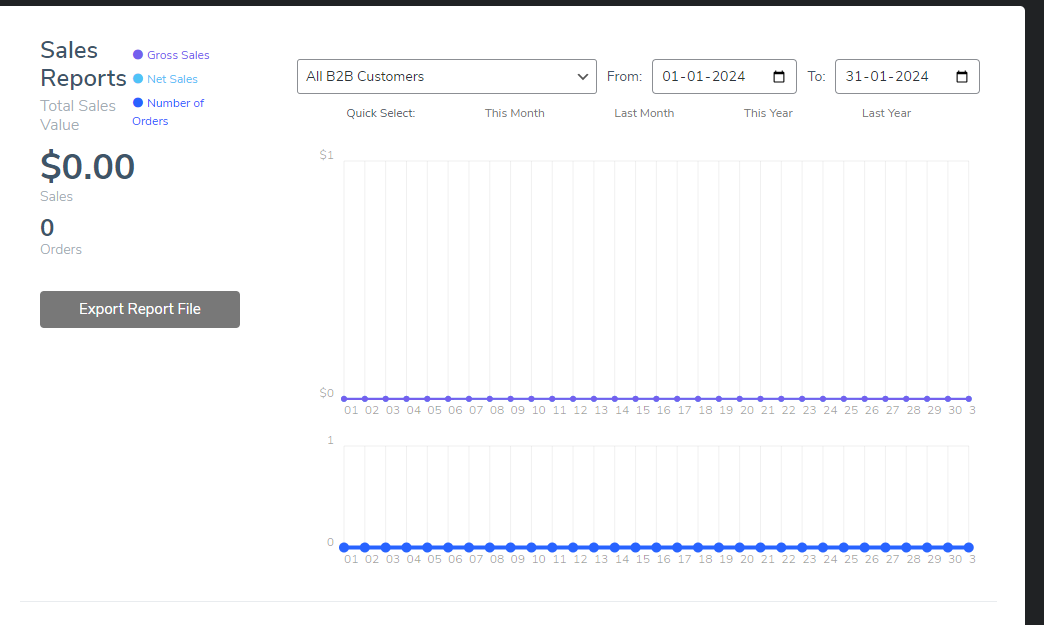
Here, you will see stats on
- Gross sales
- Net sales
- Orders placed
- Items purchased
- Average order value
- Refund amount
- Coupons used
- Shipping charges
And so on.

Checking the reports section will allow you to understand better how your business is doing.
Conversations
Talking with customers and solving their pre-sale questions is a great way to boost sales. With the conversations feature, you can solve this issue. When someone contacts you, the conversation will be available here.
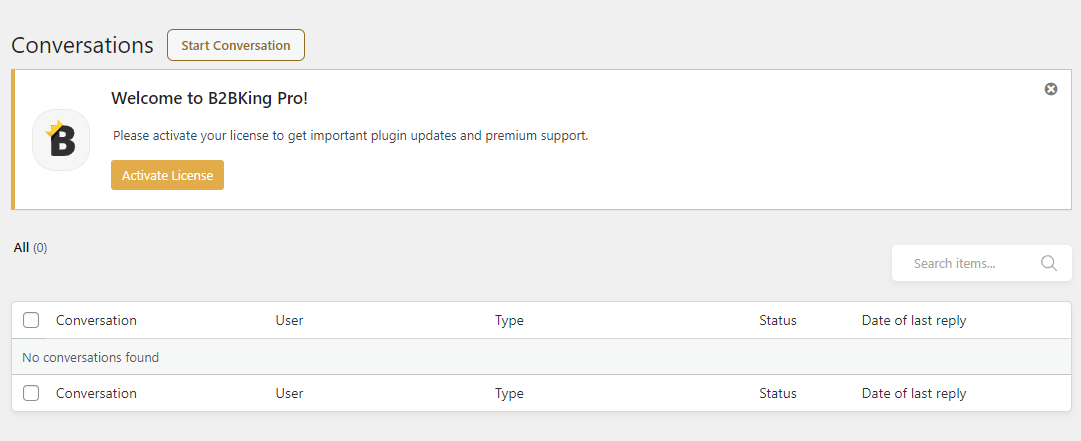
If the customer is satisfied with the talk, you can mark the conversation resolved and focus on new ones. You must rely on dedicated plugins to add live chat or ticketing systems to WordPress by default. But with B2BKing, you can eliminate third-party plugins for the same task.
Offers
If you need to create a special deal or discount, the offers tab is the right place. You can make deals to help customers and merchants get better sales here.
The options available in the offers tab are:
- Title
- Access
- Group visibility
- User visibility
- Offer details
- Custom text
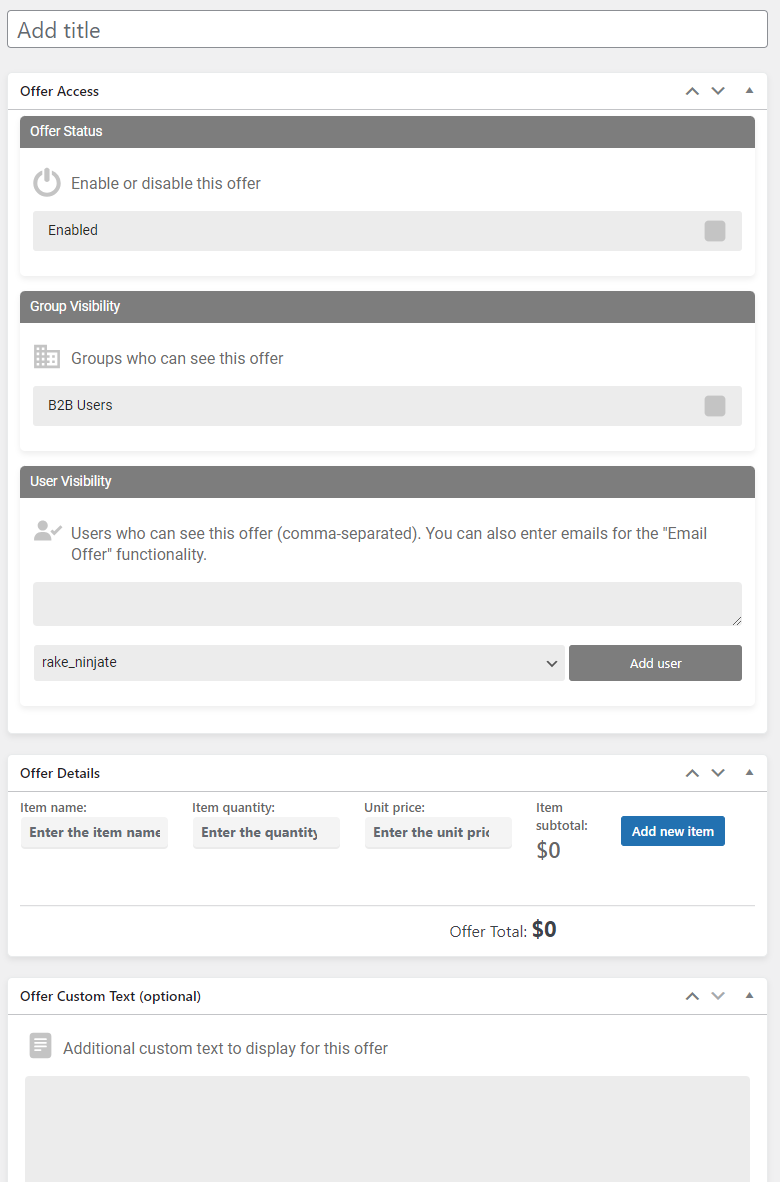
You can add many items to the offer. When someone purchases the product, they will get the offer price. Since discounts and lightning deals tend to increase sales, offering discounts on your WooCommerce store would be an ideal strategy for better conversion rates.
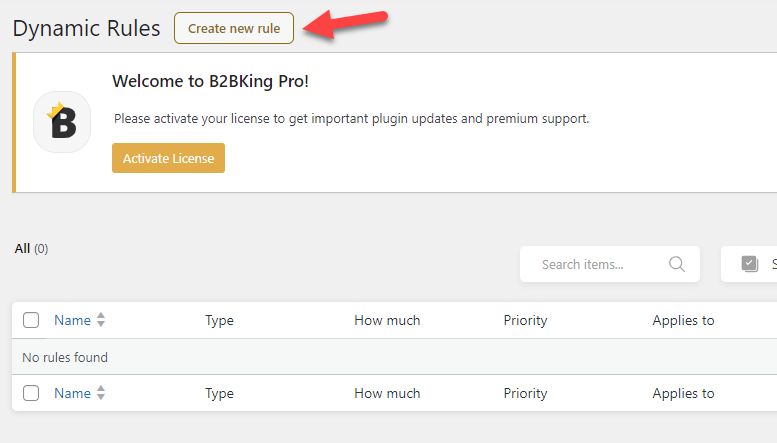
Dynamic Rules
As the name suggests, the dynamic rules section would be the right place to add custom rules to your products, user groups, or individual users. By default, there won’t be any custom rules created. But by clicking Add New, you can add a new rule.
The main configuration options available are:
- Rule name
- Rule type
- Applies to
- For who
- How much
- Disc. name
- Additional options
- Conditional logic
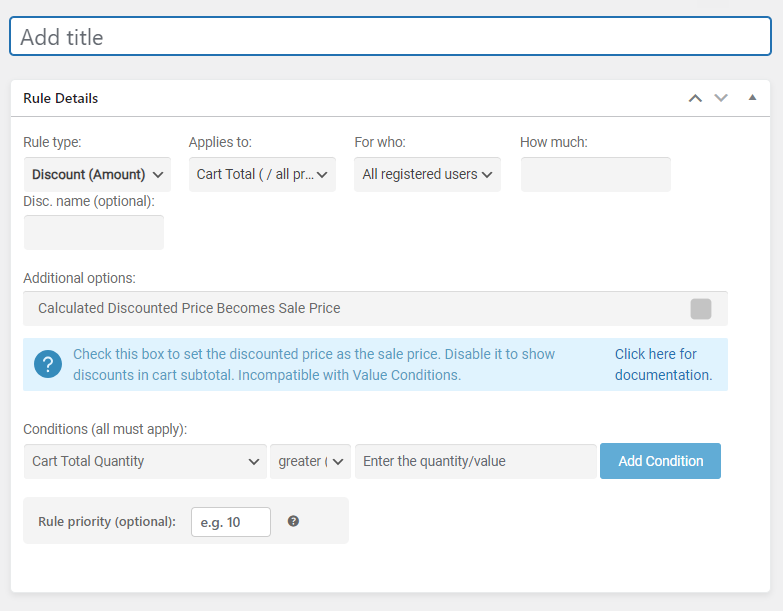
You can add as many rules to the website as you want. There is no maximum number of rules you can create. After completing the dynamic rules configuration, move to the next section, registration roles.
Registration Roles
If you need to create a dedicated user role for registration, the registration roles section would be an ideal choice.
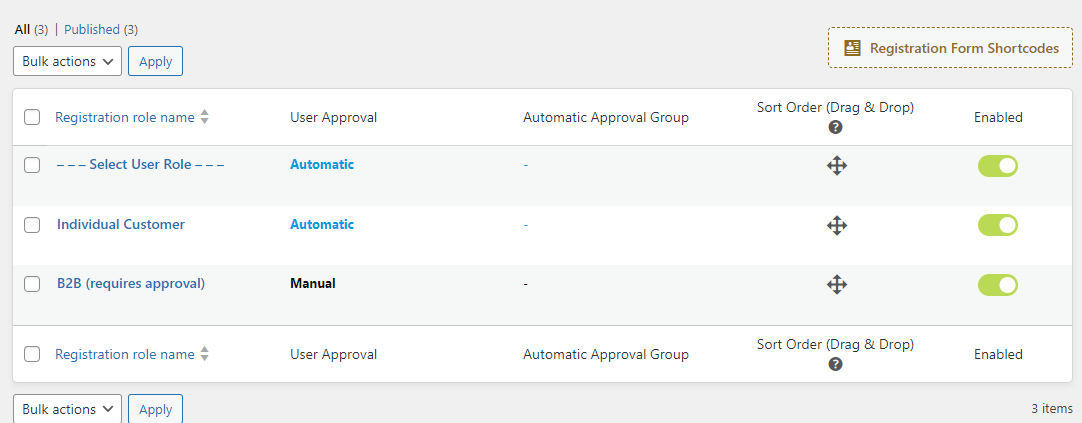
By default, the plugin will create three roles for you. They are:
- Individual customer
- B2B customer
- Custom one
The user can pick an option when they sign up on your website. Besides the user roles, you can also see configuration options like:
- User approval
- User approval group
- Sort Order
- Enabled/disabled
And so on. You can also create a new user role from the same page.
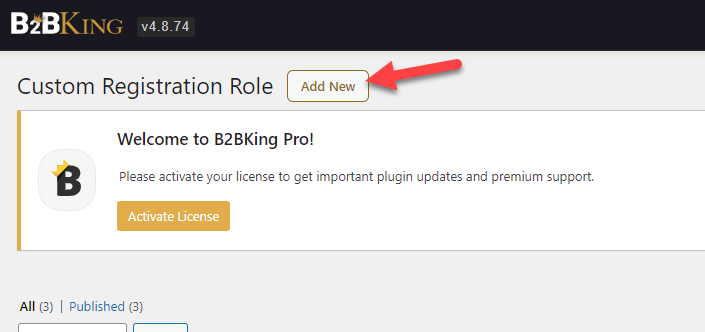
In the wizard, you can see options like:
- User role name
- Custom fields
- Status
- Approval; required
- Automatic approval
- Non-selectable
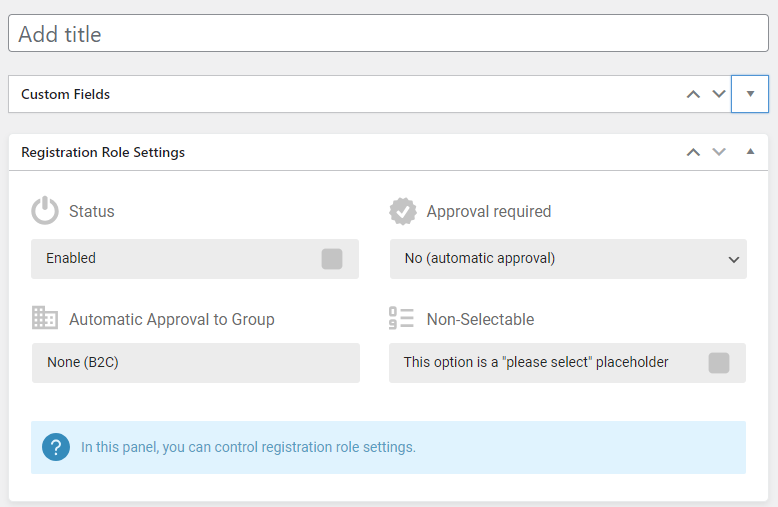
Once you have completed the process, you can publish it. You can use the newly created role while someone signs up on the website as a customer.
Registration Fields
This option can be used to configure your store’s registration form.
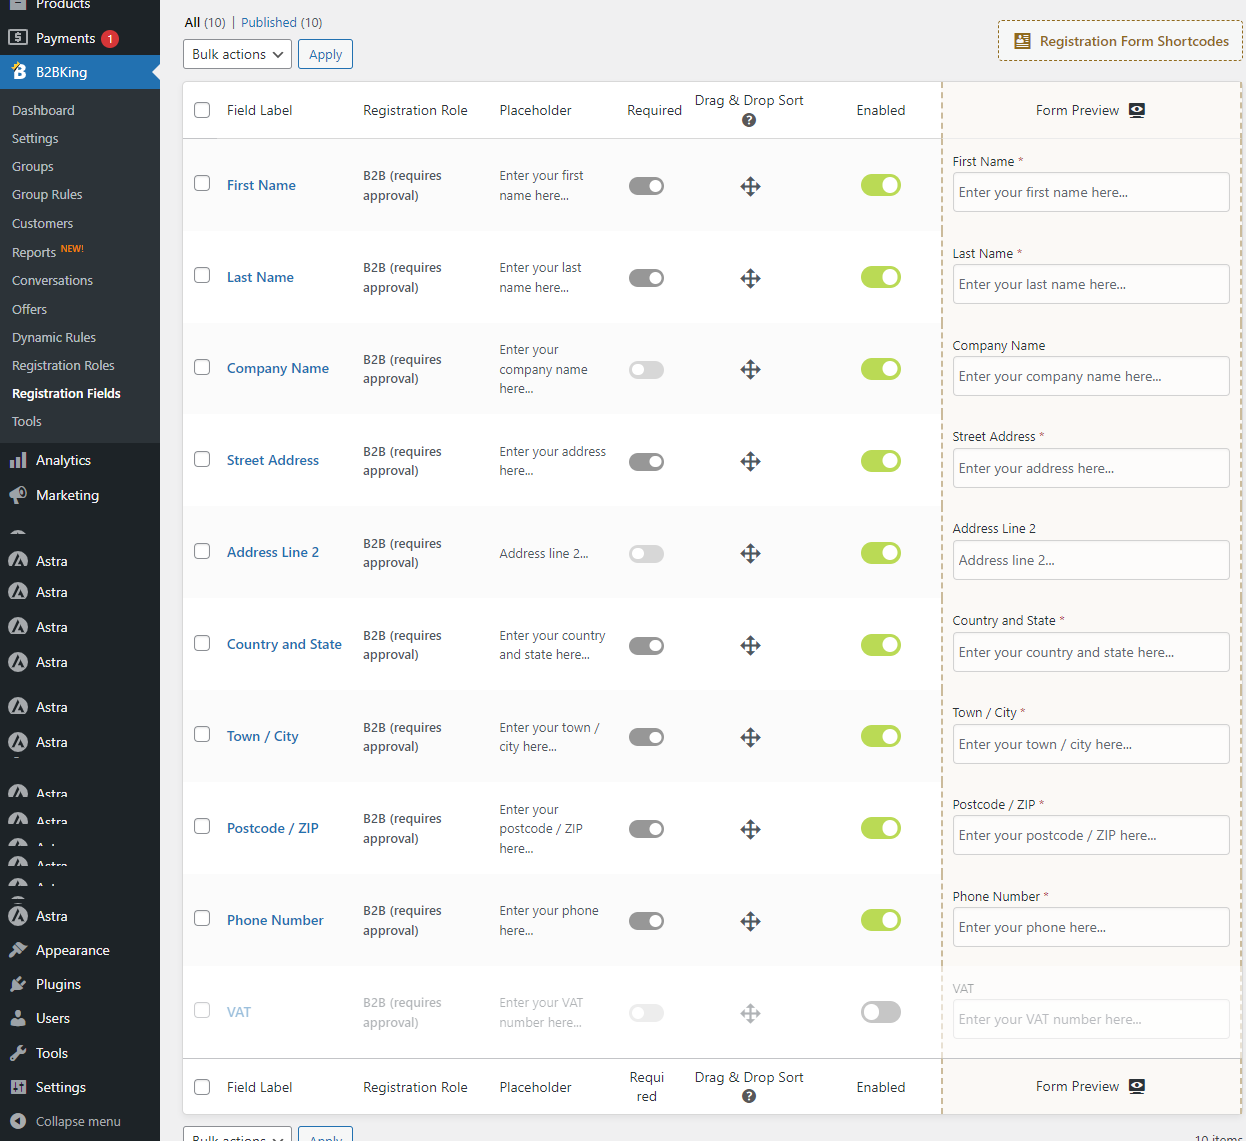
As you can see in this screenshot, most fields will be enabled by default. But you have total control over the fields. You can disable the ones you do not need, reorder them, etc.
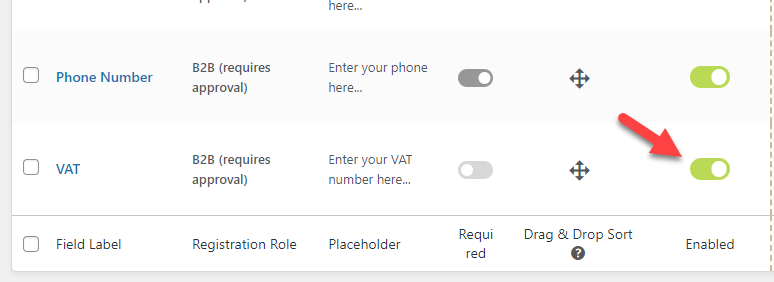
For example, by default, the VAT field would be disabled. If you need to enable it on your registration form, click the toggle, and you are good.
The right-hand side will show you a live preview of the registration form.

There is no dedicated save button. All the modifications will be saved automatically according to your actions. Another thing you will notice is the page shortcodes. You will see the shortcodes option on your settings page in the top right-hand section.
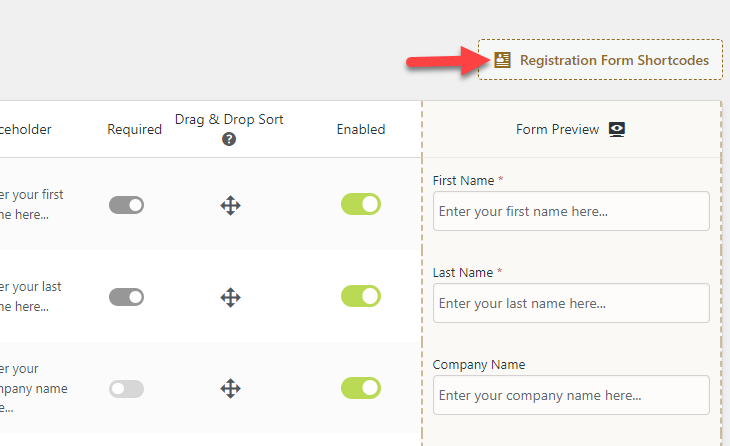
By clicking on it, you will see dedicated shortcodes for individual pages.
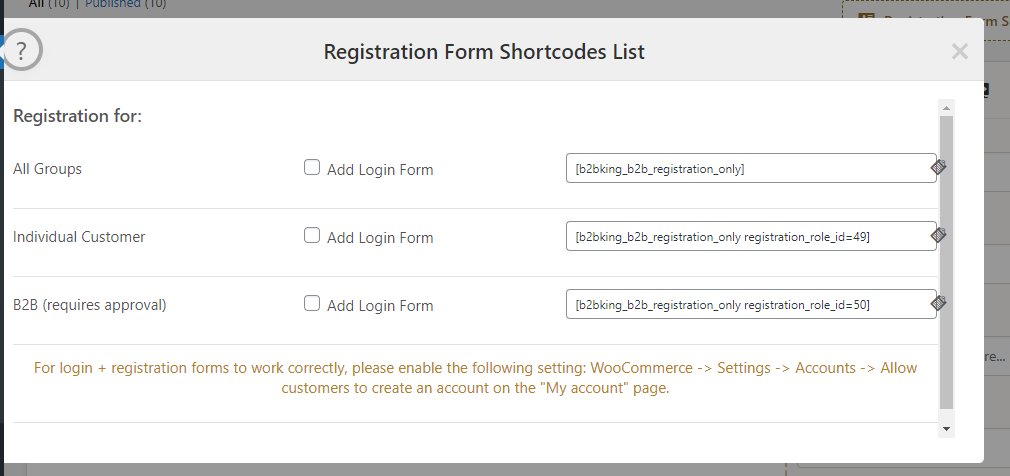
You can publish this shortcode to any page or post, and the registration form will be displayed on the front end. Creating individual pages for B2B customers and individual people is always great. This way, the customers could quickly understand what they needed to do.
If you are ready to move forward, open the tools settings.
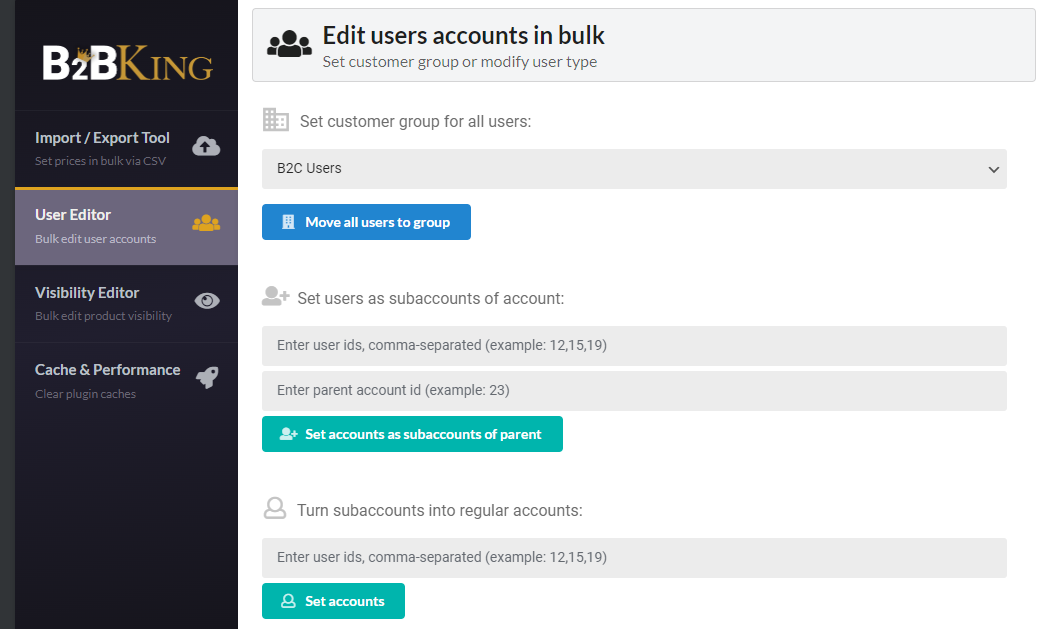
Tools
Under tools, you will see the import/export options, user editor, visibility editor, cache, performance, etc.
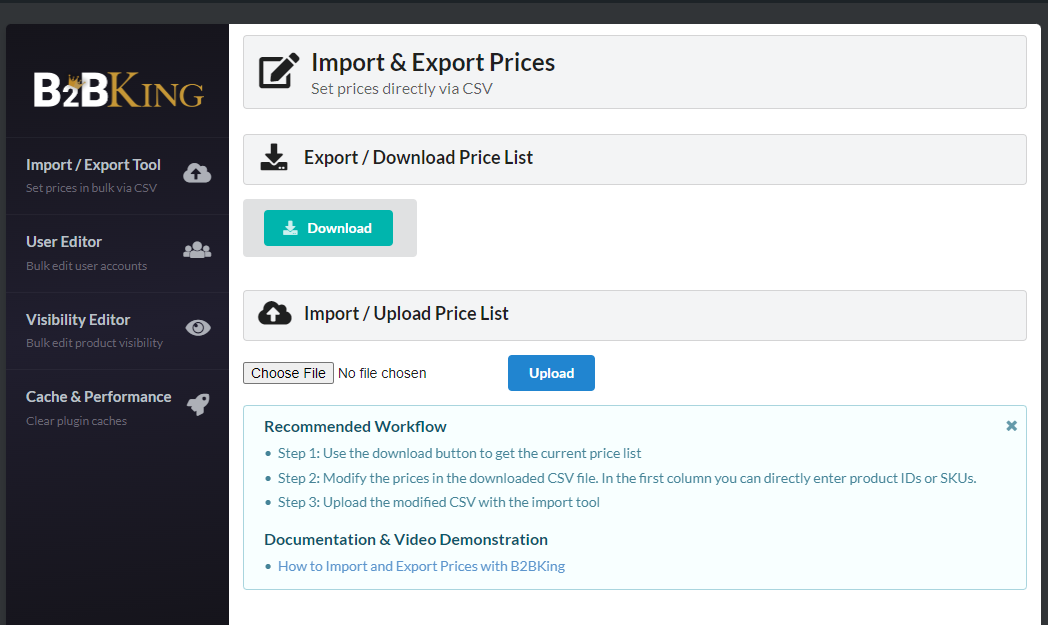
The import and export feature will be handy if you transfer the plugin’s configuration to other stores. You can set prices for products in bulk via the CSV import/export. From the user settings, you can configure the user groups or types.
The next option available is the visibility editor. If you need to take control of what your users need to see, the visibility editor is all you need.

As you can see in the screenshot, there are multiple options. You can pick one according to your requirements. The final option the plugin offers is the cache and performance settings.
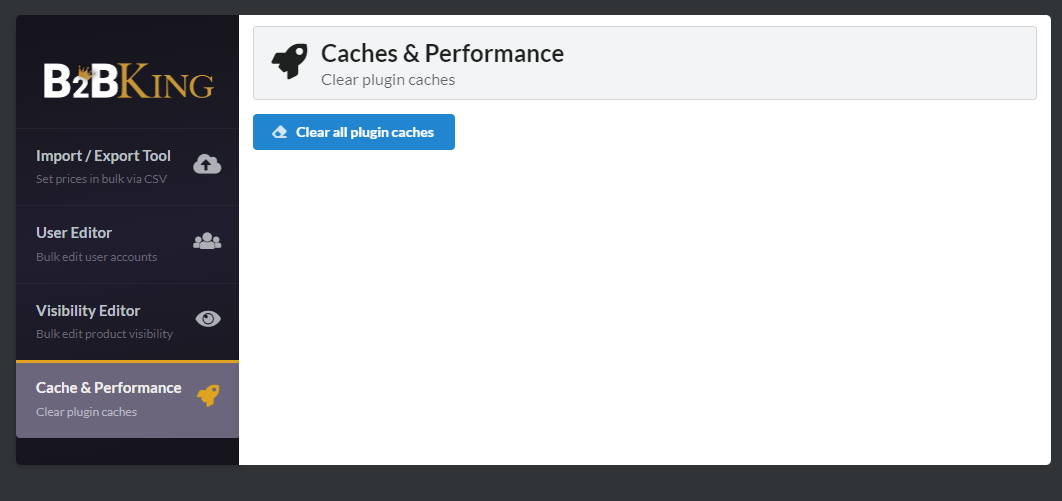
You can use this option to clear all the cache.
That’s it!
This is the complete B2BKing guide that will help you configure the plugin without a hassle.
Conclusion
With WordPress and WooCommerce, you can create any type of online store you need. If you want to make a wholesale online store where people can get products in bulk, a dedicated plugin like B2BKing would be helpful. Since the plugin has minimal configuration options, you can start your business-to-business or business-to-customer store without hassle.
As you can see in this tutorial, we have explained every step to set up B2BKing on your website. Following our guide, you can set up the plugin within 30 minutes.
Will you use the plugin to create your wholesale or B2B store?
Let us know in the comments.
Also, here are some articles that you will find helpful:
