How to Stress Test a WordPress Website – The Definitive Guide
Do you want to stress test a WordPress website? Stress testing is an excellent way to determine if your web hosting server can handle all the traffic if you run an online store or a personal blog. Keep reading this article if you need a step-by-step on doing stress testing on WordPress. Here, we will show you how to stress-test a WordPress website for free!
But before moving further, let’s see why you should stress test a WordPress website.
Why You Should Stress Test a WordPress Website
You should conduct a stress test on a WordPress website or WooCommerce store for multiple reasons. Here are the major factors you should consider:
- Check how much traffic the server can handle: Since your web hosting company handles all the website traffic, you can conduct a stress test to determine the quality of your hosting company.
- Find the user experience under high loads: The stress testing tool can help you determine how your customers or visitors will feel about the website. This will help you decide what to do next regarding the website’s performance.
- Consider if you need to scale your server: If your web hosting company allows, you should consider adding more RAM if required. Adding more RAM to the website will always help you scale the server.
- Find the right resources needed for your website: As you scale the server, you can quickly eliminate issues like downtime or performance-related conflicts under high load.
- Protect your website from unexpected traffic spikes: Since you have already found how your server will act under high load, you can have peace of mind when your website gets more traffic than usual.
Now you know why you should stress test a WordPress website. Next, let’s see how to do it for free.
How to Stress Test a WordPress Website
We won’t be able to do it without third-party tools. Multiple third-party websites allow you to stress test a WordPress website. For this tutorial, we will use Loader.io.
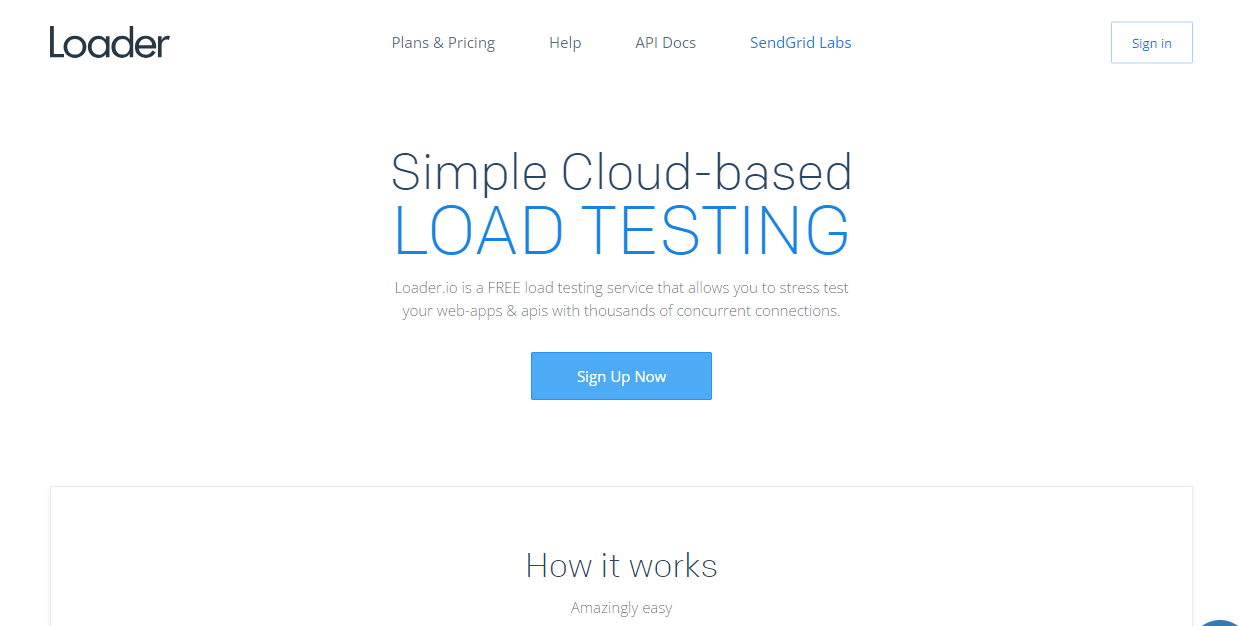
Loader.io is a free platform you can use to stress test a website.
Registration
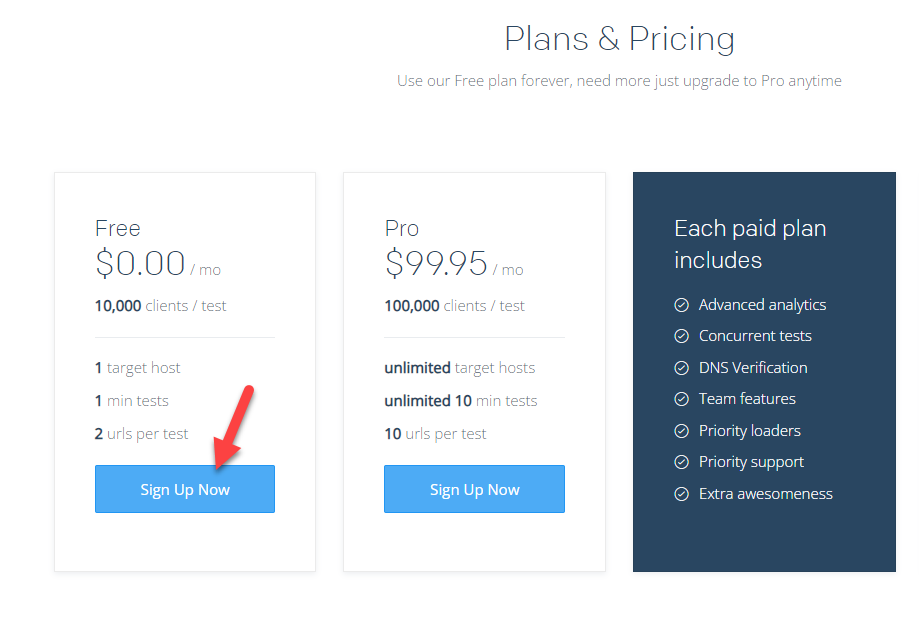
The first thing you need to do is create an account on the platform. There are multiple subscription plans available, and you can choose one according to your preferences.
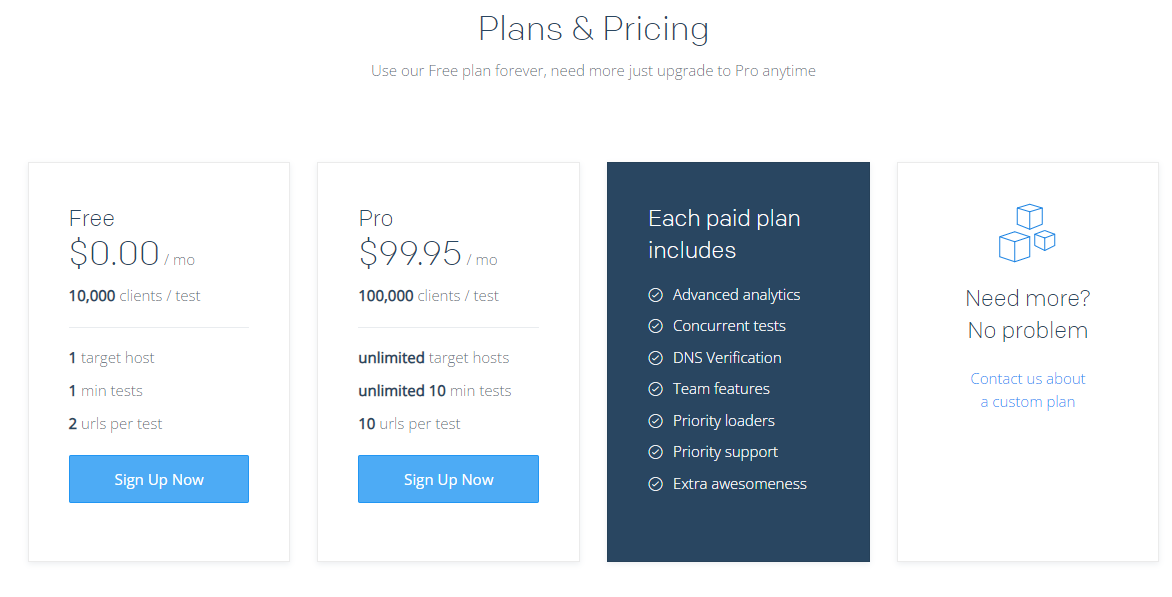
The plans available are:
- Free – $0 a month
- Pro – $99.95 a month
- Custom – Based on your requirements
For this tutorial, we will choose the free version of the subscription.
You can complete the process by entering your details.

After creating an account, verify your email. Once you have done that, you can log in to the Loader.io account with the user credentials.
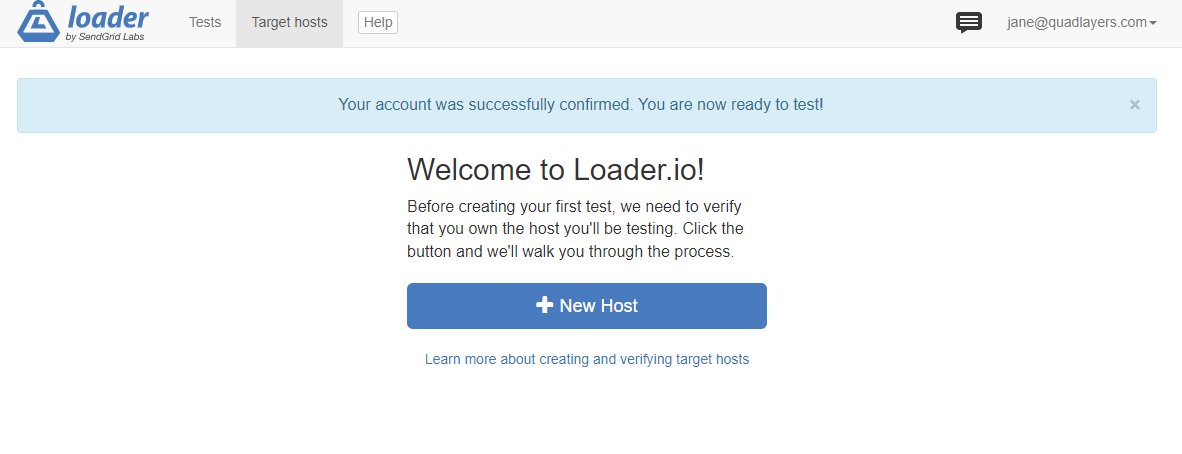
By default, there won’t be any tests or hosts. The next thing you need to do is create a host.
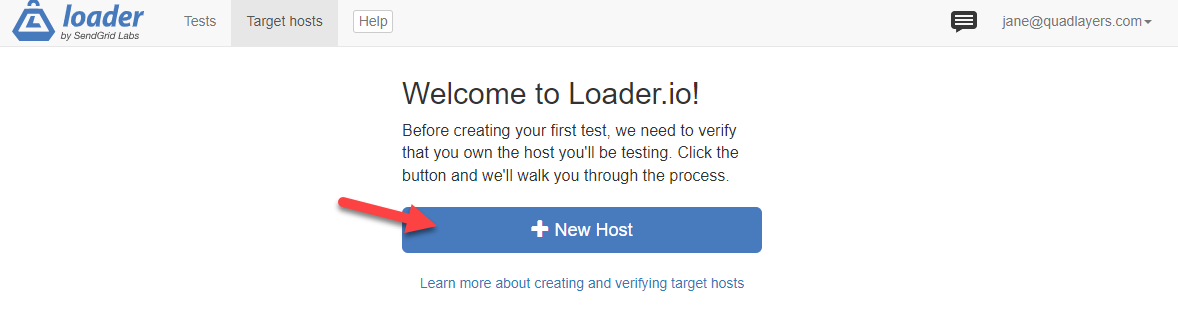
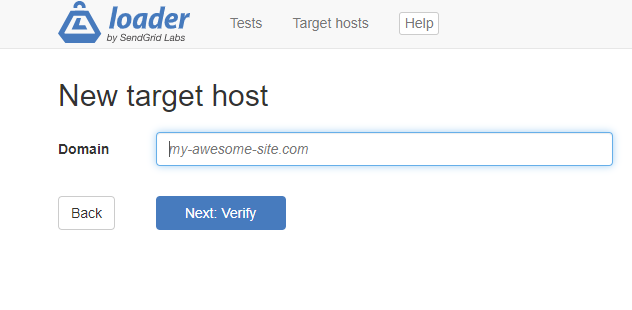
This is a mandatory step. Since we are sending a group of traffic to the website, there is a chance the server could crash. Hence, the platform won’t allow sending unlimited traffic to other websites. The test can be conducted on our websites. In the next step, you can enter the domain name.
After entering the domain name, you need to upload an HTML file to your server’s public_HTML directory.
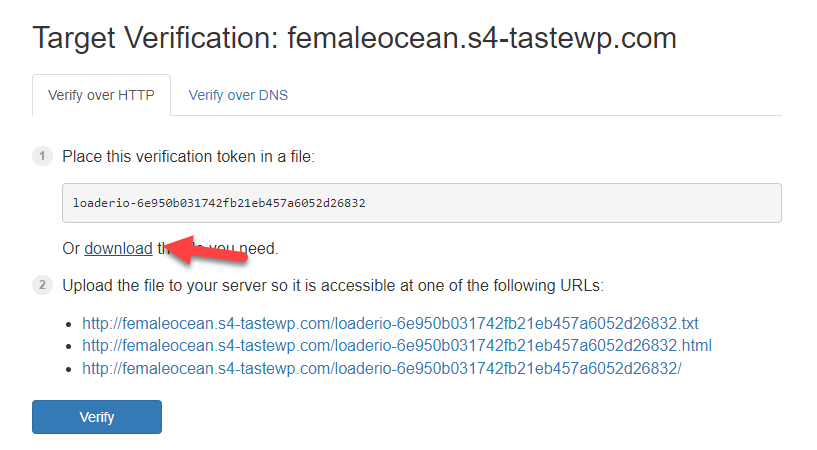
You can upload the file to the public_HTML directory via FTP or a dedicated file manager plugin.
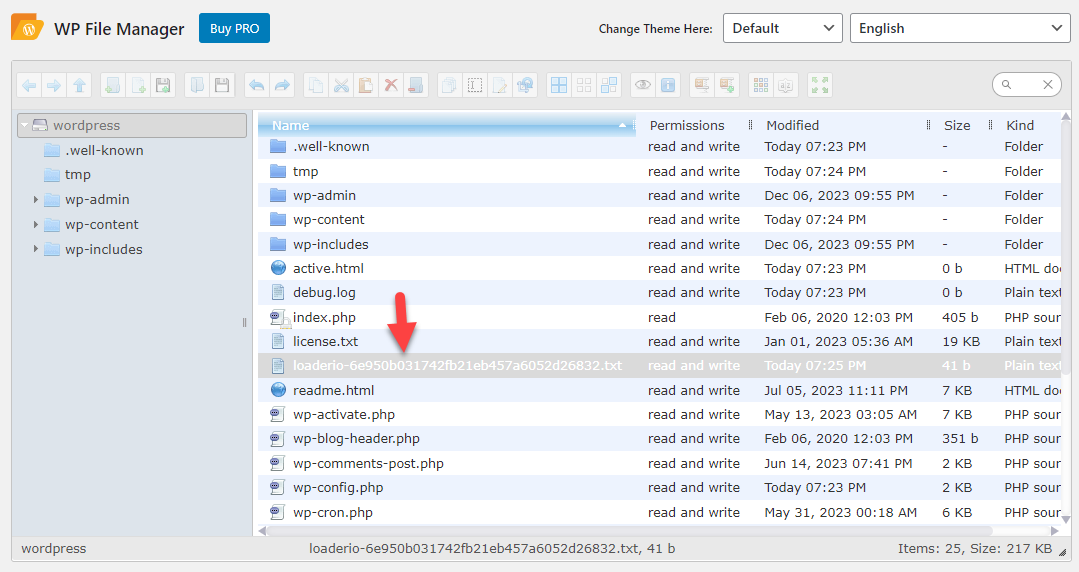
After uploading the file, you need to verify the host.
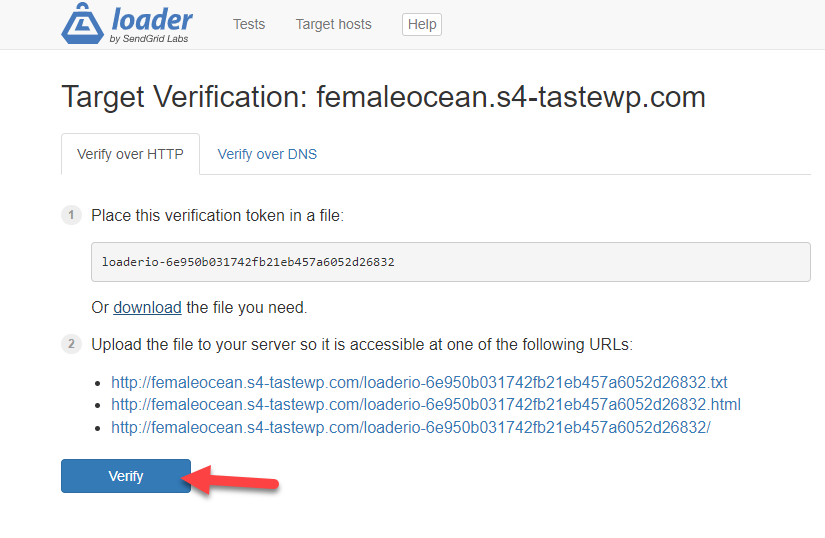
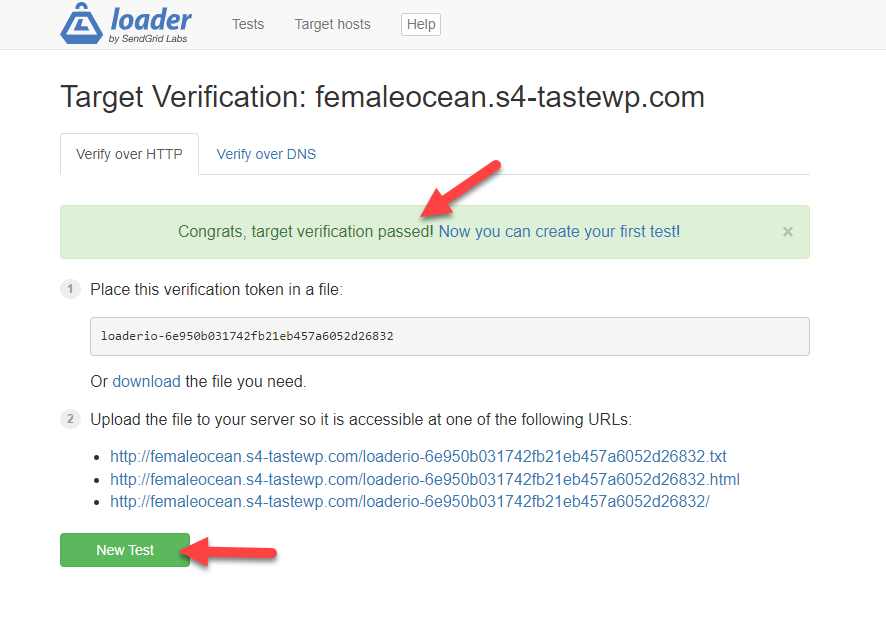
If you have done everything correctly, you will see a success message. Now, you can also start creating new tests on the server.
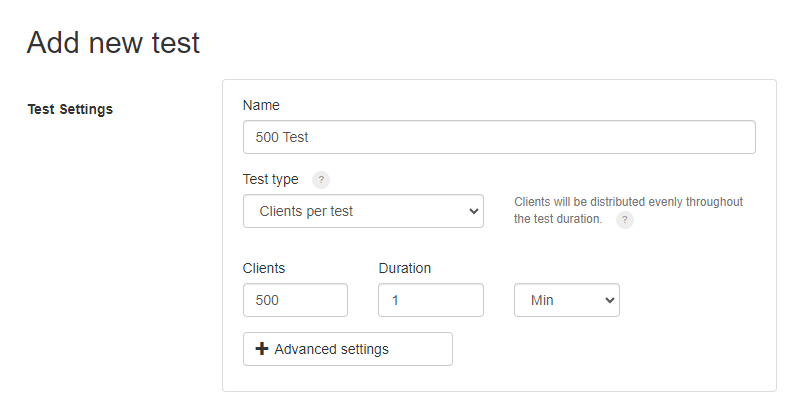
On the next page, you can see the information you need to add to conduct the test.
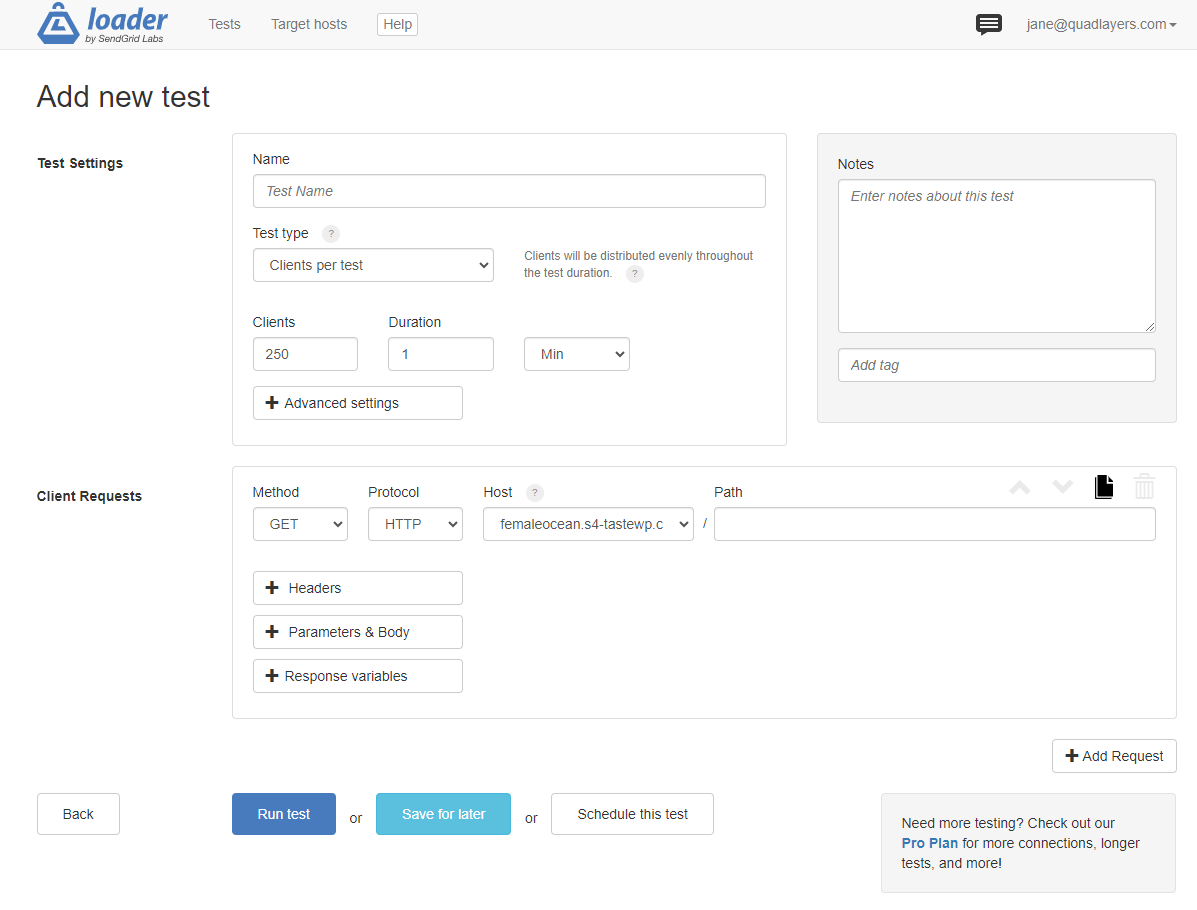
As you can see in the screenshot, you should enter a
- Name for the test
- Test type
- Clients
- Duration
- Client requests
And so on.
Test 1
As our first test, we will send 500 clients to the server. So, name your test and enter 500 in the client’s tab. We will run the test for 1 minute. Here’s what the configuration will look like:
Once you have configured the test, click Run test.
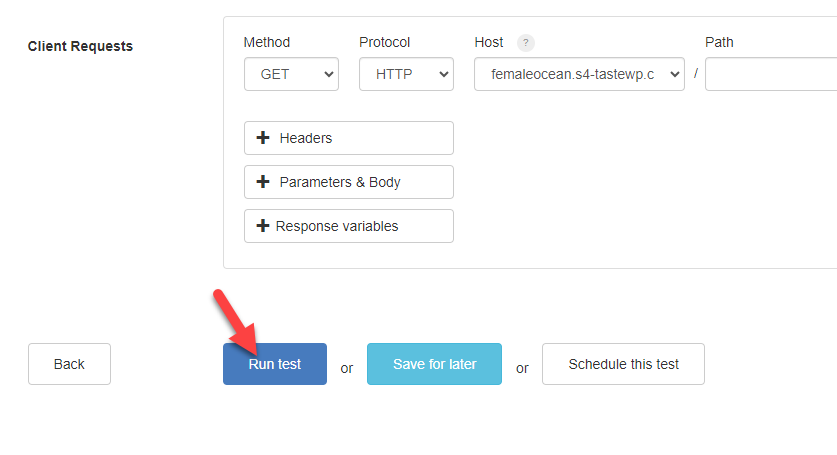
The platform will start sending traffic to the domain within a few seconds. You can see the live stats on the same page.
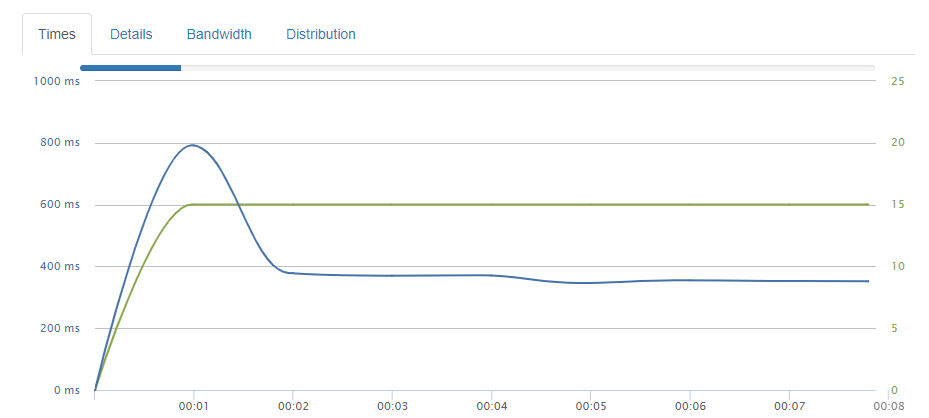
After a minute, the test is done, and here is the result:
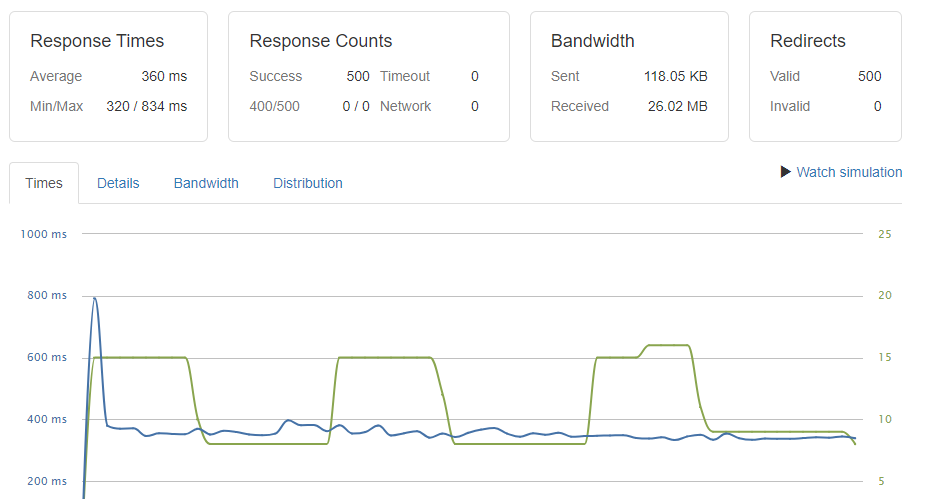
As you can see in this screenshot, the average response time is 360ms, which is excellent. Next, let’s take things further and create another test with more users.
Test 2
Test number 2 will send 5000 clients to the website (per second). You need to create a new test with the modifications.
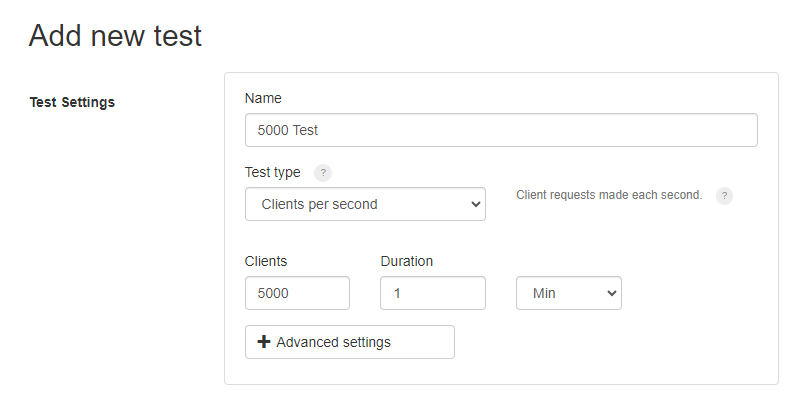
As you can see in this screenshot, we have modified the name, test type, and number of clients. Once you have changed the data, run the test.
You need to wait a bit to get the results.
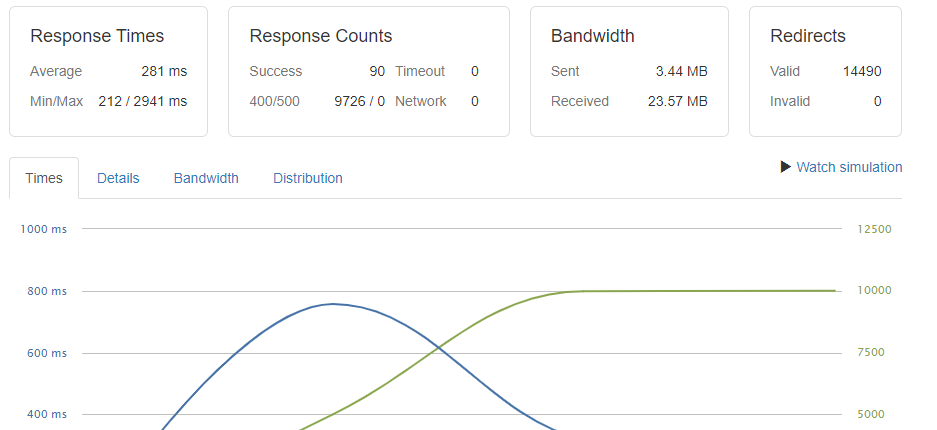
As you can see on our results page, the average response time is 281ms. Let’s move on to the final test.
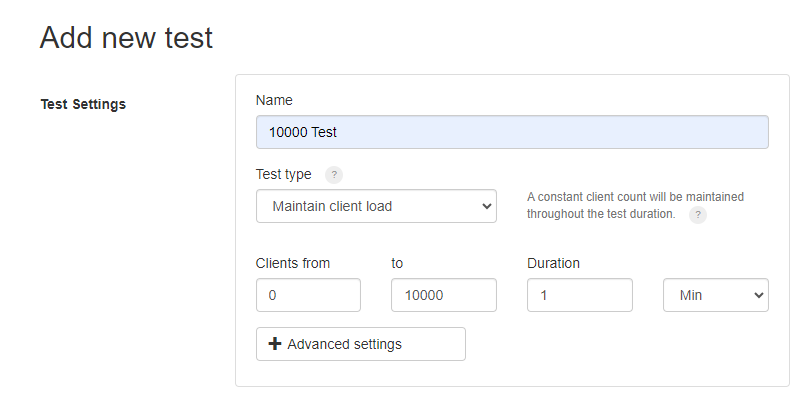
Test 3
In this final test, we will send 10,000 users to the website. We will also maintain the client load when we configure the test. Here is the configuration:
Since the Loader.io tool will maintain the client load, this can affect your website’s performance. After a minute, this is the result:
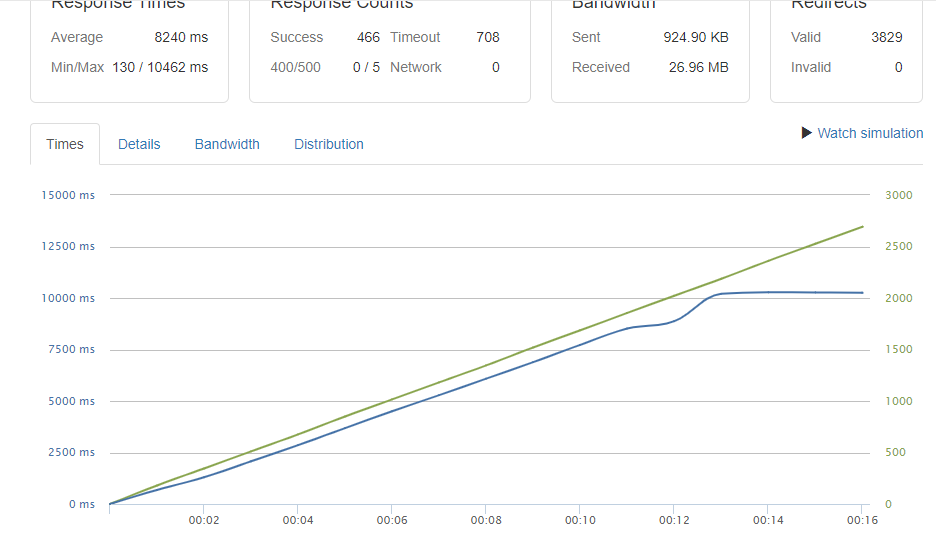
As you can see in the screenshot, the average response time went up to 8240ms. This means your server won’t be able to handle traffic spikes, which can result in performance issues.
That’s it!
This is how you can stress test a WordPress website. As you can see in this tutorial, stress testing a WordPress website is simple. You do not need to use any confusing tools to complete the task.
How to Deal with Performance Issues
If you have stress-tested your website and are having performance issues, consider these options:
- Change hosting
- Scale resources
- Use a caching plugin
- Use CDN
Below, we will show you how these will help you.
1. Change Hosting
If you are using a hosting provider that can’t be scaled, the best thing you can do is choose any other reliable web hosting company. You can find hundreds of local and internal hosting companies in the market. We will not recommend using local companies because they won’t be able to provide you with optimized servers.
You can find so many web hosting companies that offer cutting-edge features. We recommend managed WordPress hosting companies like Kinsta, Cloudways, SiteGround, etc. Most of these hosting companies provide enough resources you can use to handle a heavy-traffic website.
2. Scale the Resources
If you use a web hosting provider like Cloudways, they allow users to scale the server. You can add more RAM or storage to the server from the account settings. This will help you run the server without any hiccups. However, the billing price will be changed according to how much RAM and storage you have added.
3. Caching Plugin
You should also use a caching plugin on your website. This will help you optimize the performance. Here are some of the finest WordPress caching plugins you need to try:
- WP Rocket
- WP Fastest Cache
- WP Super Cache
- W3 Total Cache
- FlyingPress
Some of the caching plugins are free, while others are premium. You can choose one according to your preferences.
4. Use a CDN
The last option we have for you is to use a CDN provider. There are several CDN providers available. Some of the popular ones are:
- Cloudflare
- Stackpath
- KeyCDN
- Bunny.net
- Sucuri
And so on.
Check out this article for a detailed guide on the best WordPress CDN providers.
Conclusion
When you have evergreen content or run a limited-time deal on the store, you can expect sudden traffic spikes. Optimizing your web server for unexpected traffic spikes is one of the mandatory things you should do. When you purchase a hosting platform, the company will default give you a certain amount of resources.
Changing the hosting or scaling the server is better if you can’t handle all website visitors with those resources. As you can see in this tutorial, setting up a stress test is simple with the Loader.io tool. Hence, test your website with the tool and determine how the server will perform under load.
We hope you have found this article helpful and enjoyed reading it. If you did, please consider sharing this post with your friends and fellow bloggers on social media.
Here are some similar articles you might like:
